Clipping curves in the seam allowances on a project is important to help it lay flat when turning right sides out. Making sure to complete this step will make your project more polished, so don’t be tempted to skip it! Here are three ways to clip your curves.
When it comes to choosing a sewing machine, there are some very well known and respected manufacturers, and there will be multiple machines that will work for your needs. Here are some considerations for narrowing down your list and choosing a machine that you will use and enjoy for years to come.
Have a precut, but don’t know how to sew it up? Here are three great resources! Note that with any precut, it will likely need supplementing with a background fabric of some sort to make it big enough and add necessary space for the prints to have maximum impact.
You don’t need a dedicated room for sewing, but there are some things to consider that will make your sewing life better whether you’re at the kitchen table or in a studio space.
Y-Seams can seem intimidating, but they don’t need to be! A Y-seam is named for the shape of the seam where three adjoining pieces intersect, but they can vary in appearance and be used to join hexagons, triangles and diamond shapes.
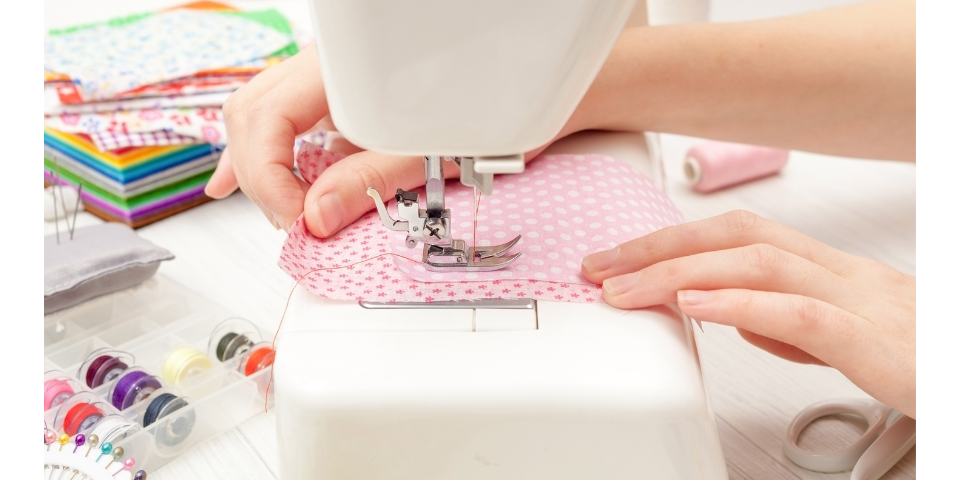
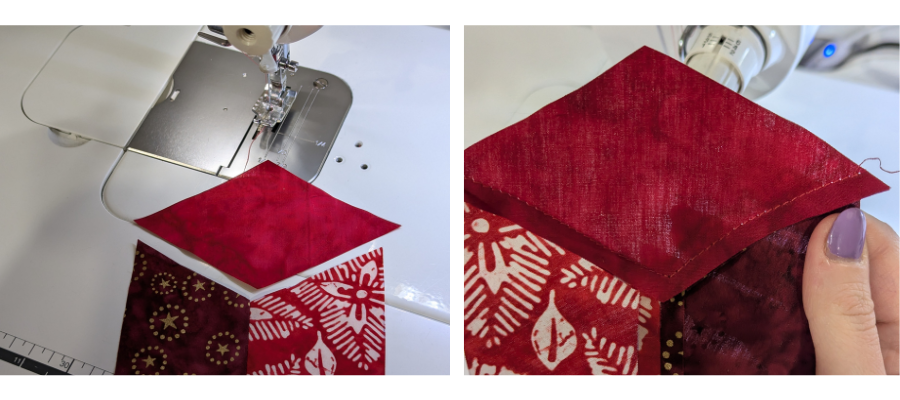
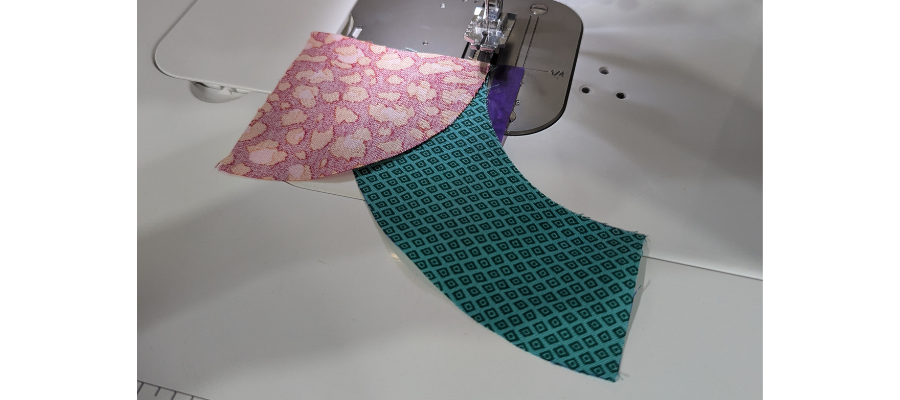
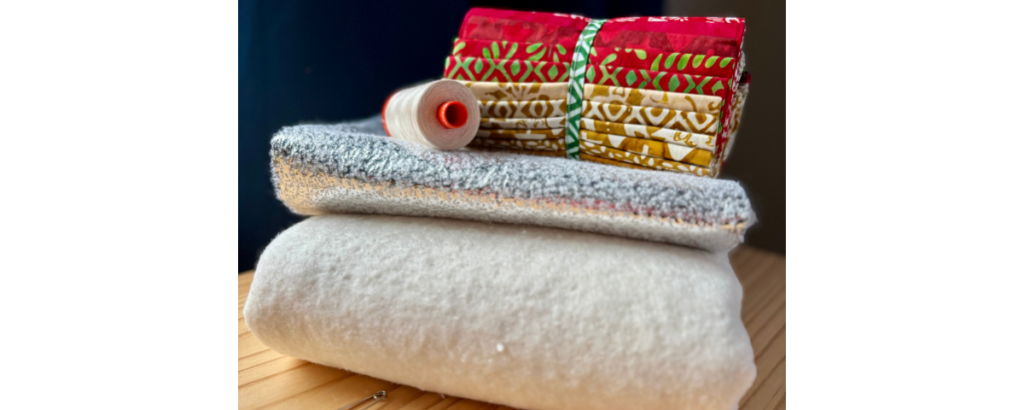
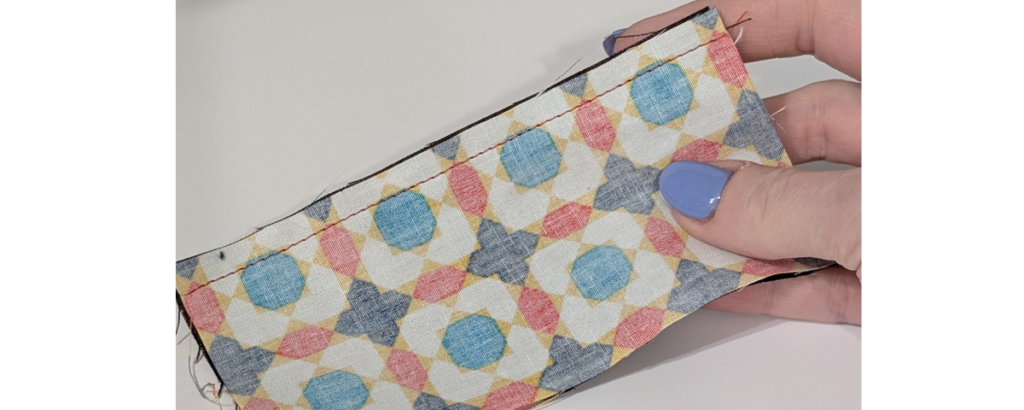
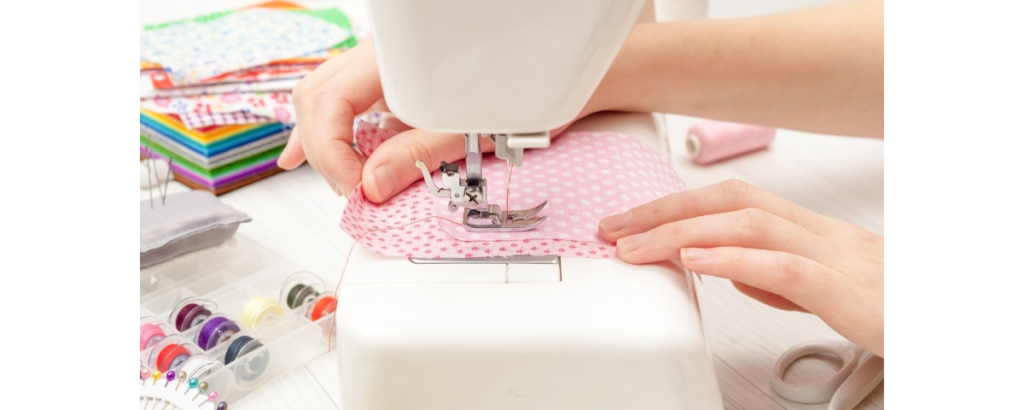
When it comes to sewing curves, you can pin, pin, pin or you can try this method. Either way, the secret to successful pieced curves is to slow down from your usual pace and stitch little by little until the seam is complete. Let’s give the one-pin method a try…
Whether you’re making ties, straps, rouleau loops or any other thin fabric tubes, turning them right side out can be a challenge. Here is a simple and fast way to do it without having to buy any fancy notions.