Two-Hour Apron Tutorial
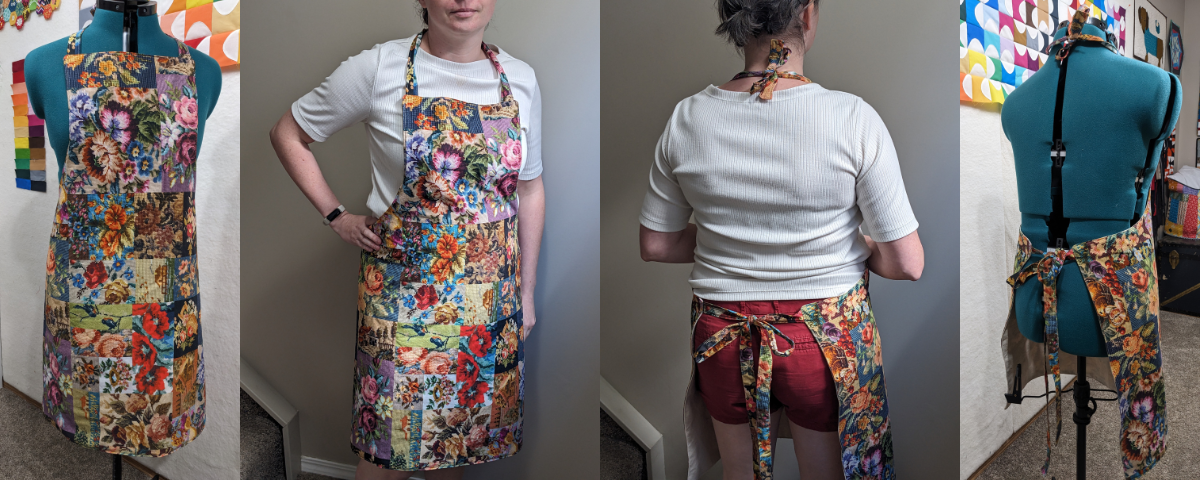
Need a quick gift, or just a palate-cleansing project? You can make this apron tutorial in under two hours with no pattern needed!
Bonus – this apron tutorial is reversible! Just choose some pretty canvas for the other side.
The fabric shown in our images is one of Cathe Holden’s fantastic collage prints. You can find more of Cathe’s fabrics in the TrendTex Shop.
Finished Size: 32″ wide and 32″ long (excluding ties)
Difficulty: Beginner
Time to make: Less than two hours!
Seam allowances are ¼” unless stated otherwise. Pre-washing your fabric is recommended so that any shrinkage occurs before you wash your apron for the first time.
Here’s what you’ll need for this apron tutorial:
- Sewing machine
- Cutting tools: rotary cutter, mat and long ruler
- 1m quilting cotton
- 1m canvas fabric
- A dinner plate around 10–12″ in diameter
- A drinking straw
- A skewer
- A wide knitting needle
- Pinking shears (optional)
- General sewing notions: iron, marking pen, pins, scissors, thread, etc.
Cut the following pieces for your apron:
- Main body: 33″ square from both the quilting cotton and canvas
- Waist ties: two 36″ x 2 ½” strips of quilting cotton
- Neck ties: two 18″ x 2 ½” strips of quilting cotton
- If you want your apron to finish up wider or longer, just cut your main body pieces a bit bigger – it doesn’t have to be a square
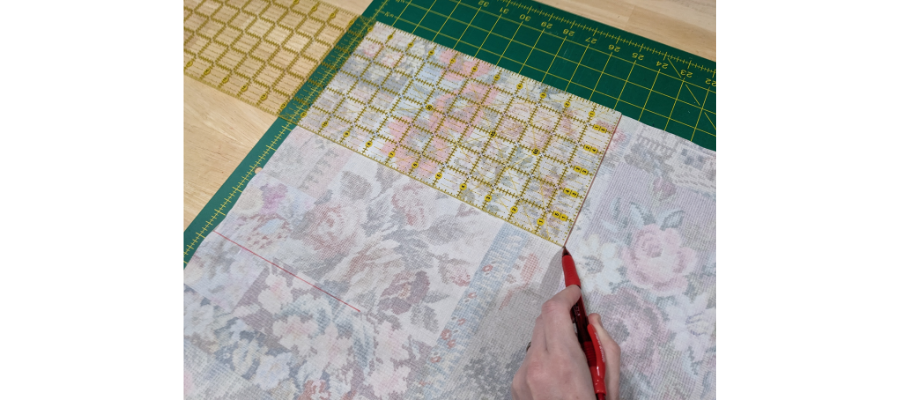
On the reverse side of your quilting cotton fabric, and working in a top corner, measure 11″ from the edge and mark a 6″ line. Measure from the other edge and mark in the same way.
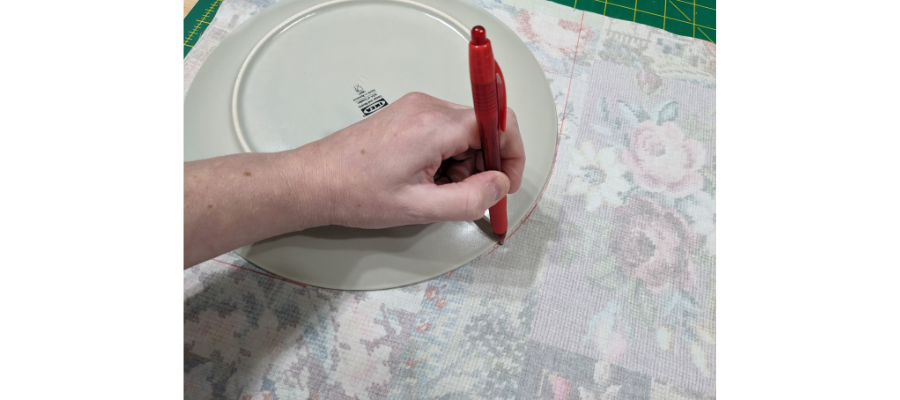
Align your dinner plate with the spot where the lines end and trace a smooth curve. Repeat these steps to mark the other top corner.
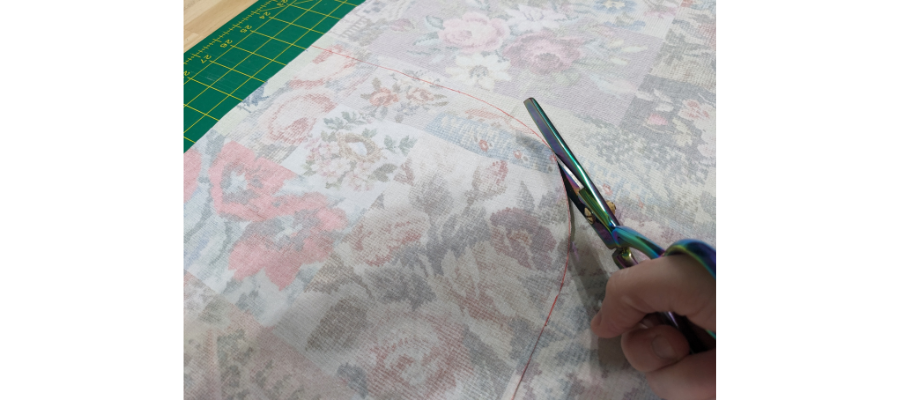
Cut along the line and discard the corners to make your bib apron shape.
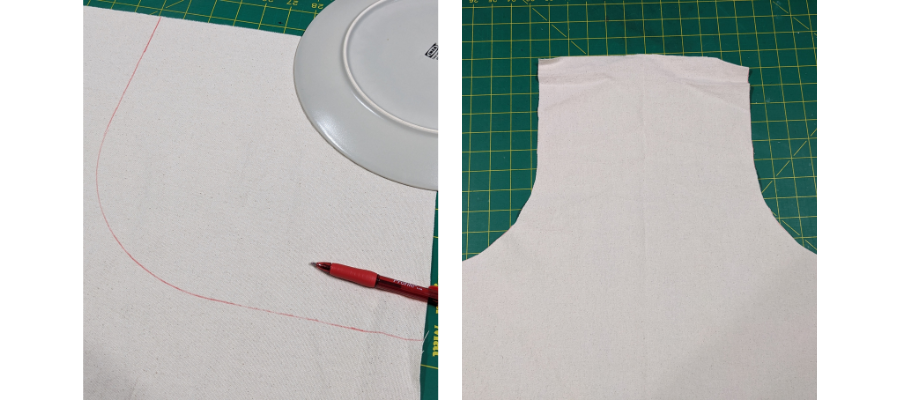
Repeat the drawing and cutting process for the canvas piece, then set aside.
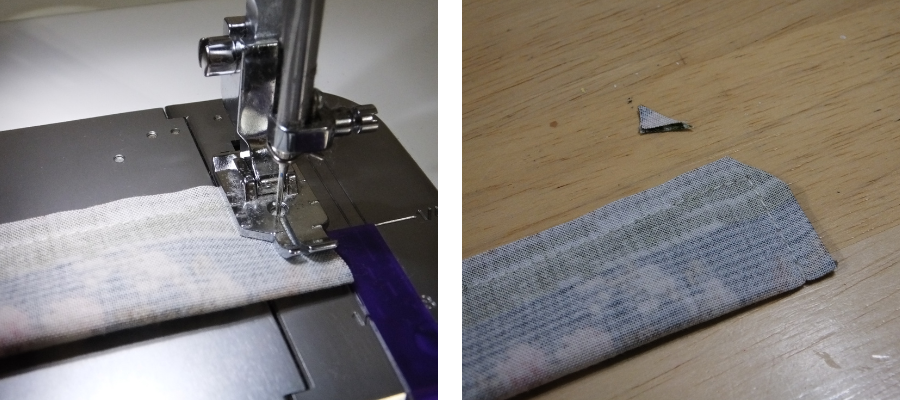
Taking a tie piece, fold the right sides together along the longest edge and sew the full raw edge, plus one of the shorter edges. Trim off excess in the corners. Repeat for the remaining three ties.
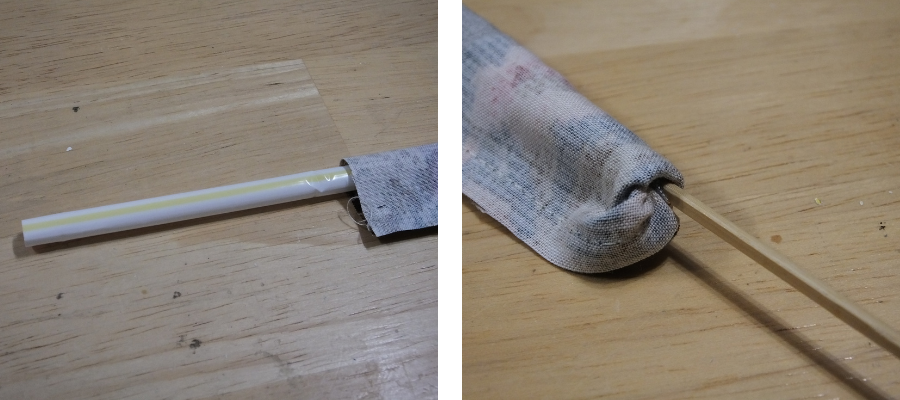
Insert a straw into the tube until it meets the stitching at the bottom. Use a skewer or other blunt, thin implement to push the end of the tie into the straw. Push several inches inside, until it resists.
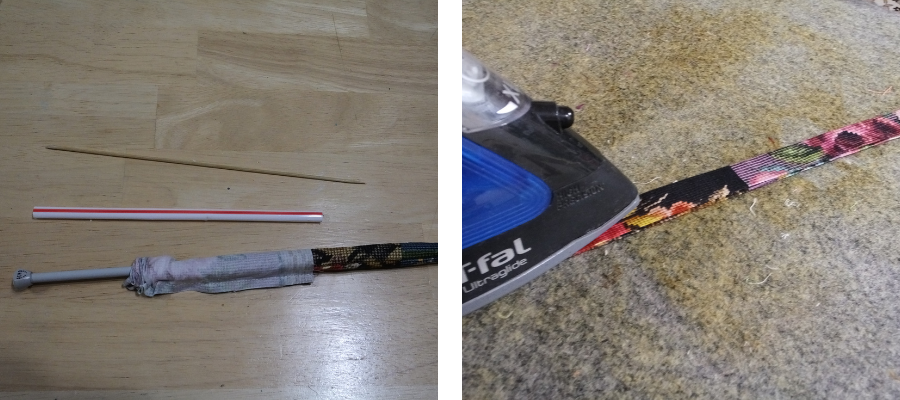
Remove the skewer and straw from the inside. To complete the tube-turning process, insert a thick knitting needle (or similar) into the pushed-in end, and finish turning the tube right side out. You can also use the knitting needle to poke out the corners. Press well.
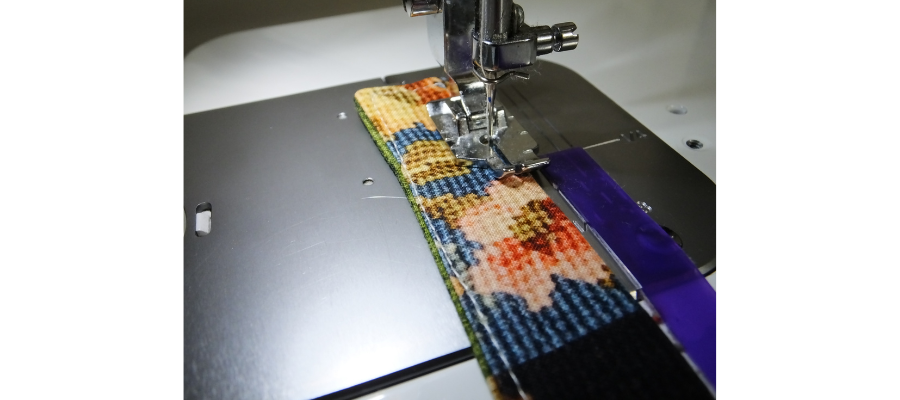
Top-stitch the three finished edges, about ⅛” from the edge. Repeat the turning process on the remaining three ties, pressing and top-stitching these as well.
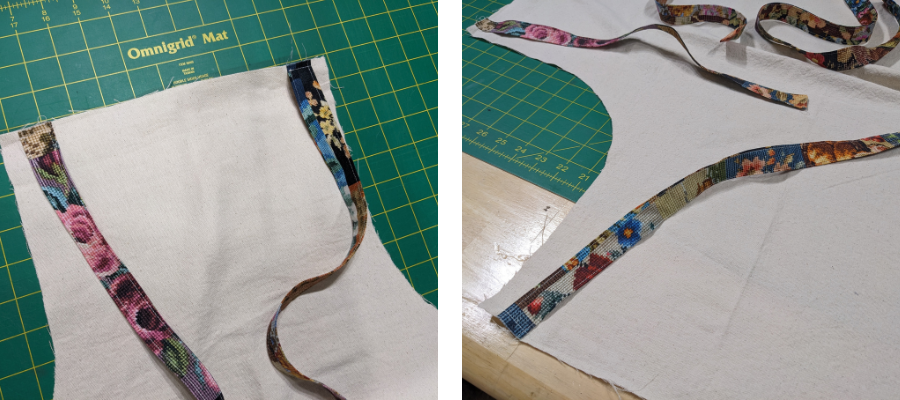
Position the neck ties ¾” from the edge of the bib area of the canvas, aligning the raw edges of the ties with the edge of the fabric. The canvas should be right side up if you’re using a printed fabric. The longer waist ties should be positioned ¾” below the curve cutouts. Baste in place at ¼”.
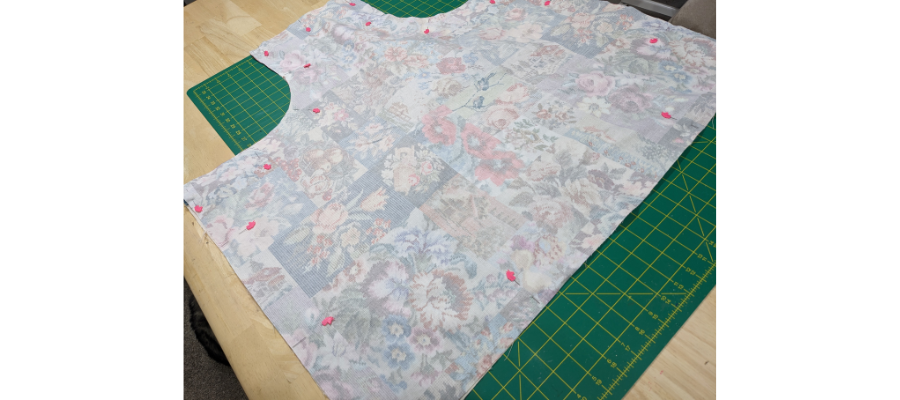
Put the main piece of quilting cotton over the top, right sides together, aligning the edges with the canvas and sandwiching the ties inside. Pin together making sure the ties are out of the way of the edge.
Stitch all the way around with a ½” seam allowance, leaving a gap of around 6″ at the bottom of the apron for turning through.
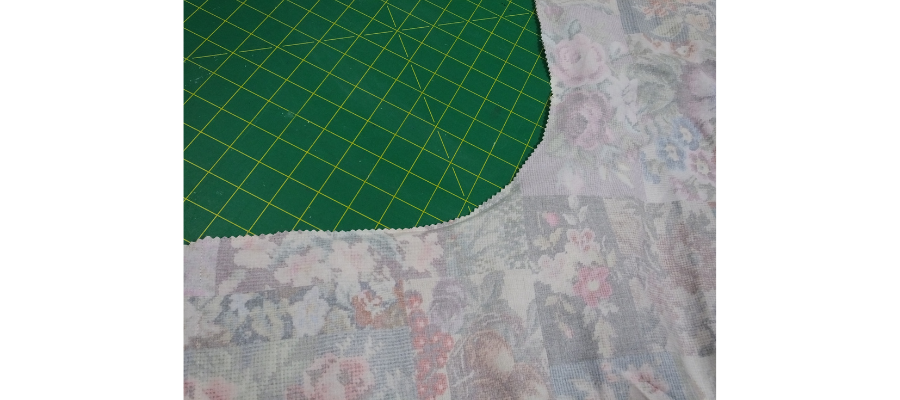
Trim excess fabric from around points and clip the curves, or trim close to the stitching with pinking shears.
Turn the apron right sides out, pushing out the corners. Press well.
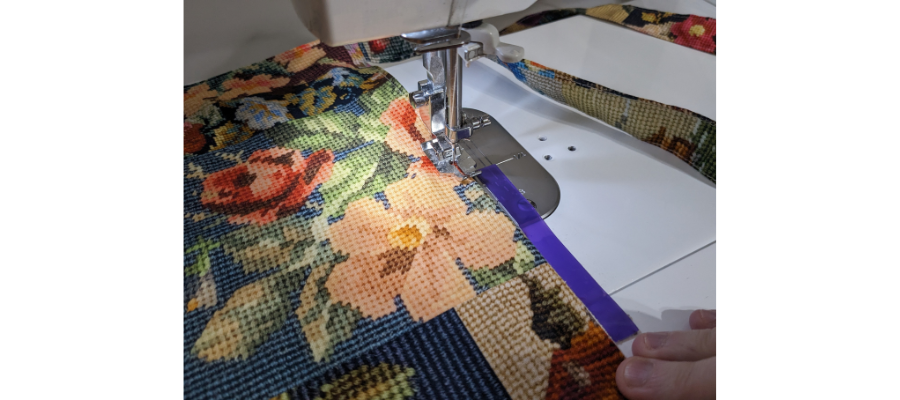
Top-stitch all the way around the outside of the apron bib, making sure not to sew over the ties.
You’re done! All you need to do is tie your apron around your neck and waist and you’re ready to go. We’d love to see your creations on social media and hope you’ll share them with us! Please post, and tag us on Instagram or Facebook so we can celebrate your design! #TrendTexFabrics @trendtexfabrics
Looking for more tutorial and project ideas? Check some other ideas out here.
