
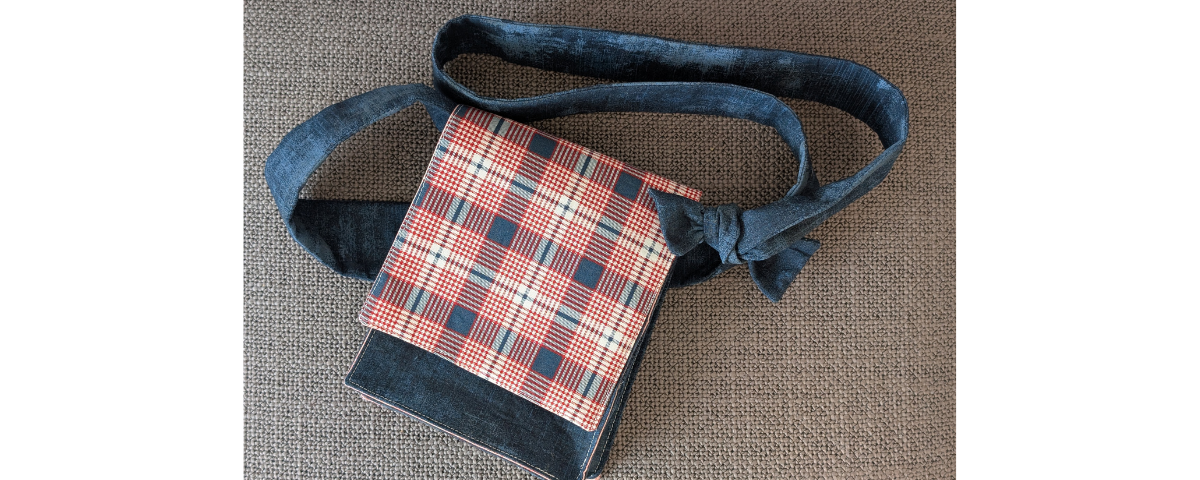
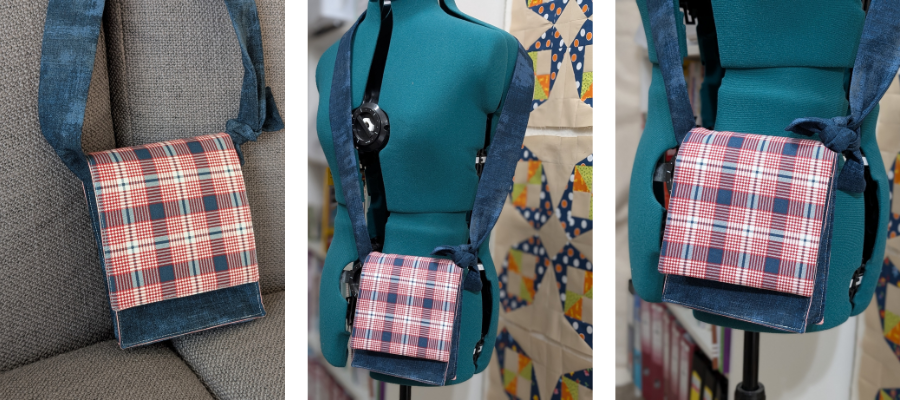
Outdoorsy Crossbody Bag
Finished size: 6” x 7 ¼” x 1 ¾” approx, excluding strap
Difficulty: Advanced Beginner
Project time: An afternoon
This is an easy first bag pattern – no interfacing, no hardware, and minimal fabric cutting required!
If you don’t wish to use directional fabric as shown on the original, you actually don’t need as much fabric, it could even be a stash buster!
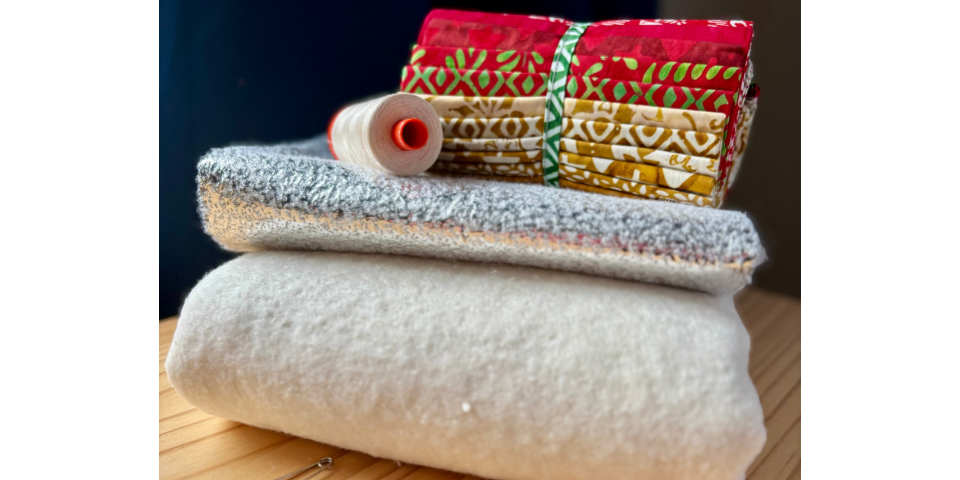
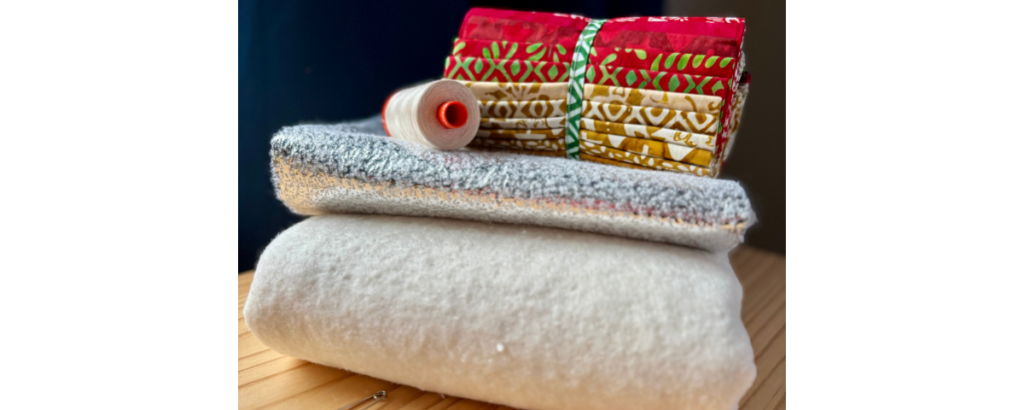
You will need:
- Fabric A – 1/2m
- Fabric B – Fat eighth
- Fabric C (lining) – 1/4m x width of fabric (not a fat quarter)
- Fusible fleece – ½m – 1m
- General sewing notions: sewing machine, scissors, thread, pins, etc.
Fabric Cutting:
For the fusible fleece you may need to cut three strips to make up the 80” needed.
FUSIBLE FLEECE
Cut (2) 2” x 40” Strap pieces.
Cut (1) 6” x 7” Front Panel piece.
Cut (1) 6”x14” Back/Flap piece.
FABRIC A
Cut (4) 2½” x Width of Fabric (WOF) strips for your straps. Cut strap pieces down to 2½” x 40¼”.
*From remaining fabric, choose one of the larger motifs to fussy cut for the ID CARD POCKET as shown featuring dogs above. Make sure to arrange your remaining cutting around this piece.
Cut (1) 6½” x 7½” Front Panel Exterior piece.
Cut (1) 4½” x 4” Key Pocket Exterior piece.
Fussy Cut (1) 4½” x 2½” ID Card Pocket
Exterior piece, centering motif of your choice.
FABRIC B
Cut (1) 6½” x 14½” Back/Flap Exterior piece.
FABRIC C
*This fabric is directional, so follow along carefully!
Cut (1) 6½” x 14½” Back/Flap Lining piece, with 14½” side parallel to the selvedge.
Cut (1) 6½” x 7½” Front Panel Lining piece, with 7½” side parallel to selvedge.
Cut (1) 4½” x 4” Key Pocket Lining piece.
Cut (1) 4½” x 2½” ID Card Pocket Lining piece
Instructions:
1. Take (2) Strap Pieces and sew end to end, to make a 2½” x 80” strap length. Repeat for for other (2) strap pieces. Press seams flat.

2. Fuse fleece to wrong side of the following pieces, in the center, leaving room for seam allowance around all 4 sides.
- Back/Flap Exterior Piece (Fabric B)
- Front Panel Exterior Piece (Fabric A)
- (1) of the 2½” x 80” strap lengths. Align the two fusible pieces together at the center where the seams meet. See photo for how fusible fleece should be joined along the length of the strap.

3. Place Key Pocket pieces RST. Stitch around perimeter, leaving approx. 1½” open at bottom for turning. Trim seam allowance from corners to reduce bulk. Turn out, and press.
Note: Leave the turning gap along the 4 ½” edge on both the key pocket and ID card pocket.
4. Repeat for ID Card Pocket pieces. Take care if you have fussy cut your ID Card Exterior piece to leave the space for turning at the bottom.

5. Top stitch the top edge of each pocket before positioning it on the respective panel. Centre the key pocket 2 ½” from the bottom edge and 1 ¼” from each side on the back/flap lining piece.
6. Centre the ID card pocket 1” from the top and 1 ¼” from the sides on the front panel exterior piece.
7. Gather both Strap Lengths, Back/Flap Exterior and Lining, and Front Panel Exterior and Lining pieces. Pair RST, and stitch around perimeter leaving approx. 2”-3” for turning along the longest side of each. Trim fabric corners to reduce bulk. Turn all pieces right side out and press. Do not top-stitch yet!
8. Using an erasable fabric marking pen, mark 6” down from one end of your Strap on both sides. Pin Front Panel along right edge of the Strap with the top at the 6” mark.
9. When sewing the strap in place, stop a scant ⅛” from the corners in the needle down position before pivoting.
When you come to the corners, fold strap to continue joining pieces around bottom and left side of Front Panel. Keep stitching until you get to the end of the same side of the Strap.
10. Using an erasable fabric marking pen, mark the LINING side of your Back/Flap Panel on the right edge, 6¾” from the bottom. Align this mark to the other 6” mark on your strap piece, making sure the
linings are facing.
11. Pin around bottom half of the Back/Flap Panel and strap, matching up corners. Top-stitch ⅛ ” around the bottom of the
Back/Flap panel to create the bag itself.

12. Go back and top-stitch ⅛ ” around remaining areas of the strap, making sure not to catch the ‘Flap’ portion of the Back/Flap Panel. Also top-stitch the remaining edges of the Front and Back Panel to finish off.
13. Tie and knot the two ends of the Strap and enjoy your bag!
We’d love to see your stash friendly bags! Don’t forget to tag us on Instagram or Facebook so we can see and celebrate your creations! #TrendTexFabrics @trendtexfabrics
Credit: Thank you Cathe Holden for the inspiration of this tutorial.