TIP TIME: Y-Seams Made Easy
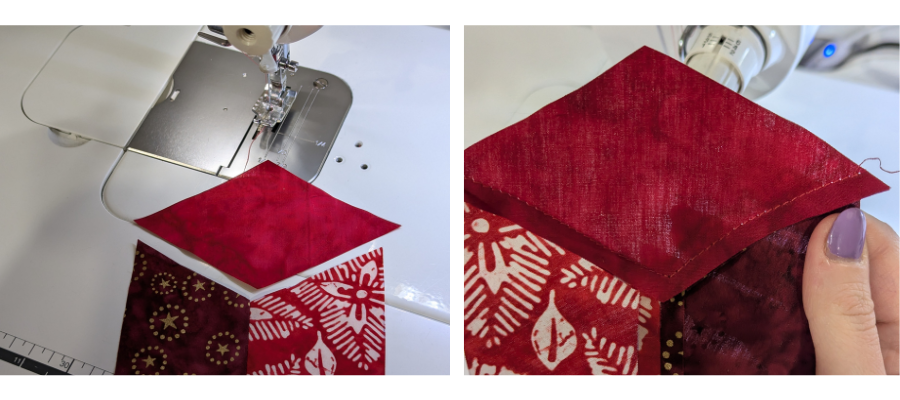
Y-Seams can seem intimidating, but they don’t need to be! A Y-seam is named for the shape of the seam where three adjoining pieces intersect, but they can vary in appearance and be used to join hexagons, triangles and diamond shapes.
Here’s some ways to make your Y-Seam sewing easier.
Don’t be tempted to pivot. Once you have two pieces together and it’s time to add the third, it can be tempting to sew in one go, from edge to edge, and pivot at the centre. This can make points look bent or wonky, or even worse, you could make tiny puckers. Instead, sew in two steps. Start from the centre point and sew outward to the edge, and then repeat for the other side.
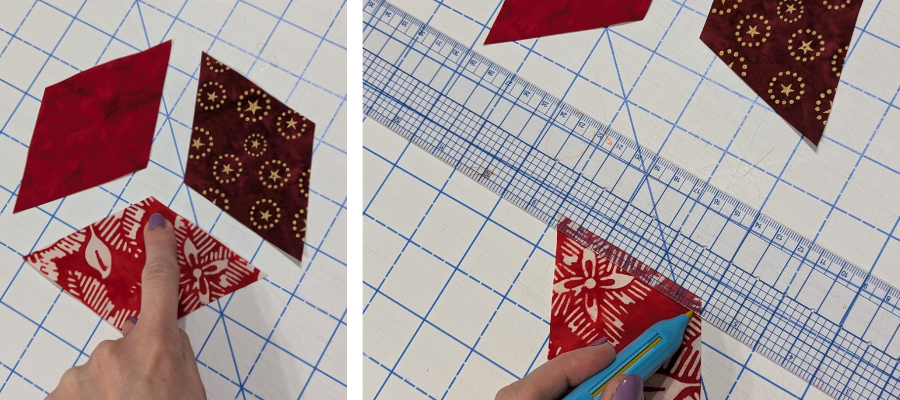
A Y-seam is made from three adjoining pieces – but you only need to mark one. Save time and get to sewing faster by just marking one piece. Find one of the centre points and then mark ¼” from each edge to make a cross where the seam allowances meet. Use this marking for the starting point of both adjoining pieces. You can then sew the third seam between the non-marked pieces, starting where the stitches end and sewing to the edge.
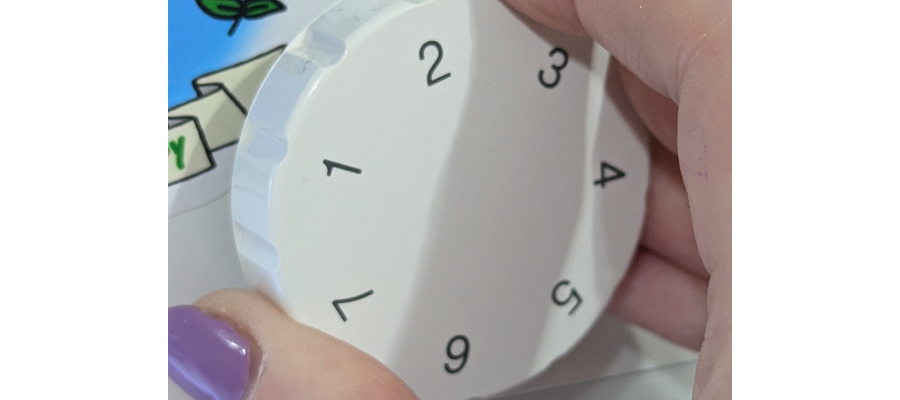
A shorter stitch length can be helpful. You want to get as close to your marking in the centre as possible, but not go over. A shorter stitch length will help with accuracy.
Ready to practice? Make our Gift Tree Ornament Tutorial here.
