Tip Time: Nesting Seams
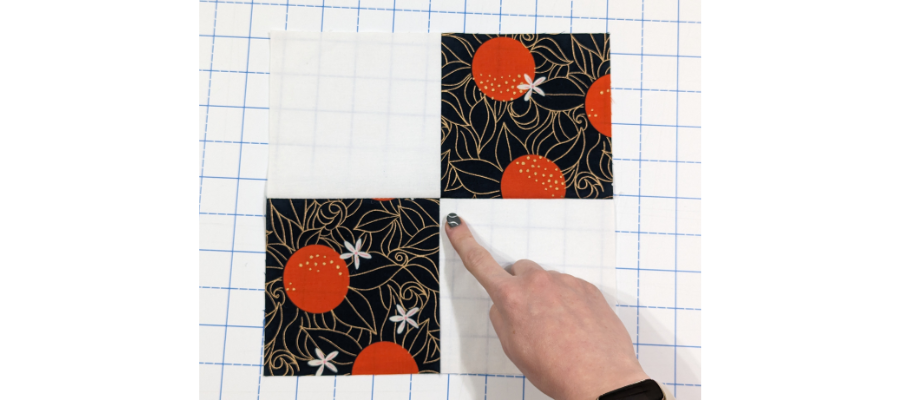
Taking the time to press your seams correctly will lead to sharp, neat points. Here’s how to do it!
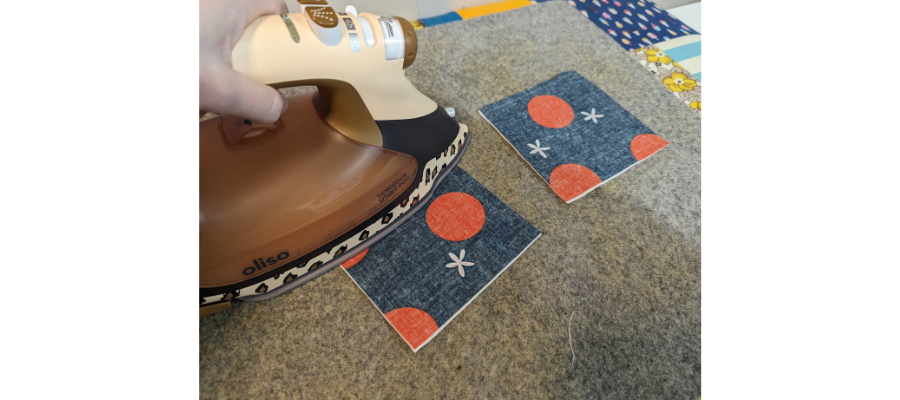
Whether you’re joining parts of a block or rows of a quilt top together, you’ll want to start by setting your seams with an iron. To do this, apply heat while the right sides are still together before you press your seams to the side (or open). This will help push the thread into the fabric farther, which will help create more accurate seams.
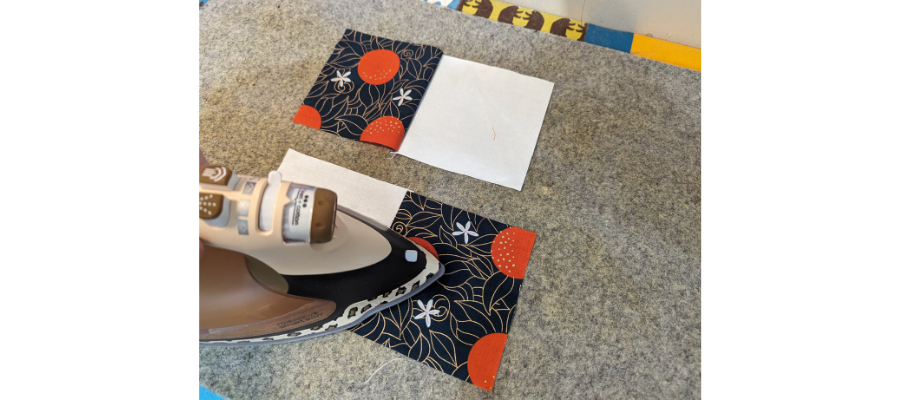
Next, press the seams to the side in alternate directions. In this example, the top seam is being pressed to the left and the bottom is being pressed to the right.
You can’t nest seams if you press open, though this can be bulky in some situations where there are many pieces of fabric meeting, so use your judgement.
If possible, it is best to press seams toward the darker fabrics to prevent shadowing.
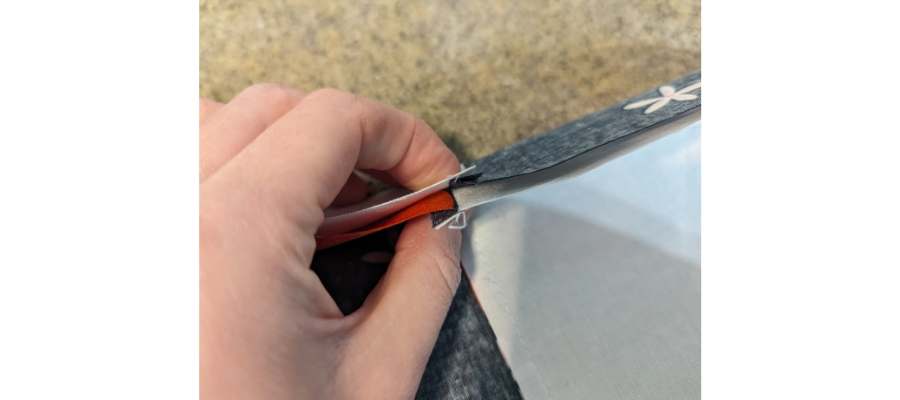
Bring the rows together and make sure the seams are right on top of each other. With the seams pushed to the side, you can butt them up together.
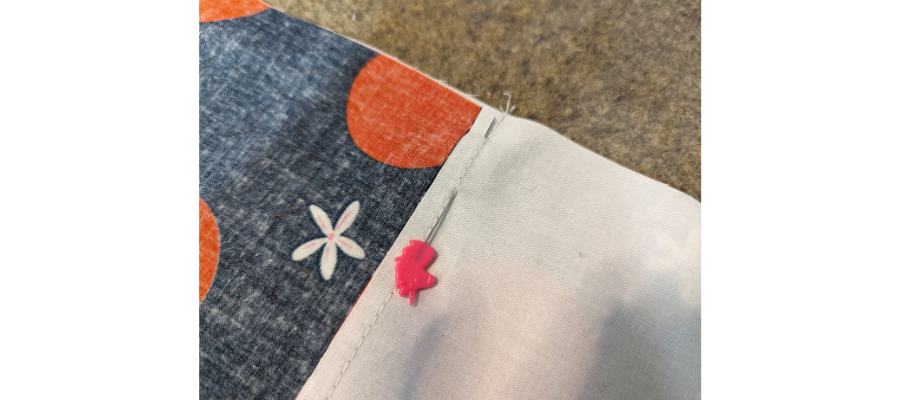
Using pins will improve your accuracy further. Next, pin through the seam perpendicular to the edge of the fabric. If your pin runs through the stitches on both sides, you know you’re perfectly set up.
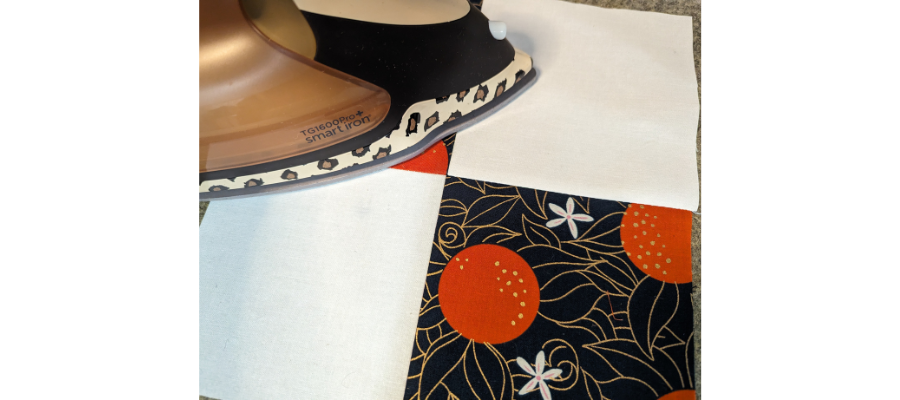
Sew the seam. Set it as before and then open up to press. At this stage, if you prefer to press your seams open, you can, but if you’re likely to add additional blocks or pieces to the sides, you might want to repeat the alternate side-pressing process again.
