Tip Time: How to sew neat and tidy piping
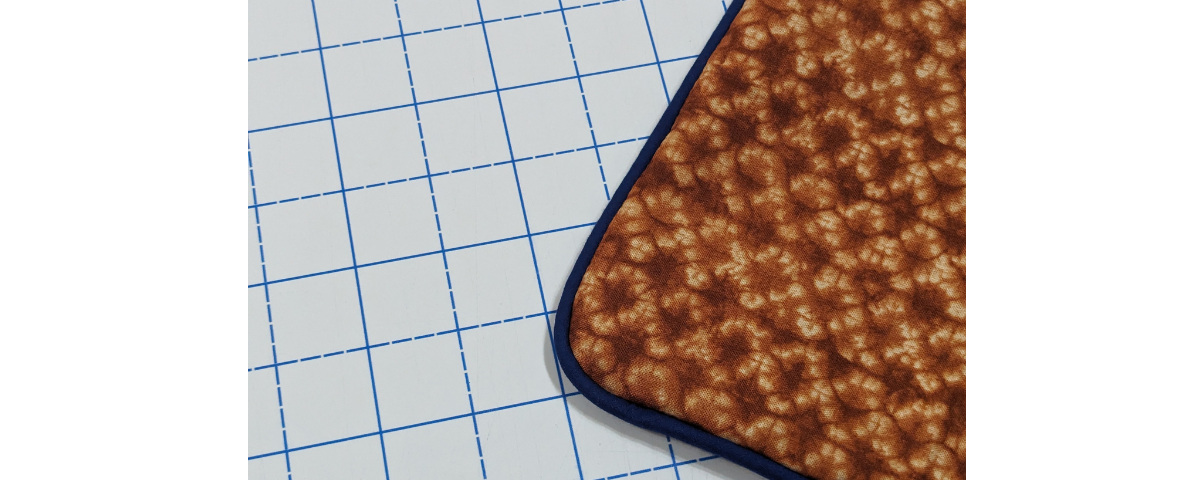
Have you ever struggled to sew piping without your first round of stitches showing? It can be a tricky task, but we’ve got some useful tips that will help you keep it neat and tidy on your next project.
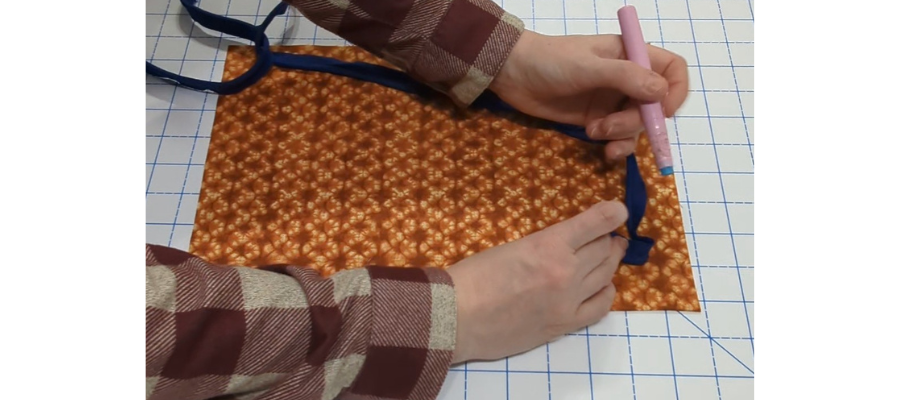
- Instead of stitching the piping to the first layer of fabric, try gluing it instead! You can use a glue stick or glue pen on the edge of the fabric, and then align your raw edges.
- If you’re making your own piping, you can use glue here too. Eliminate the step where you sew the cording into the folded fabric, and instead glue it to prevent the chance of another row of stitches showing.
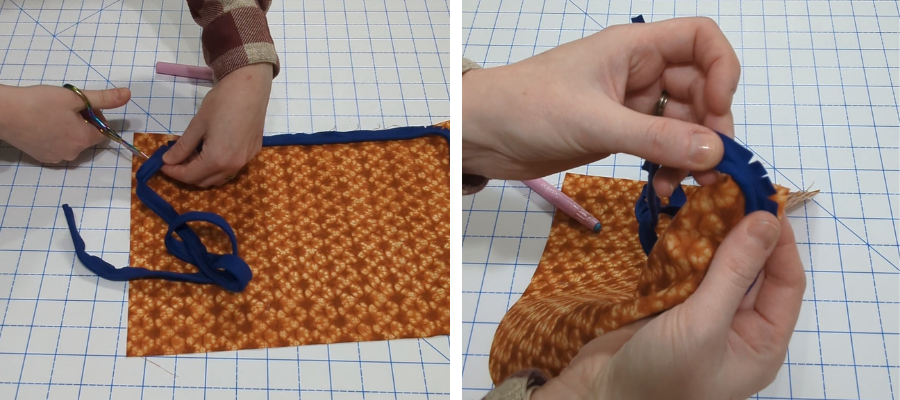
3. When you get to the corners, snip into the piping. If you have piping with the cording sewn in, don’t clip past these stitches, but get close. You can then add glue to the snipped sections and curve the piping around the corner. It will be a rounded corner rather than a straight edge because of the cording.
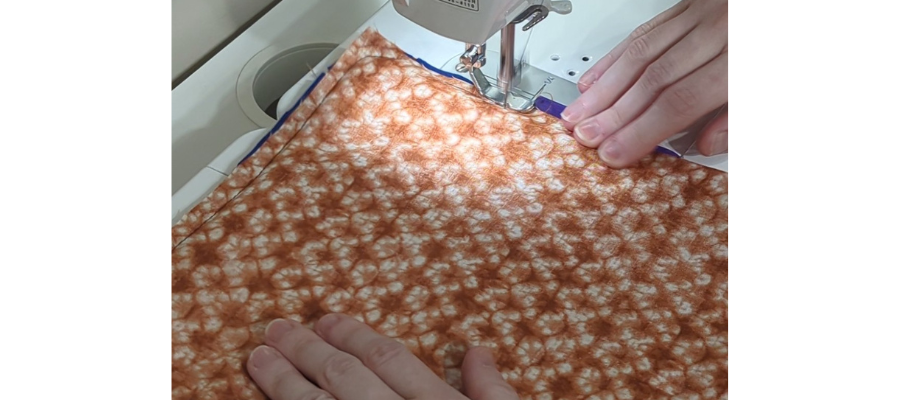
4. Put your fabric pieces that will be either side of the piping right sides together as usual, with the piping sandwiched in the middle. Stitch right next to the cording inside the piping, feeling where it is as you go. A zipper foot is ideal for getting really close, but you can always sew another seam if you turn it right sides out and find you haven’t gotten close enough.
Did you find these tips helpful? Please post, and tag us on Instagram or Facebook when you utilize our tips or fabrics so we can celebrate your design! #TrendTexFabrics @trendtexfabrics
Looking for more tutorial and project inspiration? Check some other ideas out here.
We also recently shared tips on selecting the right fabrics for your next project.
