Simple Machine Cover Tutorial
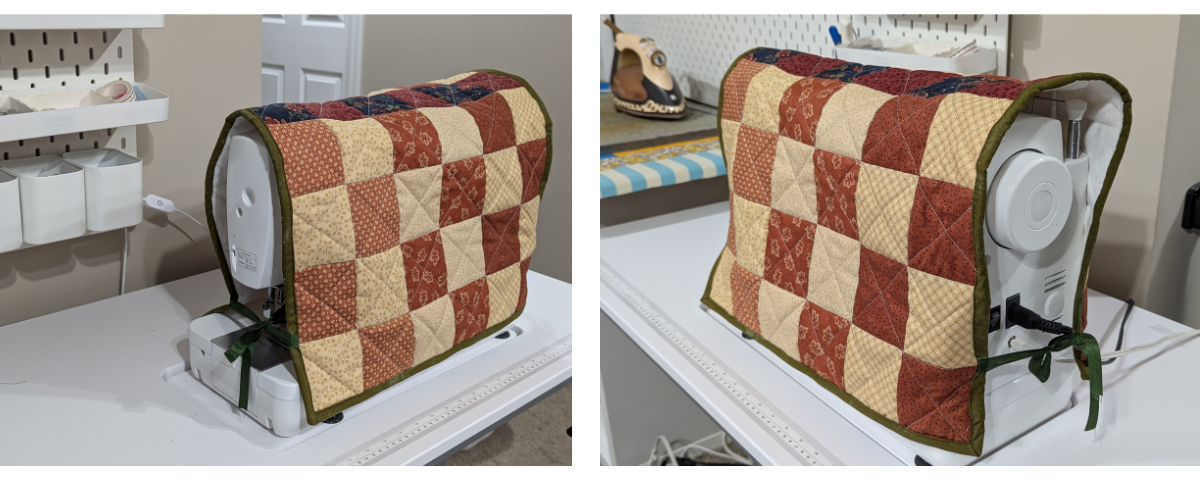
Make a little quilt to care for your sewing machine!
Finished size: Made to measure
Difficulty: Intermediate
Project time: An afternoon
This machine cover is made to fit your particular machine, so we will guide you through how to turn your measurements into a cover of the right size.
You will need:
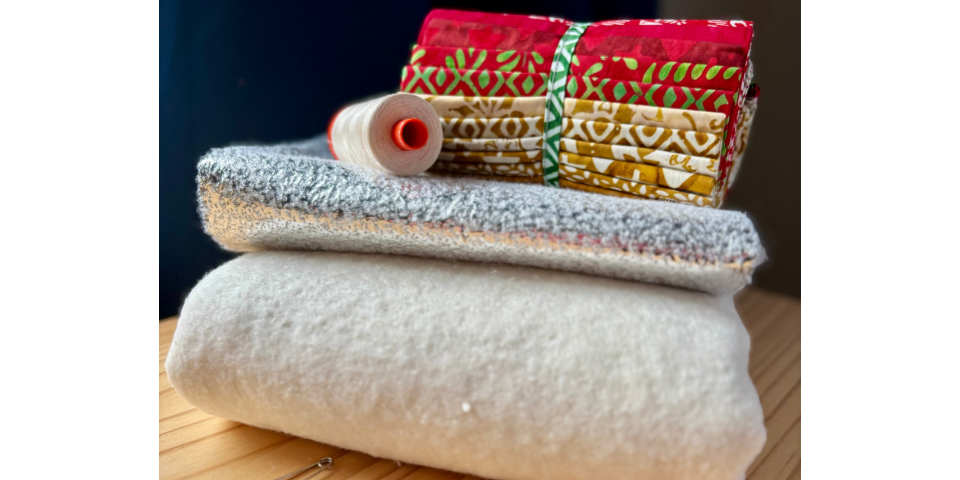
- 6–8 Fat Eighths or large scraps (3–4 in the same colourway)
- 3/4m backing fabric – muslin or other fabric you need to use up will work well
- 1/4m binding fabric
- 1m+ of ribbon
- Scrap of batting – 3/4m will be plenty
- General sewing notions: measuring tape, sewing machine, pins or clips, scissors, thread, cutting tools, iron
The fabrics in this project are from Milestones by Kansas Troubles for Moda.
Seam allowances are ¼” throughout unless stated otherwise.
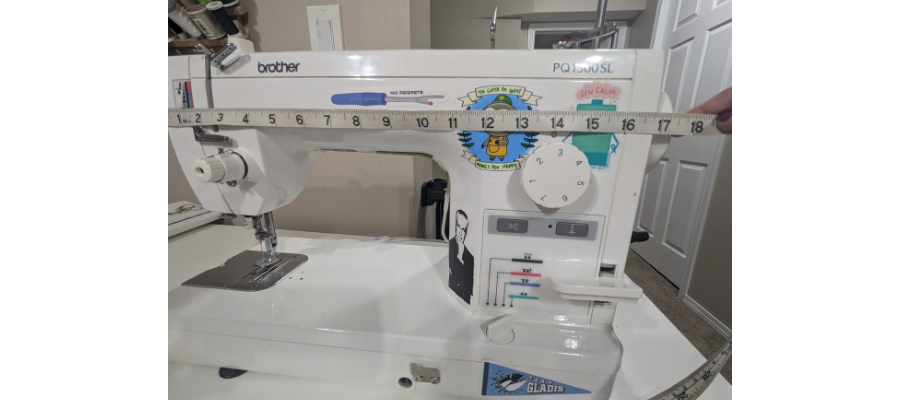
Measure the width, height and depth of your sewing machine in inches, and write these measurements down. Multiply the height by two and add the depth. Add up to two inches to make a number divisible by three. This will be the height of your finished quilt.
Round up the width to the next number divisible by three, and this will give you the finished width of your quilt.
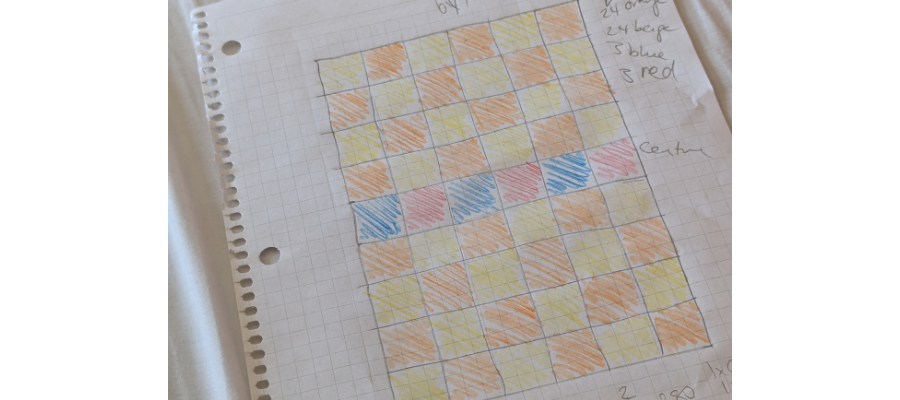
Plan out your quilt, drawing a square for every 3″. This cover is 9 blocks high (27″) and 6 blocks wide (18″). Alternate the colours in a checkerboard pattern.
If you have an odd number of squares high like this one, you can add a feature row of a different colour in the centre – which will sit on the top of the machine.
Cut out the number of squares you need, which should measure 3 ½” to account for the seam allowance. We used three beige and three orange fat eighths and cut eight squares from each, plus three squares each from two other fabrics, in red and blue.
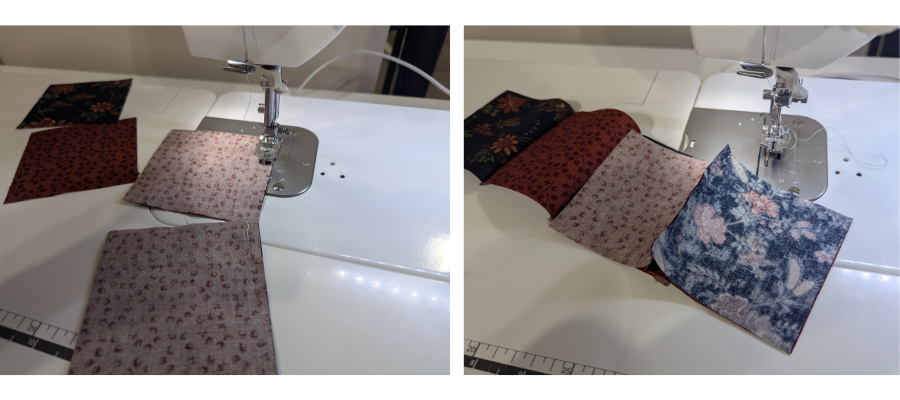
We made the centre row first, but if you are making yours with an even number of squares vertically, you can skip this step.
Sew the centre row together, alternating red and blue. Here we made three pairs, then sewed the pair together to form the row. Press, then set aside.
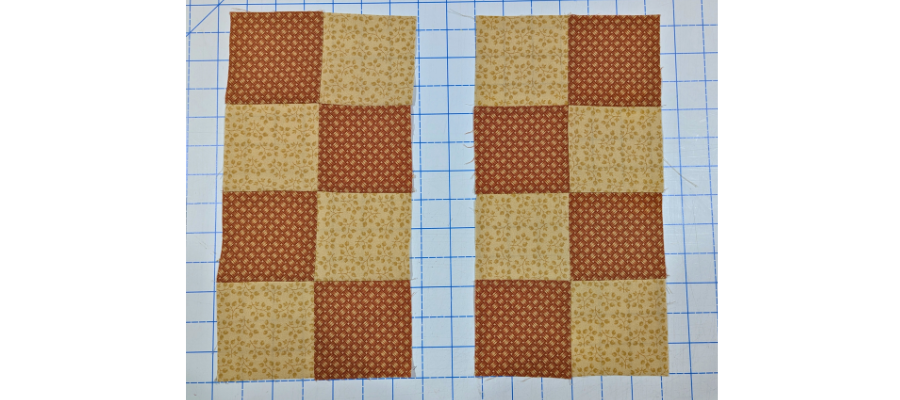
If you’re using three different fabrics of the two shades like our example, pair up the fabrics you want to appear together, and work one set at a time. Half will be used for the front and the other will be the back.
In this example we have paired up one square of each fabric, sewn them together to make eight pair units, and then pressed the seams toward the darker fabric. We then arranged them in two columns of four, which are mirror images of each other sewn together. The column with the orange fabric at the top left will be used for the front and the other will be on the back.
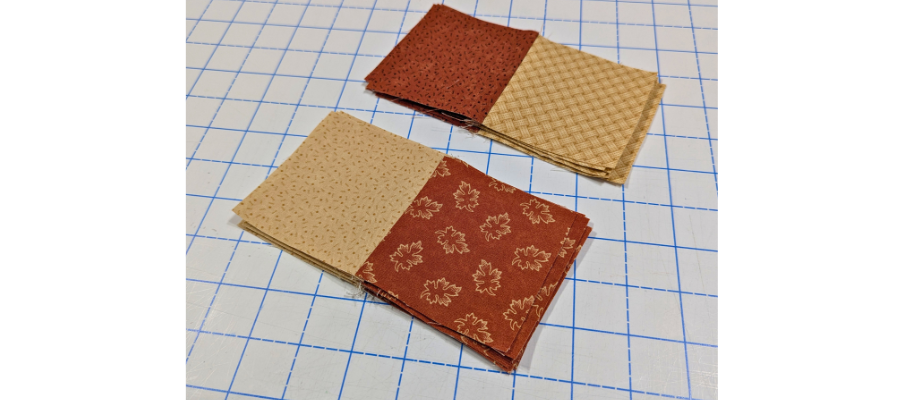
Repeat to make two square units for the remaining two colourways (if applicable). If you’re making your cover from the same two fabrics throughout, you can sew all pairs together at once, and then sew together rows, then columns.
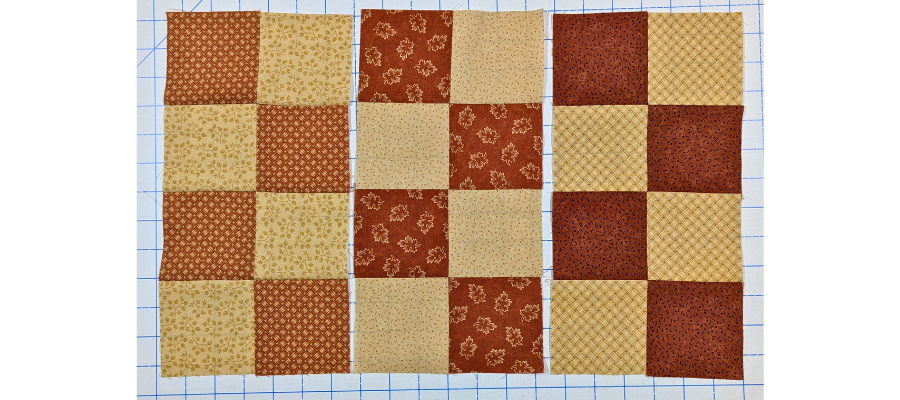
Repeat as before to make two mirrored columns of eight squares total from each fabric pairing. Take one of each and arrange them side by side for the front, then repeat for the back.
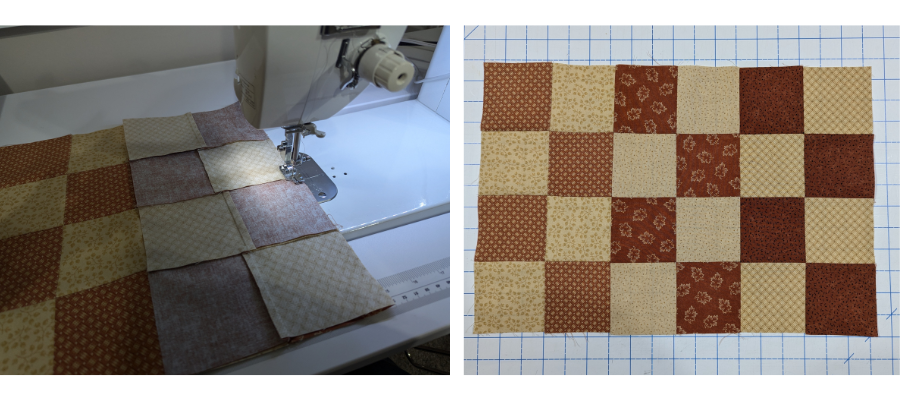
Sew the final columns together to make a completed front and press.
Repeat to make a piece for the back.
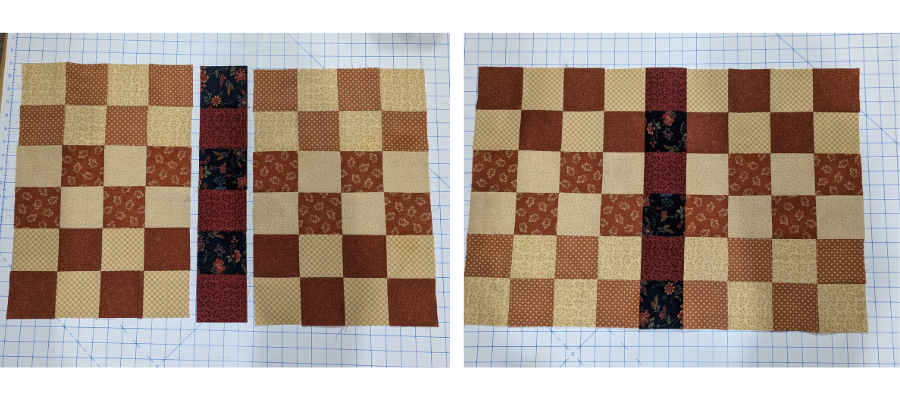
You should now either have a front, back and top, or just a front and back, to sew together. Sew and press. This completes the quilt top.
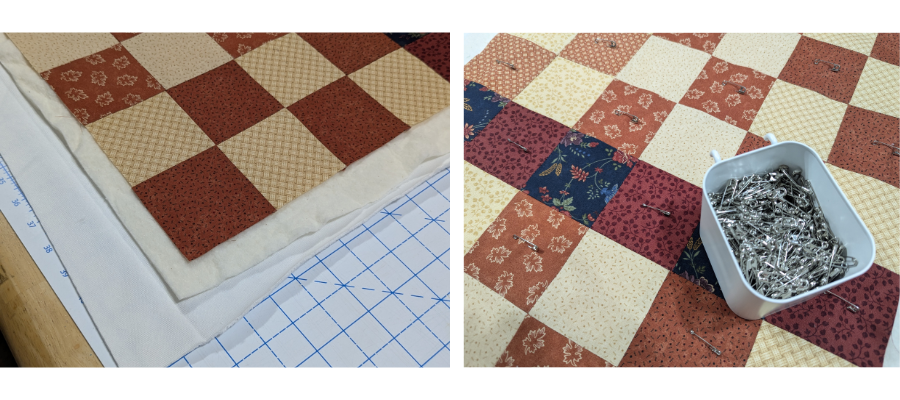
Layer your backing fabric face down, then the batting and top, so they’re nice and smooth. Pin or spray-baste the layers together.
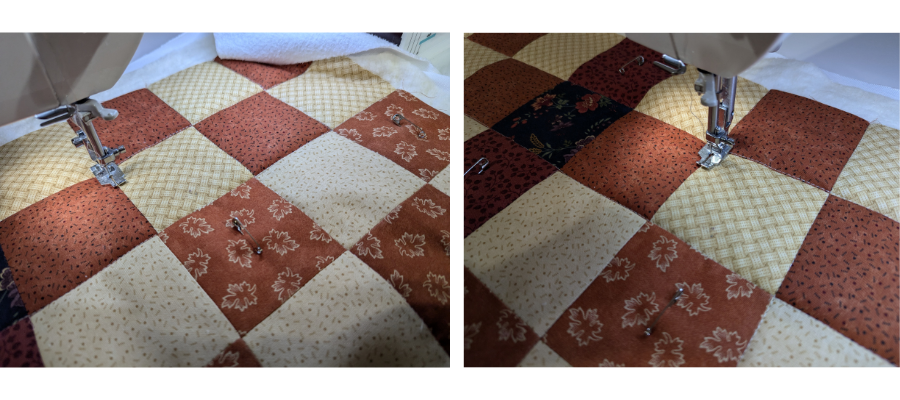
Quilt, and remove the pins as you go. On ours, we stitched in the ditch and then quilted across the diagonals with straight lines to make a triangular grid design.
Once you’ve quilted, it’s time to trim. Make sure the corners are 90 degrees and the edges are straight.
Take your ribbon and cut four lengths. These should measure a minimum of 1 ½ times the depth of your machine each, but you can go longer and trim to suit your preference once the project is complete.
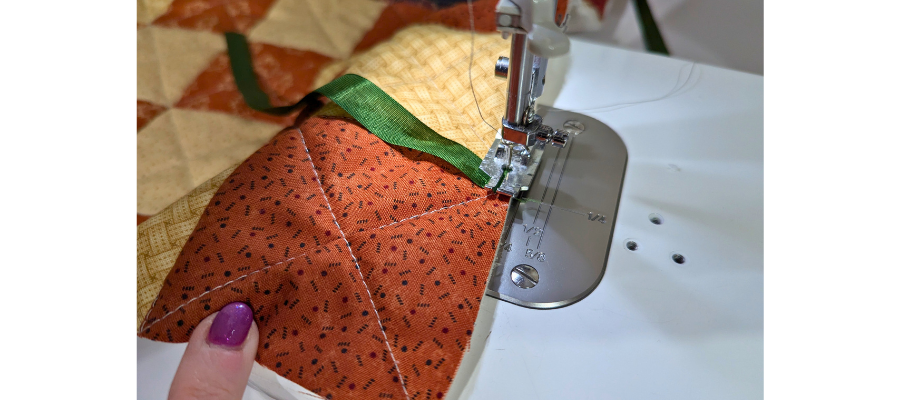
Baste the ribbon onto the front of the quilt, ⅛” from the side edge and about 3 ½” from the bottom edge. Repeat with the other side and the top edge (the bottom edge of the back).
For the raw edges of the ribbon, you may want to slightly melt the fibres with a flame to seal, or use fray check, depending on the material the ribbon is made from. If using a flame, do a test on a scrap first to make sure it will melt.
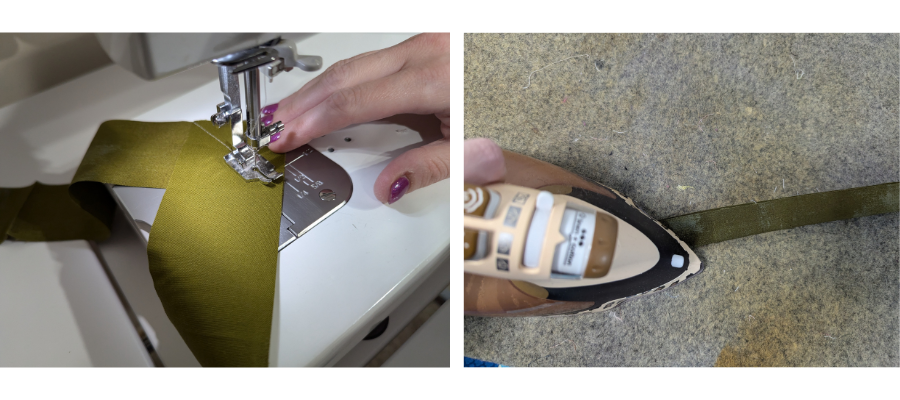
Cut 2 ¼” strips across the width of the binding fabric. The number you need will depend on the circumference of your project. You will need it to be at least 6″ longer when sewn end to end. Ours needed five strips.
With right sides together, position the ends of two strips at a right angle to each other. Stitch across diagonally from outside edge to outside edge. Keep going with the rest of your strips until you have a long continuous strip, then trim off the excess fabric.
Fold wrong sides together and press in half along the entire length.
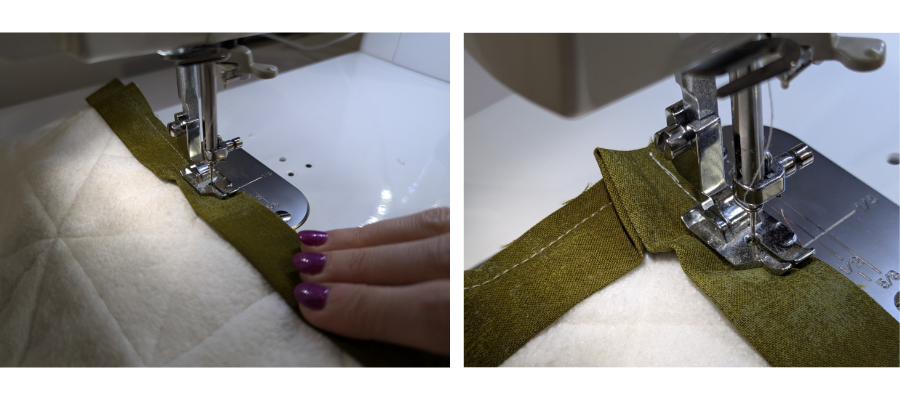
Leaving a tail of around 5″ and starting somewhere along the centre of the bottom edge, align the raw edges of the binding with the edge of the cover back and start to stitch down, with a 1/4″ seam allowance, making sure the ribbon is out of the way.
When you get to a corner, stop stitching 1/4″ away and backstitch to secure. Rotate so the next edge is on the right, as if ready to be fed through the sewing machine. Fold the binding strip up so it creates a 45-degree angle from the corner point and finger-press the fold. Bring the binding back down again over this fold, so that the second fold is even with the side of the quilt you just stitched, and the raw edges are aligned with the next edge of your quilt. Stitch down right from the edge.
Keep working around the edges. When you have finished mitring the last corner and are back on the starting side, stop stitching around 4″ from where you started. Trim away the excess binding fabric so each tail is about the same length, but most importantly, so they overlap by the width of the binding before it was pressed. We made a 2 1/4″-wide binding, so the overlap measures 2 1/4″.
Open out the ends of the strips and position, with right sides together, at a 90-degree angle, as you did when you first joined the strips. The end of each strip should be flush with the side. You will likely want to pin in place. Sew diagonally from one outside edge to the other and trim off the excess.
Press this new seam and finish sewing the binding down.
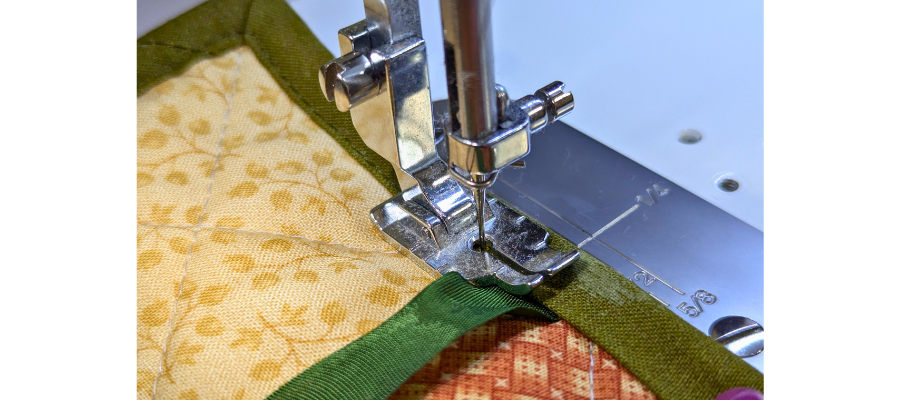
Fold the binding around to the front, just beyond the line of stitching. Pin or clip if you wish. As before, start on a straight edge, not a corner. Use a slightly longer stitch length than usual and sew directly on the binding in a matching colour thread, around 1/8″ from the edge.
When you get to a corner, fold it into a mitre so that both sides are parallel to the quilt edge. Stitch slightly into the mitre, pivot with the needle down, pin or clip, and continue with the next side until finished.
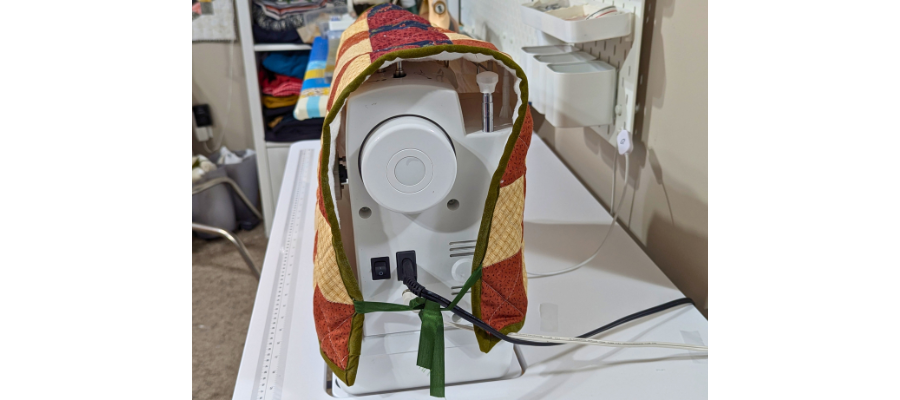
Now you’re ready to lay it over your machine and tie the ribbons at each side to secure.
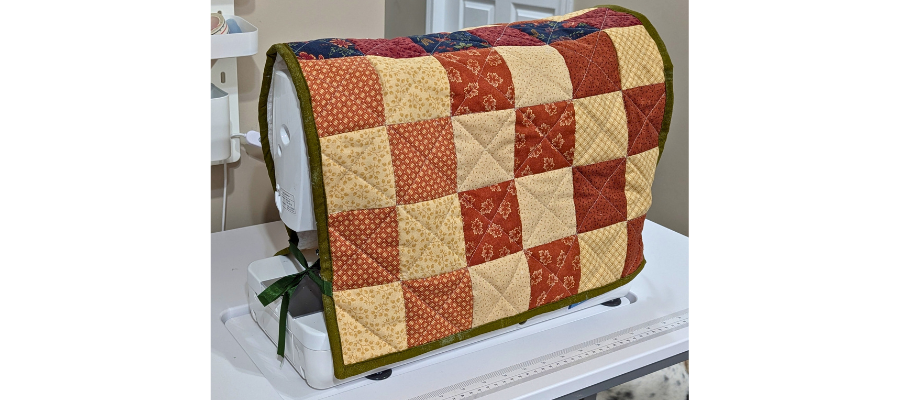
We’d love to see your custom quilted machine covers! Don’t forget to tag us on Instagram or Facebook so we can see and celebrate your creations! #TrendTexFabrics @trendtexfabrics
