Quick and Easy Easter Egg Hunt Bags Tutorial
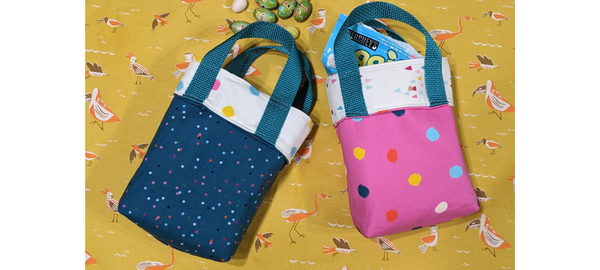
These bags are a perfect size for a child’s Easter egg hunt, as an alternative to a single-use bag or basket. They would also be great as favour bags, party bags, mini gift bags and much more!
The fabric shown on our bags here is from a collection called Birthday by Sarah Watts for Ruby Star Society. Shop fabrics by Sarah Watts here.
Seam allowances are ¼” unless otherwise stated.
Finished Size: 7 ½” x 7″
Difficulty: Easy
Time to make: Half an hour
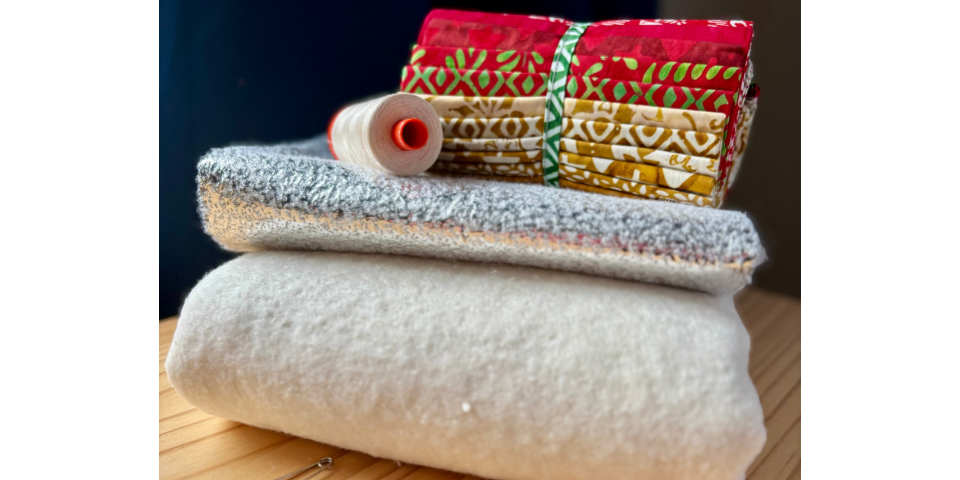
Here’s what you’ll need to make your Egg Hunt Bags:
- Sewing machine
- Cutting tools: rotary cutter, mat and ruler
- 2 fat quarters
- 24″ of 1″ wide webbing or ribbon
- 1/2 metre woven interfacing
- General sewing notions: iron, pins, scissors, fabric marker, etc.
Cut each fat quarter down to 15”” x 10 ½”. If using a directional fabric, you will want to cut this rectangle horizontally.
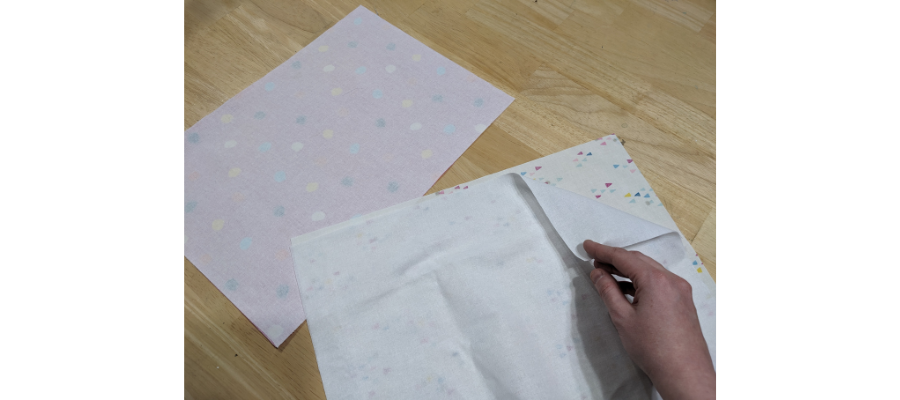
Cut two pieces of interfacing, also measuring 10 ½” x 15″. Fuse to the reverse side of the fabrics following the manufacturer’s instructions.
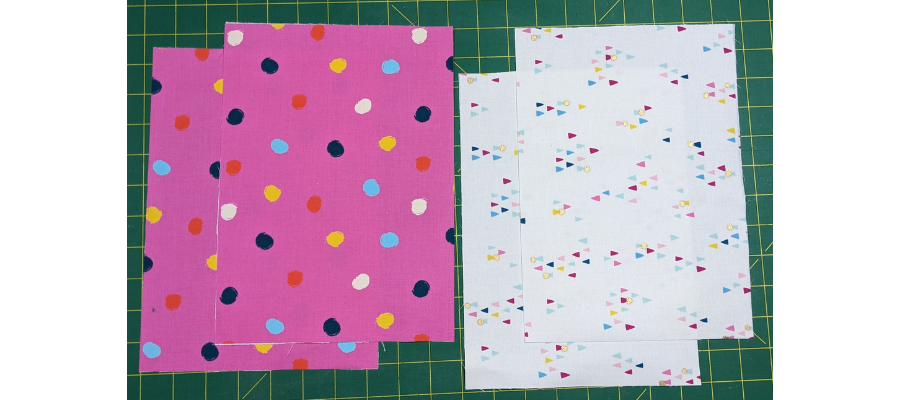
Cut the pieces in half so you have two exterior pieces and two lining pieces, each measuring 10 ½” x 7” ½”.
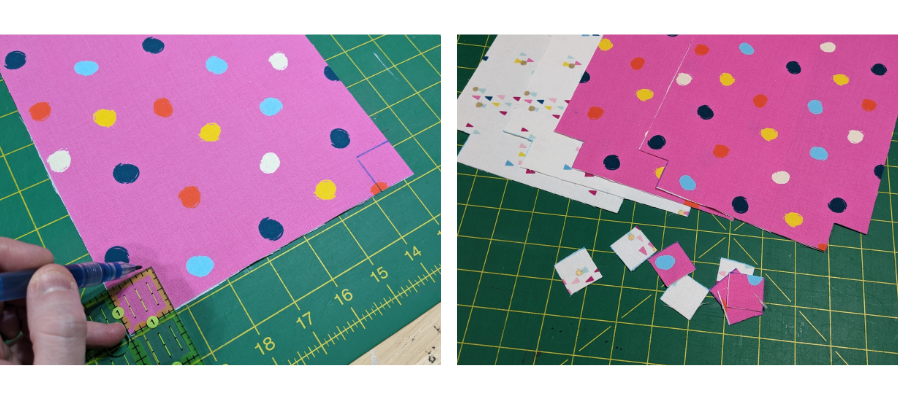
Mark the bottom corners, measuring inward from the side and the bottom by 1″. Repeat for the bottom corners on all pieces. You will have made eight little squares in total; cut them out.
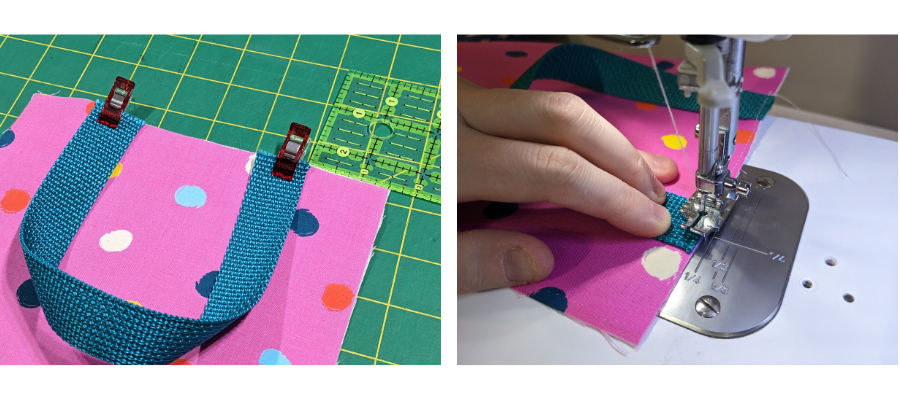
Cut two pieces of webbing or ribbon for the handles, measuring 12″ long. Pin one to the top of each exterior piece, 1 ½” from each side, right sides together with raw edges meeting. Make sure the handle doesn’t twist as you pin the other end down. Baste-stitch in place at around ⅛”.
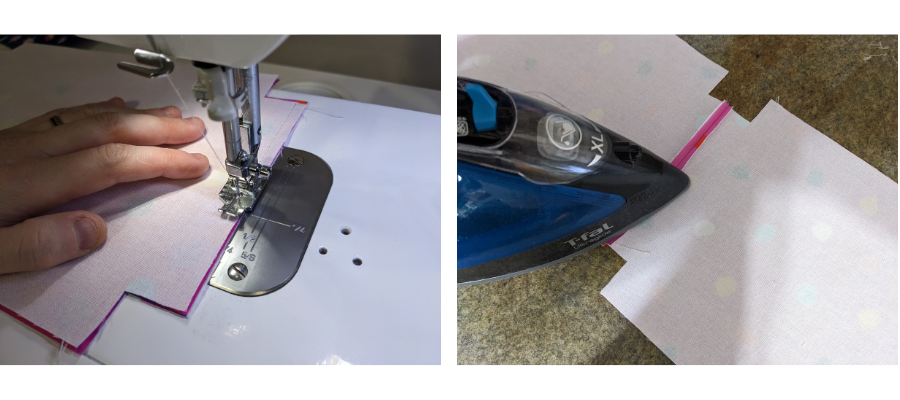
With right sides together, sew the exterior pieces along the bottom, leaving a gap at the cut-off corners. Backstitch at the start and finish of each seam. Press the seams open.
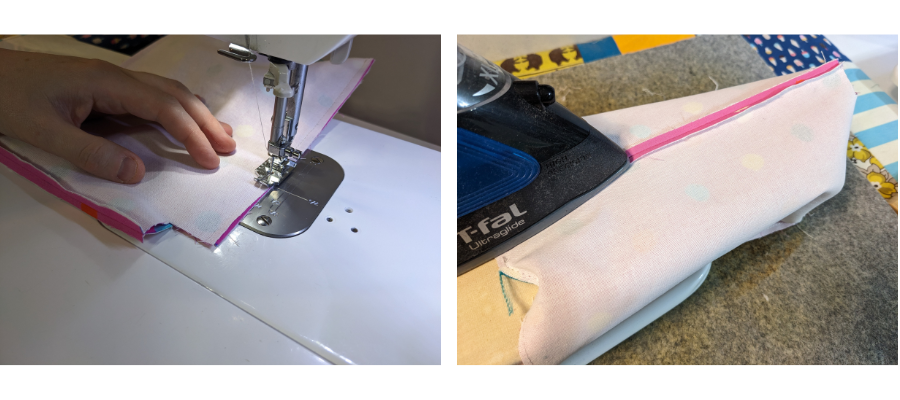
Repeat for the side seams. For the side seams, using a sleeve board or a pressing roll can be helpful.

Sew the bottom seam of the lining with right sides together, leaving a gap of a few inches in the middle, as in the photo. Press and sew the side seams the same as in the previous step.
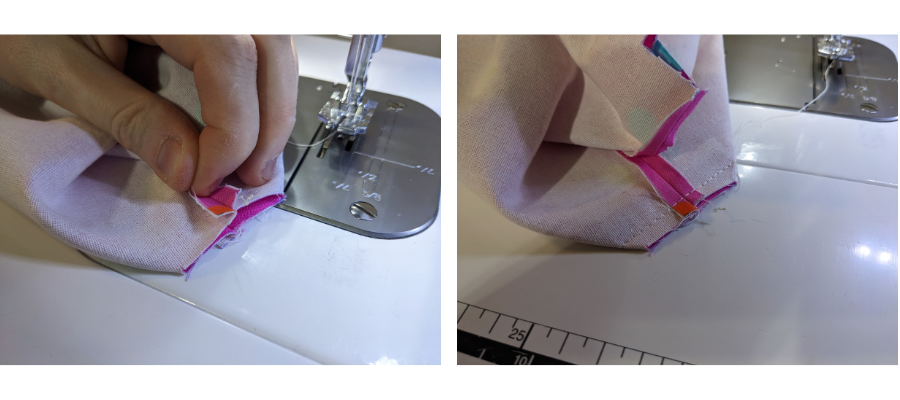
To box the corners, fold the exterior piece so that the side seam and the bottom seam meet. You will have a new straight edge. Sew along this edge and repeat for the other exterior corner and the two lining corners.
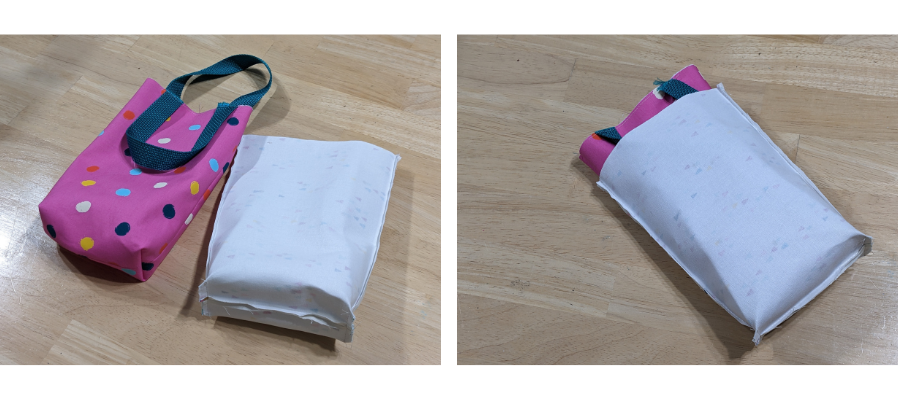
Turn the exterior right sides out and place inside the lining so that right sides are together and the handles are tucked down out of the way. Align the top raw edge and pin where the side seams meet.
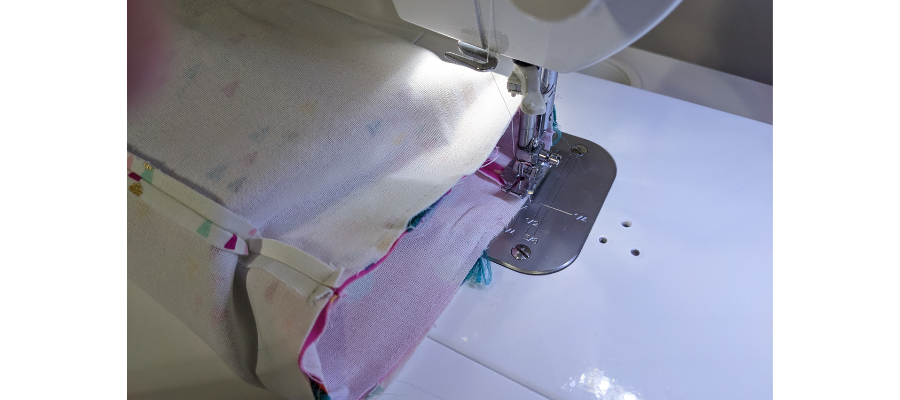
Sew all the way around the top of the bag to attach the lining to the exterior.
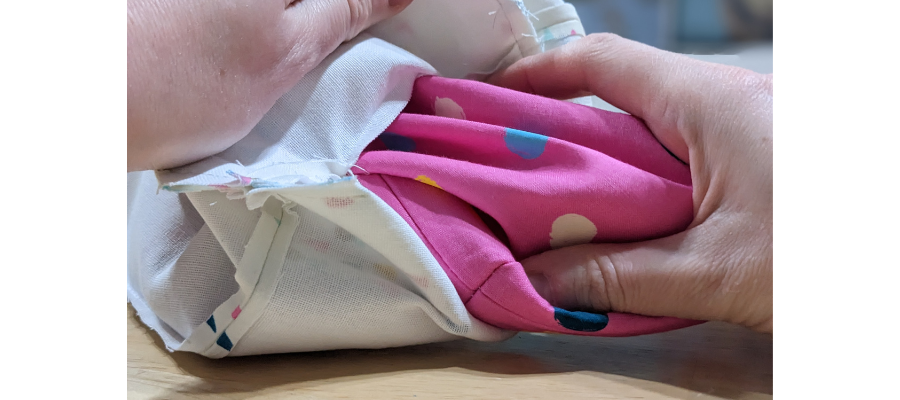
Turn the bag right side out through the hole in the lining and make sure to poke out all the corners. Press.
Sew the hole in the lining closed. The quickest way is by machine, but you can do this by hand if you wish.
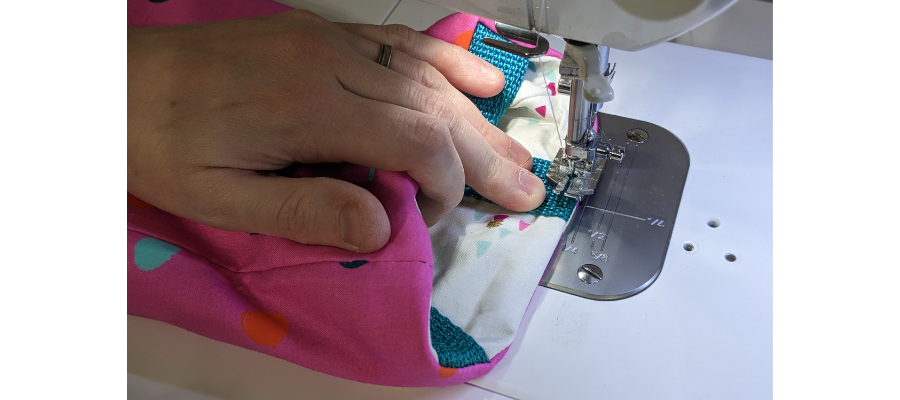
With the handles folded downward against the lining, top-stitch all the way around the top of the bag at ⅛” from the edge, catching the handles as you sew. This is important so that they lay flat in the next step.

Fold the top down by 2″, showing the lining on the outside, and press.

With handles up, top-stitch again twice, one row ⅛” from the fold and the second at ¼” – or you could use a decorative stitch on your sewing machine.
You’re done your Egg Hunt bags!
If you make one of these Egg Hunt bags, we’d love to see your creation, and all the ways you use it! Please post, and tag us on Instagram or Facebook so we can celebrate your design! #TrendTexFabrics @trendtexfabrics
Looking for more tutorial and project ideas? Check some other ideas out here.
