Patchwork Oven Glove Tutorial
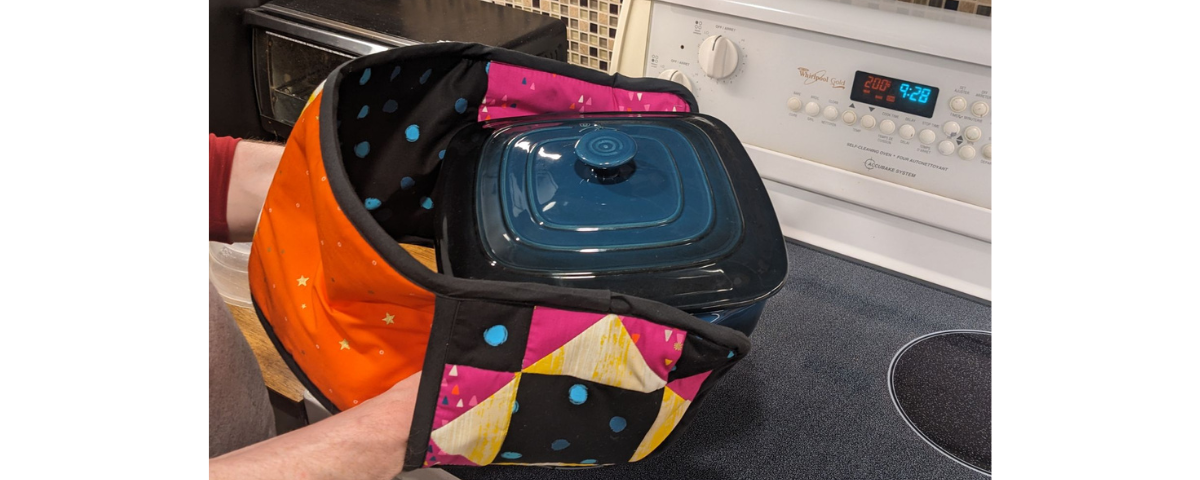
Add a dash of charm and a personalized touch to your kitchen – while protecting hands from hot pots and pans– with this patchwork oven glove tutorial.
Following these instructions will make the best use of four fat quarters; however, if you want a more uniform look, you can use yardage for the long strips and skip the piecing.
The fabric used in these oven gloves is Birthday by Sarah Watts for Ruby Star Society.
Seam allowances are ¼” unless stated otherwise.
Finished Size: 32″ x 8″
Difficulty: Confident Beginner
Time to make: An afternoon
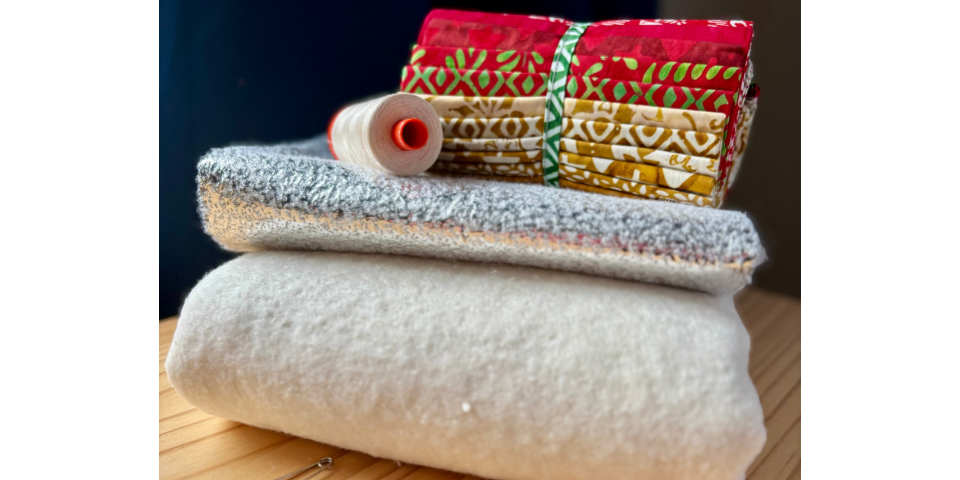
Here’s what you’ll need for this patchwork oven glove tutorial:
- Sewing machine
- Cutting tools: rotary cutter, mat, and long ruler
- 4 fat quarters for exterior
- 1 fat quarter for lining
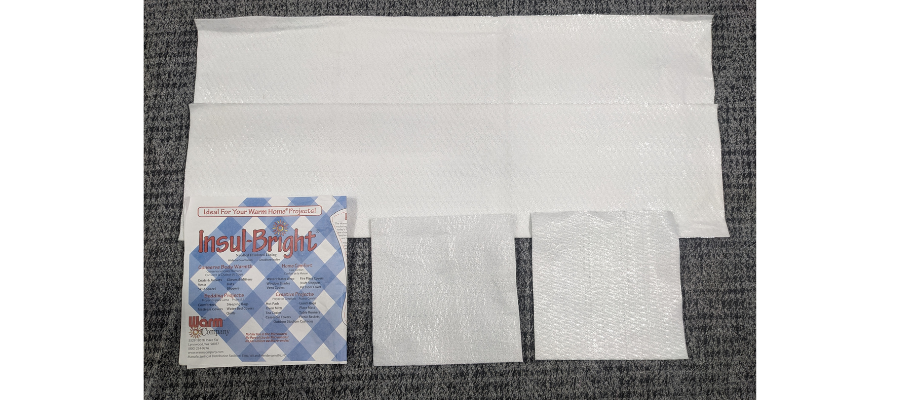
- 1 package Insul-Bright
- 3 yards double-fold bias tape
- A round object for tracing around, such as a very large washer, or a roll of tape
- General sewing notions: iron, marking pen, pins, scissors, thread, etc.
Cut the following pieces:
- Main body: 2 – 16 ½” x 8 ½” & 4 – 8 ½” squares
- Lining: 2 – 8 ½” squares
- Patchwork:
2 – 5 ½” squares
8 – 3″ squares
2 – 4 ½” squares
8 – 2 ½” squares - Insul-Bright: 2 – 32 ½” x 8 ½” & 2 – 8 ½” square
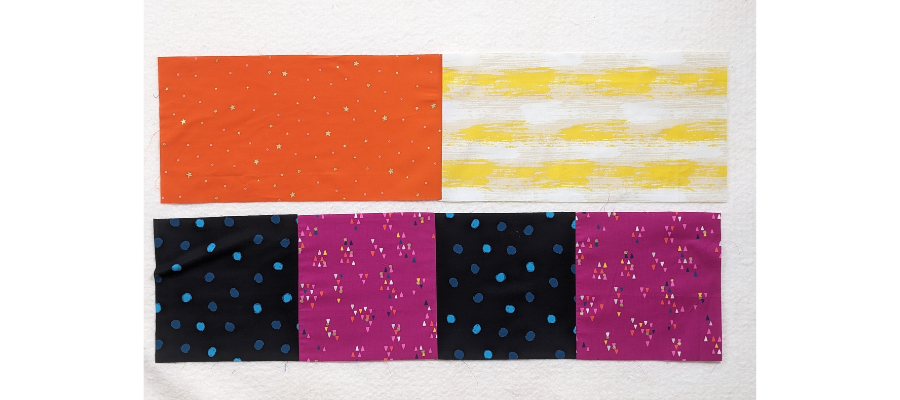
Sew the two 16 ½” rectangles together to make a long strip. Sew the squares together in a row and press all seams toward the darker fabrics. Set aside for now.
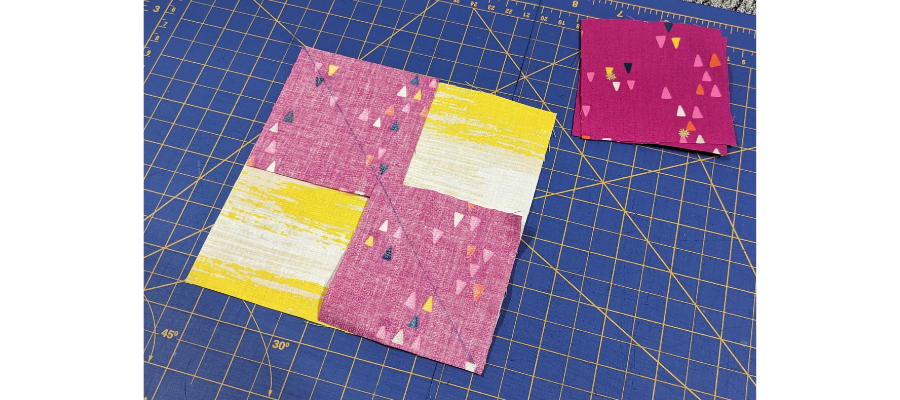
To make the patchwork blocks, draw a diagonal line from corner to corner on the back of the 3″ squares. Take a 5 ½” square and position two squares in opposite corners, right sides together, so that the line goes from corner to corner of the larger square, too – and the small squares overlap slightly in the middle.
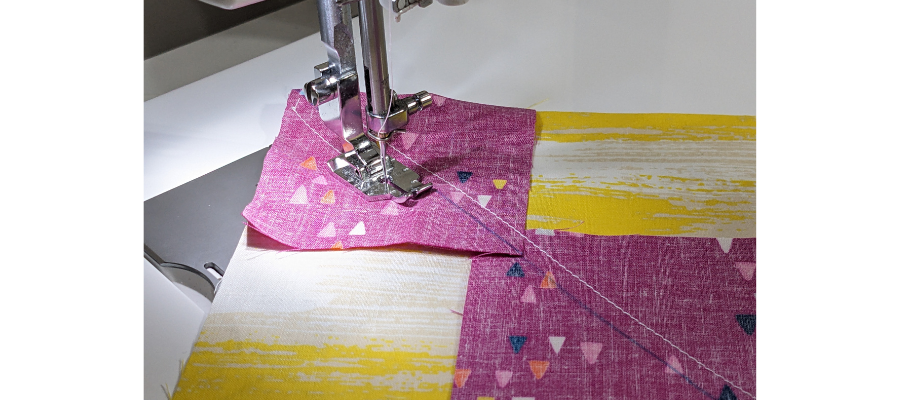
Sew either side of the line, at just under a ¼” seam allowance.
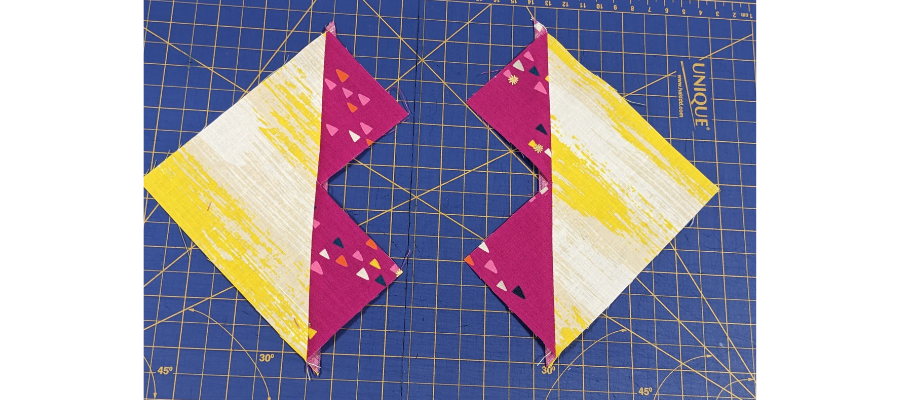
Cut along the line between the lines of stitching and press the seams toward the resulting smaller triangles.
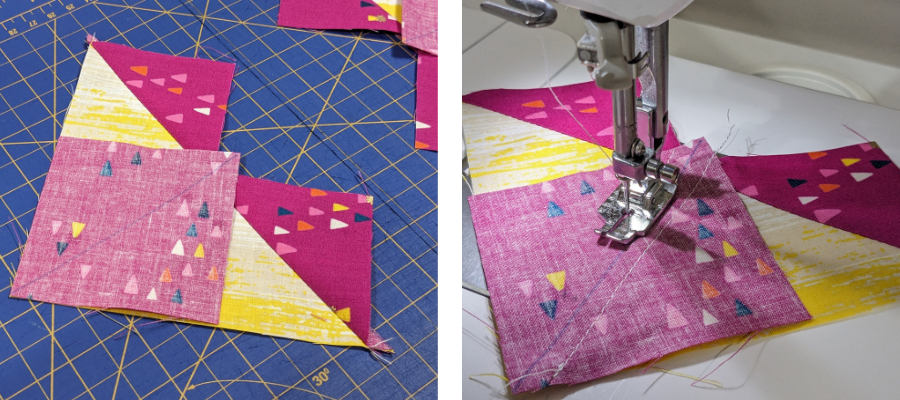
Take another 3″ square and position it so the raw edges are together, and it sits over the large triangle as pictured, with the line running between the smaller triangles. Sew either side of the line as before and repeat to make two.
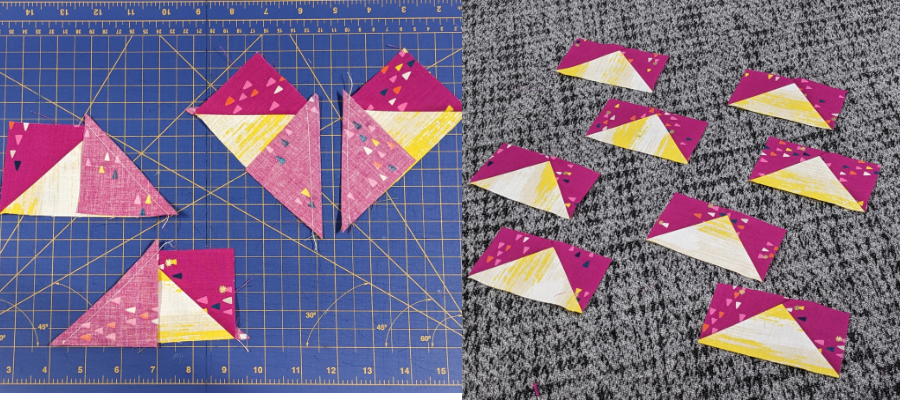
Cut apart and press seams toward the smaller triangle. Trim down, leaving ¼” beyond the central triangle point, with the units measuring 4 ½” x 2 ½”. You will have a total of eight; four for each block.
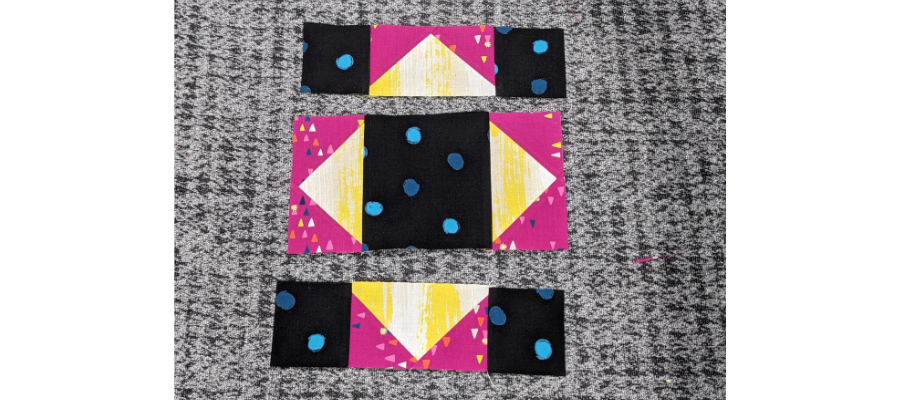
Sew the blocks together in rows, pressing seams toward the darker fabric. Row one will consist of two 2 ½” squares with a flying geese unit in the centre pointing up. Row two consists of the 4 ½” square in the centre with a flying geese unit on either side pointing away. And finally, row three is a mirror image of row one, with the flying geese pointing down.
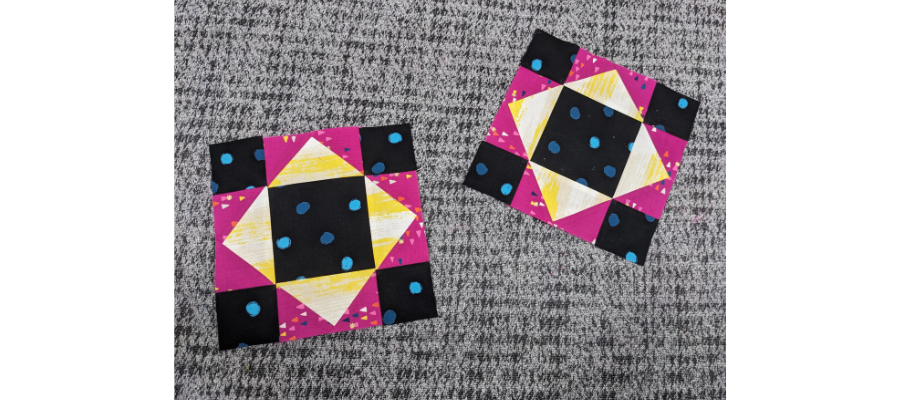
Sew the rows together to complete the block. Make two.
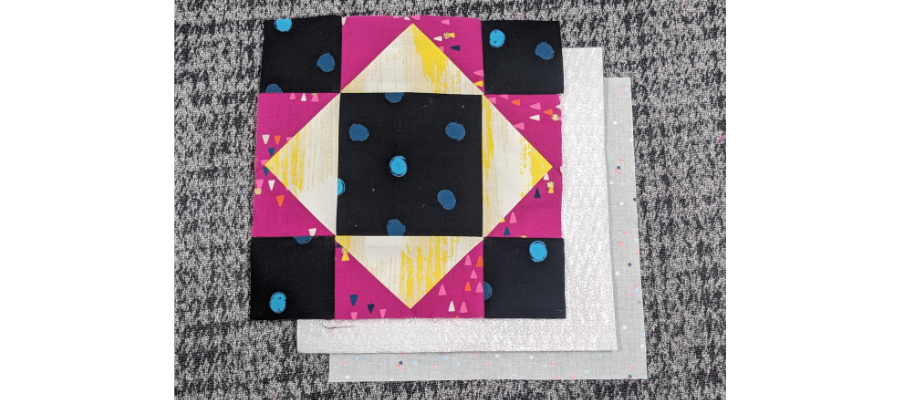
With the lining fabric face down, add an Insul-Bright square over the top and then a quilt block. Pin or clip layers together.
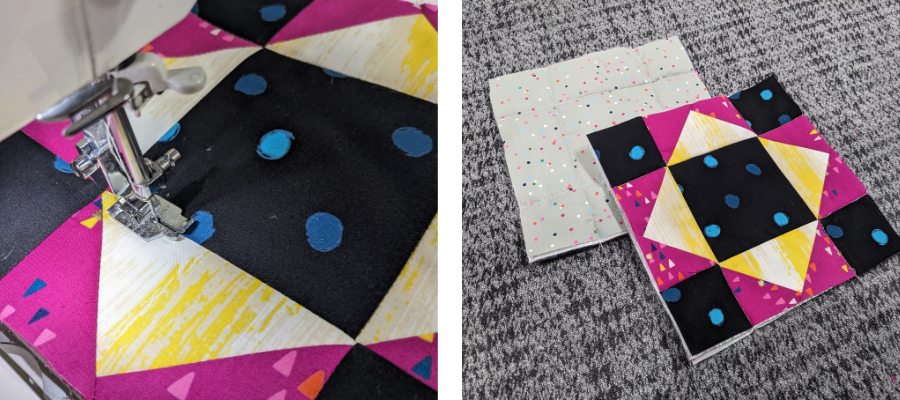
Lightly stitch in the ditch to hold the layers together with quilting. Repeat for the second block.
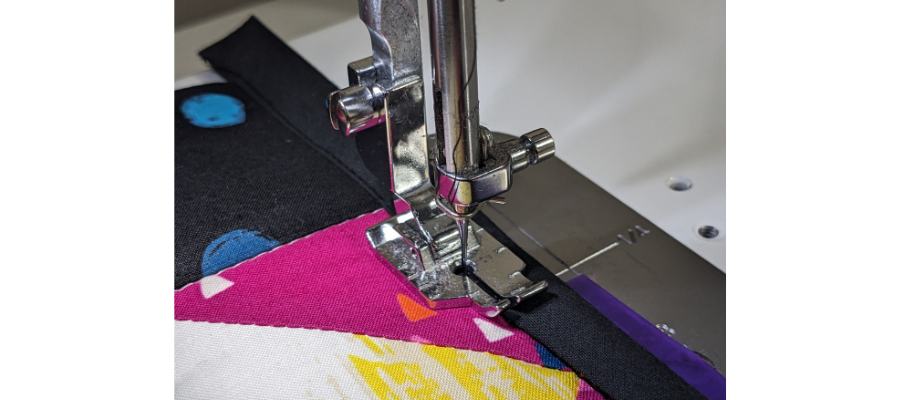
Cut two pieces of bias tape just slightly longer than the width of the blocks. Open up the tape and align the wider side of the tape, with raw edges on the lining side of one edge of the block, and sew in the fold. Refold the tape and fold to the front. Stitch down close to the edge. Trim off any excess. Repeat to bind on the edge of the other block also. Set aside for a moment.
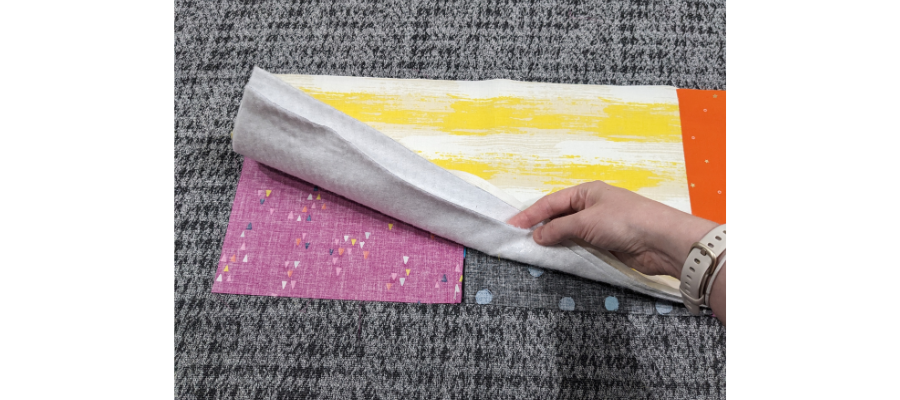
It’s time to revisit the longer strips. Baste the layers together with two layers of Insul-Bright inside. Unlike the patchwork blocks, the longer parts of the oven gloves regularly come into contact with hot surfaces, so an extra layer offers more protection. Stitch the layers together in the ditch.
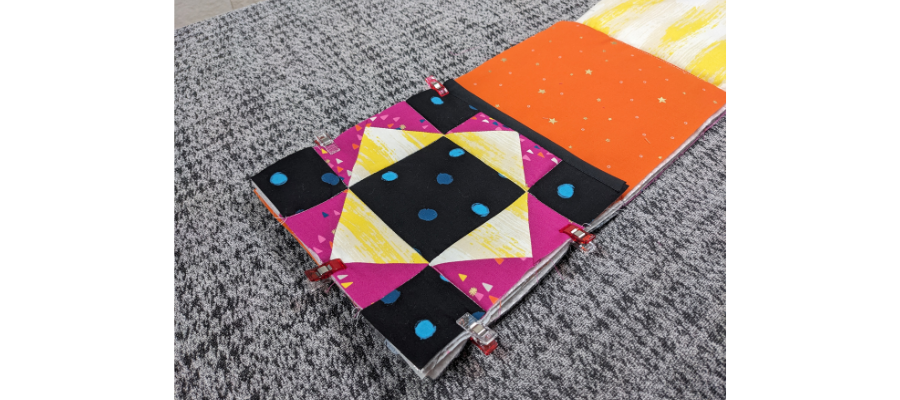
Now lay the quilt blocks on top of what will be the inside of the oven gloves, aligning the raw edges with the bound edges on the inside. Pin or clip together, then baste within ¼” to hold the layers.
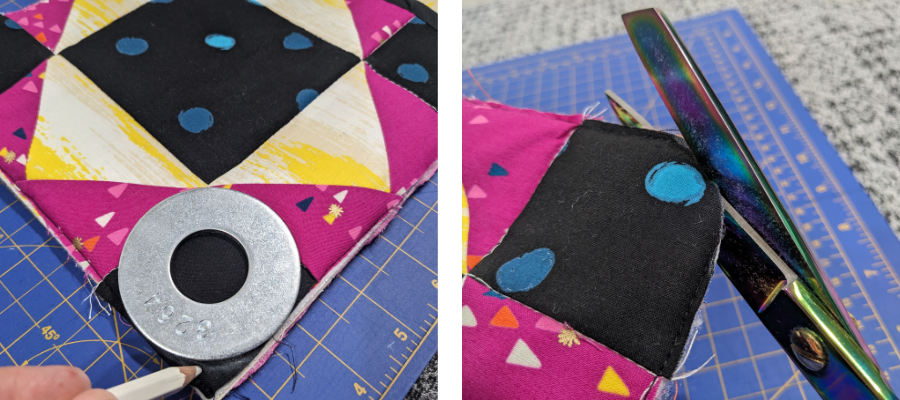
Take a round object, measuring at least 2 ½” in diameter – like a large washer or a roll of tape – and align it with a corner. Trace it to draw a curve, then cut along the line with scissors through all of the layers. Repeat for all four corners.
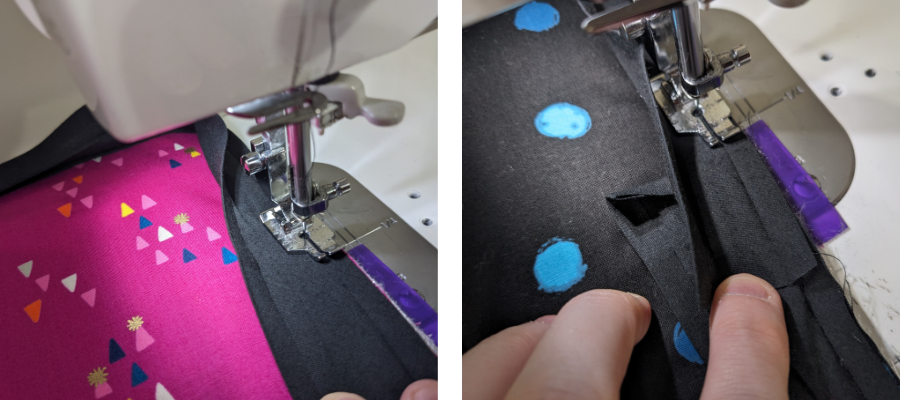
With the remaining bias tape, sew all the way around the outer edge of the side without the patchwork blocks, in the same way as before, easing it around the curved corners. When you get to the end, overlap slightly and fold the outside end over by ¼” before finishing with sewing it down.
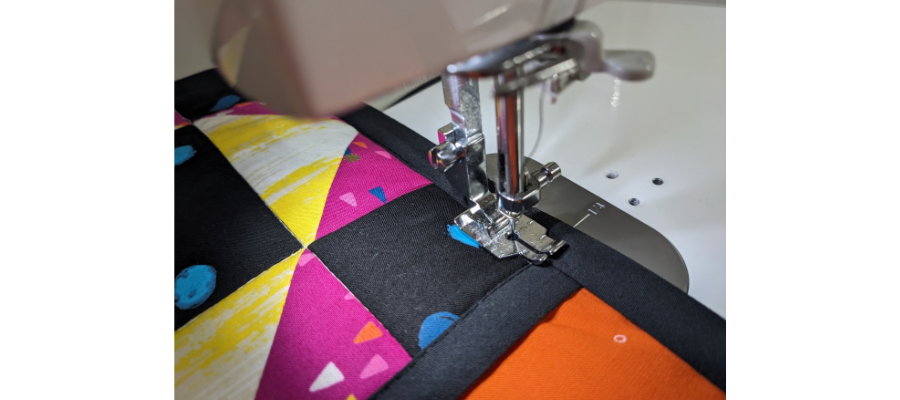
Fold the tape to the other side and stitch all the way around to finish.
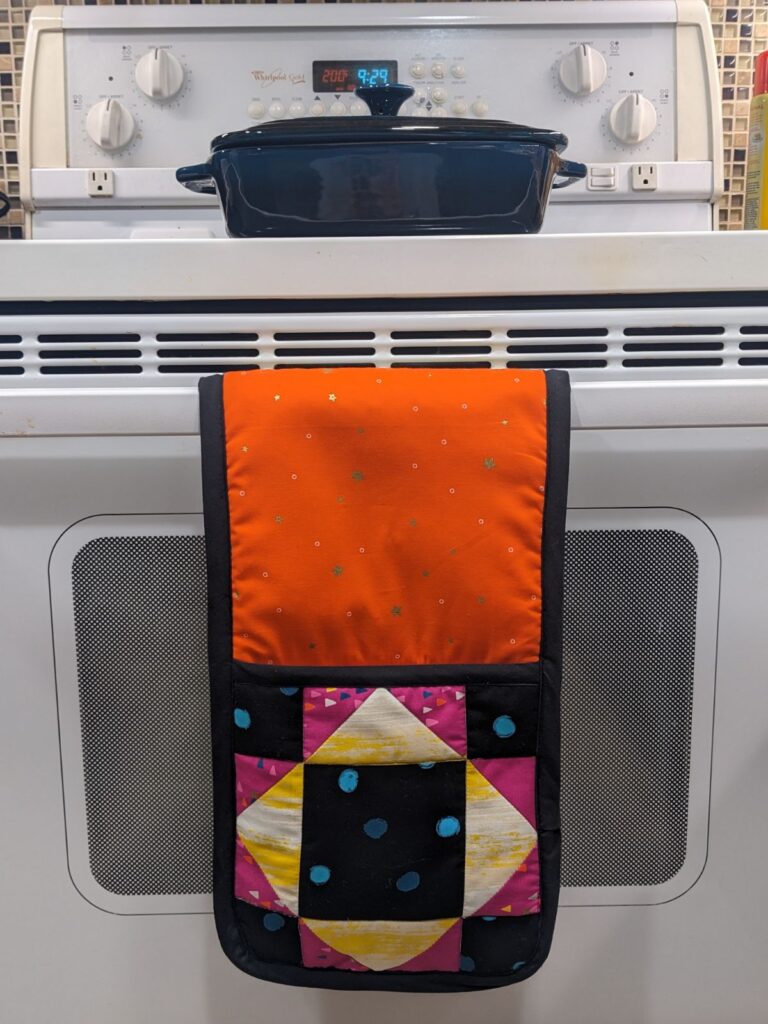
You’re done! What fabric did you use? We’d love to see your patchwork oven gloves on social media and hope you’ll share them with us! Please post, and tag us on Instagram or Facebook so we can celebrate your design! #TrendTexFabrics @trendtexfabrics
Looking for more tutorial and project ideas? Check some other ideas out here.
