Notebook Cover Tutorial
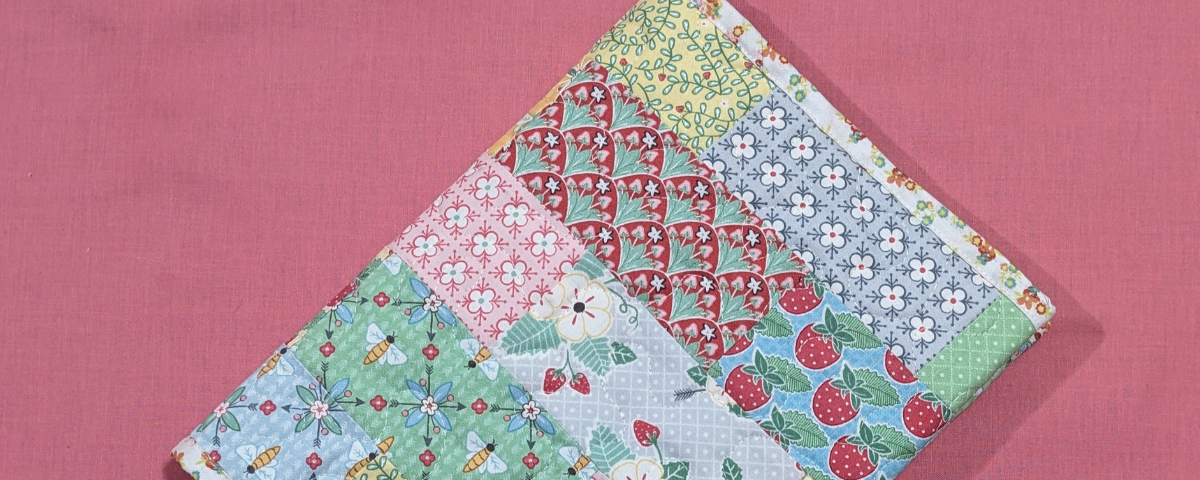
This notebook cover is such a quick make and a great gift! You can create three notebook covers at this size from just one Moda Charm Pack!
With no seams to match, you don’t need to worry about precision for this project. You can just enjoy stress-free sewing.
Seam allowances are ¼” unless otherwise stated.
Finished Size: 10″ x 7.5″ approximately
Difficulty: Intermediate
Time to make: 2 hours
Here’s what you’ll need:
- Sewing machine
- Cutting tools: rotary cutter, mat and ruler
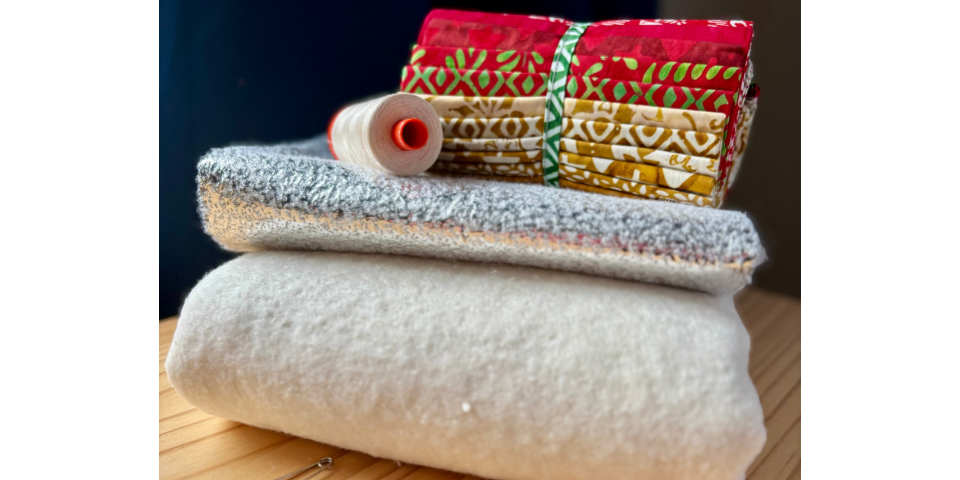
- 13 5″ Charm Squares
- Lining fabric – fat quarter (18″ x 22″)
- Binding fabric – fat eighth (9″ x 22″)
- Batting scrap –at least 23″ x 12″
- Basting spray or safety pins
- 20″+ of thin ribbon
- 9 ¾” x 7″ (247mm x 177mm) 200-page composition book
- Air- or water-erasable fabric marker
- General sewing notions: iron, pins or clips, thread, scissors
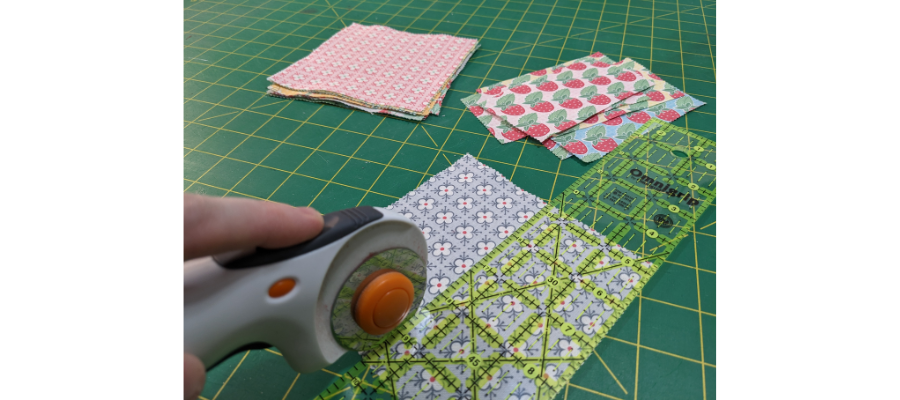
Cut the Charm Squares in half to make each piece 5″ x 2 ½”. If the print is directional, cut horizontally.
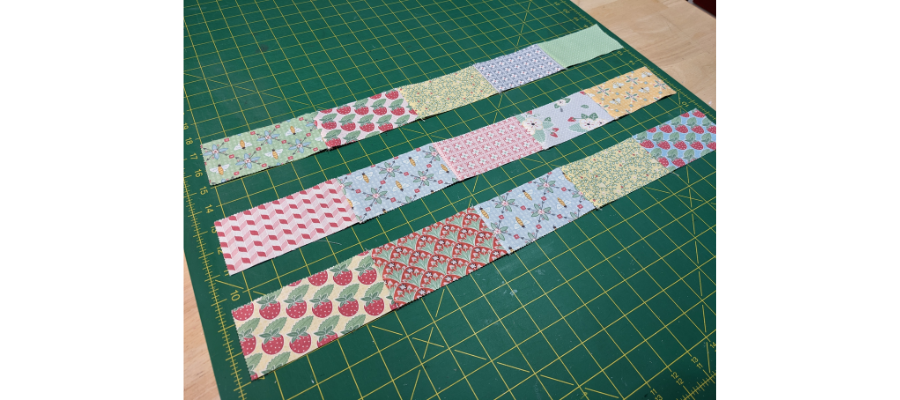
Make your odd rows first. Choose five pieces and sew together along the short ends to make a row. Repeat to make three. Press the seams.

Lay out two even rows – each consisting of four pieces – between the odd. Take two of the leftover pieces and cut them in half to make four 2 ½” squares. Arrange these at the ends of both rows.
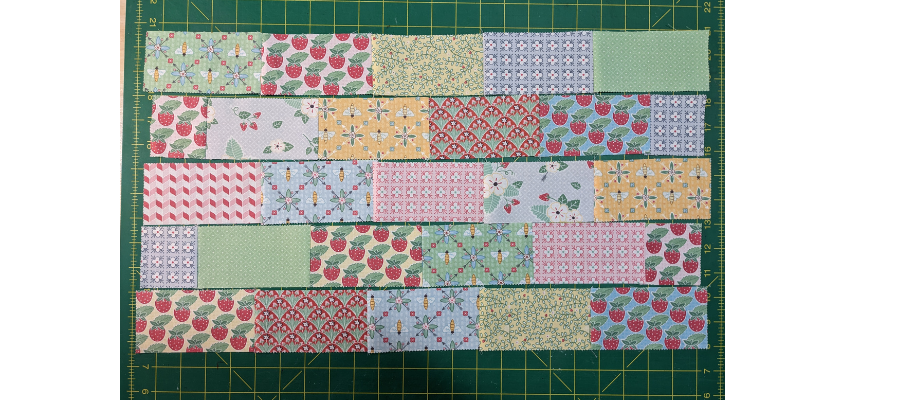
Sew these rows together in the same way.
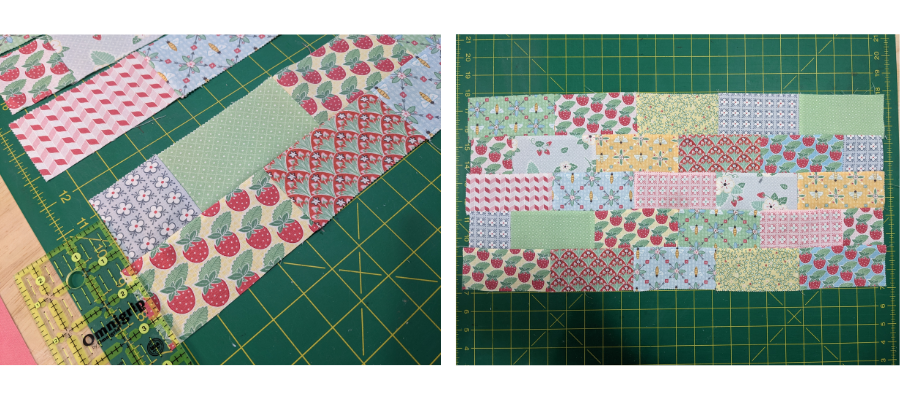
The even rows will be ½” shorter than the odd rows. Sew the rows together so the shorter rows are positioned ¼” shorter at each end. Press.
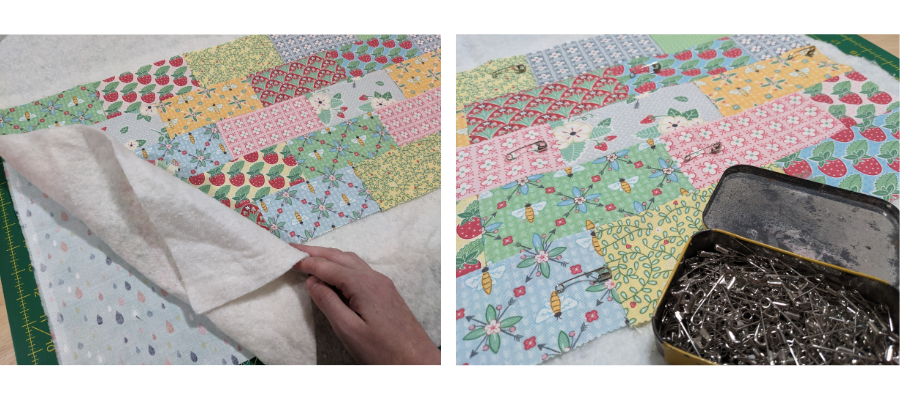
Lay your lining fabric right side down, then add the batting layer and finally your piecing. Baste together using basting spray or safety pins.
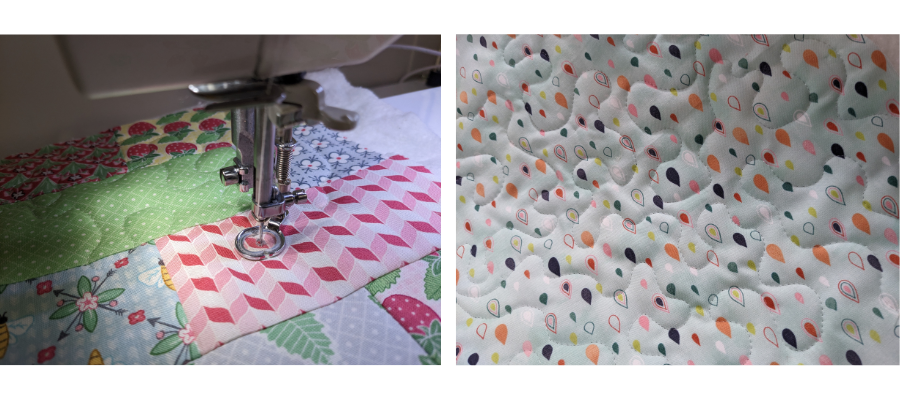
Quilt as desired. The notebook in the photo at the top of this page has a simple meandering stipple design, which is quick and easy to create.

Trim down to 22″ x 10 1/2″. This should be approximately 1″ from each side and ¼” from the top and bottom, but it can vary depending on the density of the quilting.
For other book sizes, trim the pieced background to 1″ taller than the book you want to cover, and 7″ longer than the width when the book is open and lying flat.
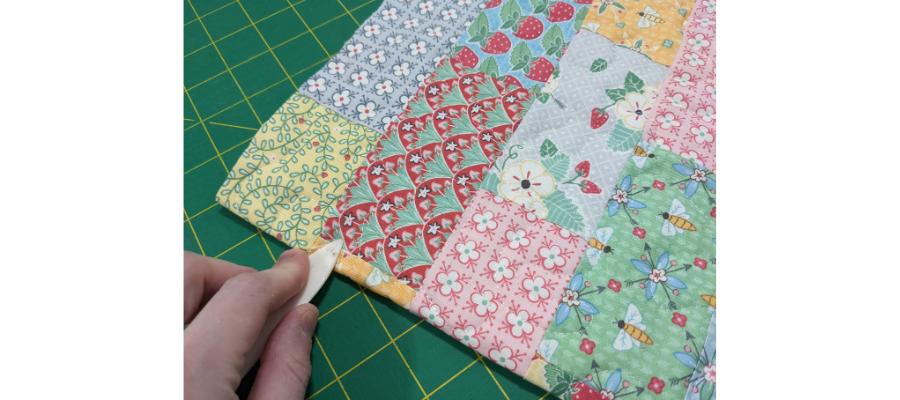
Cut one end of the ribbon diagonally to prevent fraying. Fold the panel in half, with the short edges together, and lightly press to find the centre.
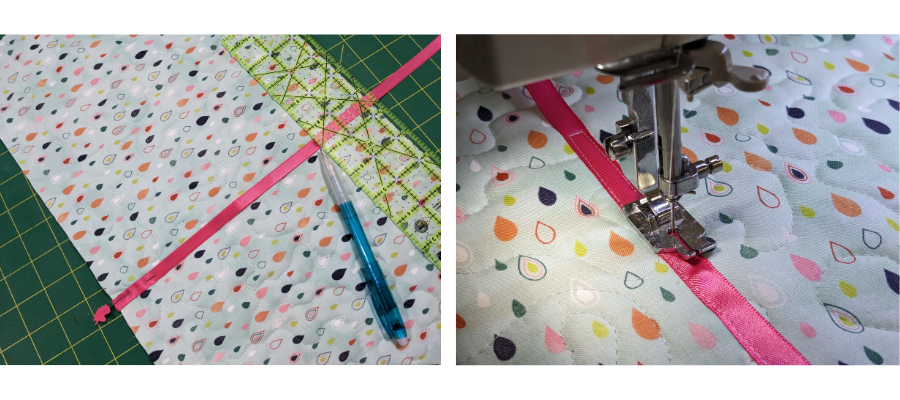
Position the ribbon face down, aligning the straight edge with the bottom of the panel, centred along the pressed line. Mark the ribbon 2 ¼” from the top of the panel with an erasable marker. Stitch along the edge starting at the bottom, then pivot and stitch across the marking, and then back down the other side of the ribbon.
From the binding fat eighth, cut four strips measuring 2″ wide. Right sides together, position the ends of two strips at a right angle to one another. Stitch across diagonally, from outside edge to outside edge. Keep going with the rest of your strips until you have a long continuous strip.
Fold the strip in half lengthways, wrong sides together, and press.
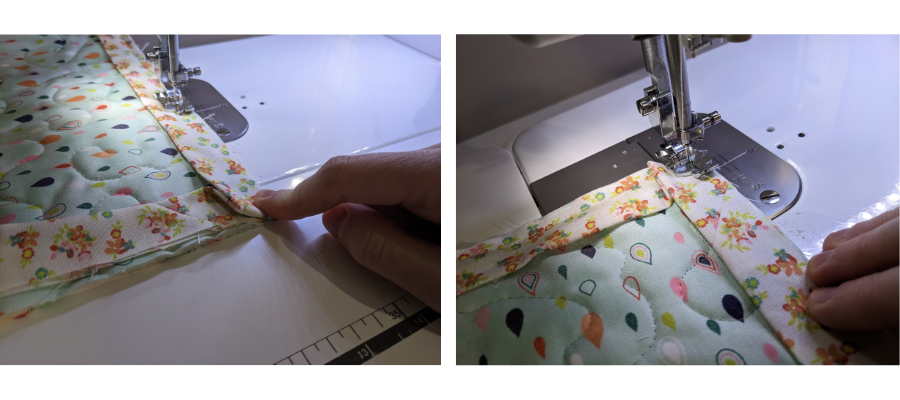
Leaving a tail of around 5″ and starting somewhere along the centre of the bottom edge, align the raw edges of the binding with the edge of the back of the panel and start to stitch down with a 1/4″ seam allowance. Make sure the ribbon is tucked out of the way.
Stop stitching 1/4″ from the corner and backstitch to secure. Rotate so the next edge is on the right, as if ready to be fed through the sewing machine. Then mitre the corner: fold the binding strip up so it creates a 45-degree angle from the corner point and finger-press the fold. Bring the binding back down again over this fold so that the second fold is even with the side of the quilt you just stitched and the raw edges are aligned with the next edge of your quilt. Stitch down right from the edge.
Keep working around the edges. When you have finished mitring the last corner and are back on the starting side, stop stitching around 4″ from where you started. Trim away the excess binding fabric so that each tail is about the same length – but most importantly, so that they overlap by the width of the binding before it was pressed. We made a 2″ wide binding, so the overlap measures 2”.
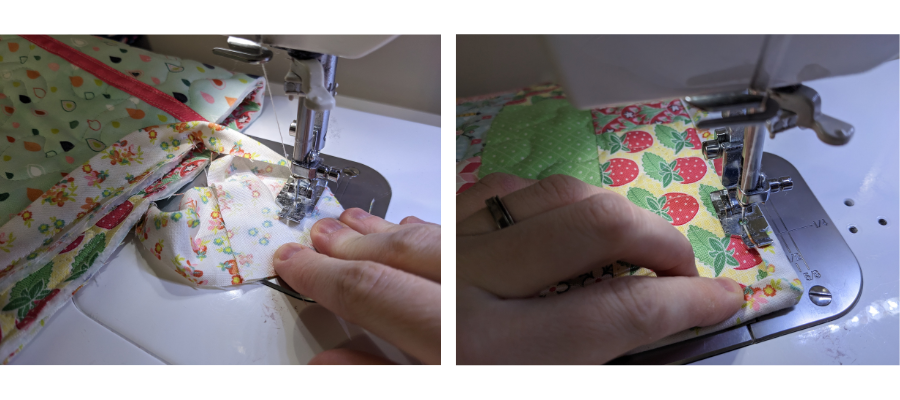
Open out the ends of the strips and position them right sides together, at a 90-degree angle, as you did when you first joined the strips. The end of each strip should be flush with the side. You will likely want to pin in place. Sew diagonally from one outside edge to the other and trim off the excess. Press this new seam and finish sewing the binding down.
Fold the binding around to the front, just beyond the line of stitching. Pin or clip if you wish. As before, start on a straight edge, not a corner. Use a slightly longer stitch length than usual and sew directly on the binding in a matching thread, around 1/8″ from the edge.
When you get to a corner, fold the corner into a mitre so that both sides are parallel to the quilt edge. Stitch slightly into the mitre, pivot with the needle down, pin or clip and continue with the next side until it is completed.
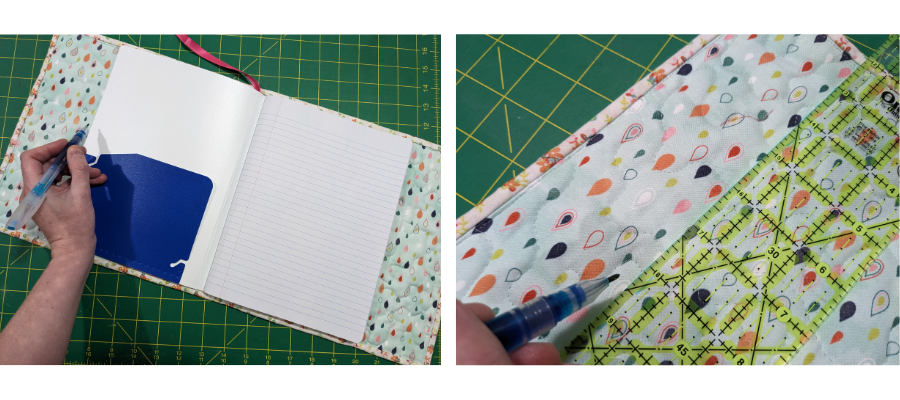
Lay out the panel with the lining facing up. Open and position the notebook so the spine matches to the centre of the panel. With an erasable marker, mark the panel where the edge of the front cover starts. Remove the notebook and mark ¼” toward the edge from the mark you just made, and fold the front of the panel over to the inside on this new line.

Clip in place and stitch through the binding where it meets, as close to the outside edges as you can to secure the fold.

Insert the front cover of the notebook into the pocket you just created. With the book closed, mark the back cover edge on the lining. Remove the notebook again. Mark ⅛” closer to the edge from the previous marking. Fold along this new line, lining together, and clip and stitch as before to create the pocket for the back.
Insert the front and back notebook pages into the cover, and you’re done your beautiful new notebook cover!
Looking for more tutorial and project ideas? Check some other ideas out here.
Did you make a notebook cover using our tutorial? If so, please post, and tag us on Instagram or Facebook so we can see and celebrate your design! #TrendTexFabrics @trendtexfabrics
