Jungle Paradise Cut and Sew Book Panel Tutorial
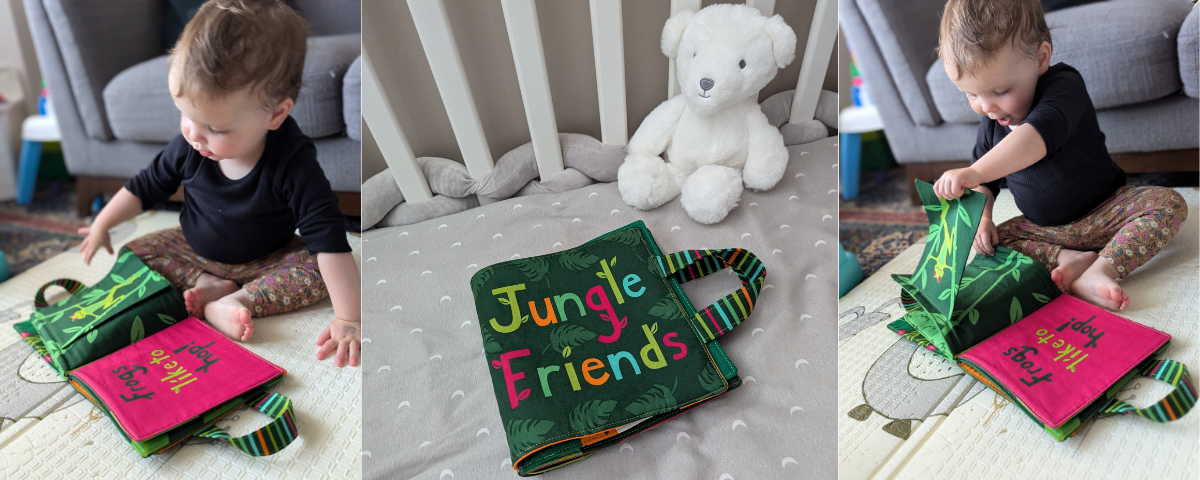
Finished size: 8” x 8” x 1” (without handles)
Difficulty: Beginner
Project time: 2 1/2 hours
This book looks complex to make but it is actually very simple and you can put it together in just an afternoon.
Make an impressive gender neutral gift for a baby with just a book panel plus a few extra notions.
You will need:
- Jungle Paradise Book Panel
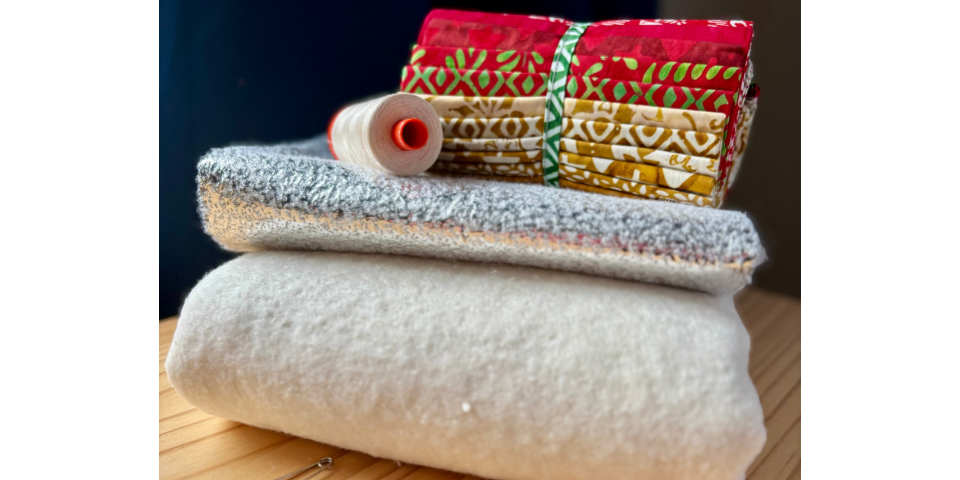
- 1 yard fusible fleece
- ½ yard fusible interfacing
- Applique pressing sheet
- Hot Hemmer (optional)
- General sewing notions: sewing machine, scissors, thread, wonder clips or pins, cutting tools, iron.
- 90/14 sewing machine needles are recommended for the final stage.
The Jungle Paradise fabric collection is by Stacy Iest Hsu for Moda.
Seam allowances are ¼” throughout unless stated otherwise.
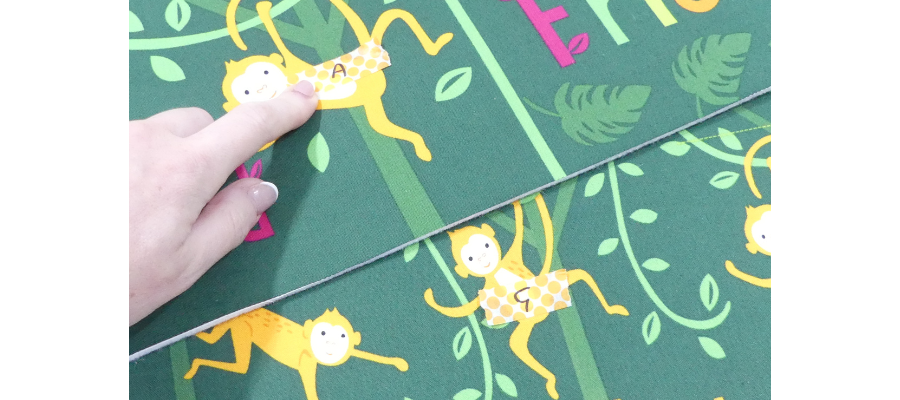
TIP: It may be helpful to label your pieces as you work as there are several parts in this project. Pieces of paper tape or sticky notes work well.
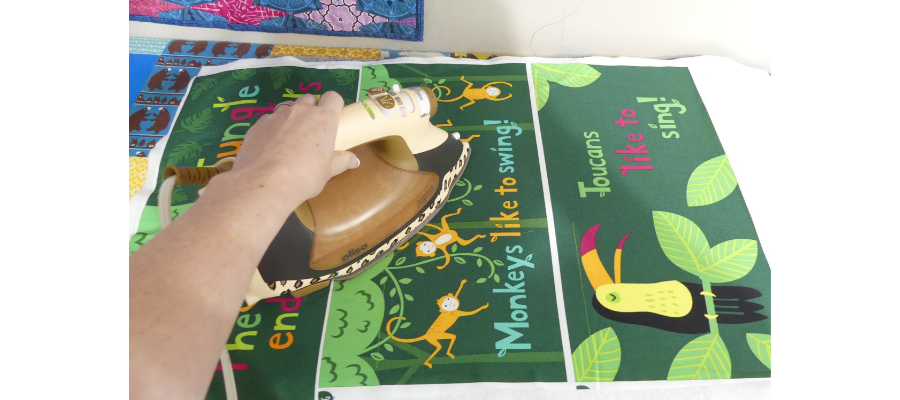
Roughly cut out the cover (A), plus inside pages G and S outside of the dotted lines and in one column. Arrange right side up on the rough side of the fusible fleece and press with an iron according to the instructions. Don’t press right on the edge to avoid melting the product to your iron.
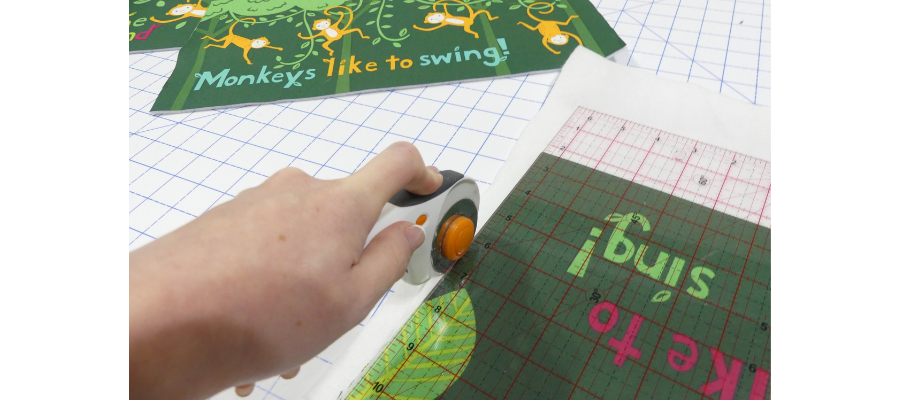
Cut out pieces along the dotted lines, then press again so that the fleece is fused well throughout.
Roughly cut out pieces C, D, E, I, K, M, P, Q, U and W. Label them.
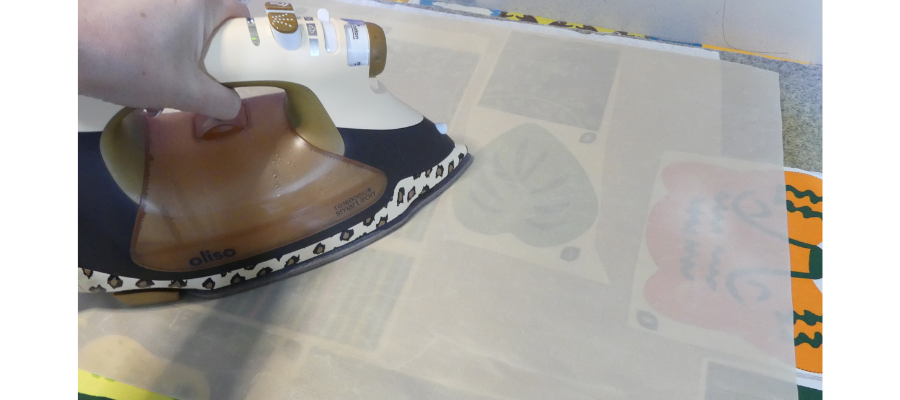
Arrange all of these pieces right side up on the rough side of the fusible interfacing. With the pressing sheet over the top, press with an iron according to the interfacing instructions to block fuse.
Cut out the pieces along the dotted lines. The block fusing method helps with making sure the interfacing is applied evenly.
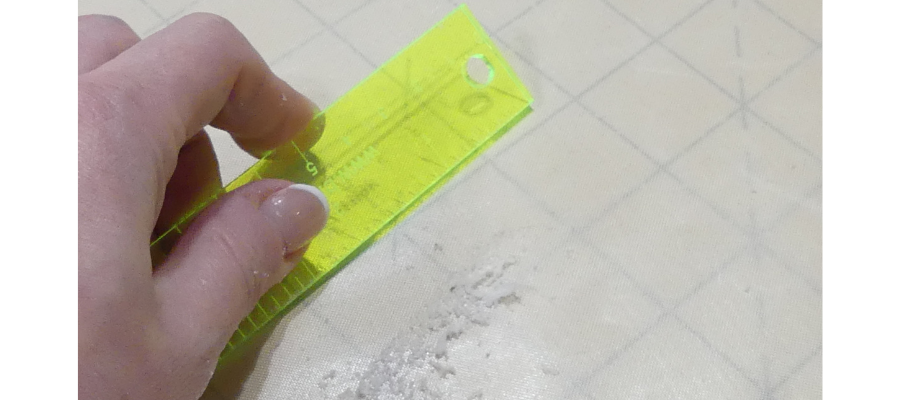
Tip: If the glue from your interfacing sticks to your pressing sheet, simply use the side of a cutting ruler to scrape it off. It cools fast and should come off easily.
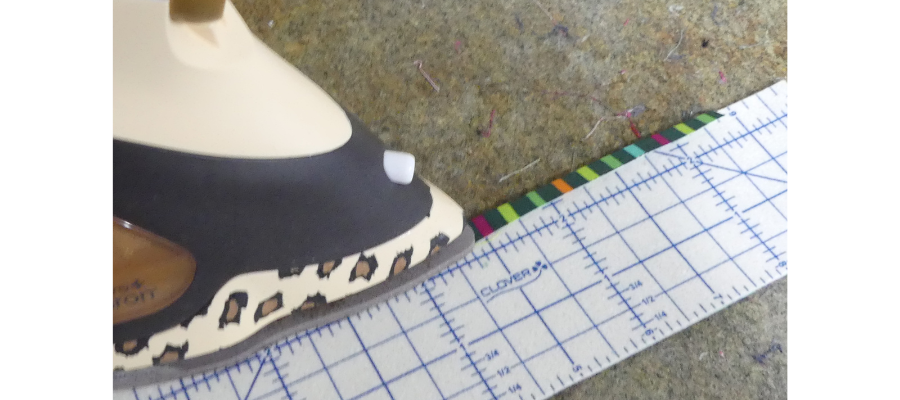
Press the long edges of piece C and D ¼” towards the wrong side. A Hot Hemmer tool can help with accuracy.
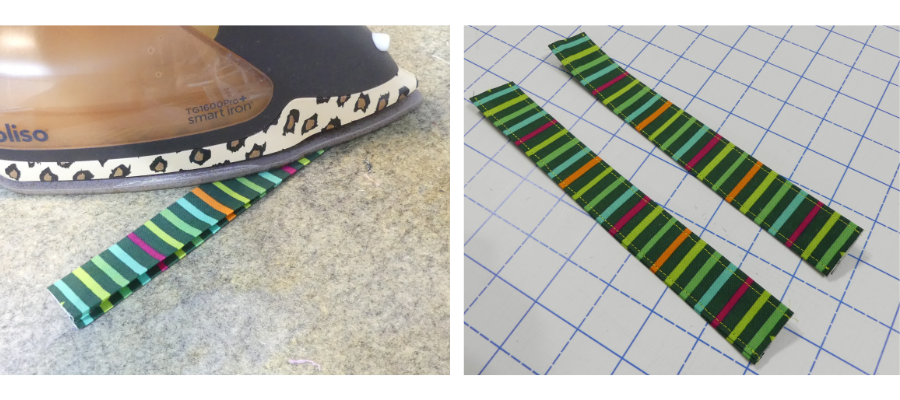
Fold in half longways and press. Topstitch ⅛” from each edge to finish. Repeat for the second handle.
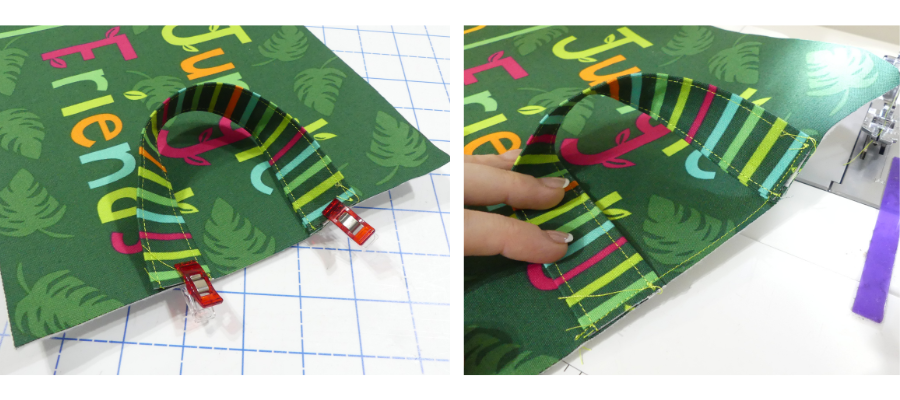
Clip handles to A, matching triangles and without twisting – the same side should be facing up at both ends. Baste stitch at ⅛” and repeat for other handle.
Cut out pieces B and F.
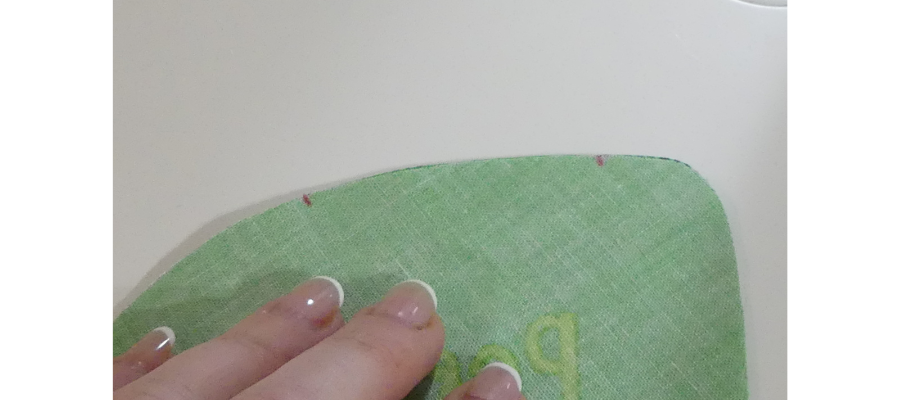
Place E and F right sides together and mark the triangles on the reverse side to see them easier.
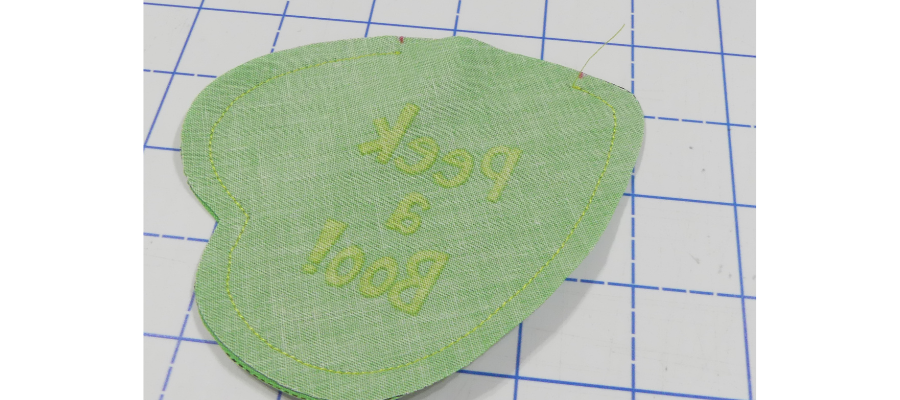
Sew ¼” around, starting and stopping at the triangle markers and backstitching at the start and end.
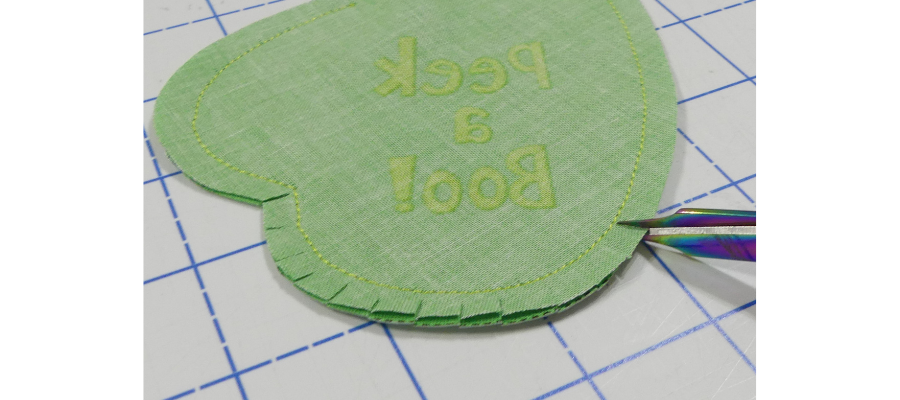
Clip the curves, turn right side out through the hole and press. Press the unsewn section ¼” under towards wrong sides to create a clean edge.
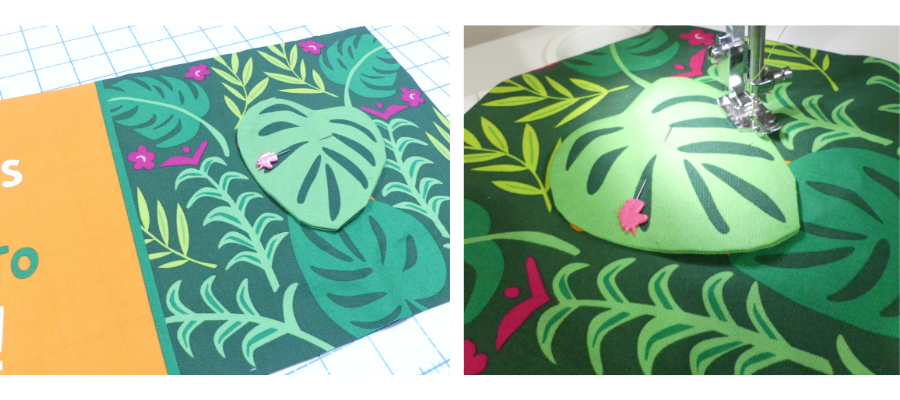
Position leaf over the jaguar’s face on B as shown and pin. Sew ⅛” along the open edge for about 3-4”, backstitching at the start and end to secure piece and close opening, creating a lift-the-flap feature.
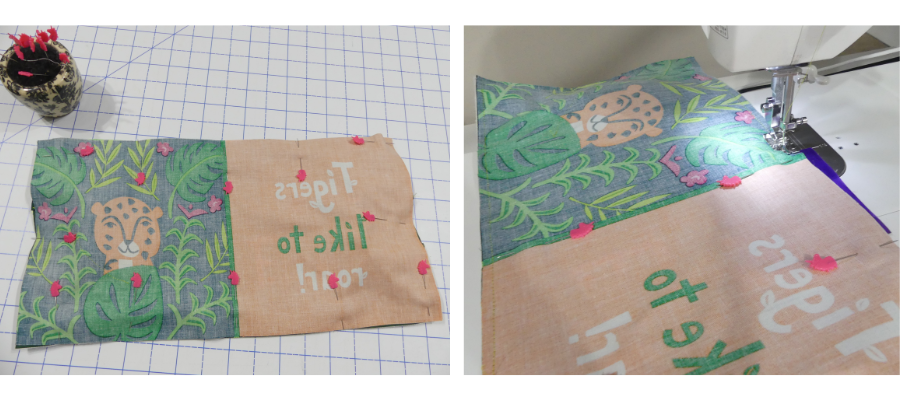
Matching edges and centre lines, pin and sew pieces A and B together, leaving an opening to turn inside out.
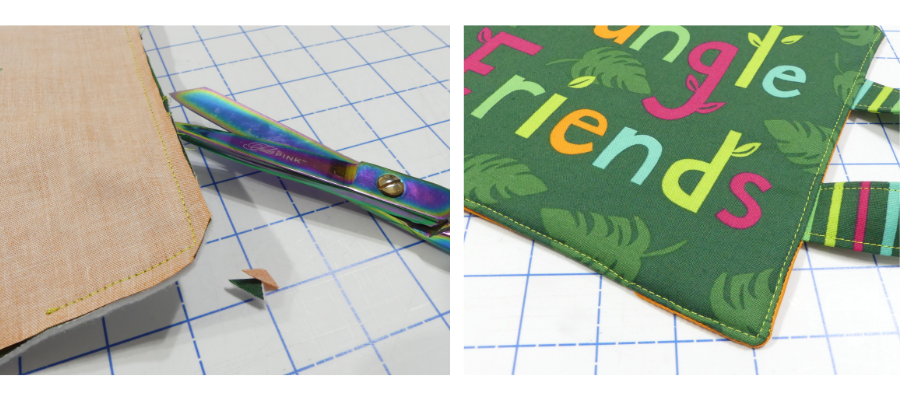
Trim off corners and turn right sides out. Push out corners well and press. Top stitch ⅛” around entire rectangle to finish and close opening.
Cut out pieces J, L, N, O and R.
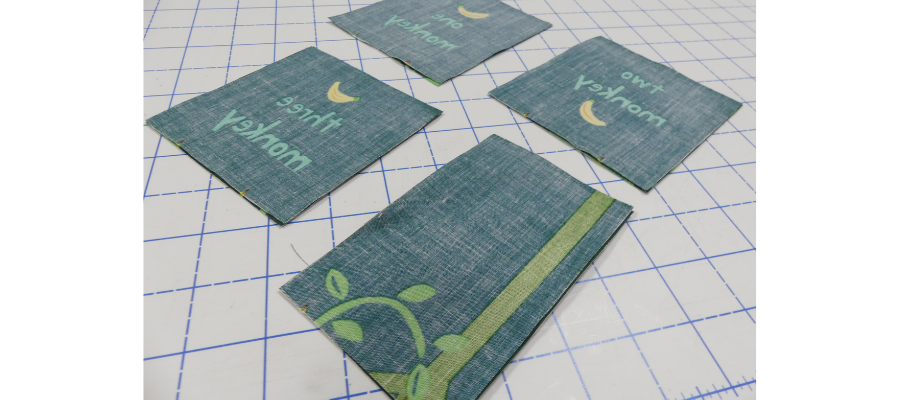
Pair pieces I and J, matching triangles right sides facing. Mark triangles on back so you can see them easier.
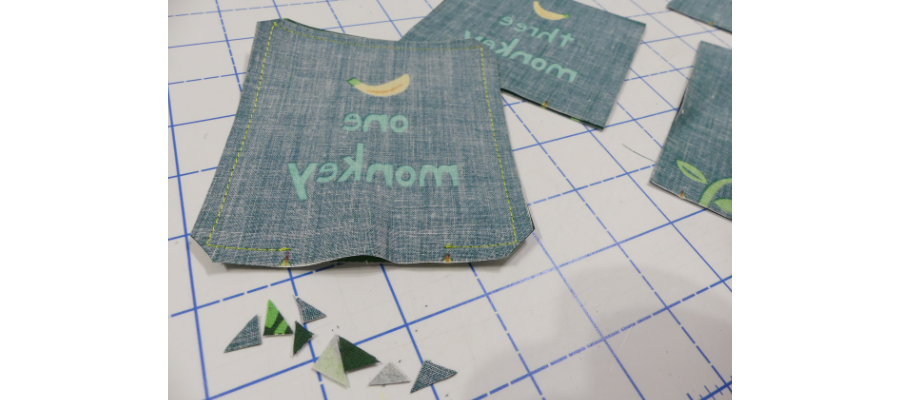
Sew all the way around from triangle to triangle, backstitching at the start and end. Clip corners, turn right side out and press.
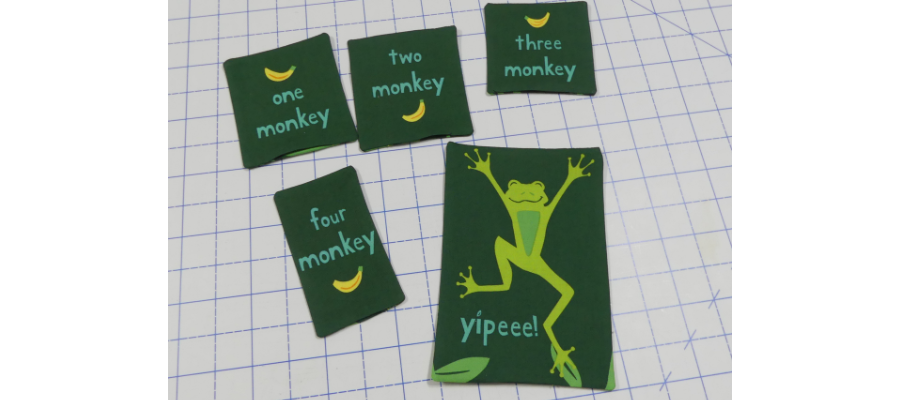
Repeat the process for pieces K and L, M and N, O and P, and Q and R.
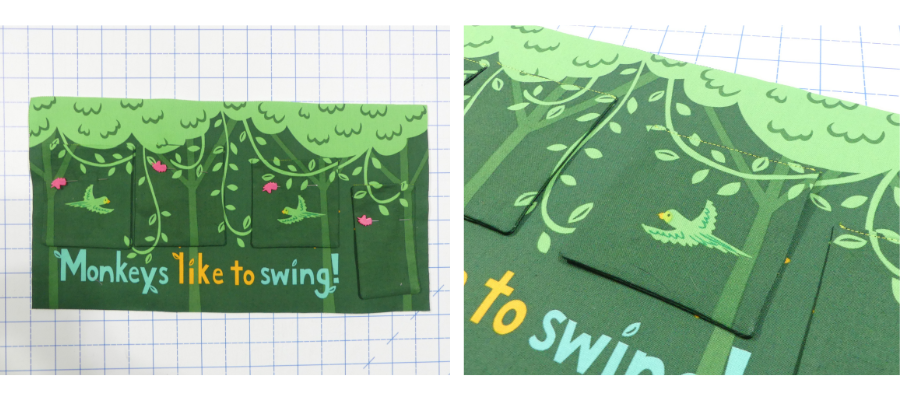
Match the monkey pieces with the background. The number of monkeys should be on the underside. Topstitch at ⅛” to close turning hole and attach in place.
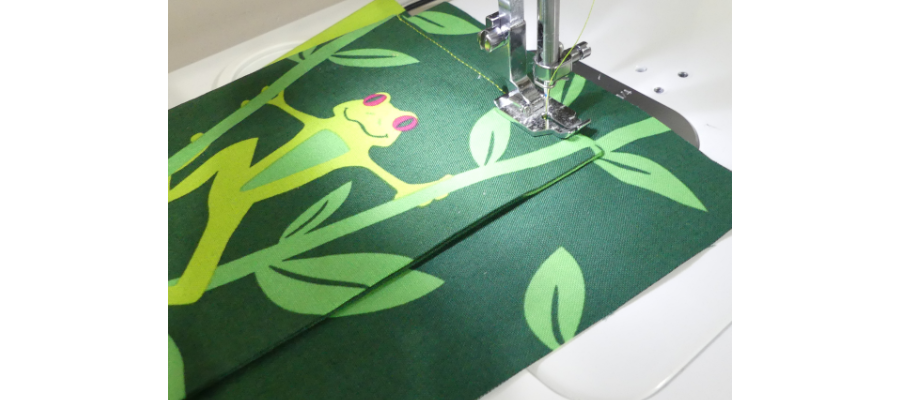
Cut out panel H and sew frog piece (Q and R) in place in the same way.
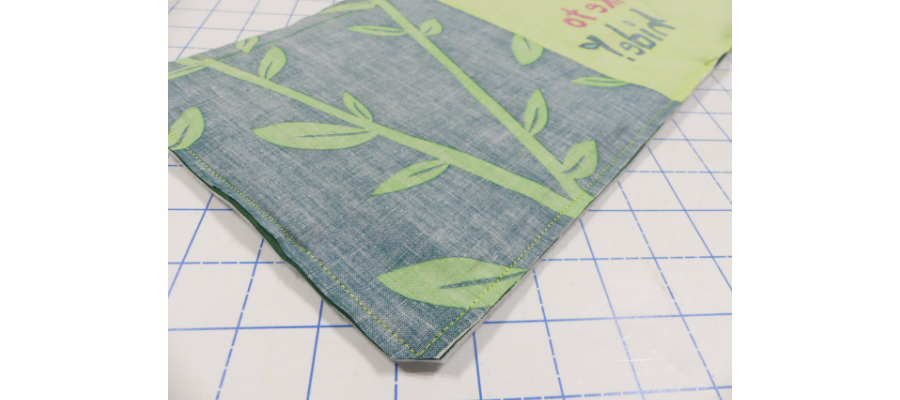
Sew the finished pages G and H together, leaving an opening to turn through. Trim off corners and turn right sides out. Push out corners well and press.
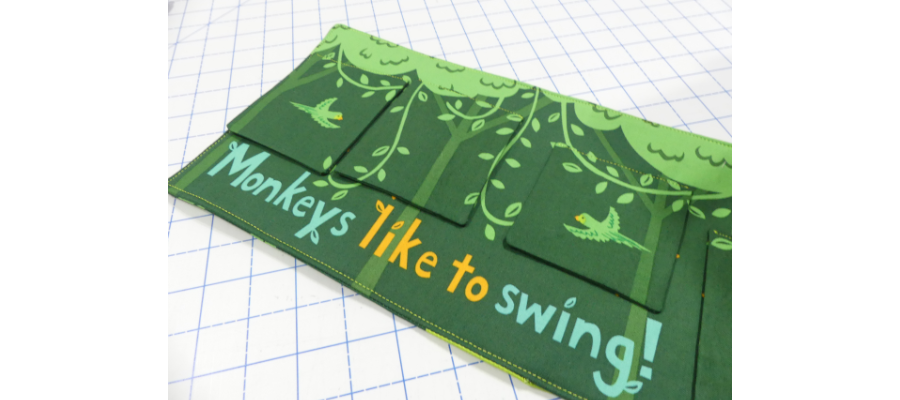
Top stitch ⅛” around entire rectangle to finish and close opening.
Cut out piece V. Sew U and V together stitching between the triangles as before. CLip corners and turn right sides out. Press.
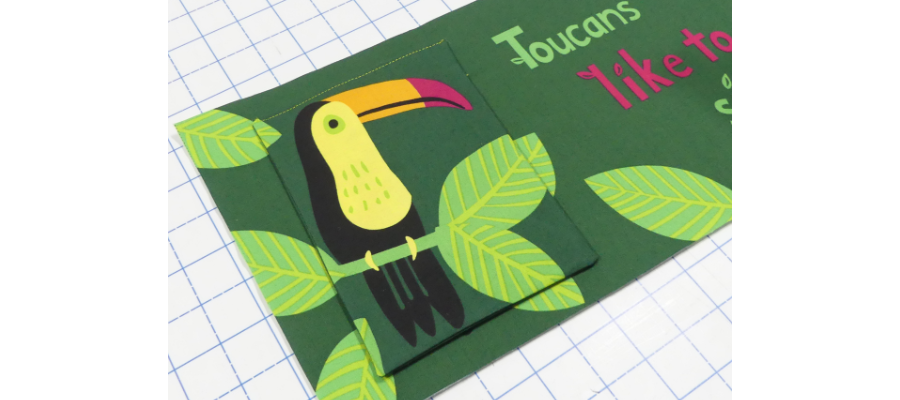
Position on panel S as shown and top stitch into place.
Cut out T and X.
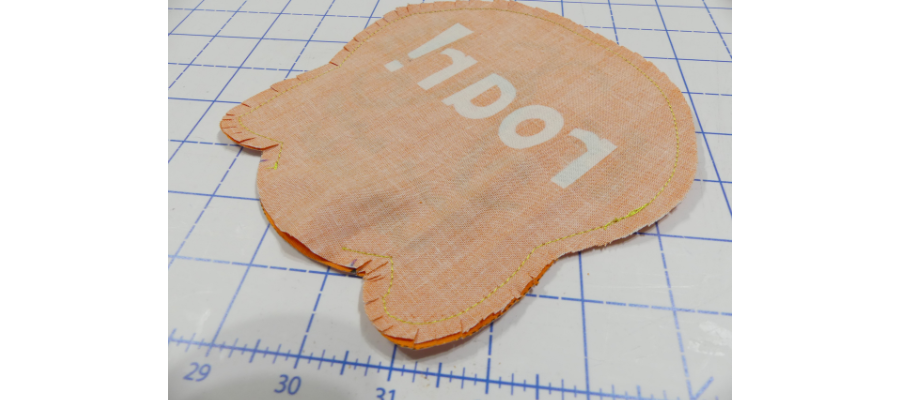
Sew W and X together starting at the first triangle and ending at the second, back stitching at the start and end.
Clip the curves and corners.
Turn right side out and press, including the unsewn section to the inside.
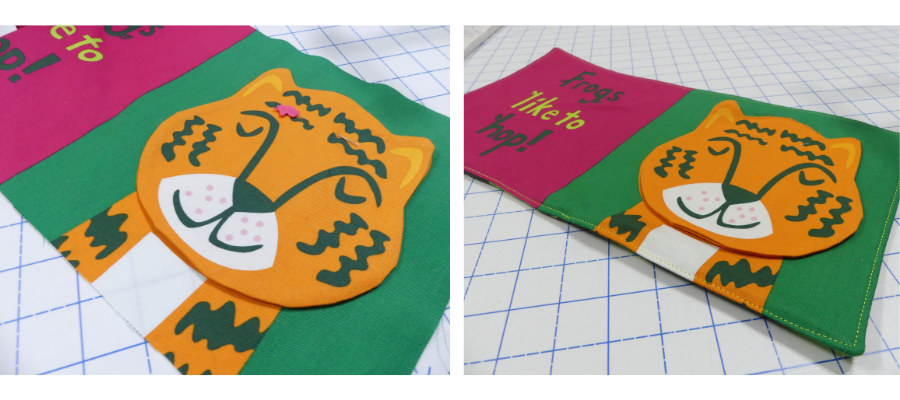
Arrange face onto panel T as shown and top stitch to secure and close opening.
Sew the finished pages S and T together leaving a turning hole of a few inches. Trim off corners and turn right sides out. Push out corners well and press.
Top stitch ⅛” around entire rectangle to finish and close opening.
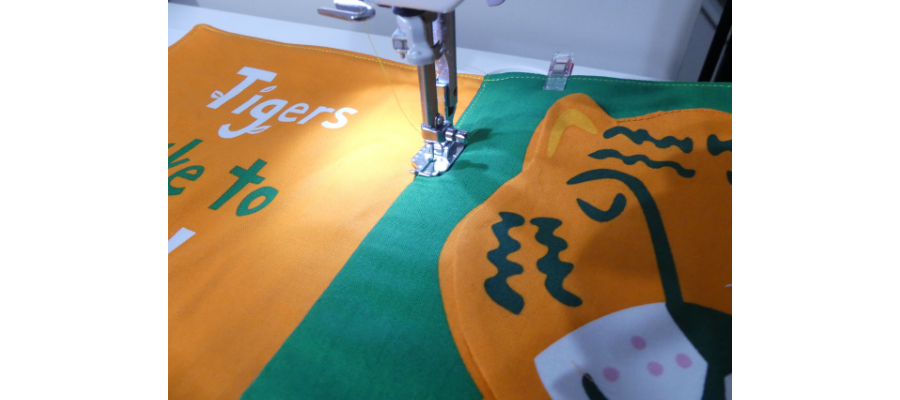
To assemble the book, fold page S and T so the toucan pages are facing each other and the tiger is facing up.
Position so the tiger face is alongside the tiger text on the cover spread with the handles and the top, bottom and right sides aligned. Top stitch close to the fold to secure. You may need to reduce your presser foot pressure and go slow so that it feeds through your machine as this part is quite thick to sew through.
Fold page over to the left so that the frogs text is facing up.
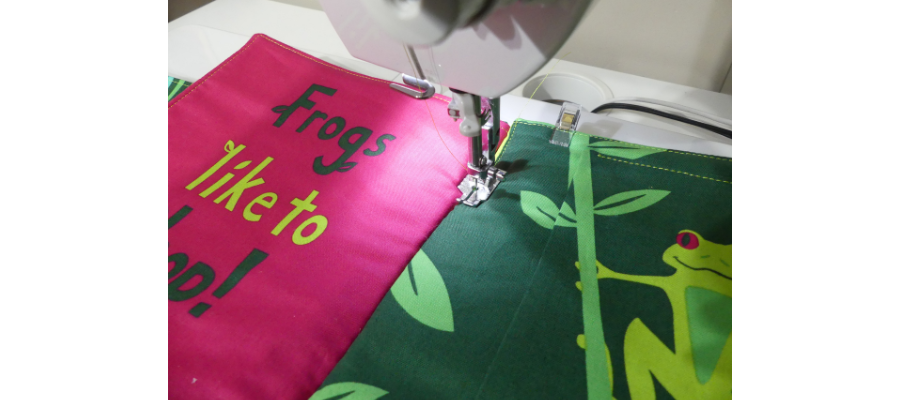
With the remaining page, fold the monkey spread in half so the pages are facing each other and the frog image is on the top. Align the fold with the frogs text, matching top, bottom and right sides and the folds meeting. Top stitch as before to stitch pages in place and to finish the project.
This panel also comes with pieces to cut out and sew to make a lion and a monkey finger puppet if you wish.
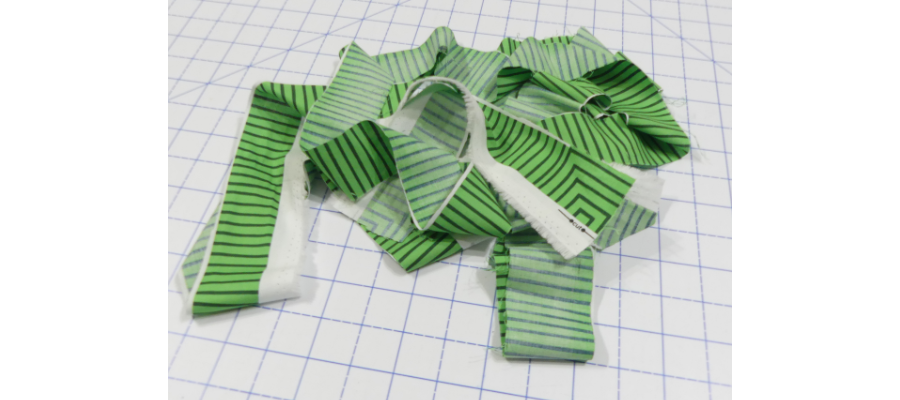
The left over border on the panel is 1 ½” wide – keep it for narrow bindings or skinny strip piecing to make the most of it!
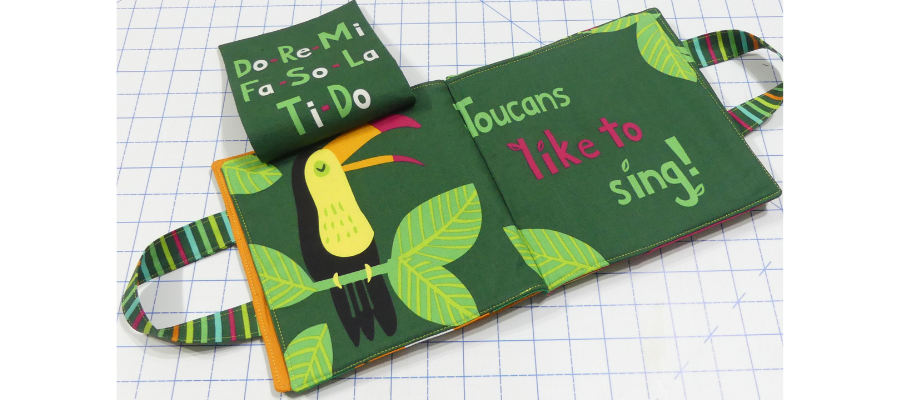
Who are you making this cute book for? Don’t forget to tag us on Instagram or Facebook so we can see and celebrate your creation too! #TrendTexFabrics @trendtexfabrics
