Gift Tree Ornament Tutorial
Difficulty: Intermediate
Project time: 20 minutes
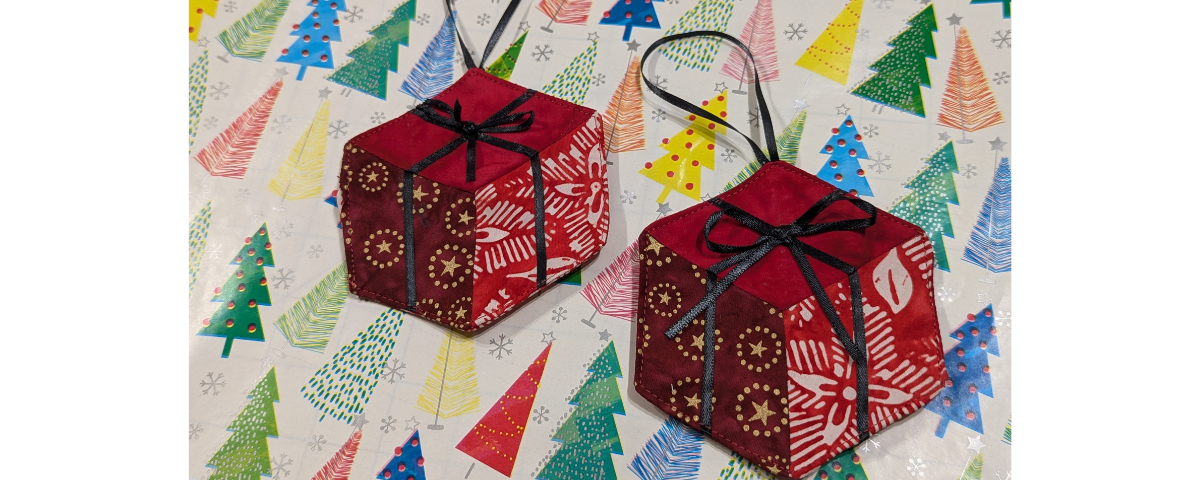
Use scraps and overcome your fear of Y-Seams with these quick adorable tree ornaments!
These super-simple tree decorations are a take on the traditional tumbling block.
You will need:
- The template sheet
- 1m of very narrow ribbon
- Large scraps of fabric in three different shades of the same colour
- Scrap of fusible fleece
- Fabric marker
- Permanent fabric glue
- General sewing notions: sewing machine, pins or clips, scissors, thread, cutting tools, iron
The fabrics in this project are from Felicity Batiks by Kate Spain for Moda.
Seam allowances are ¼” throughout unless stated otherwise.
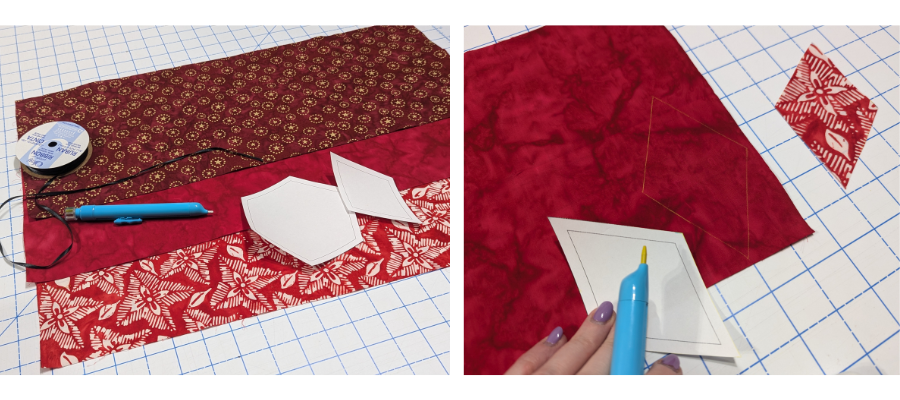
Cut out your paper templates on the outer edge, which includes seam allowance. Use them to draw a diamond onto each piece of fabric, and a hexagon onto your fabric of choice for the back.
Cut out the fabric shapes.
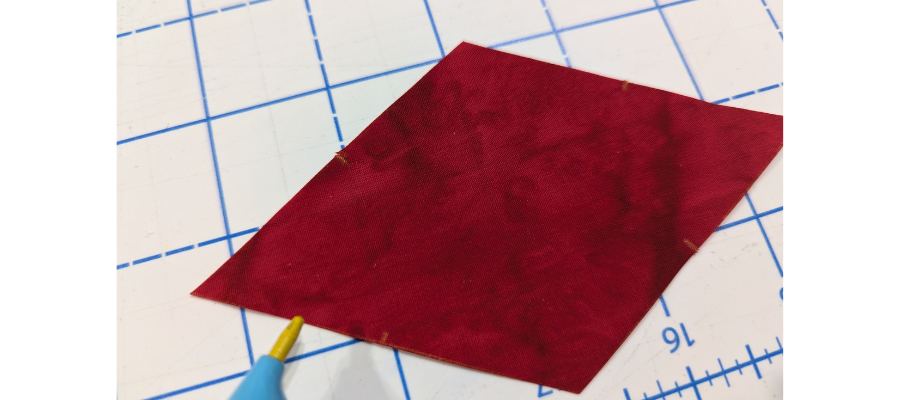
Decide on the arrangement. Mark the centre of each edge of the piece that will be sewn at the top (medium shade), and the centre of the top and bottom edges on the lighter and darker pieces.
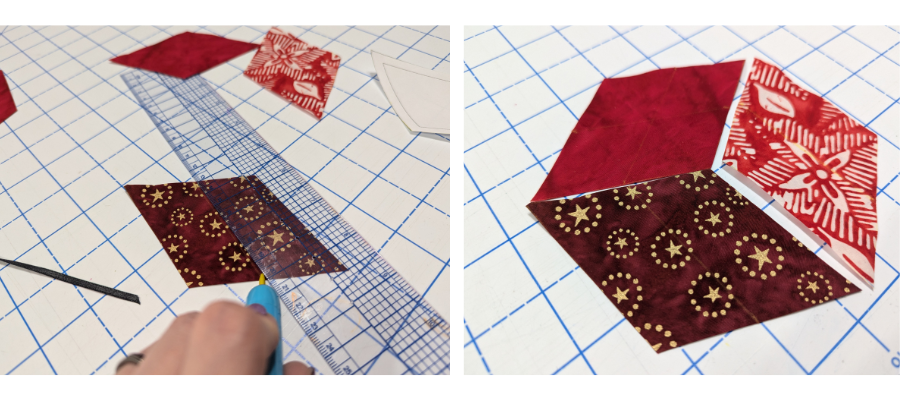
Draw lines between the markings. This is where the ribbon will go.
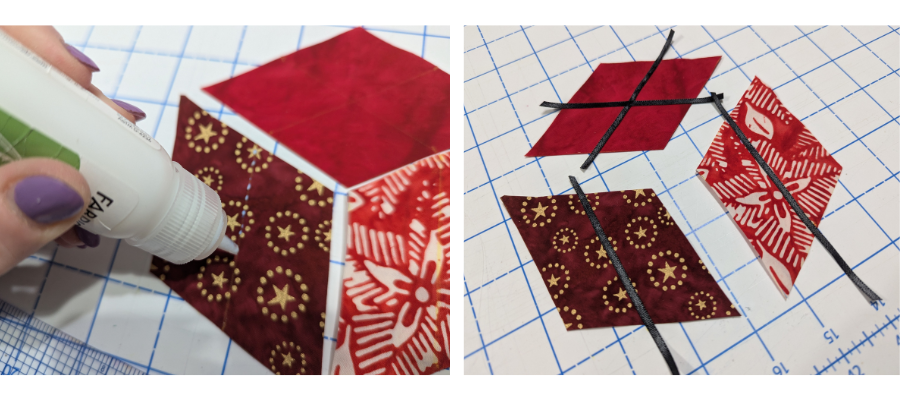
Add a thin line of glue to each drawn line. Cut small pieces of ribbon slightly longer than the lines and glue in place. Allow to dry.
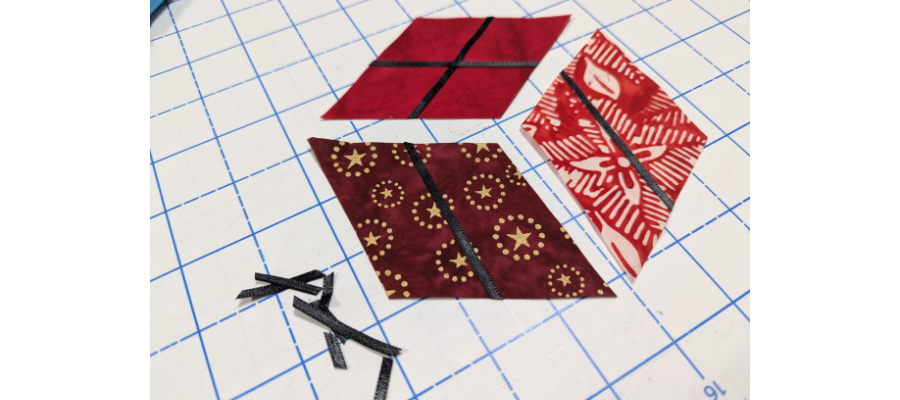
Trim off the excess ribbon flush with the edges of the diamonds.
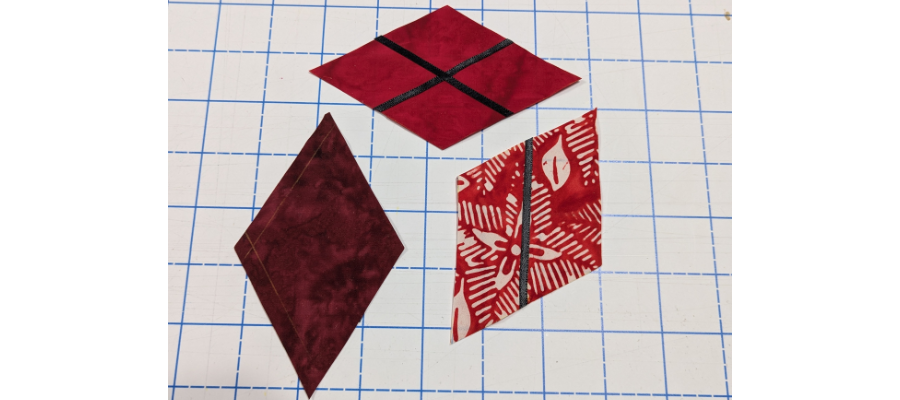
Mark a ¼” seam allowance on one of the diamonds. This should be from the edges that will join and they should overlap to make a cross that denotes where the centre of the seam will fall.
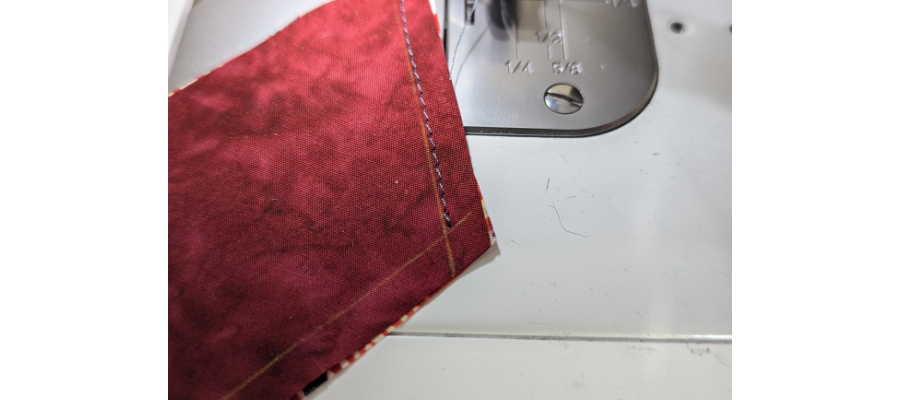
Take one of the adjoining pieces and sew right sides together with the marked piece, starting at the cross and continuing to the end.
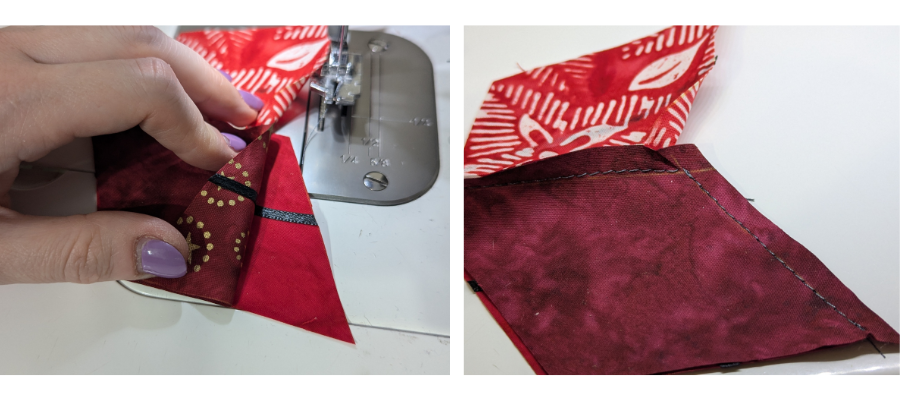
Making sure that the ribbon pieces align, position the remaining piece with the marked diamond right sides together, and sew once more from the cross to the edge.
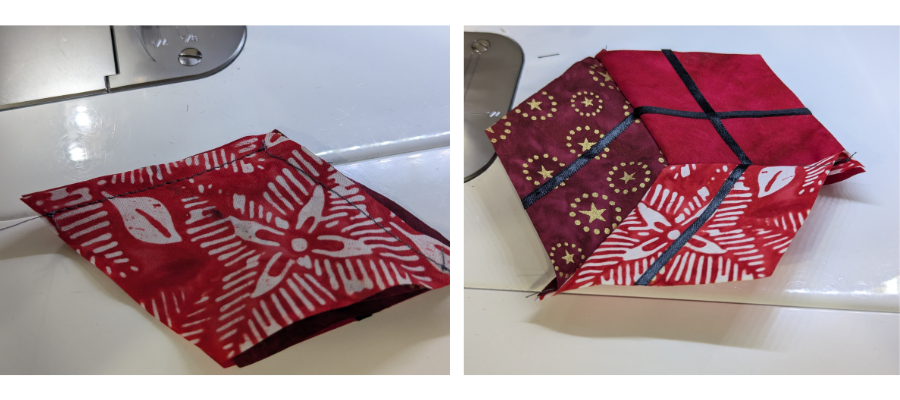
Finally, to complete the final seam, fold the piece so the remaining edges are together. The marked diamond will be folded to make this happen. Make sure the ribbon matches and then start sewing at the previous stitch line.
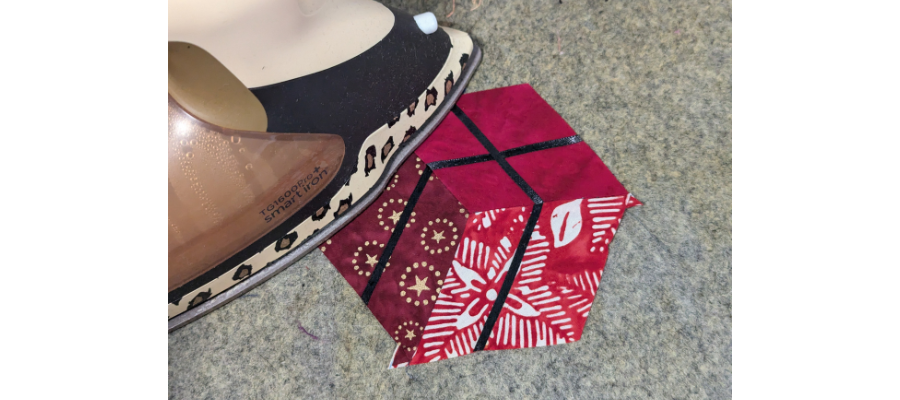
Press the block flat.
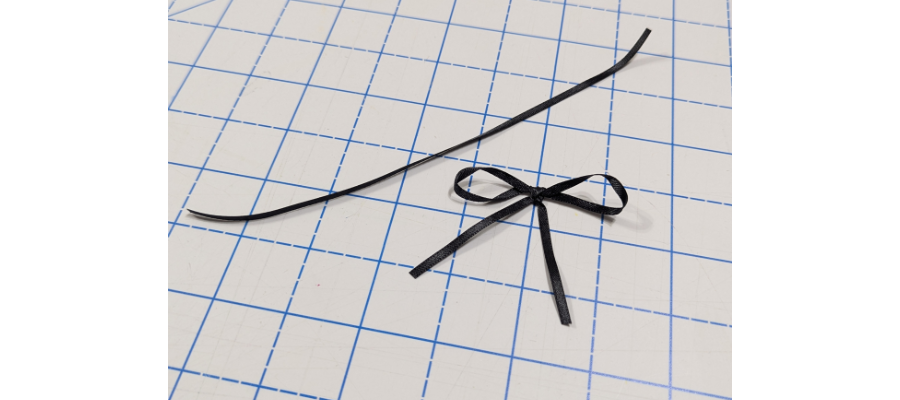
Cut another piece of ribbon 8 ½” long for the hanger.
With the remaining ribbon, create two loops and tie it into a loose bow. Adjust so that the loops are even and a size you like, then knot again to secure and trim any excess.
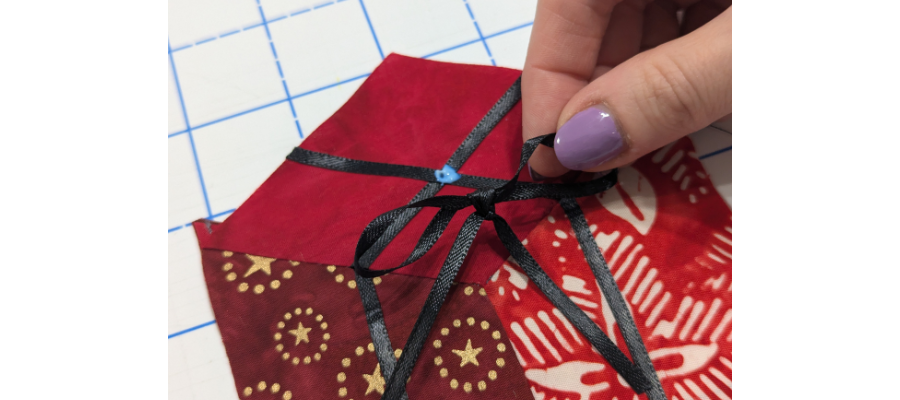
Add a dot of glue where the ribbons cross on the block and glue the bow in place.
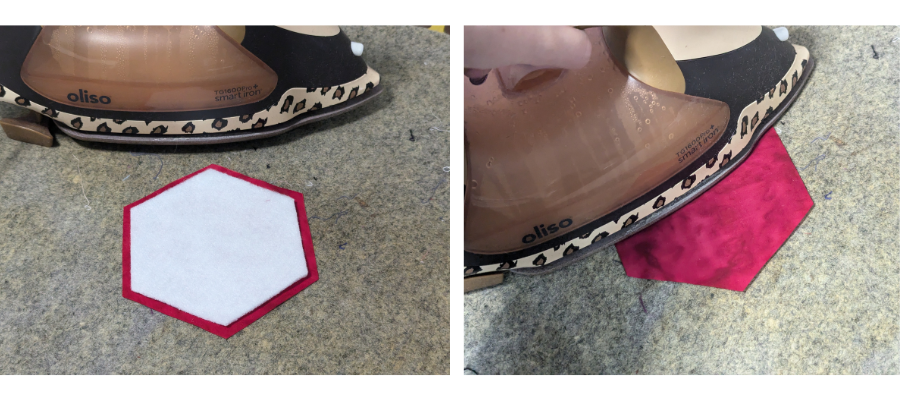
Using the inside line on the hexagon template, cut out a piece of fusible fleece.
Centre it on the hexagon reverse side and fuse it in place according to manufacturer’s instructions. You may find it helpful to press from both sides.
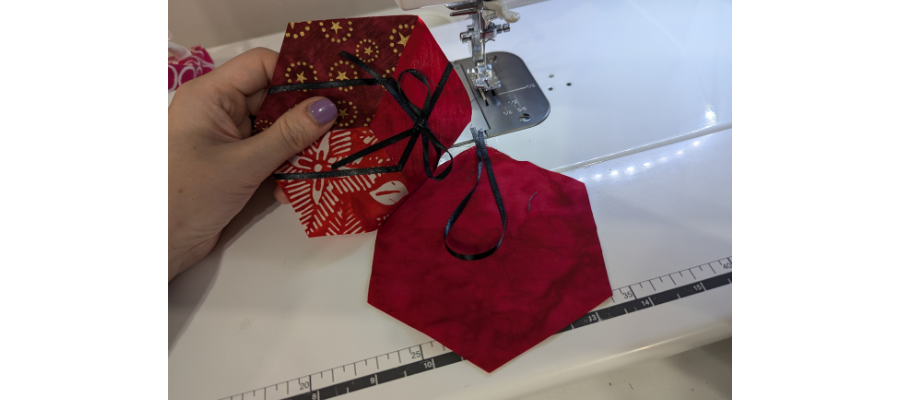
Baste-stitch the ribbon piece into a loop on the top point of the right side of the hexagon, within the ¼” seam allowance.
Position the hexagons right sides together.
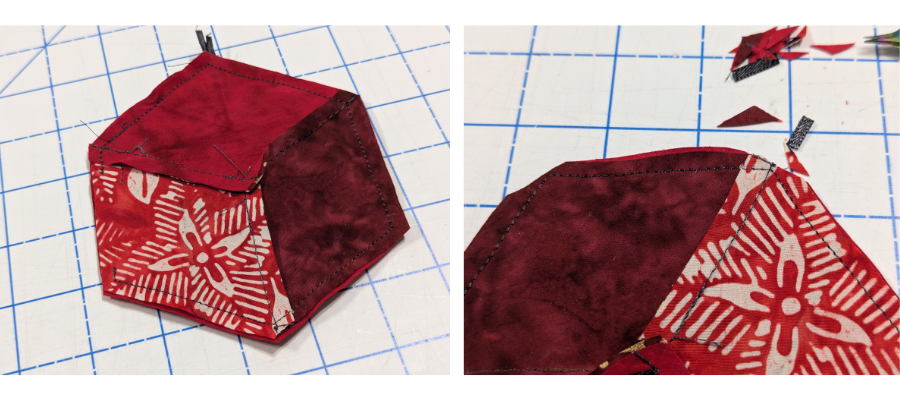
Making sure the ribbon is tucked inside, away from the stitch line, sew all the way around, starting on the lower half of one of the sides and stopping to leave a gap of an inch or two. Back-stitch at the beginning and end.
Snip off the points close to the thread line to reduce bulk.
Turn right sides out and press well.
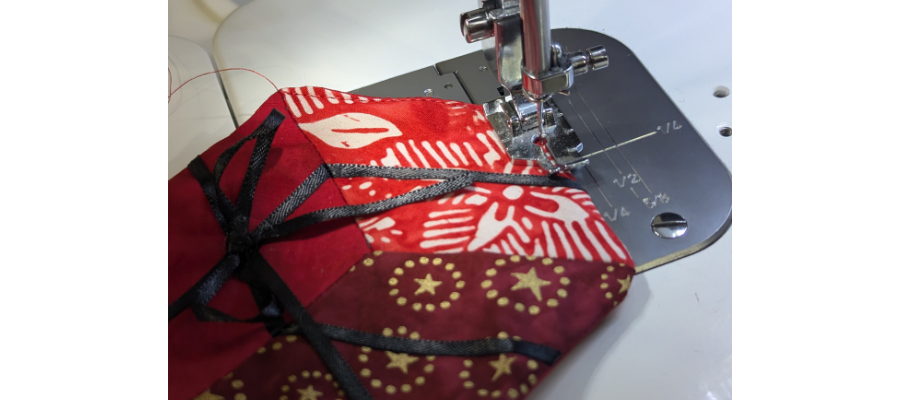
Finally, top-stitch at ⅛” all the way around to close the turning gap.
Your festive and fun tree decoration is complete! Are you going to stop at just one?We’d love to see yours – don’t forget to tag us on Instagram or Facebook so we can see and celebrate your creations! #TrendTexFabrics @trendtexfabrics
