Fat Quarter-Friendly Tablet Sleeve Tutorial
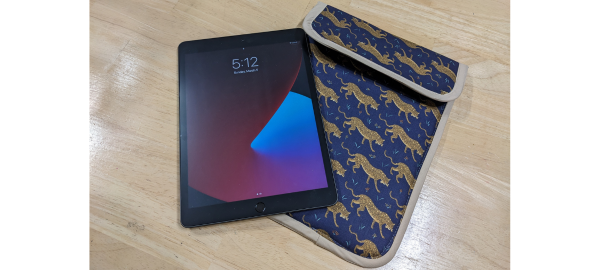
This protective tablet sleeve will look amazing on your tablet or laptop and it’s functional, too – thanks to a squishy foam centre.
You can adapt this tablet sleeve tutorial for any device! Just two fat quarters are needed to fit a tablet.
The fabric shown here is Camont by Rifle Paper Company for Cotton + Steel.
Seam allowances are ¼” unless otherwise stated. Please note quantities of fabric, interfacing and Soft and Stable will vary depending on device size.
Finished Size: 12″ x 9″ (for current regular size iPad)
Difficulty: Intermediate
Time to make: 1 ½” – 2 hours
Here’s what you’ll need for this tablet sleeve tutorial:
- Sewing machine
- Cutting tools: rotary cutter, mat and ruler
- 2 fat quarters – one for exterior and one for lining
- A small pack of Annie’s Soft and Stable, or 1/4m if cut off the bolt
- 1/2m Pellon SF101 Woven Interfacing or similar
- 5″ sew-in Velcro
- 1 pack extra-wide double-fold bias binding
- General sewing notions: iron, pins, scissors, etc.

Cut your fabric to size. You will need an exterior, and a lining piece that is 2 ¼” wider and 2 ¼” taller than your device. You will also need an exterior and a lining piece that is 2 ¼” wider and 6 ¼” taller. For a regular, current-model iPad, you will need to cut these pieces 12″ x 9″ and 16″ x 9″. Also cut a piece of sew-in Velcro. For this size, 5″ is a good length, but you may want a longer piece for a laptop sleeve.
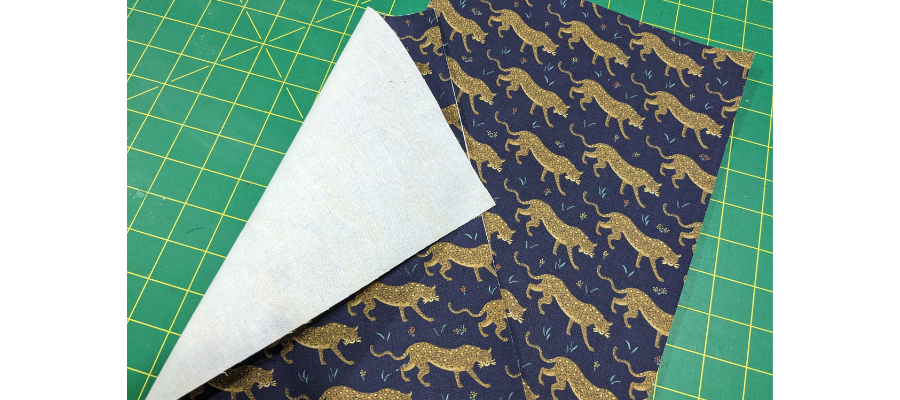
Cut two pieces of woven interfacing to the same size, and fuse well to the back of the exterior fabric pieces.

Cut two pieces of Soft and Stable foam to this size also. Baste the foam to the reverse side of the corresponding lining pieces ⅛” from the edge with a long stitch length. If you can’t find this product, you can also use a couple of layers of quilt batting, or auto headliner.
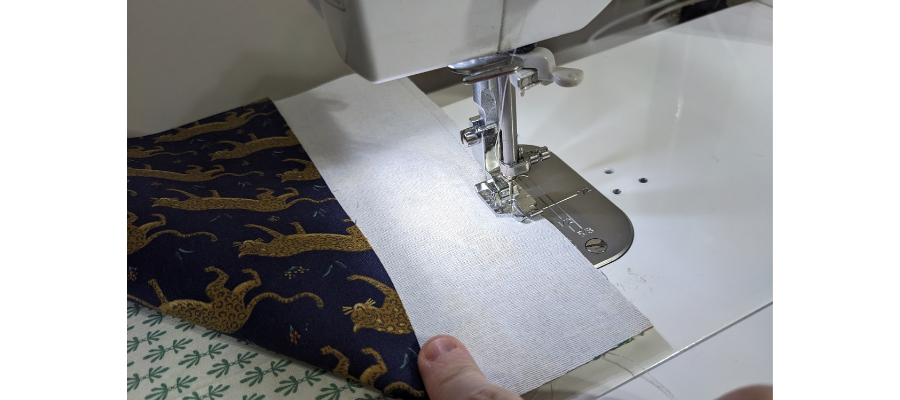
Take the two shorter pieces and align the top edge of the exterior and lining, right sides together, and sew just this edge.
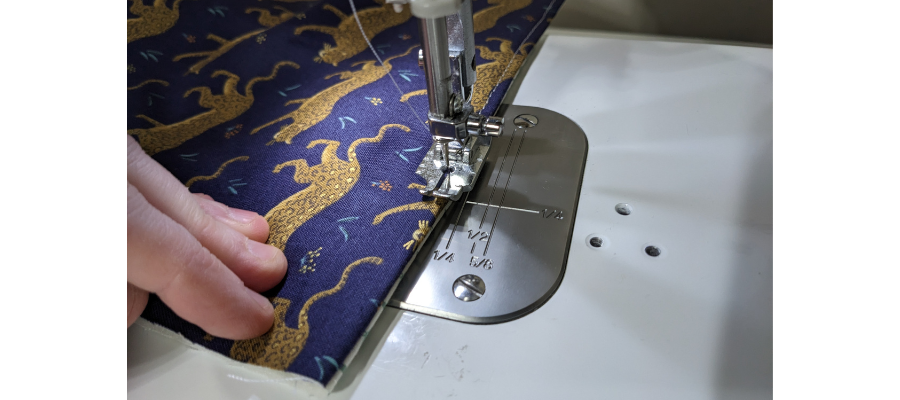
Open out and press. Top stitch at ⅛” from the edge. Baste the bottom edge with a long stitch to keep all the layers neatly together.

Centre the rougher side of the Velcro on the exterior side of this piece, with the top edge 1 ¼” from the edge you just sewed. Stitch down close to the edge.

Repeat the process for the taller lining piece, with the fuzzy side of the Velcro, centring again and positioning 1 ¼” from the shorter top edge. Top-stitch close to the edge.

With wrong sides together, put the taller lining and exterior pieces together and baste around the edge at ⅛”.
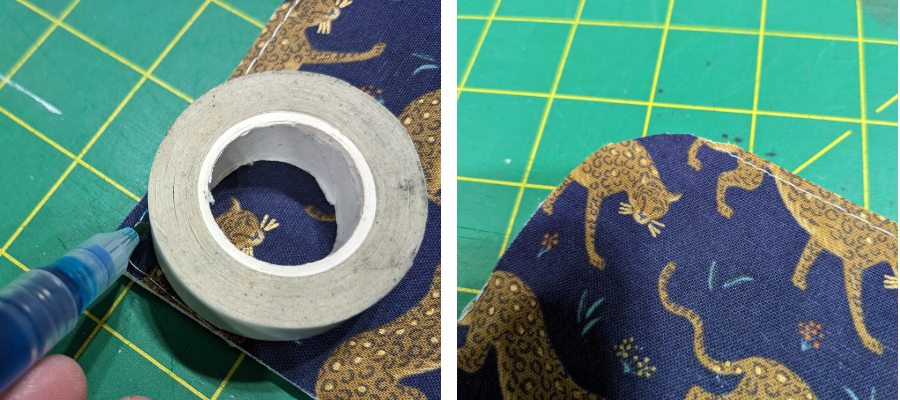
Using a roll of tape, a bottle cap or something similarly round, trace and round off the two top corners.
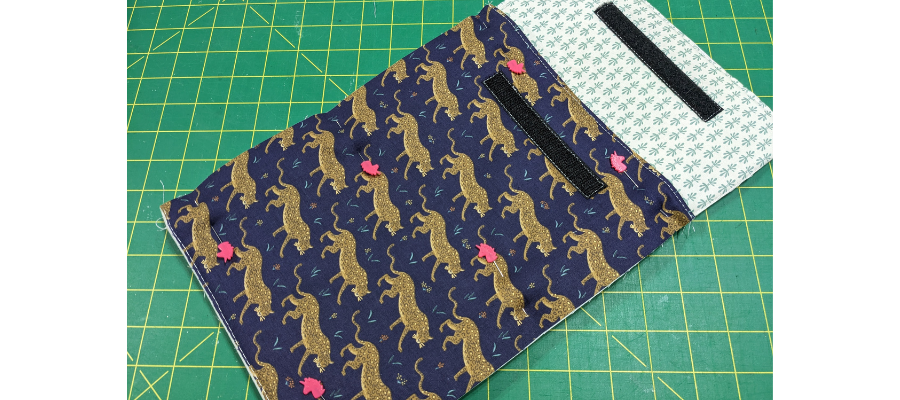
Pin the two panels with linings together and bottom and sides aligned. Baste them ⅛” from the edge to secure it all together.
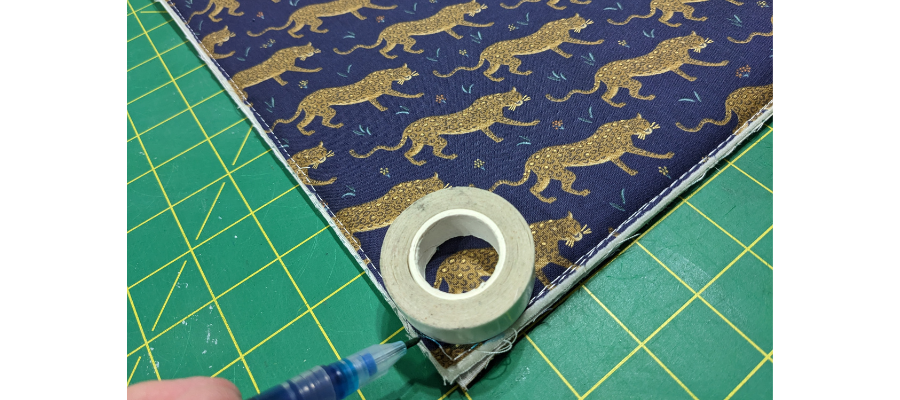
Round off the bottom corners in the same way as before, cutting through all the layers.
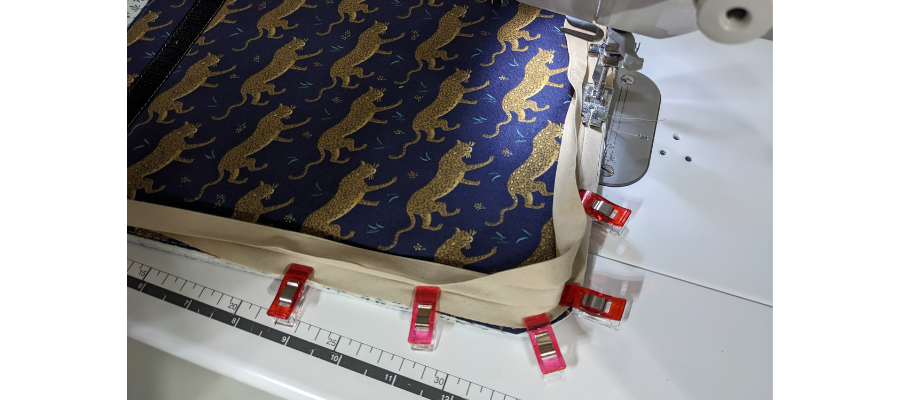
It’s time to add the bias binding, starting on the opening side. Leaving a tail of a few inches and starting at the bottom, open out the tape and position it along the raw edge. Stitch ⅝” from the edge in the fold of the tape, easing around the curved corners. When you get close to the start, trim the tape so there is around 1” of excess, then fold under one end and position the other inside the fold. Finish sewing all the way around.

Flip over and stitch close to the fold on the tape, working around the corners slowly. You may want to reduce the presser-foot pressure on your machine to prevent puckering.
Fold the flap closed, with the Velcro together, and press well on both sides to help it lie flat.
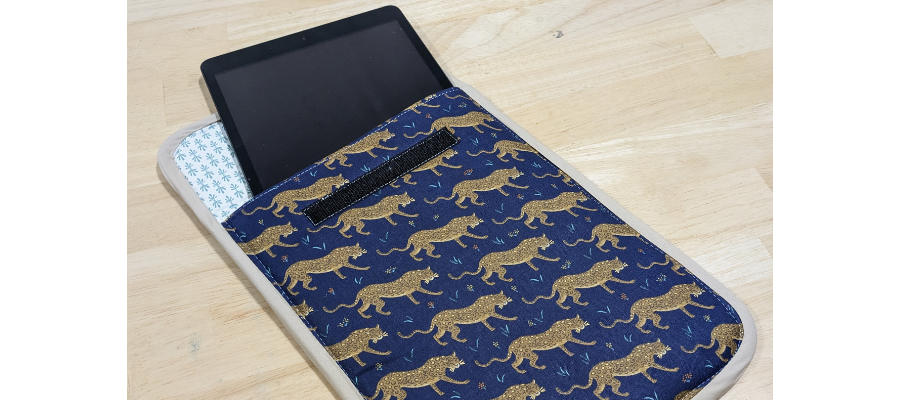
You’re done! We’d love to see your creations on social media and hope you’ll share them with us! Please post, and tag us on Instagram or Facebook so we can celebrate your design! #TrendTexFabrics @trendtexfabrics
Looking for more tutorial and project ideas? Check some other ideas out here.
