Christmas Tree Skirt Tutorial
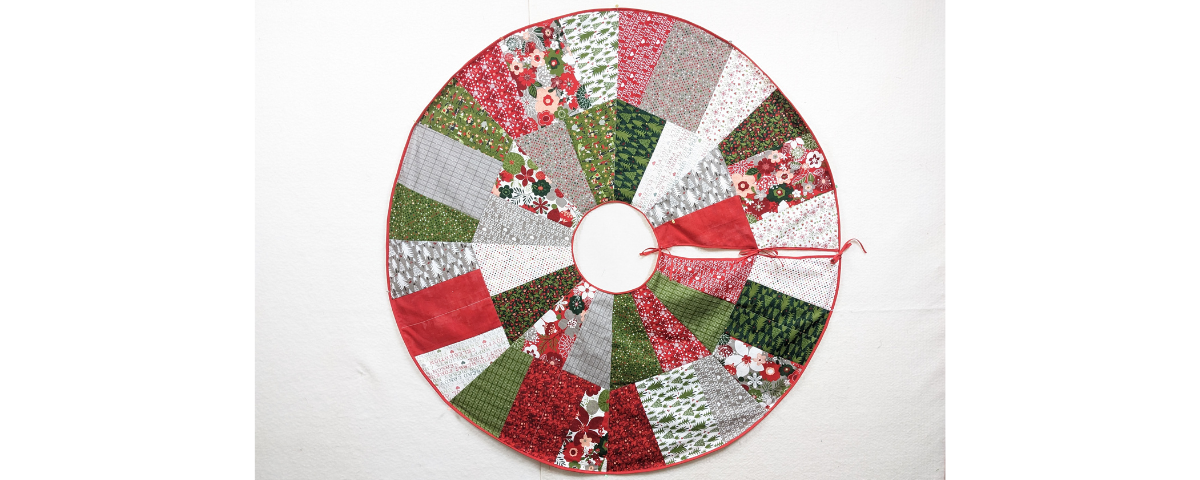
Add a tree skirt to your holiday decor and finish off your Christmas tree set-up with style!
This project is fat-eighth friendly, but you could also make it using an assortment of scraps in four or five different colours.
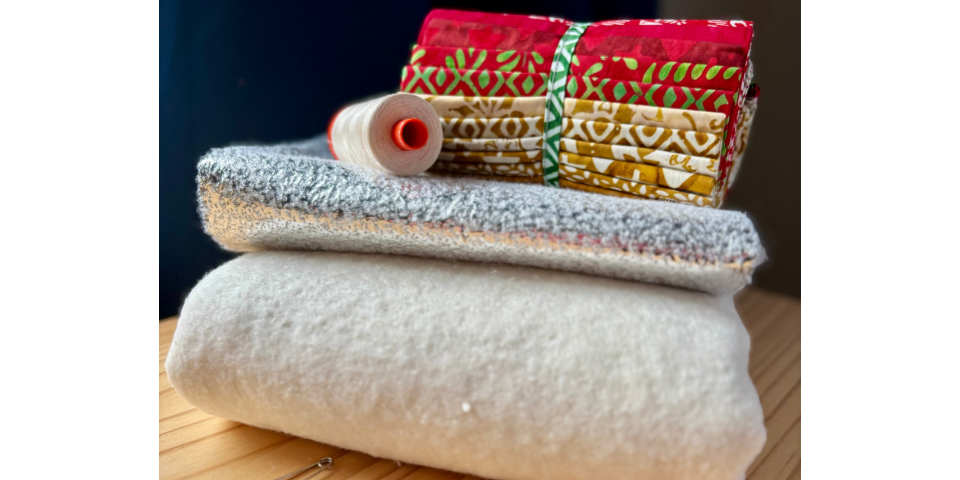
The fabric shown in this project is Hustle and Bustle by BasicGrey for Moda.
Finished Size: Approx 49″ diameter
Difficulty: Adventurous beginner
Time to make: A day
Seem allowances are ¼” unless stated otherwise.
Here’s what you’ll need for this notecards for quilters tutorial:
- Project templates
- Sewing machine
- Cutting tools: rotary cutter, mat and ruler
- 20x fat eighths
- 60″ square backing fabric
- ½ m fusible web
- 2x three-yard packs of bias tape
- Pattern weights (optional)
- General sewing notions: iron, pressing cloth, pins, scissors, thread, etc.
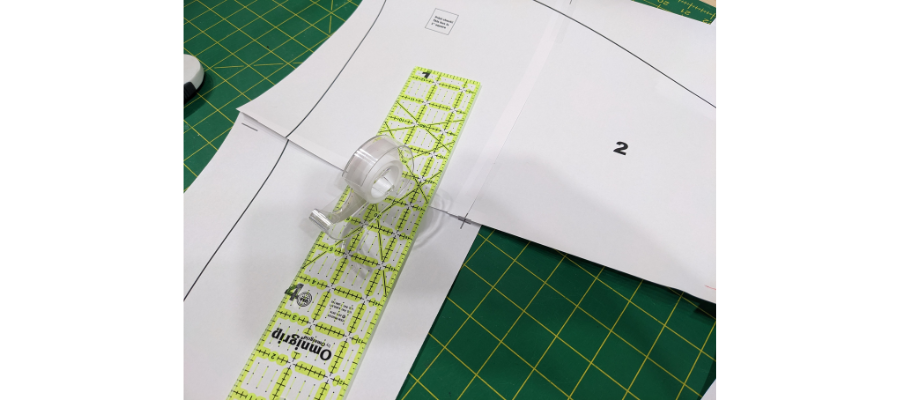
Download the pattern and print at actual size. Cut and tape together, matching the trim lines. Sheets 1–3 form the top row, while 4–5 are positioned underneath, followed by sheet 6 below that. Cut along the outside line.
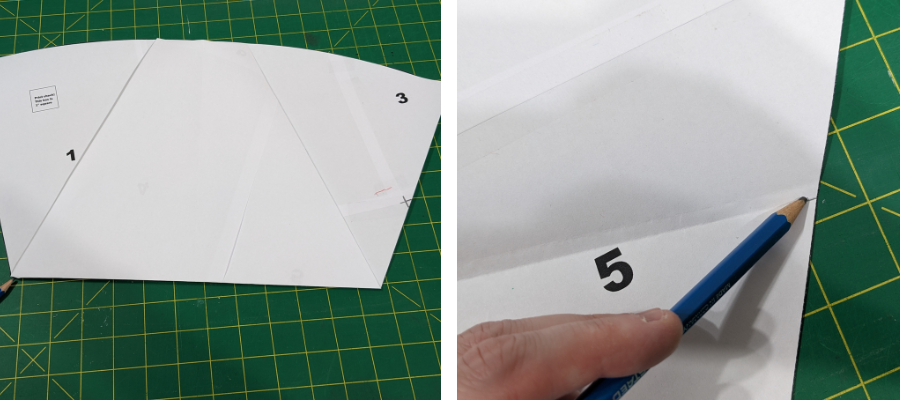

Fold the template in half so that the top and bottom edges touch. Mark the fold line on the edges, at the front. Fold widthwise and repeat to mark the centre on the bottom of the template. Set aside.

Cut each fat eighth to 7″ wide and then cut in half to make 40 pieces each, measuring approximately 7″ x 11″.

Selecting the fabrics randomly, make 16 pairs and sew them together along the longest edges.

Take eight of the pairs and sew an additional piece in the same way, to make a unit that is three fabrics wide. You will have a total of eight triple units and eight double units. Press the seams to one side.
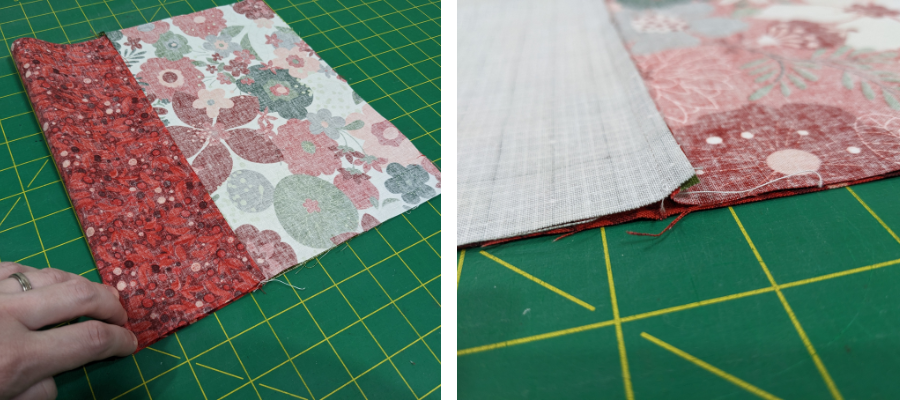
With the triple pieces, fold in half matching the seams to find the centre and finger-press. Take a double unit and arrange so that the seam down the centre aligns with the crease you just finger-pressed, right sides together. If you find your edges are irregular, you may want to trim slightly before sewing.
Sew and press seams towards the double unit. Repeat to make eight.
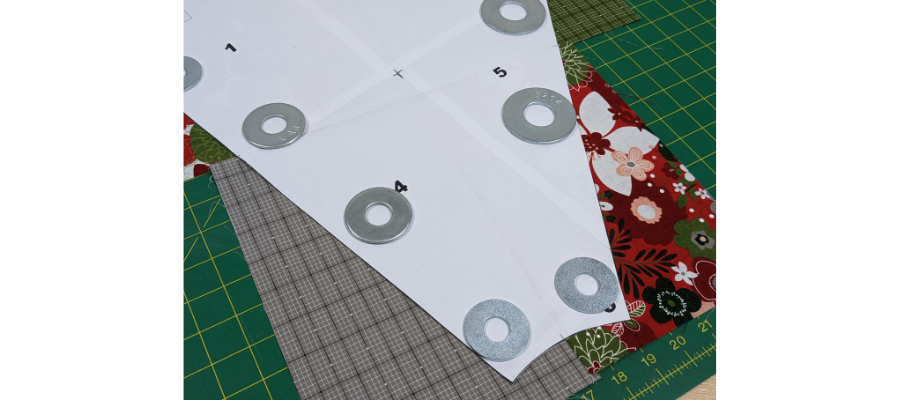
Line up the template with your pieced fabric so that the fold markings align with the seam lines and the template has excess fabric all the way around the edge. Secure with pattern weights or pins.
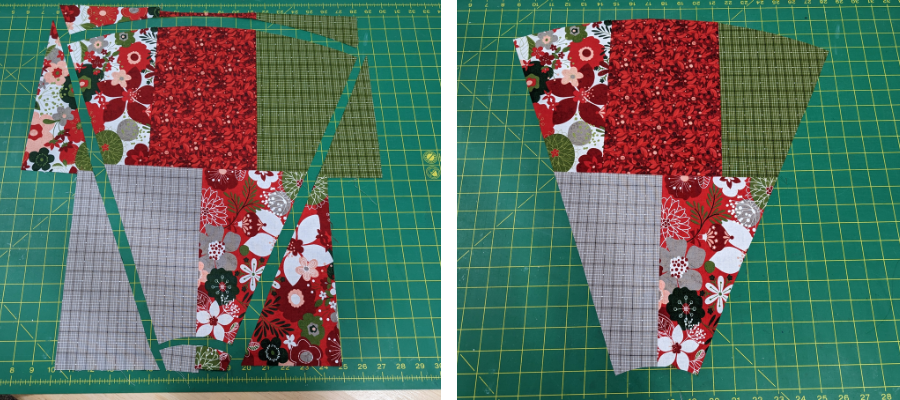
Cut out the template from your fabric to make a pieced wedge. Repeat for all eight.

Take your wedges and arrange in a circle in a way you find pleasing. Matching the seam lines, sew the wedges to one other. Don’t sew the last wedge to the first; you don’t want to complete the circle entirely as this is where you will create the opening to take the skirt on and off the tree. Press seams.
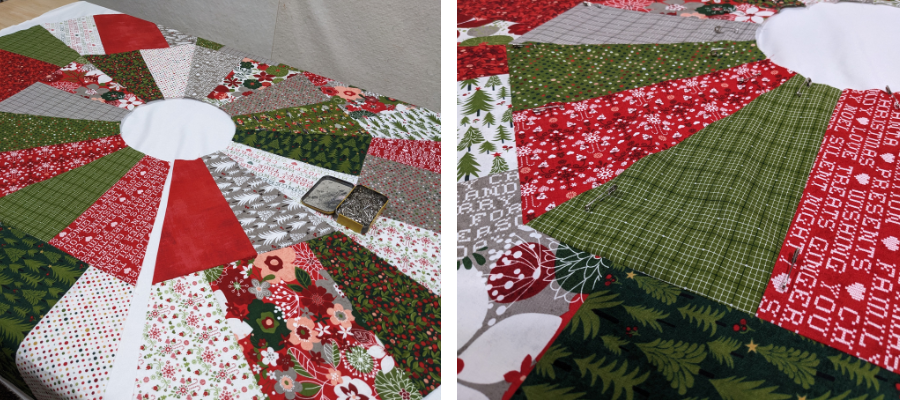
Lay your backing fabric down, flat face down, and then add your pieced fabric on top, right sides up. You can also add a layer of batting in between if you would like a plusher finish. Instead of batting, this project uses a scrap of fireside, which is soft and fleecy, and keeps the skirt lightweight.
Smooth the layers down and baste together with pins.

Take your project to your sewing machine and quilt the layers together, stitching in the ditch. You can also add free-motion quilting if you prefer, and extra lines of stitching down the centre of the wedges. Add stitches ¼” or less away from the open edge to make the layers easier to work with.
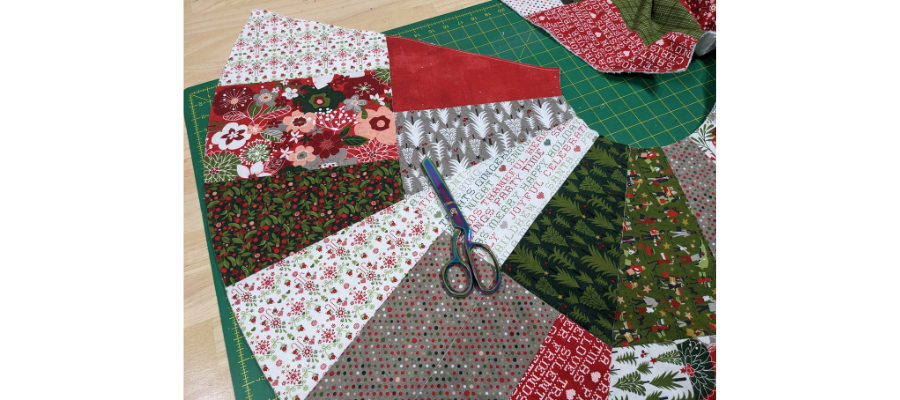
Trim away the excess backing fabric with scissors or a rotary cutter.

From one pack of bias tape, cut two 9″ lengths.
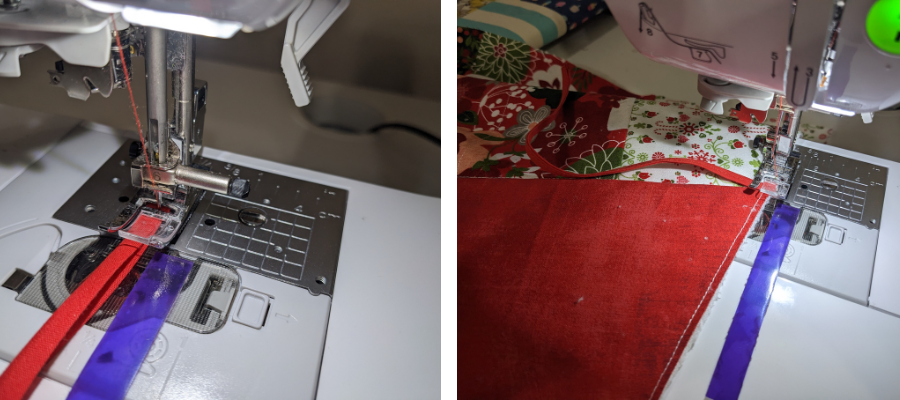
Fold over one of the ends to the inside by around ¼”, then fold the bias tape, wrong sides together, and stitch along the long edge to conceal the fold and make a narrow tie. Repeat for both pieces.
Baste the bias tape to the front of the tree skirt within the stitch line, aligning the raw edges at the seam line on both sides of the open circle.
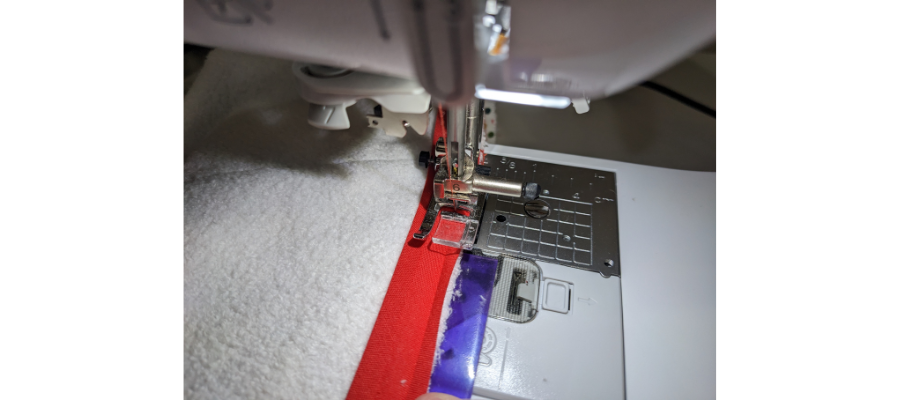
Cut two more bias tape pieces, approximately 20″ in length. Open, align to the raw edge to which you just basted the ties, and stitch along the fold, making sure they are tucked out of the way. In this example, we stitched the bias tape to the back of the tree skirt first.
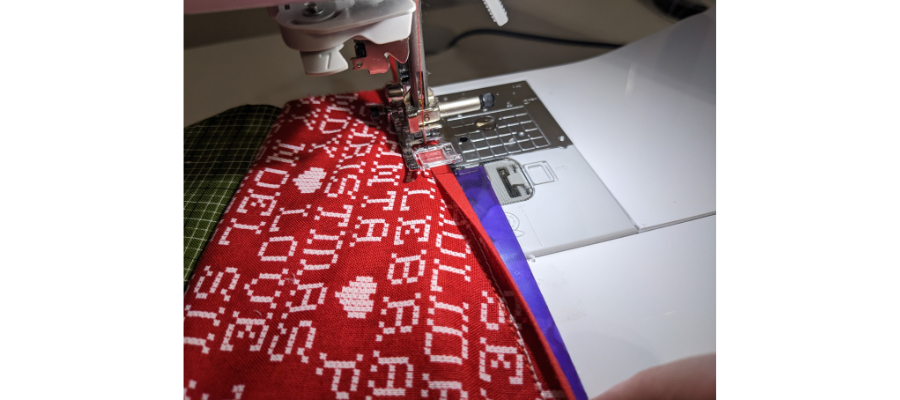
Fold the bias tape over to the other side and carefully sew close to the edge. This will finish the raw edges at the opening. Trim off any excess and repeat for the other side.
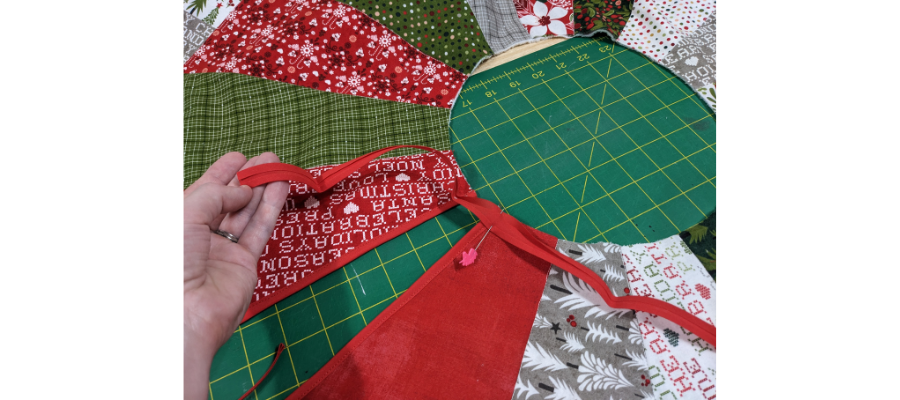
You will finish the inner and outer circle edges similarly. Starting with the inner circle, make sure to have an excess of 9″ at the start and sew to one side.
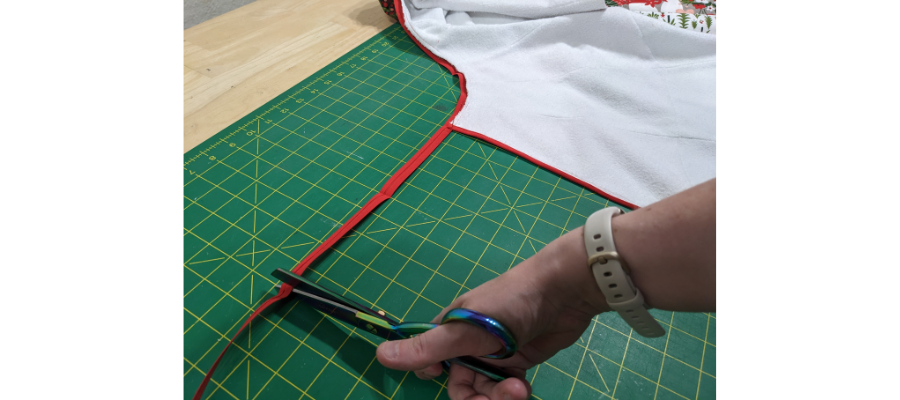
Trim bias tape leaving 9″ at the end also. When you fold it over to the other side, fold in the short end of the bias tape ¼” as before, and sew the tape to itself to form ties, then continue down the length to bind the edges.
For the outer circle, you’ll need to join any remaining bias tape to the second packet of bias tape, as this is a long edge! As with the inner circle, leave 9″ at the start and end, and finish in exactly the same way.
You’re done! Wrap your skirt around the base of your tree and tie with the three ties – it will create a great base to place your gifts.
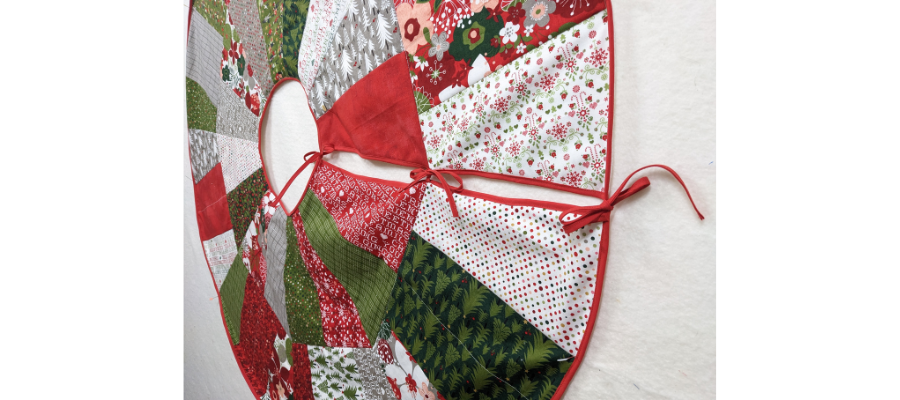
We’d love to see your creations on social media and hope you’ll share them with us! Please post, and tag us on Instagram or Facebook so we can celebrate your design! #TrendTexFabrics @trendtexfabrics
Looking for more tutorial and project ideas? Check some other ideas out here.
