Christmas Stocking Tutorial with Shannon Cuddle Fabric

We’ve taken this fantastic (and free) pattern from Moda and made it luxuriously soft with Shannon Cuddle fabric for this stocking tutorial.
Finished Flat Size: 13″ x 18 ½” Difficulty: Intermediate
Time to make: 1 1/2 hours
But how, you ask? All you need to do is add Cuddle fabric to the back and cuff of the pattern. We’ll show you how!
More information on how to handle this fabric is available in the Inspiration section of our website.
Seam allowances are 1/2″ unless stated otherwise. Make sure to download and print the stocking pattern here!
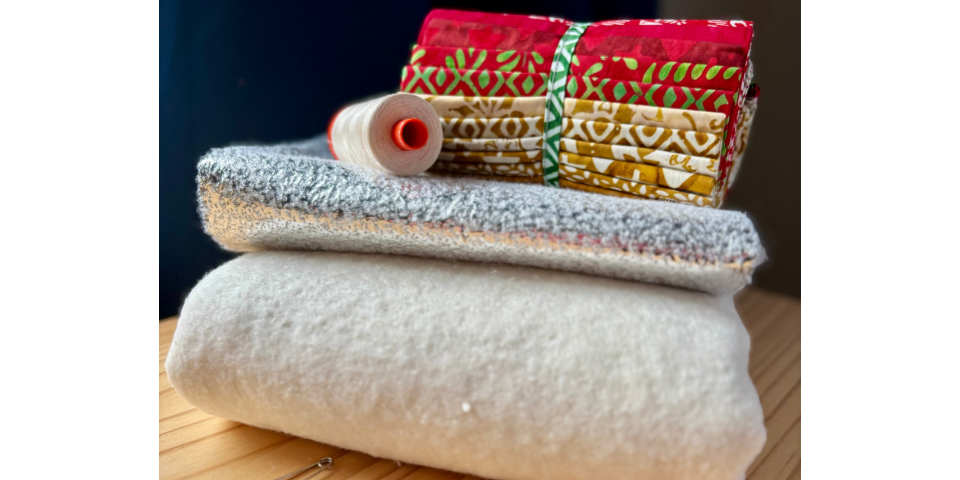
Here’s what you’ll need:
- Sewing machine
- Serger (optional)
- 1m quilting cotton for front and lining
- 1/2m Shannon Cuddle fabric
- 18″ x 24″ muslin (or ugly fabric – no one will see it!)
- 18″ x 24″ batting scrap
- 9″ of ½” wide ribbon
- Pins and/or Wonder Clips
- Pinking shears (optional)
- Cutting mat, ruler, rotary cutter and fabric shears
Print out the paper template, and tape together.
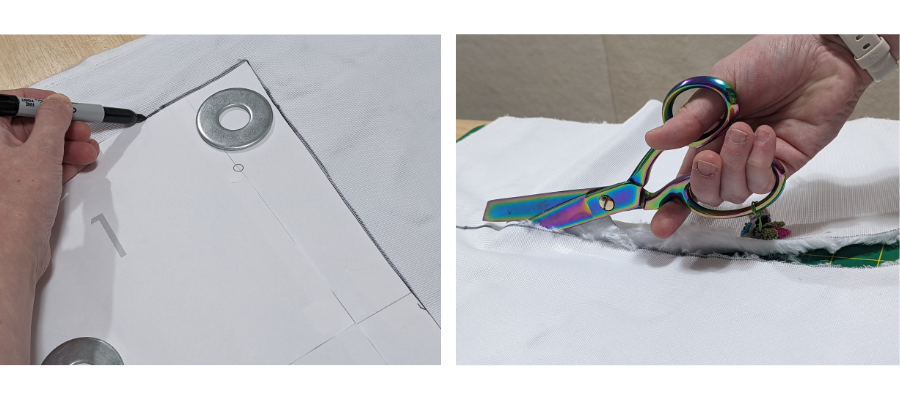
For accuracy and alignment, trace the template onto the reverse of the Cuddle fabric. Cut out the shape with fabric shears. Stay as close to the backing fabric as possible to minimize fluff. You’ll also need to cut a rectangle measuring 9 1/2″ x 19 1/2″. If you can use a selvedge for this, it’ll help to reduce shedding.
Shake out the loose fibres and wipe down your work surfaces. We suggested vacuuming up stray fibres right away or when you finish cutting all pieces, and then put the fabric in the low-heat dryer with a damp washcloth for 10 minutes. This will help deal with most of the flyaway fluff for future steps!
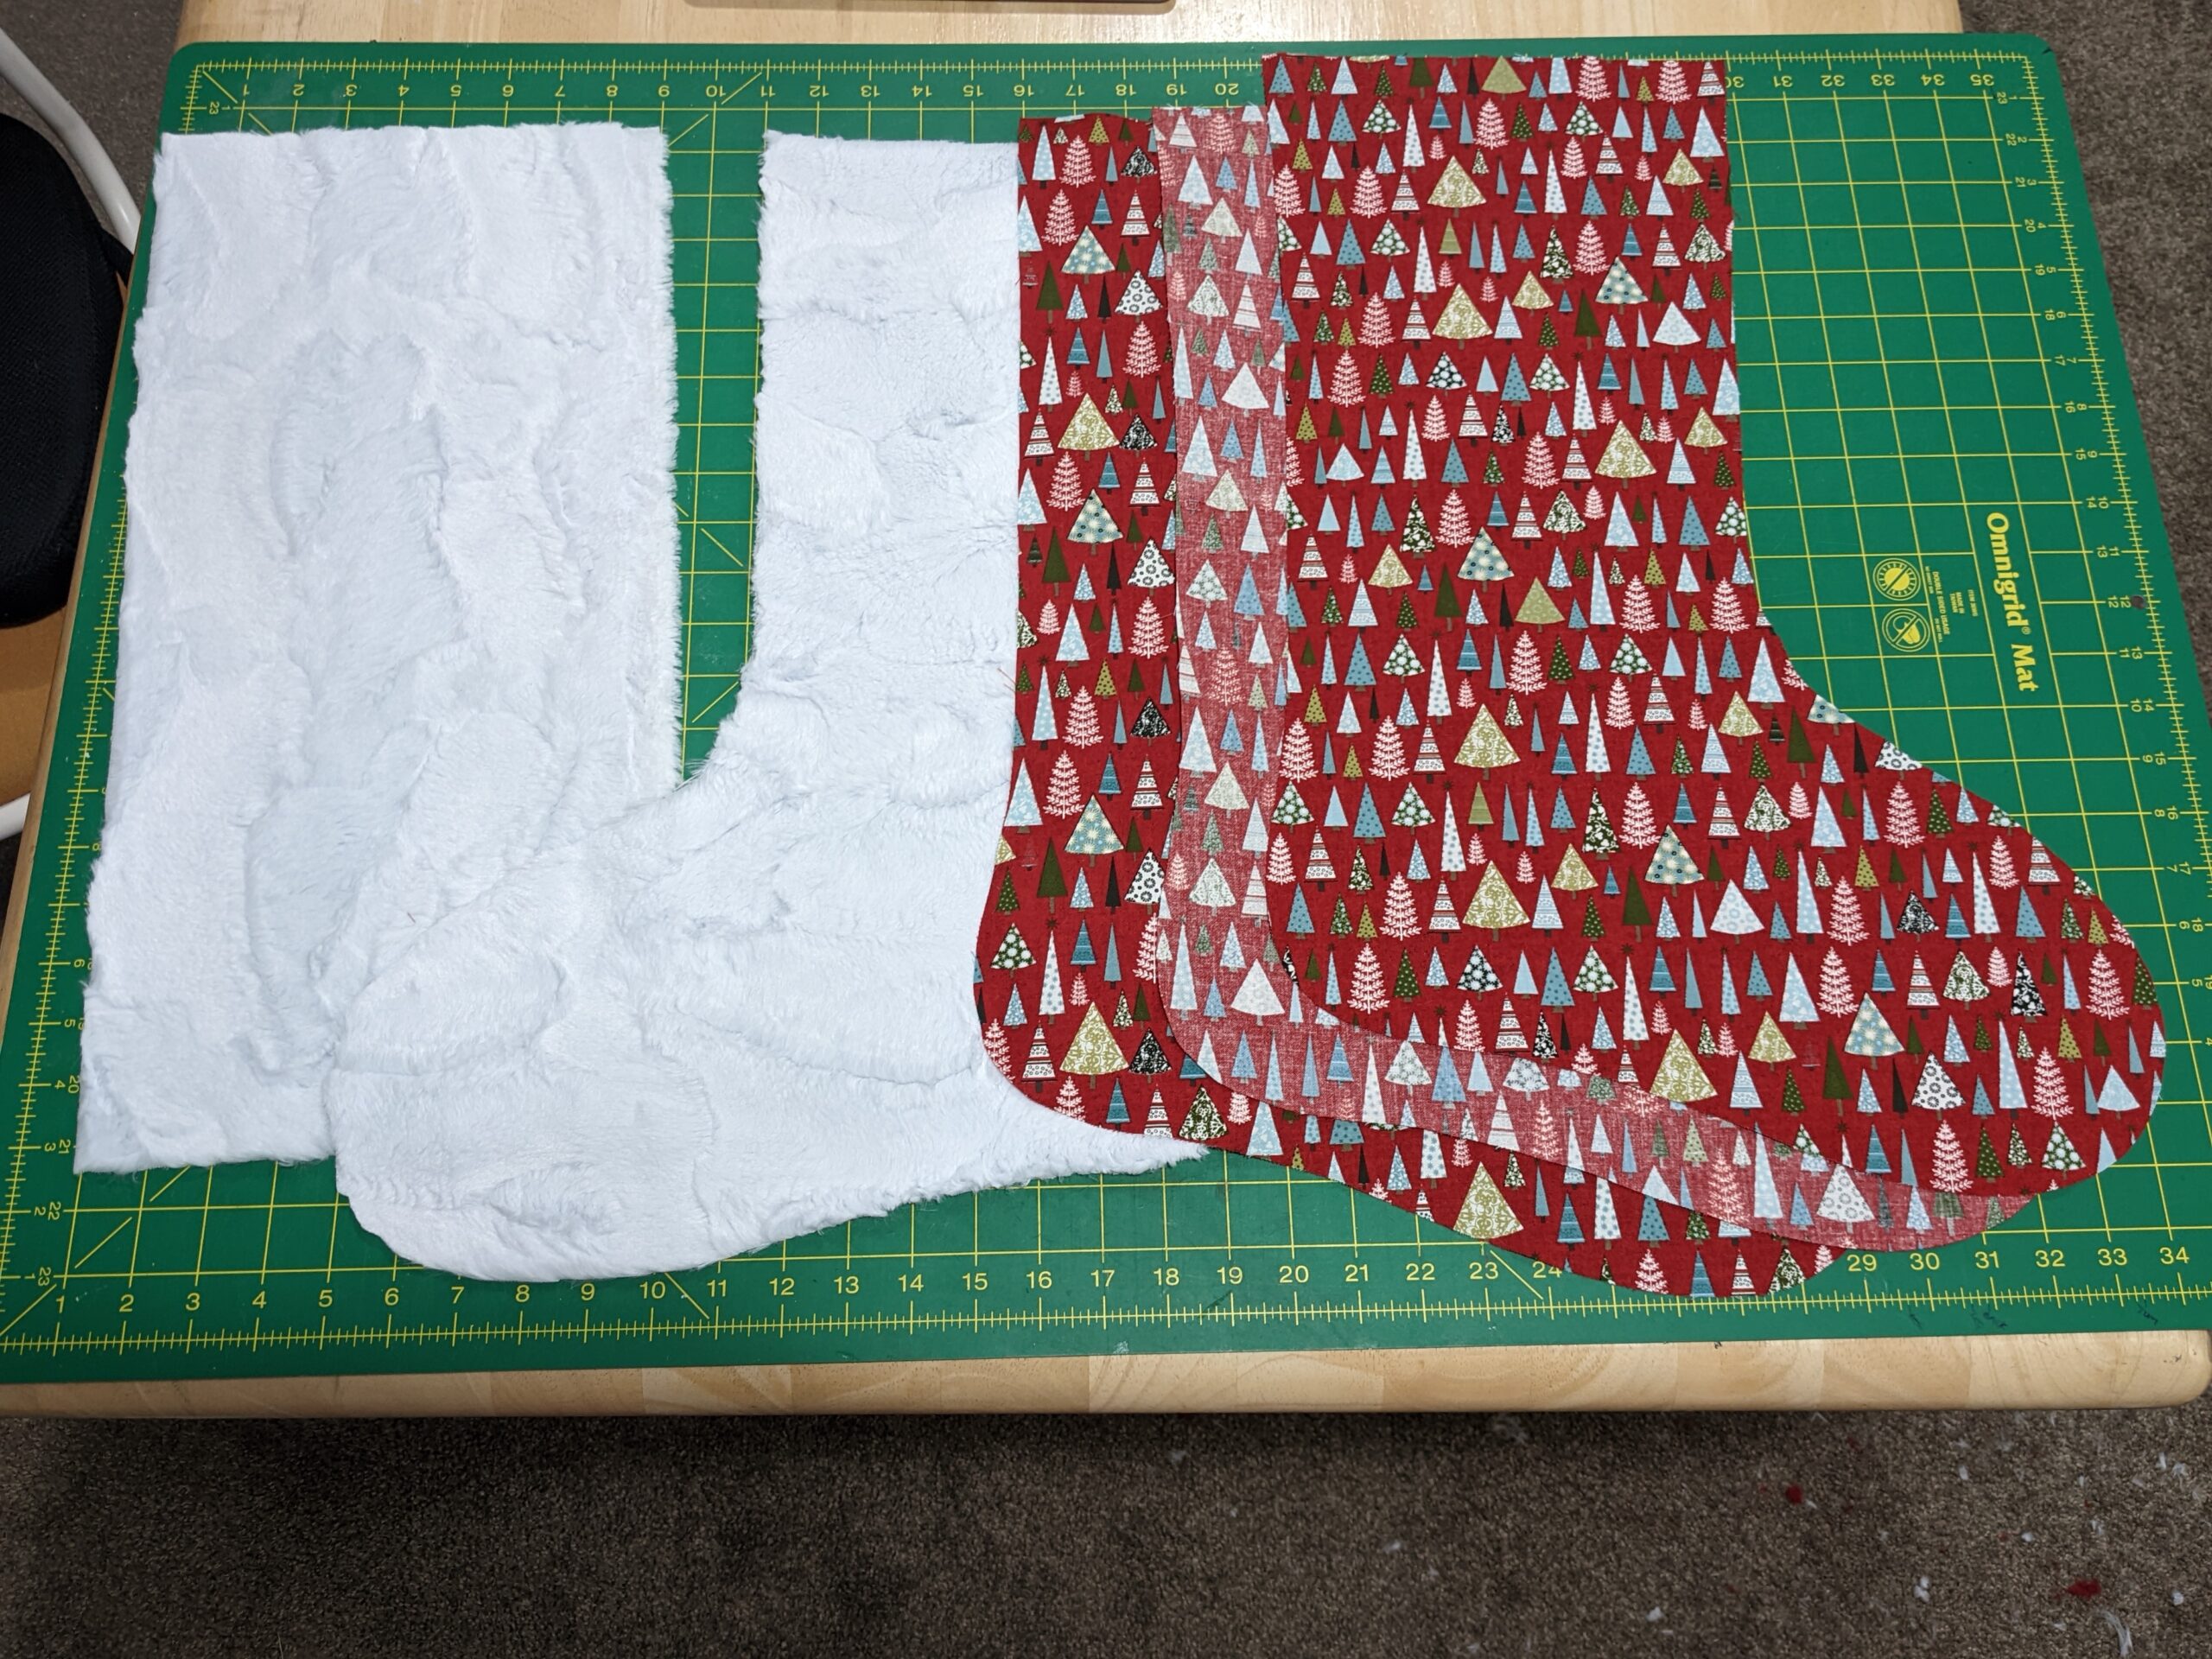
Cut out two mirrored lining pieces, and a front piece. If you cut out from the front side of the fabric, it will be facing the right way.
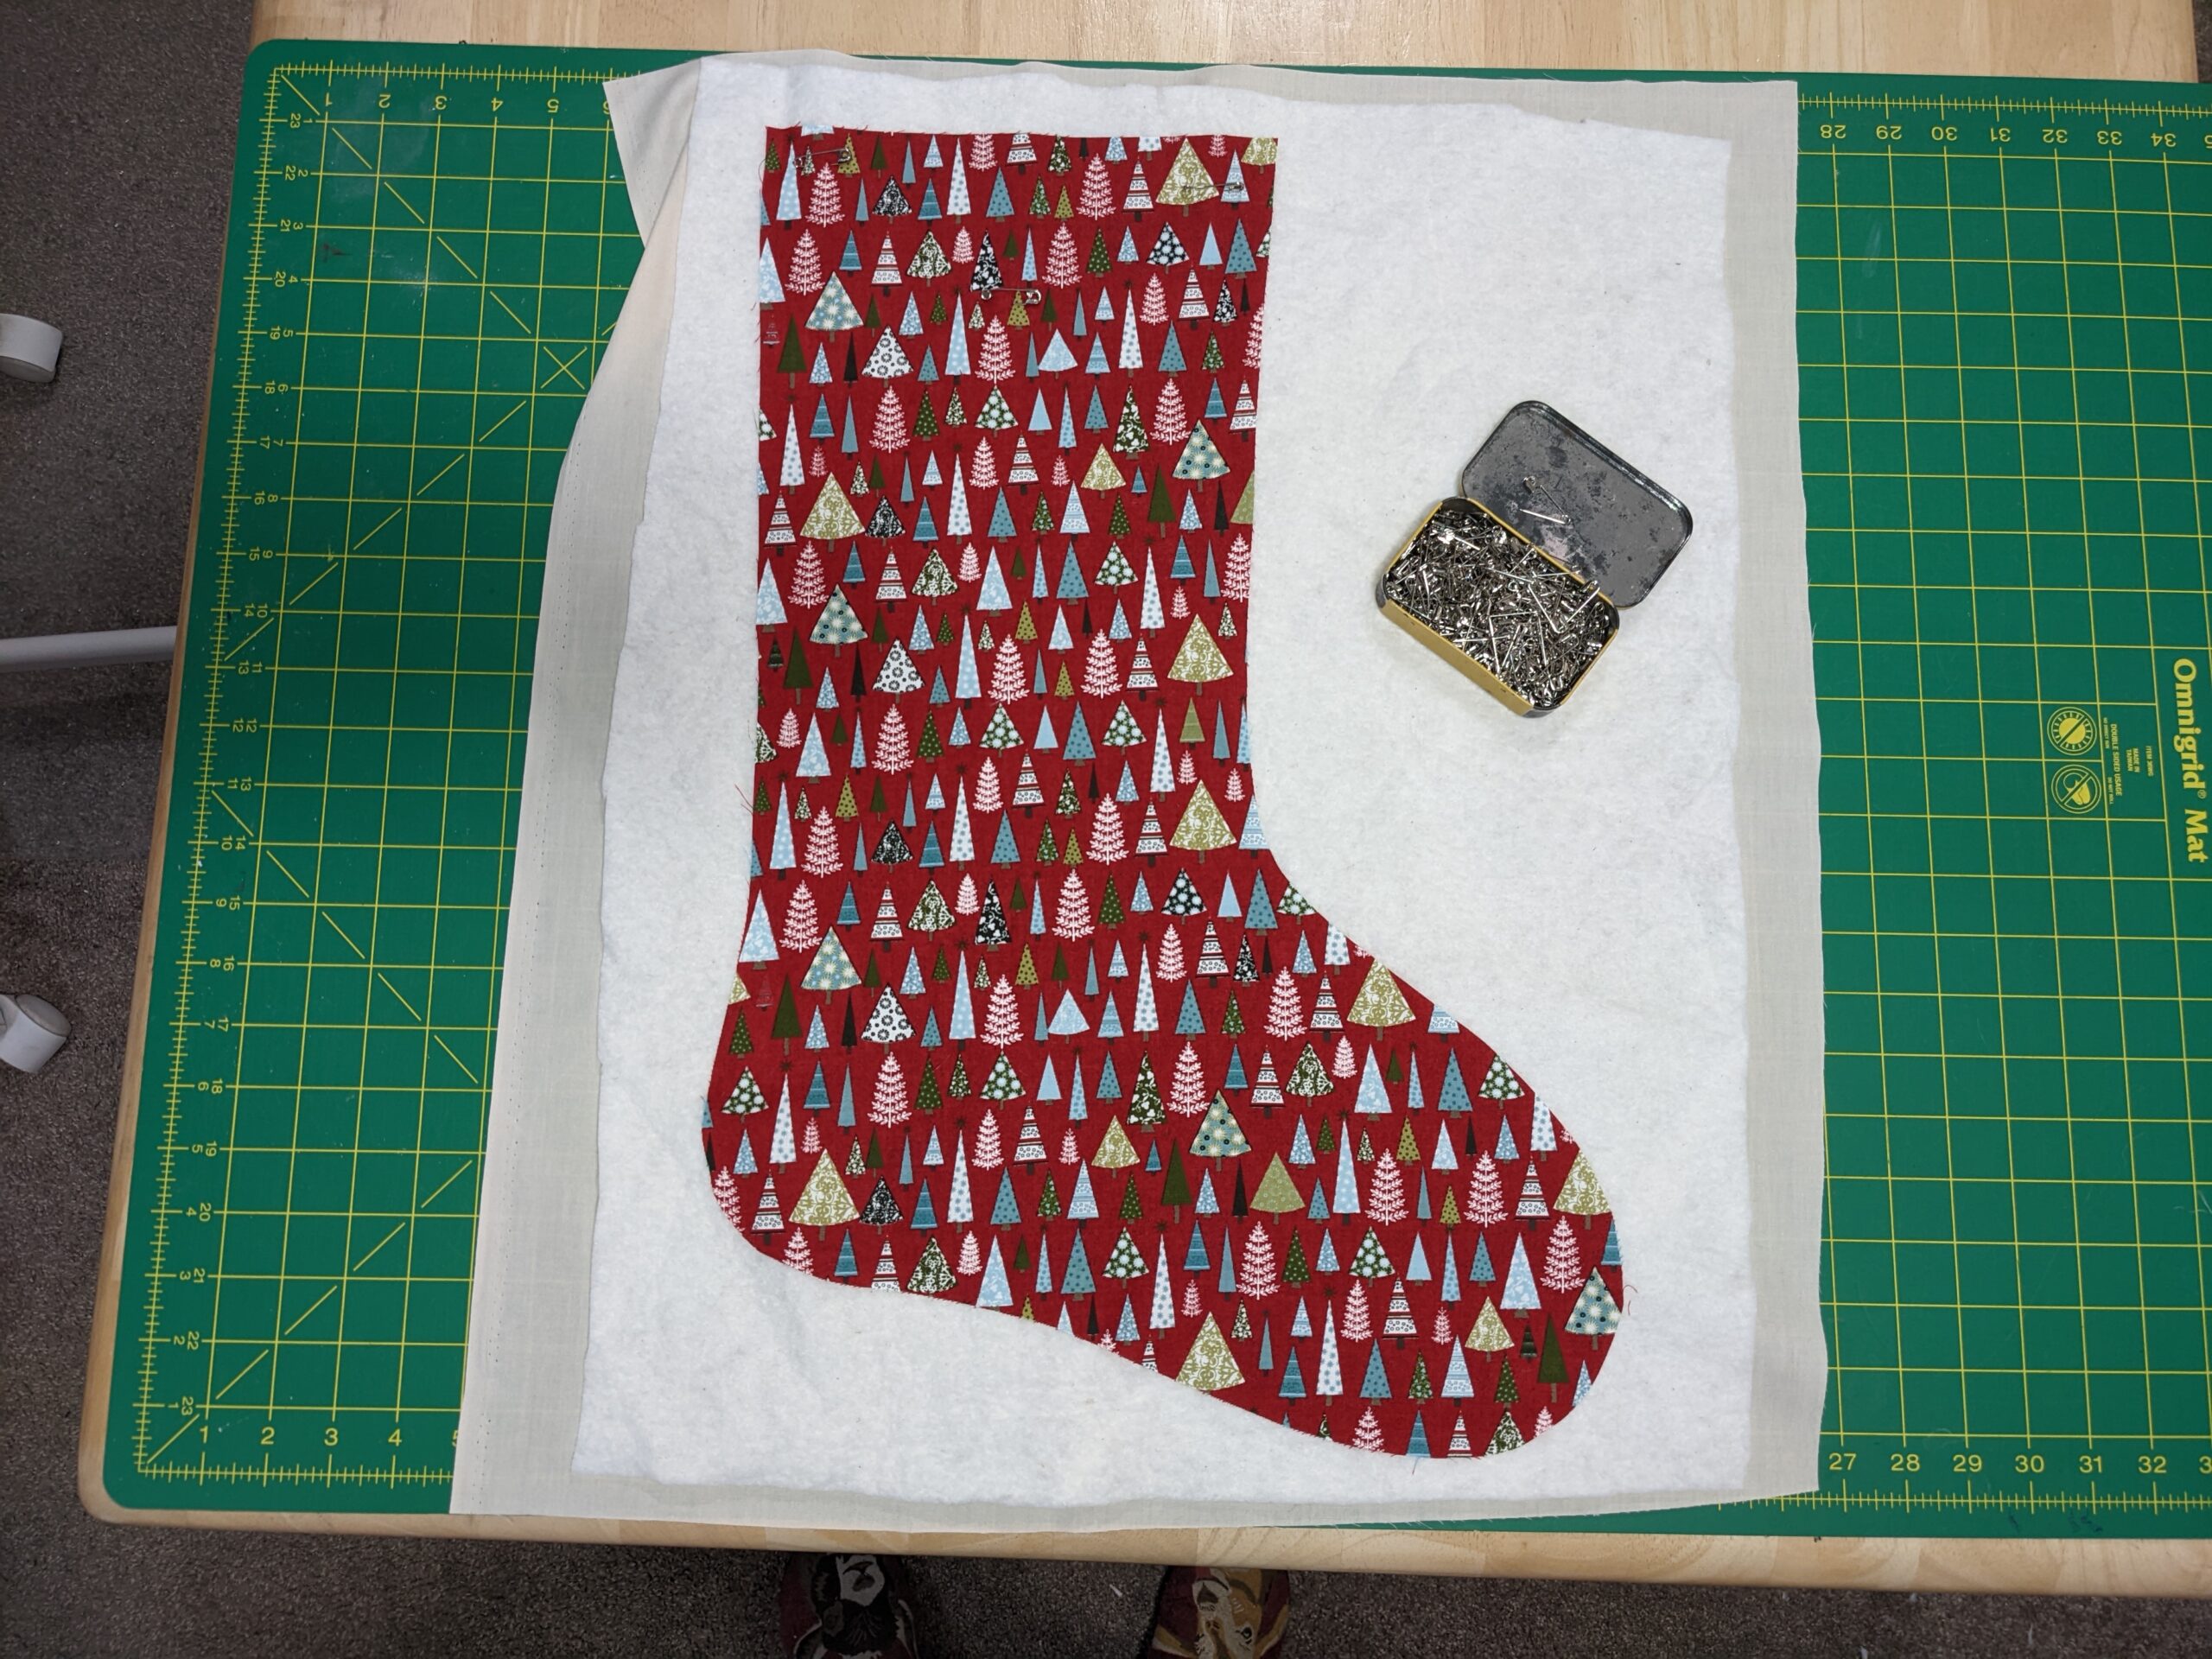
Make a quilt sandwich using the muslin, the batting and the front stocking piece on top. Baste with pins to secure.
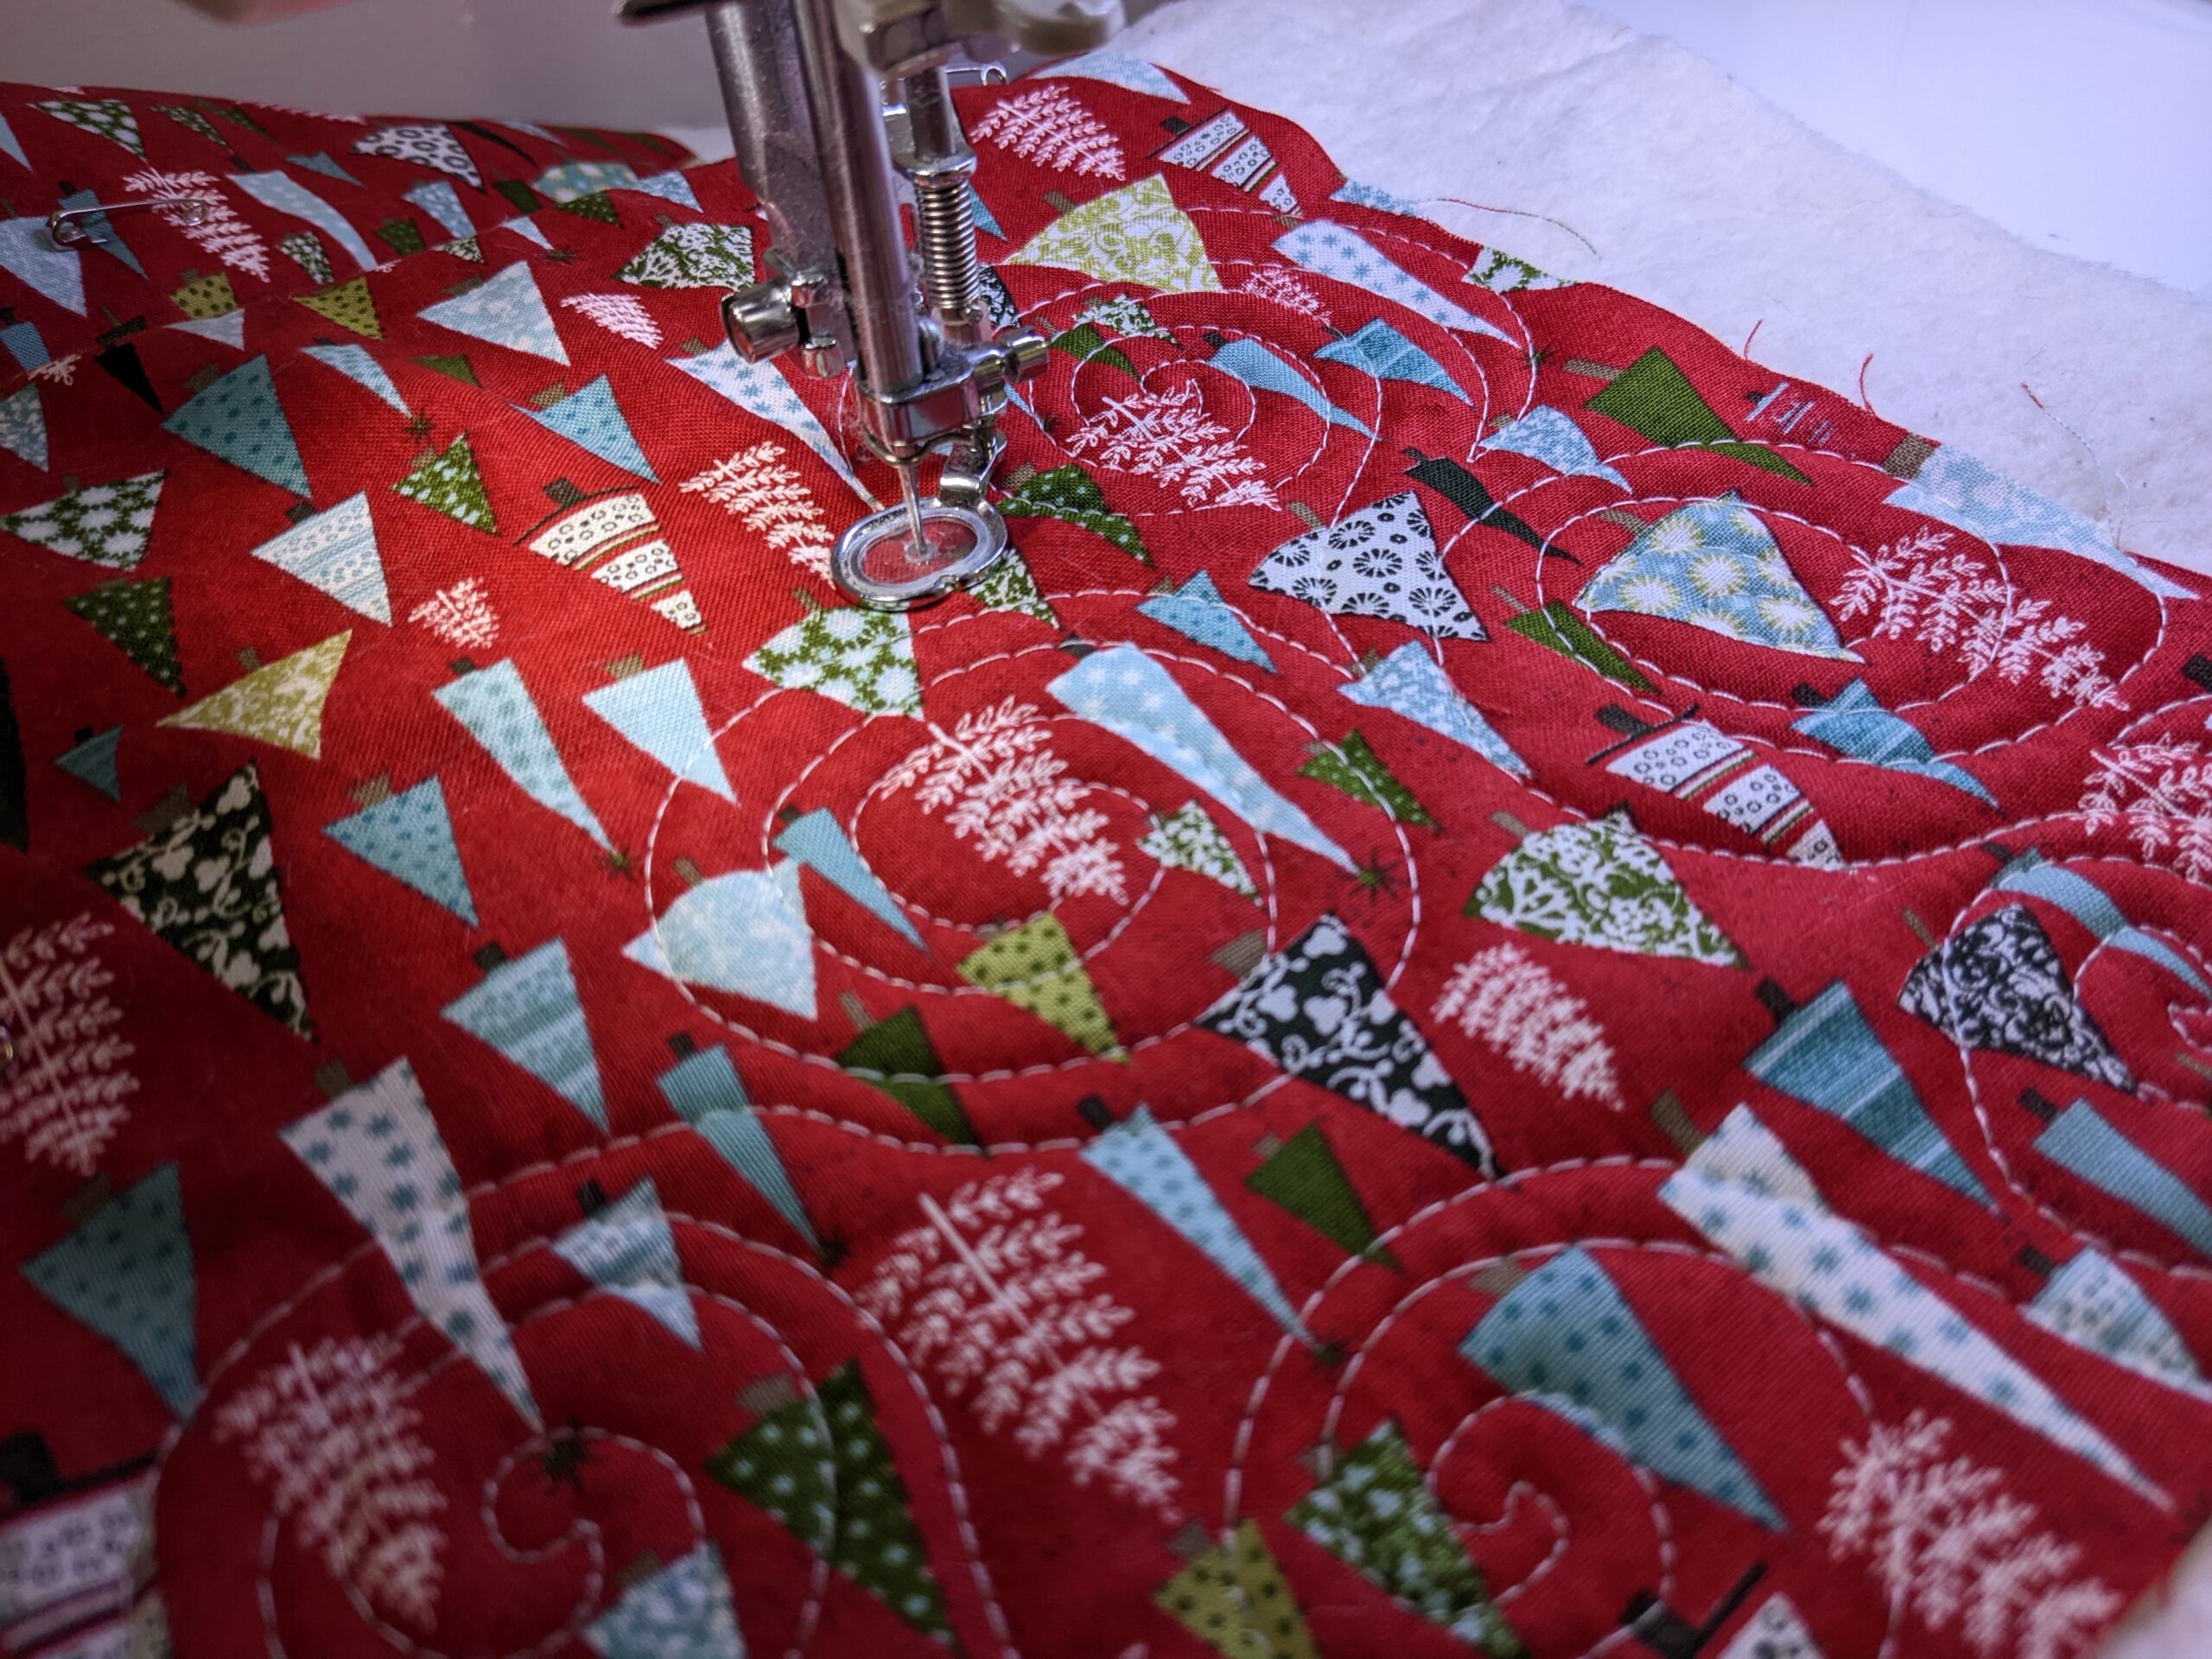
Quilt all over the stocking front piece. We like free-motioned spirals because they’re fun and fast, but you could also straight-line quilt or stipple – whatever your heart desires!
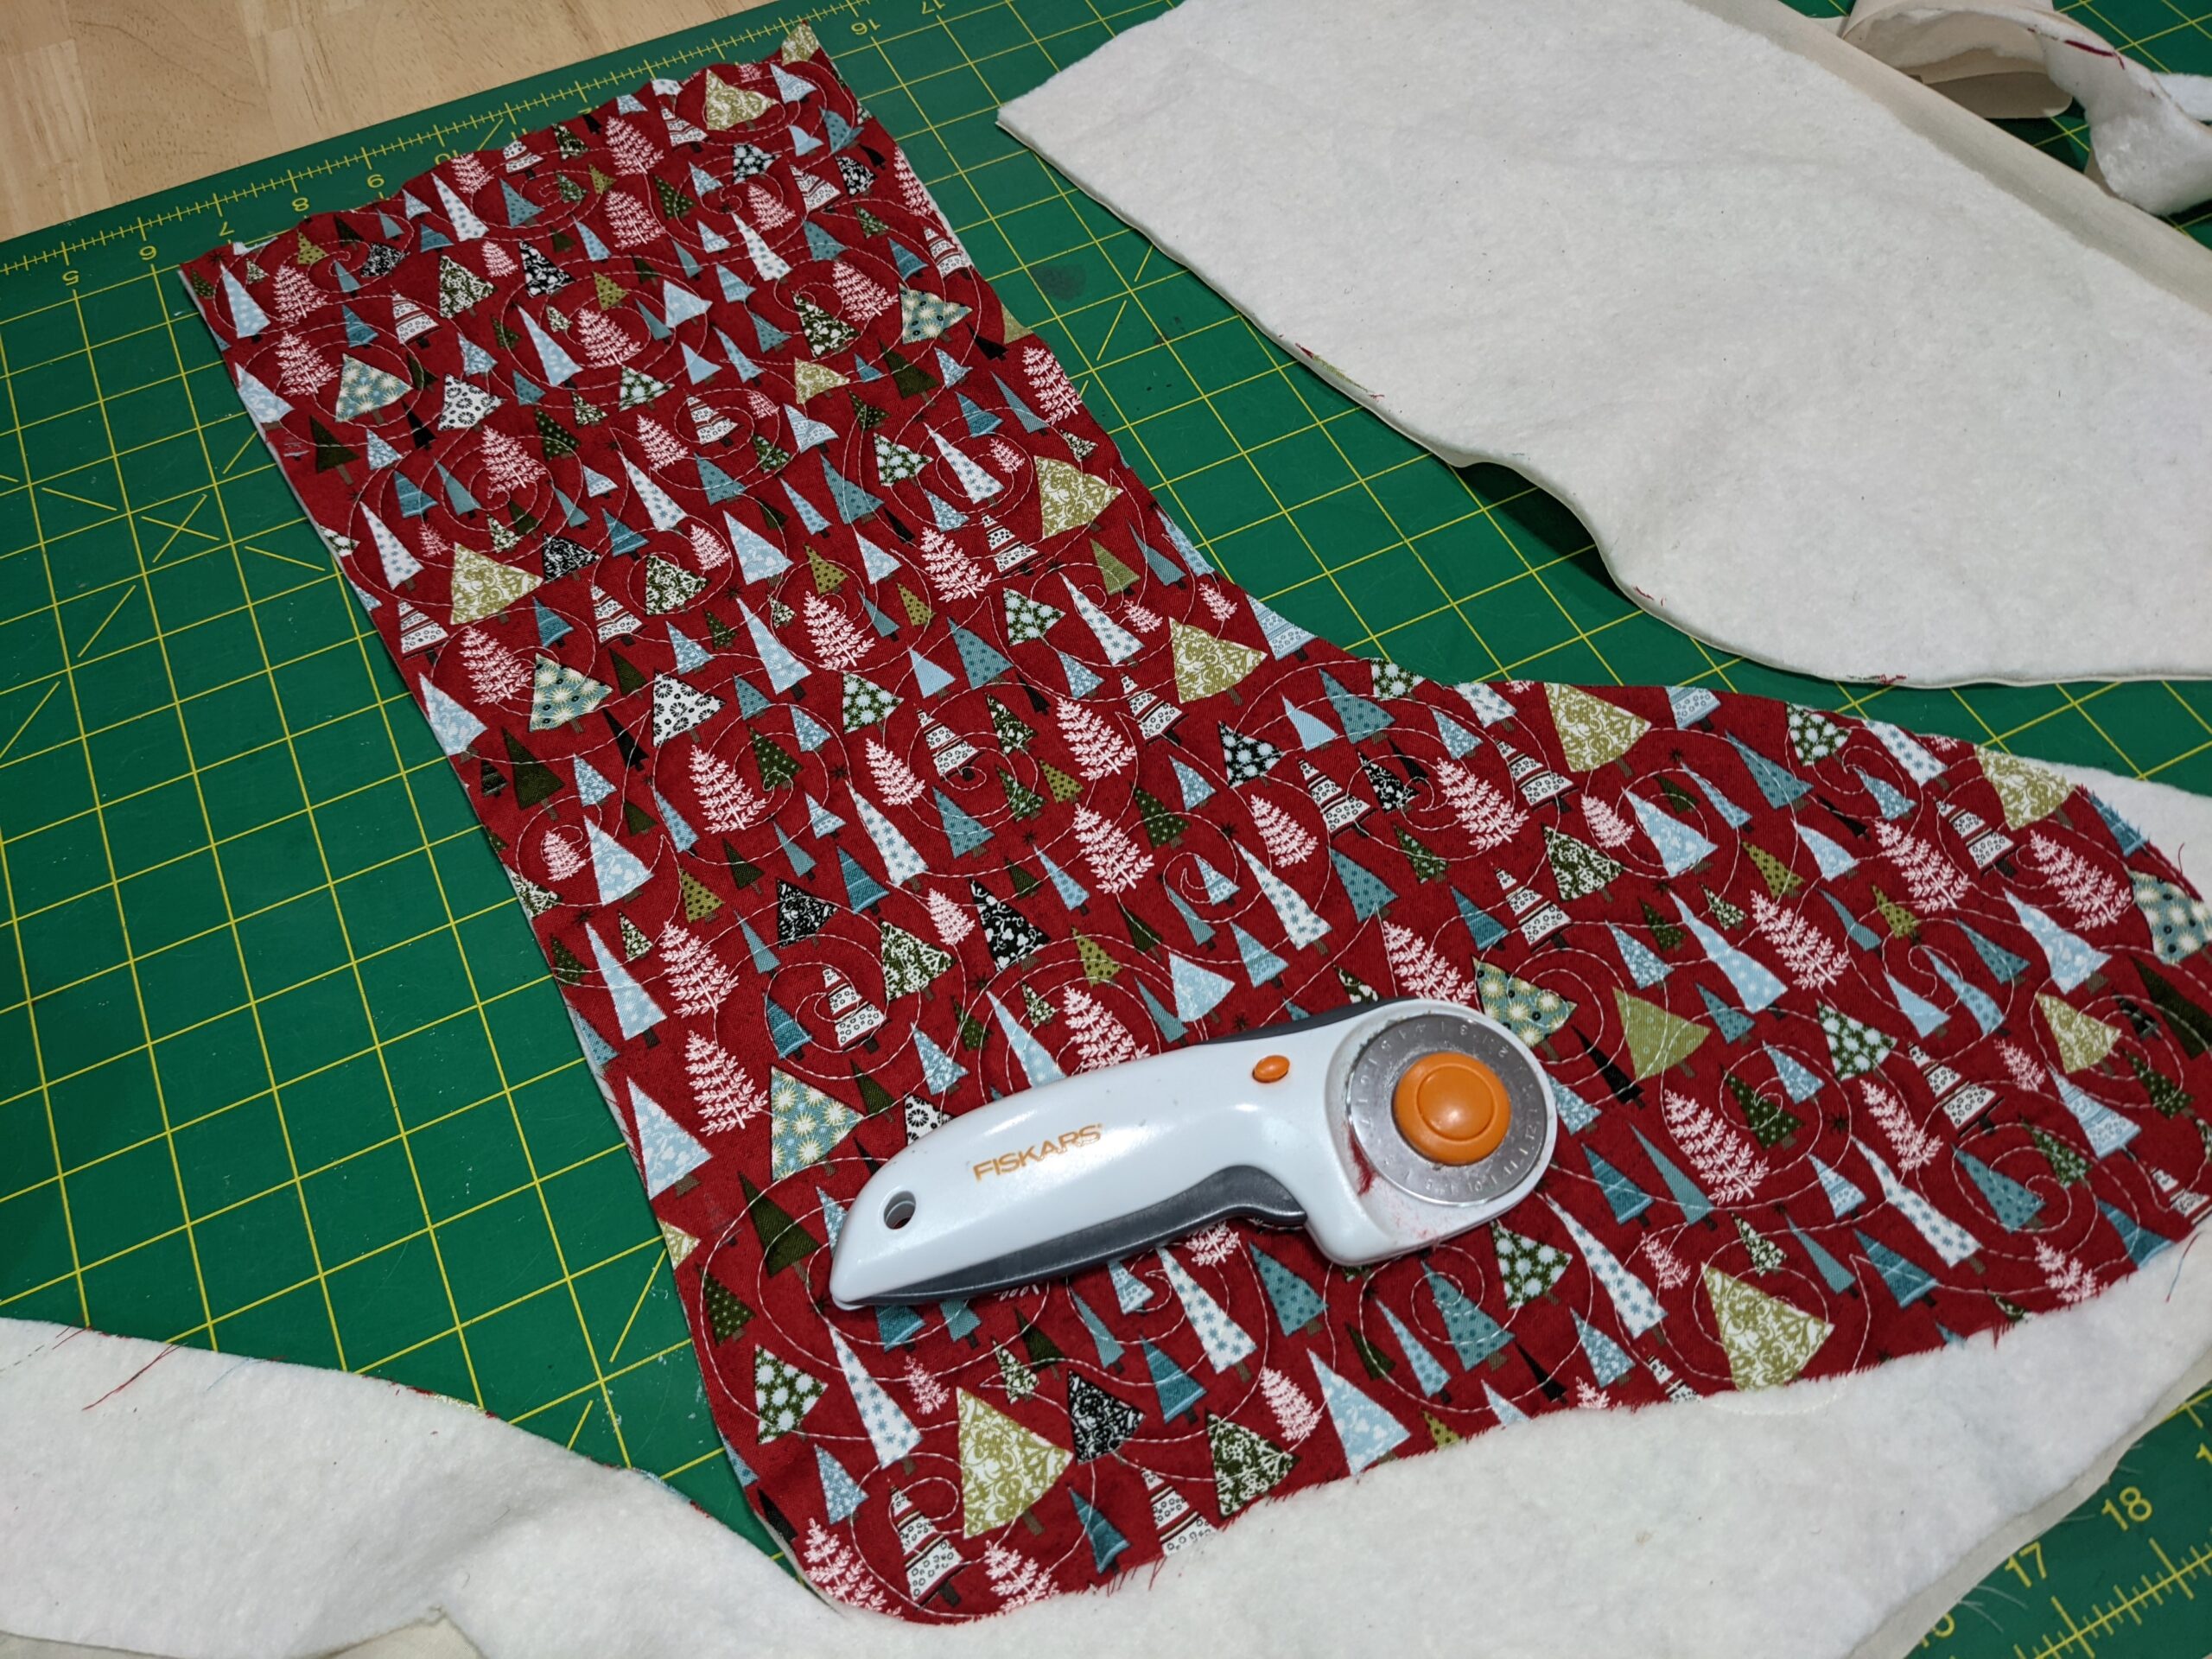
Once quilted, trim off the excess to align with the stocking front.
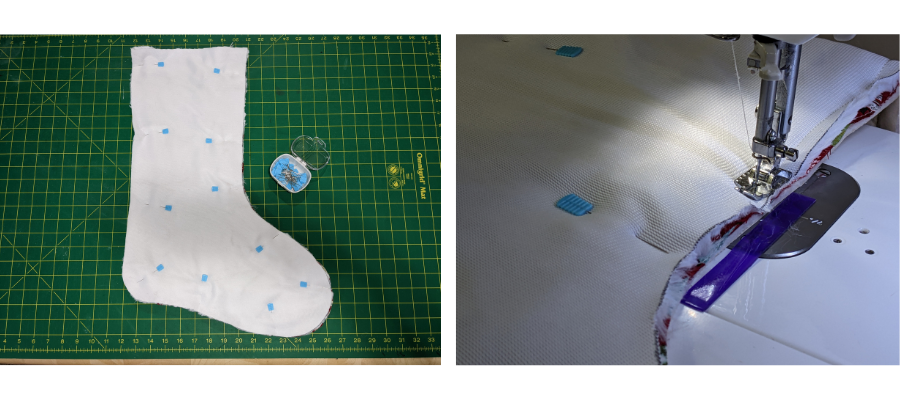
Pin the exterior front and back pieces, right sides together, and sew all the way around at a ½” seam allowance, leaving the top edge unsewn. There is stretch to the Cuddle fabric, so make sure to pin to prevent shifting. You may also wish to use a walking foot, if you have one.
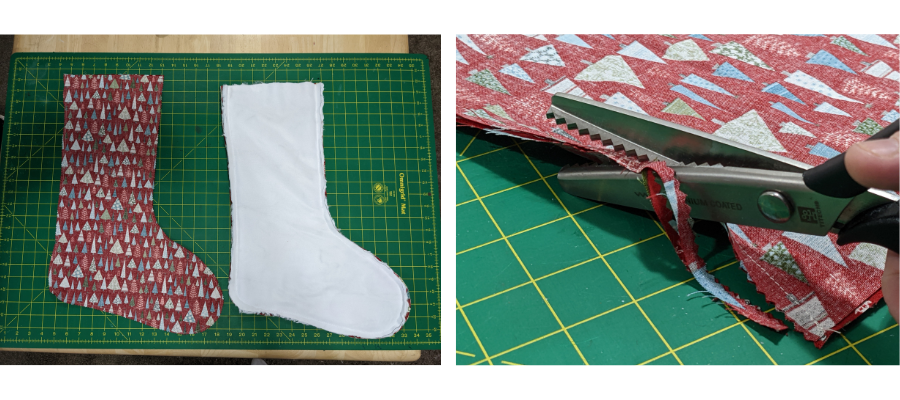
Repeat for the lining pieces. You can trim the seam allowance down on the lining to ¼” with pinking shears as the pattern instructs. However, we recommend not doing that for the exterior, to keep mess to a minimum.
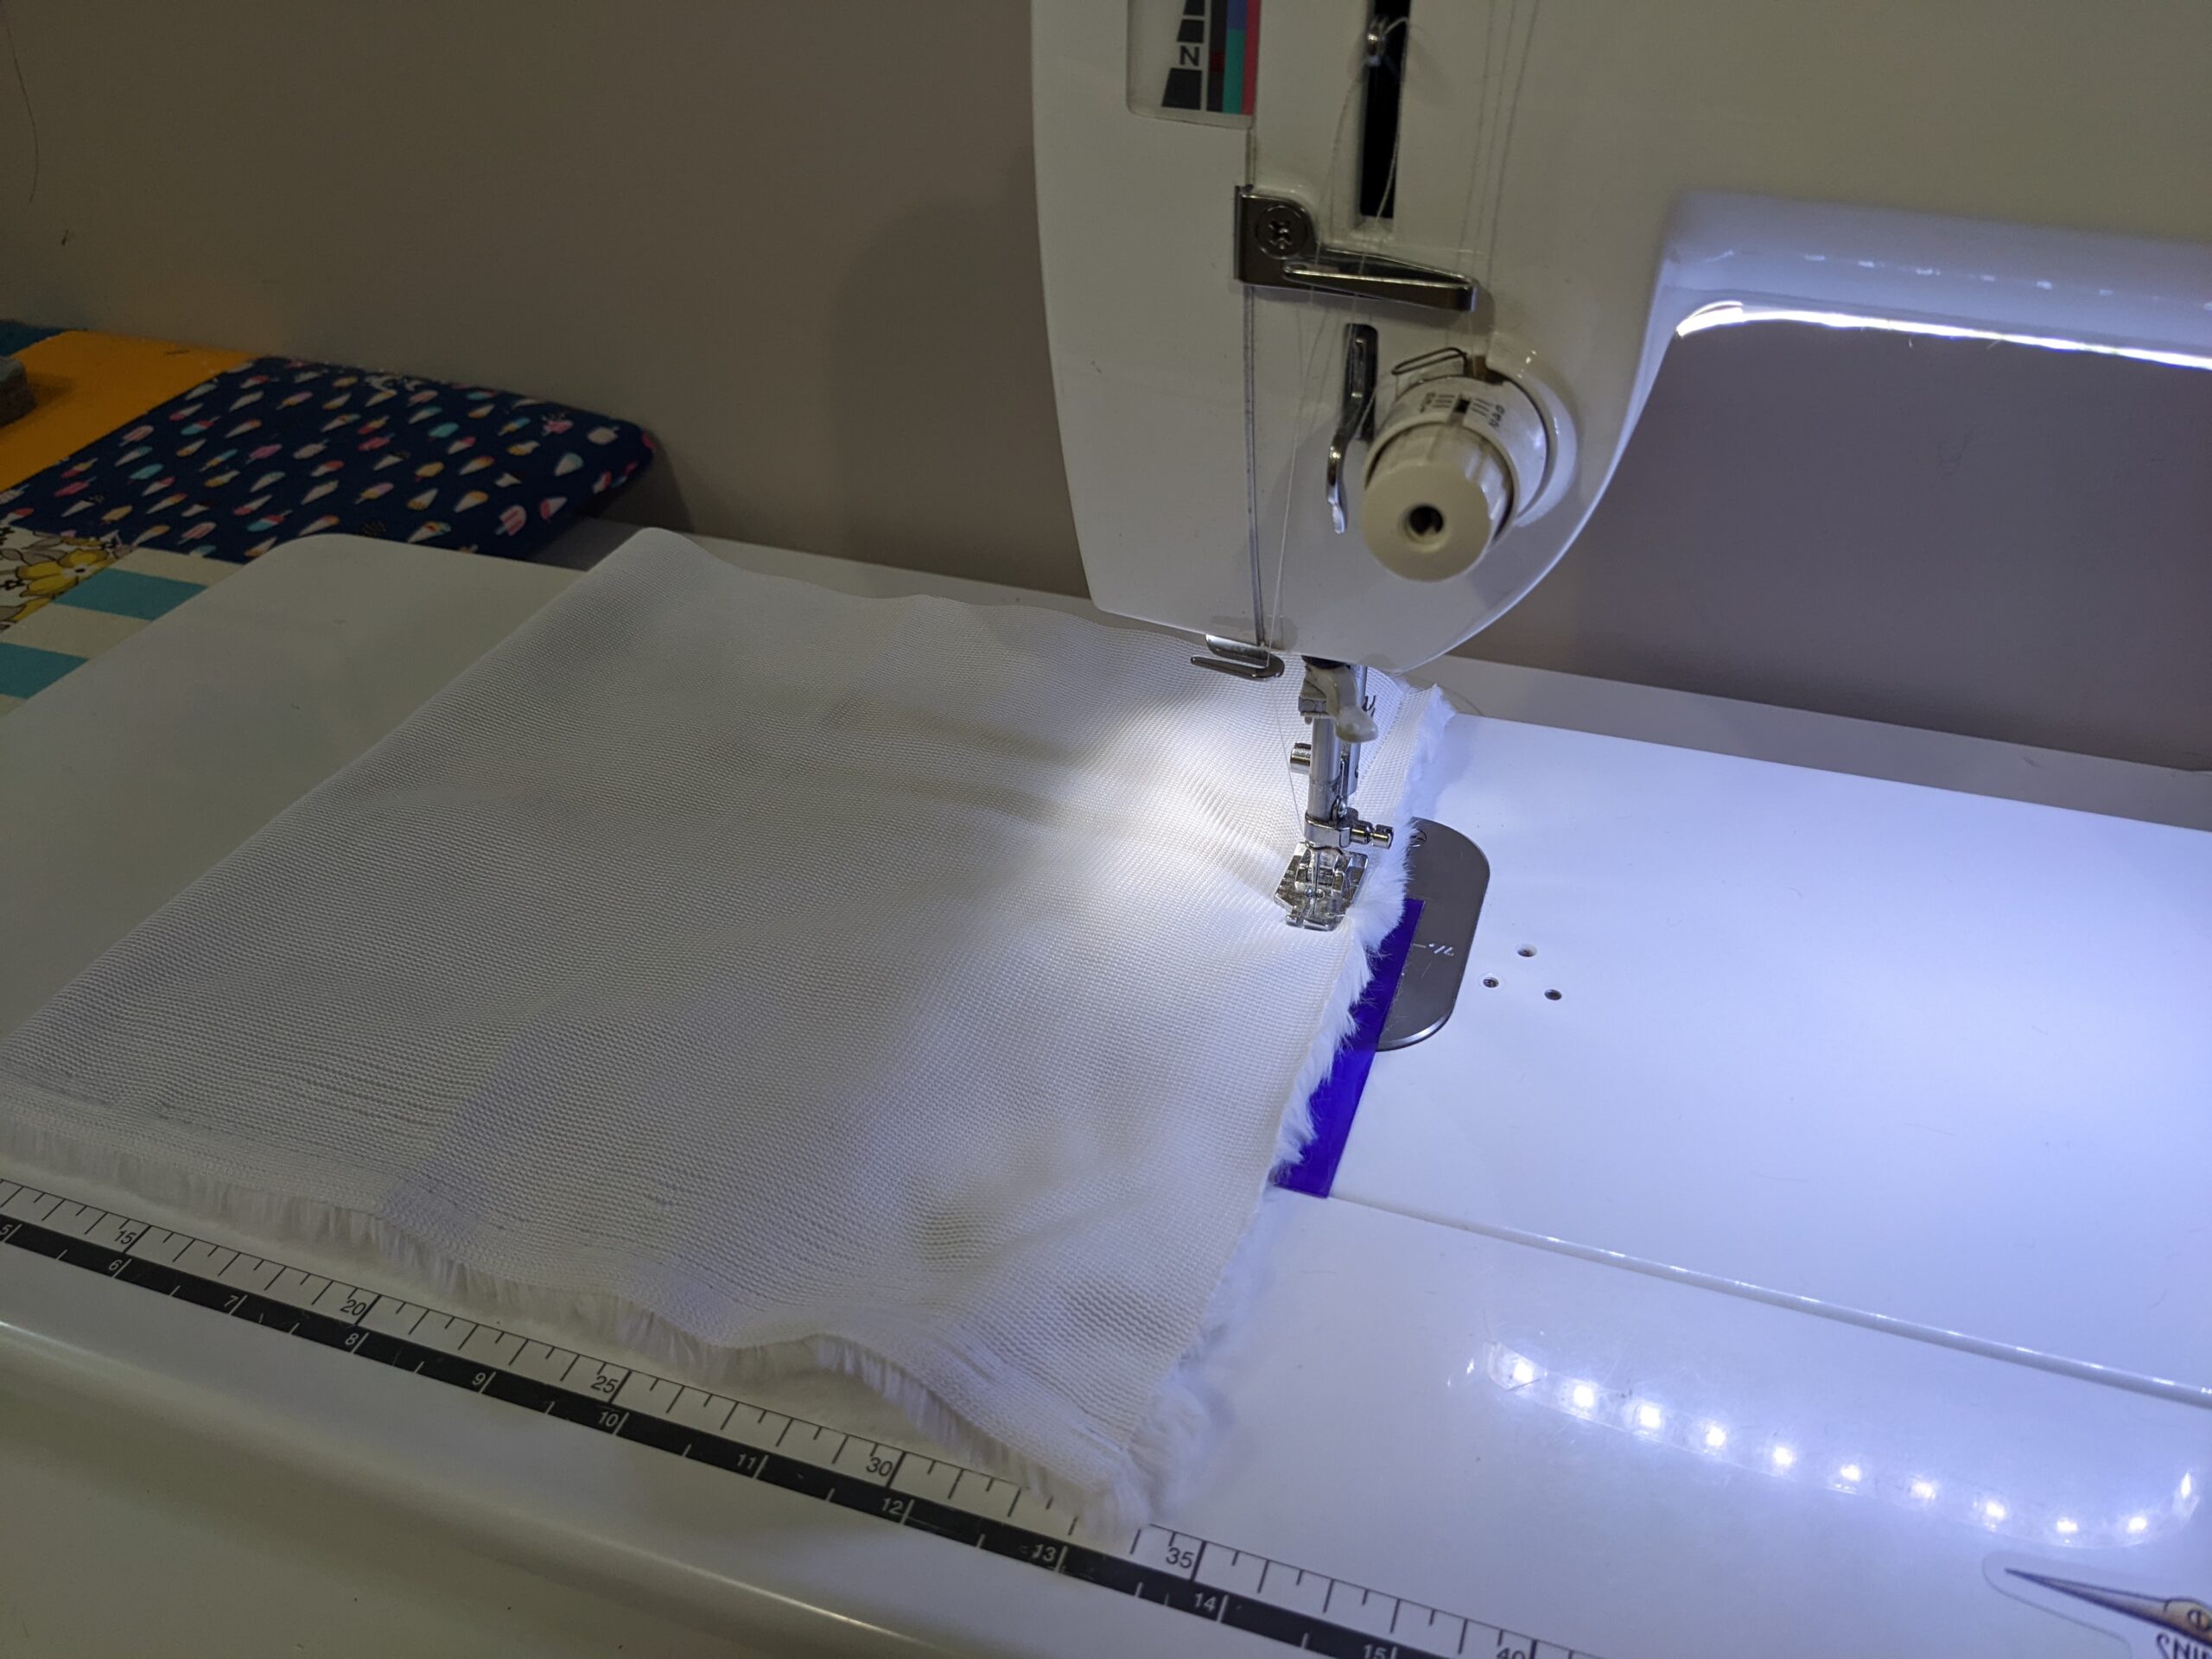
To sew the cuff, sew the shorter ends together (right sides together) with a ½” seam allowance.
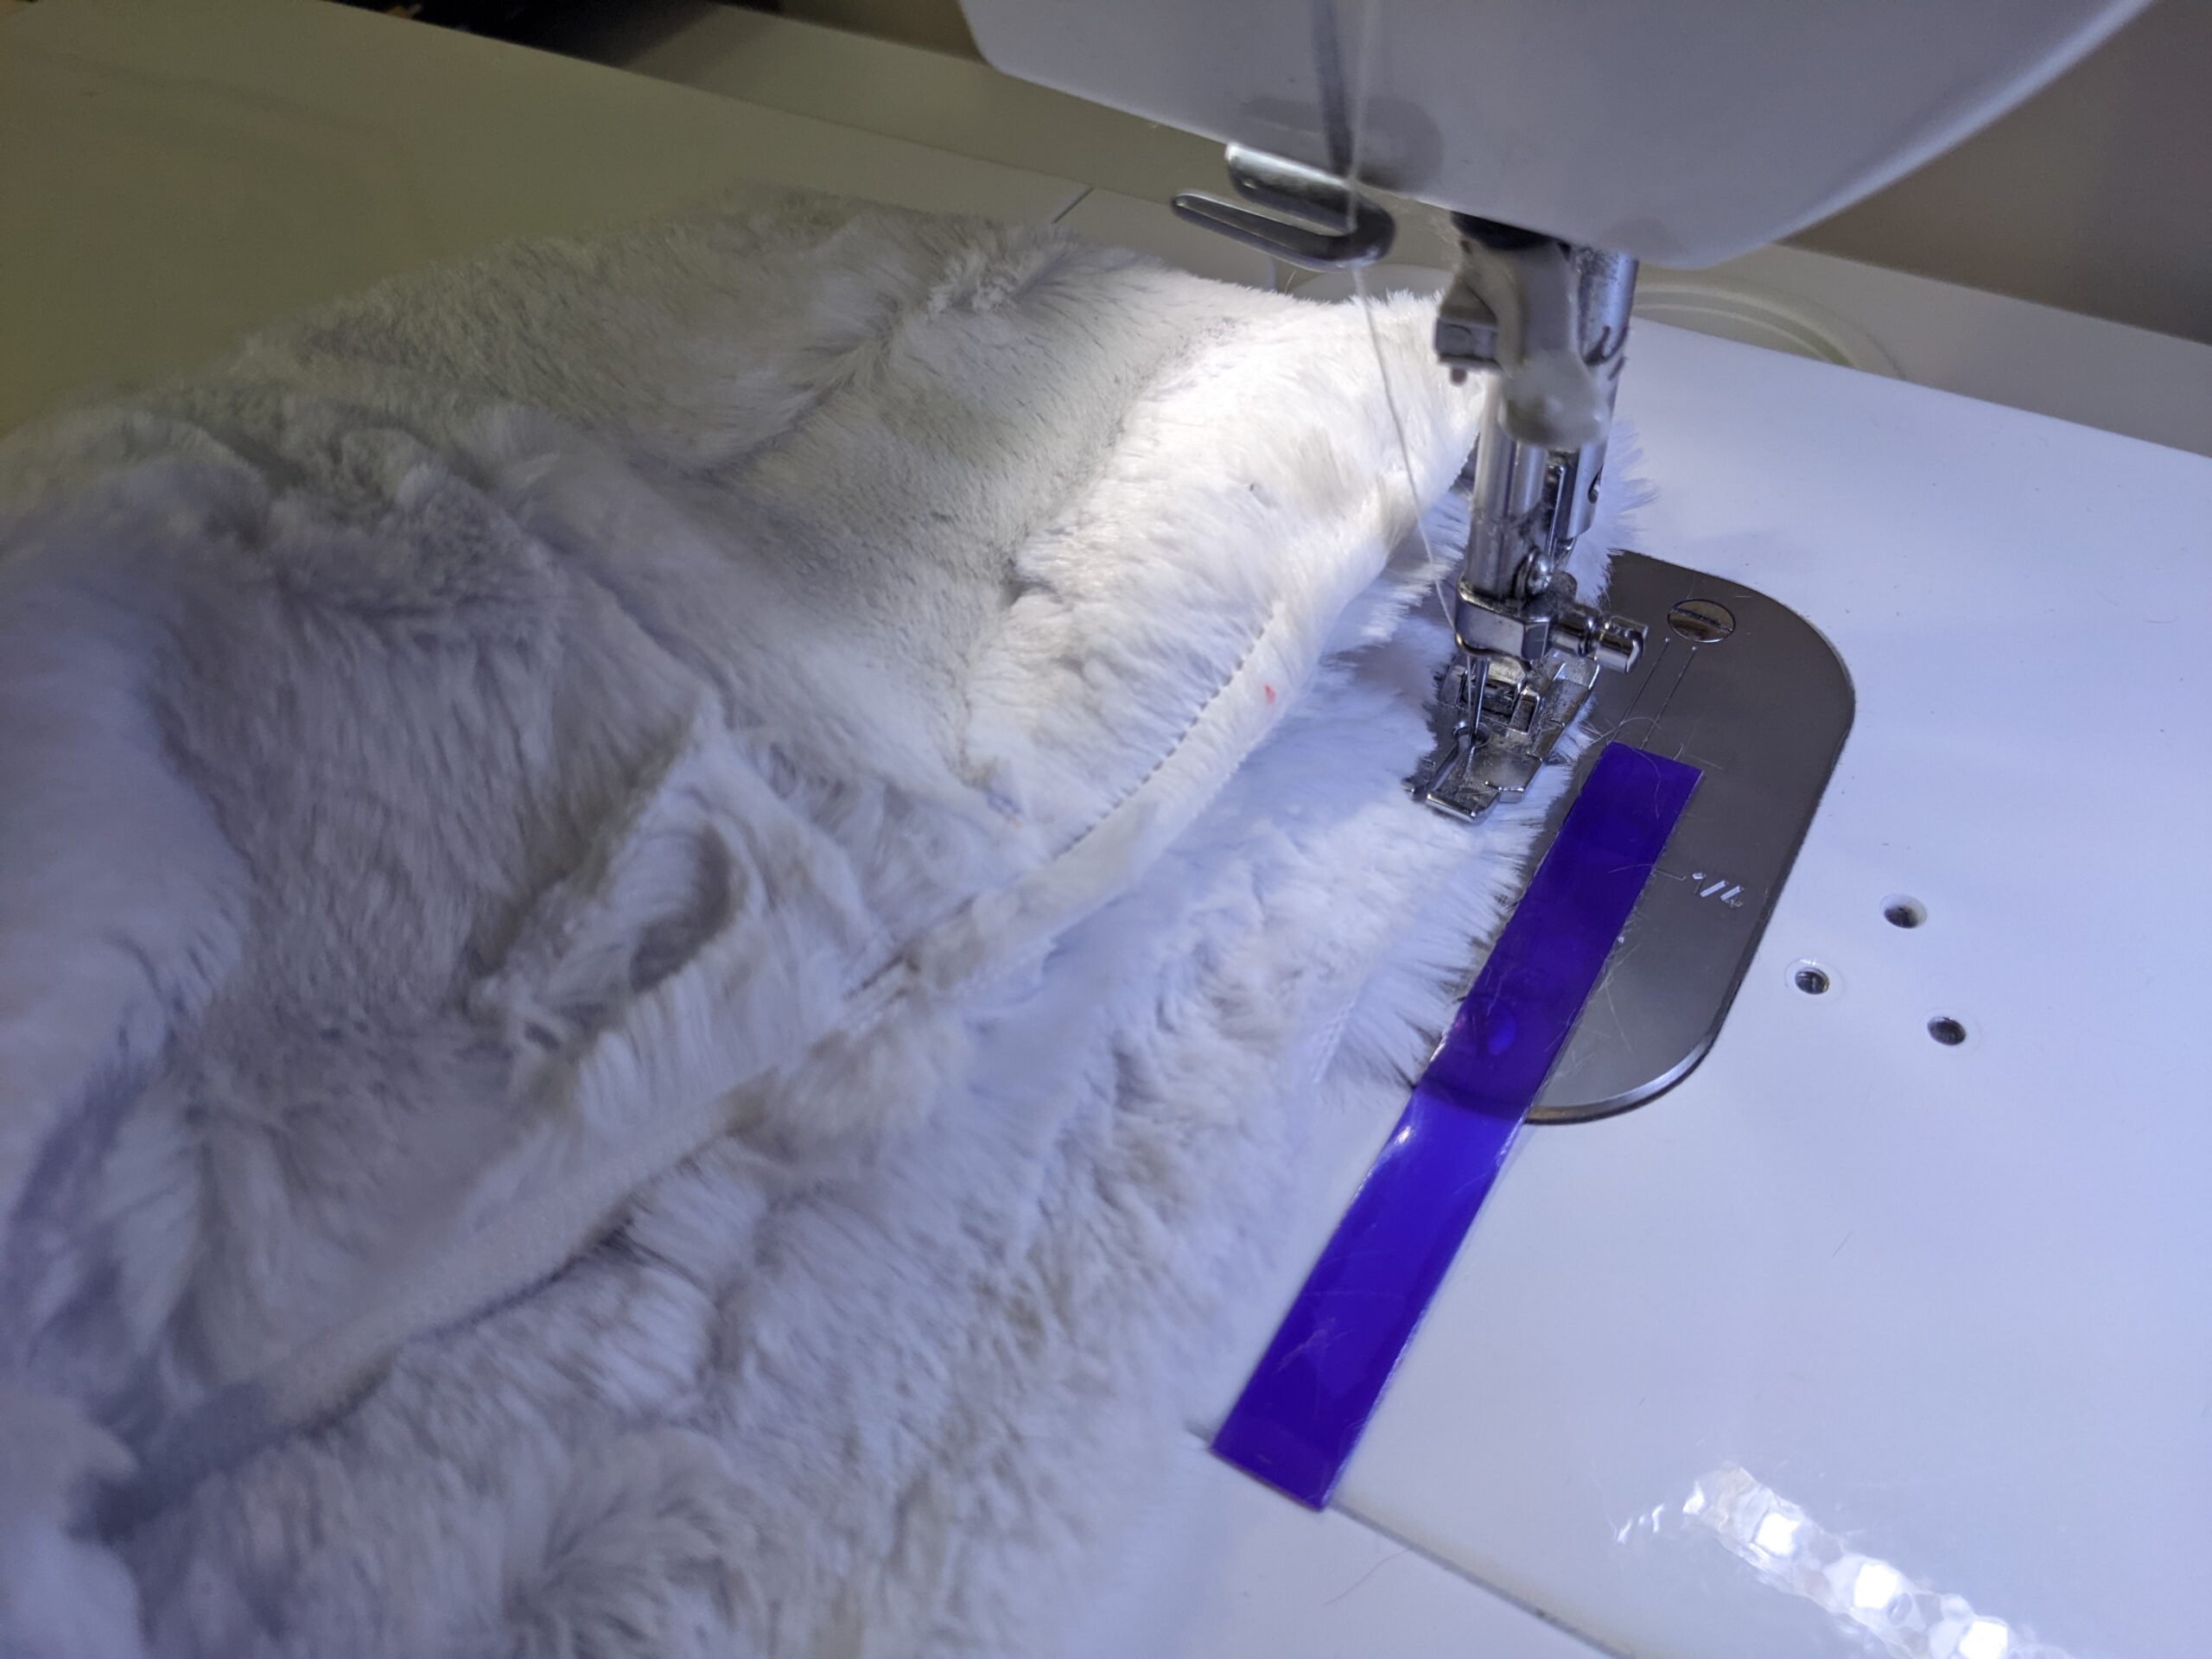
Skip the pressing instructions on the pattern, as you cannot safely apply high heat to Cuddle! Instead, fold the wrong sides together and baste-stitch the raw edges together with around a ¼” seam allowance to keep them from shifting apart.
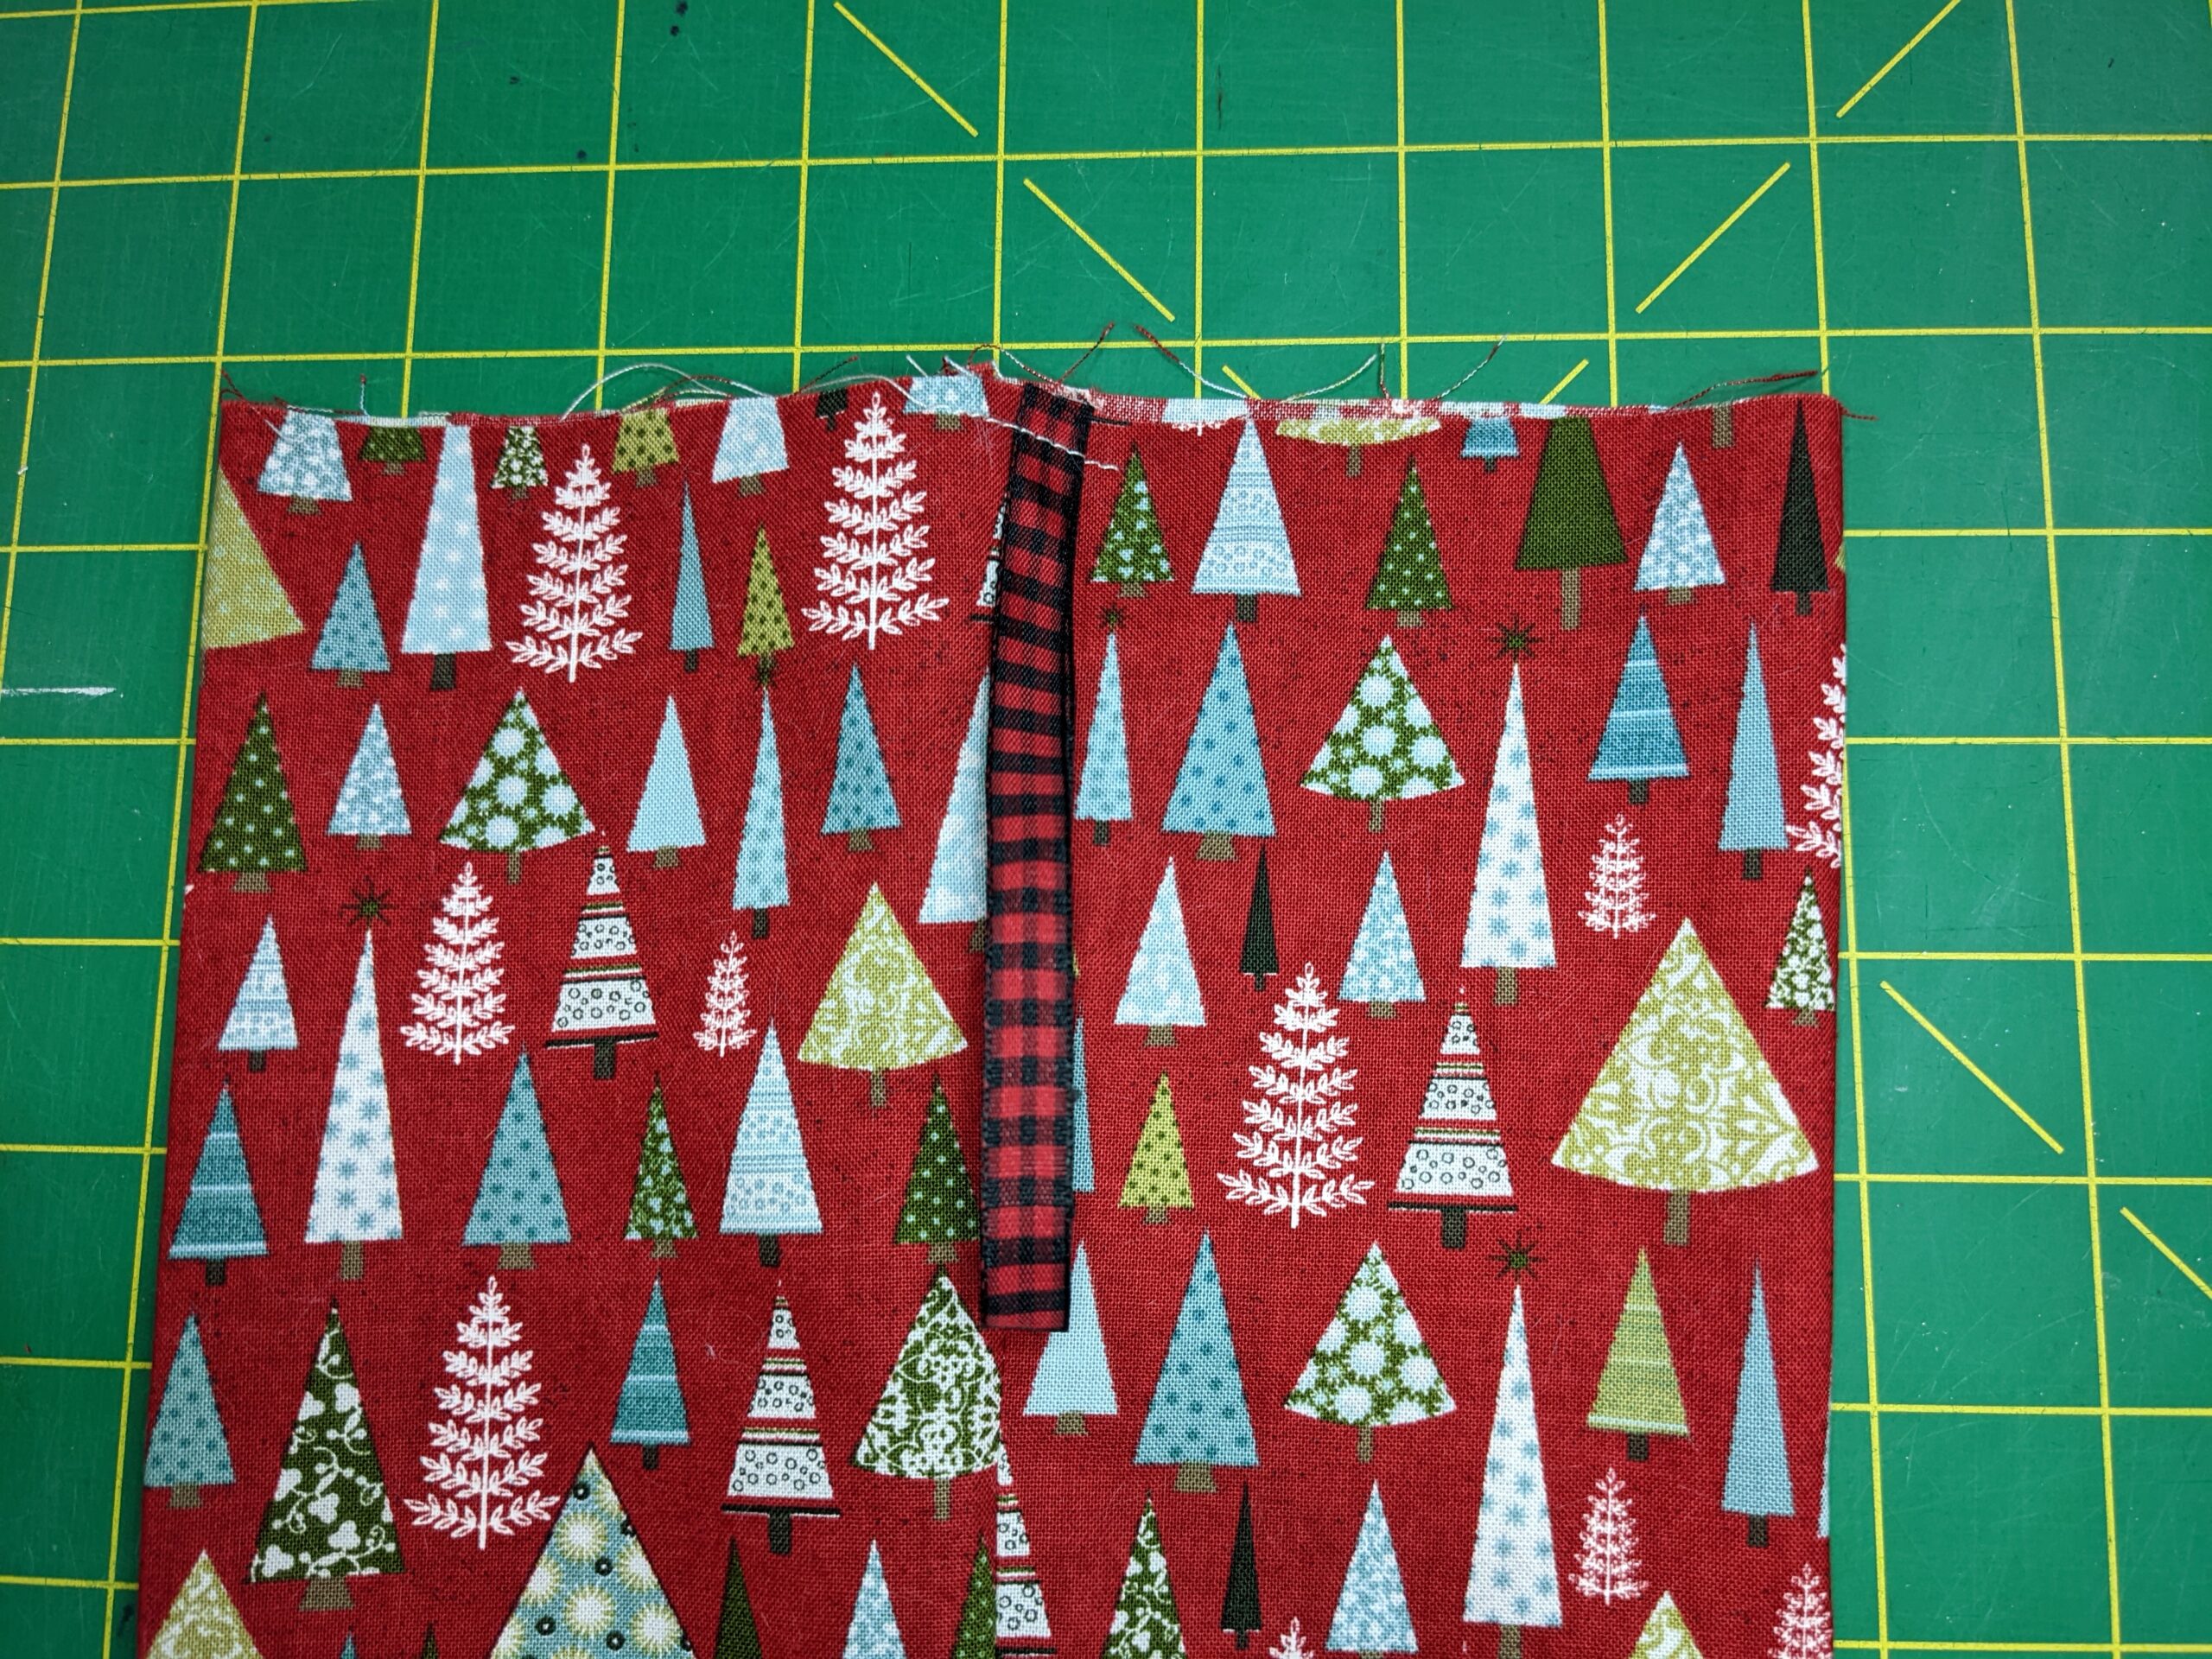
Turn the lining right side out. Fold the ribbon in half and align the raw edges to the top edge, over the heel seam. Baste-stitch across the ribbon with a 1/4″ seam allowance to secure.
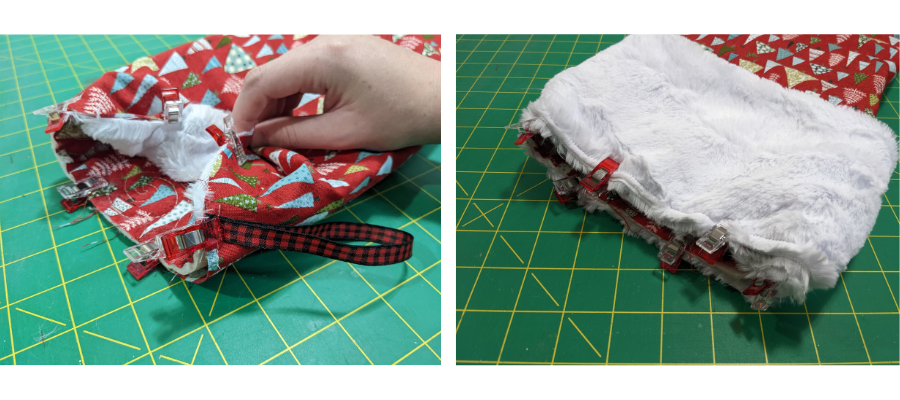
With the exterior stocking still the wrong side out, stuff inside the lining so that the wrong sides of the lining and exterior are together. Shuffle to align the seams, and pin the top raw edges together.
Place the cuff around the outside, aligning the cuff seam with the heel seam. Pin it again so all layers are together. The ribbon should be sandwiched between the cuff and lining.

Sew all the way around with a ½” seam allowance. If you have a serger, you can serge this part and skip the next step.

To finish the seam edge, set your sewing machine to a short-and-wide zigzag, and work your way around, stitching over the raw edge to finish it with thread and prevent fraying.

Turn the stocking right side out, pushing the lining down snugly into the toe of the exterior. Flip the cuff down on the outside to cover the seam.
Did you make a Candlelight stocking with Cuddle? Or a different fabric? Pretty please: post your creation to inspire others — and when you do, tag us on Instagram or Facebook so we can celebrate your design, too! #TrendTexFabrics @trendtexfabrics
