Benartex Gnomes by Andi Metz Tutorial
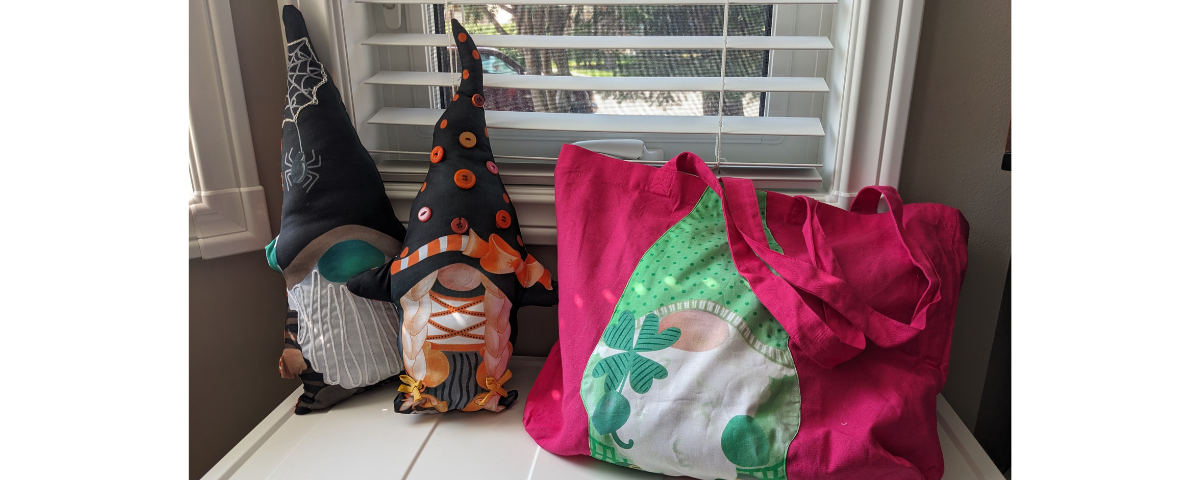
These Benartex gnomes are so quick to sew – how will you embellish yours?
Halloween and St. Patrick’s Benartex gnome panels like the ones shown here, plus baking and Valentine’s gnomes can be found in the TrendTex Shop. Designer Andi Metz also has coordinating prints for the backs of your plushies here, or for any of your other gnome related sewing projects!
Finished Size: approx 10″ wide x 18″ tall
Difficulty: Beginner
Time to make: 20 minutes each!
Here’s what you’ll need for this Benartex gnomes tutorial:
- Sewing machine (or hand sewing supplies)
- Scissors
- Fibre fill
- A Benartex gnome panel
- 1/4m – 1/2m of backing fabric
Optional embellishment:
- Buttons
- Beads
- Ribbon, rickrack and other trims
- Embroidery floss and hand sewing needle
- DK or chunky yarn
- Glue stick
- Plain tote bag
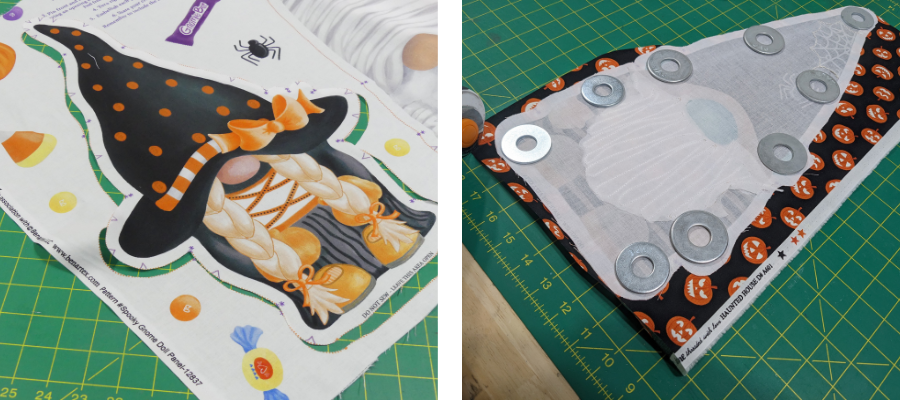
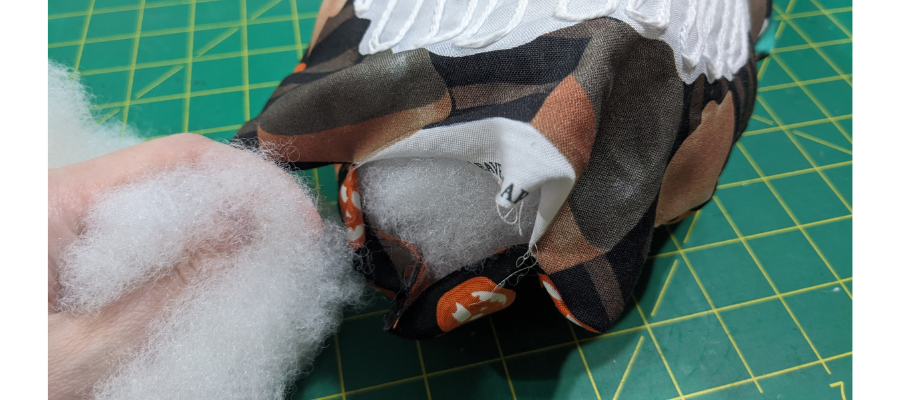
These gnomes are easy to put together. Simply cut along the lines and follow the instructions on the panel to sew to the backing fabric, clip corners, turn right side out, stuff and stitch up the turning gap.
Designer Andi Metz encourages you to embellish your gnomes and share them with the hashtag #gnomesmyway. It’s easiest to do this before you sew the front and back pieces together.
Here are some of our ideas!
Buttons and beads
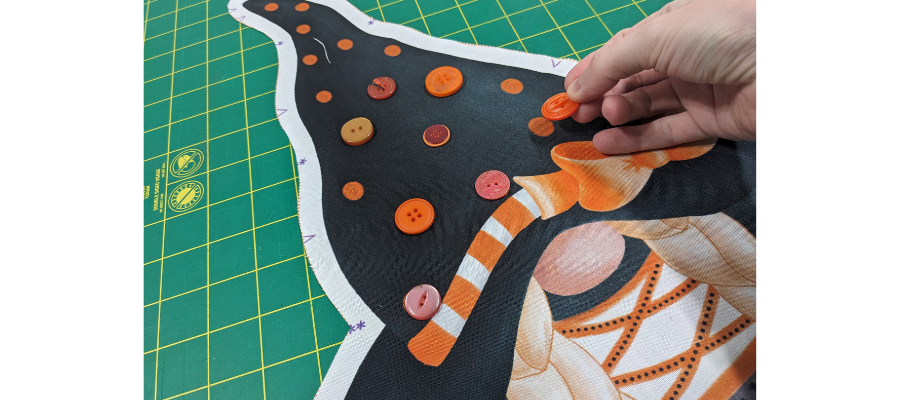
If you’re looking for a way to use up mismatched buttons, you can sew these on as embellishments. Try on top of polka dots – just make sure you don’t sew the buttons too close to the edge, or the design will be tricky to sew to the backing.
You could also sew on beads or sequins following design details on the fabric.
Ribbon, rickrack, or other trims
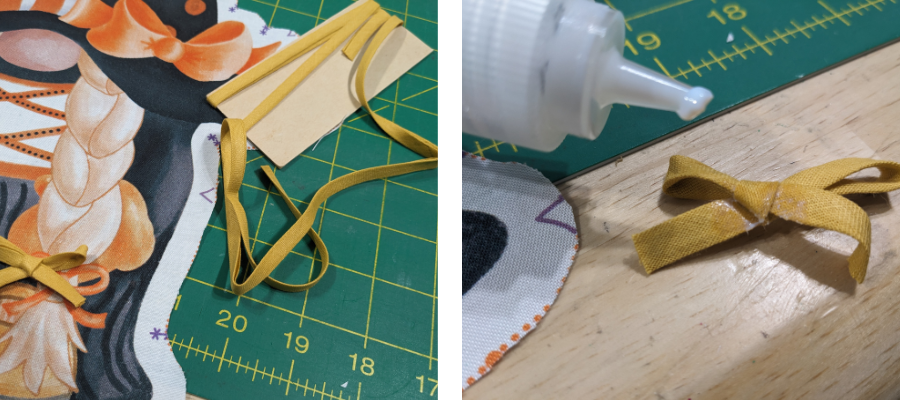
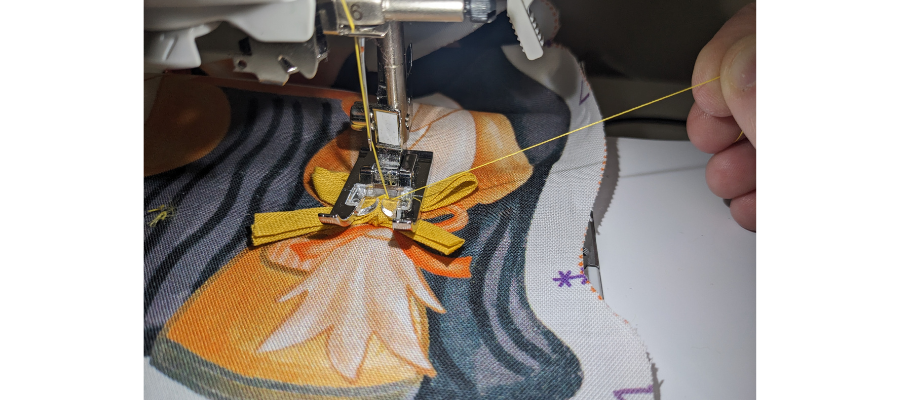
Follow thin details and lines with ribbons, rickrack, or any other kind of trim. Trim can also be tied into bows and stitched in place. Before sewing, glue the knots so they stay in place.
Hand embroidery
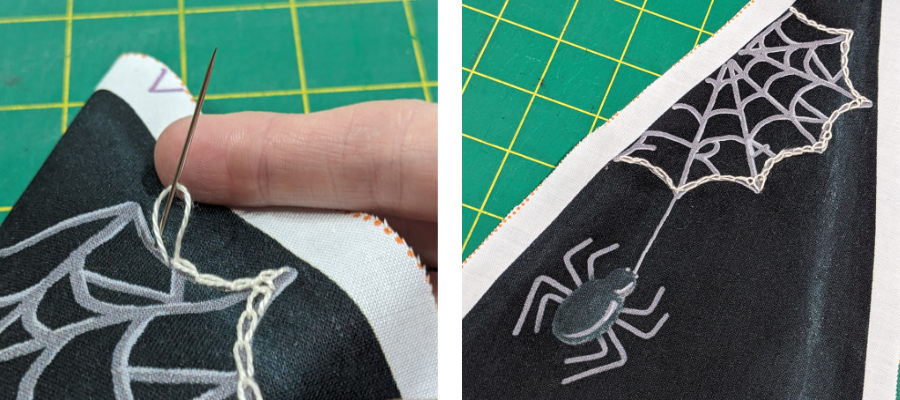
You could also follow lines with decorative embroidery stitches. The pictured example traces cobwebs with a chain stitch. There’s a good video here showing how to sew chain-stitch. The longer the stitch length, the more open and chain-like it will look.
Couching
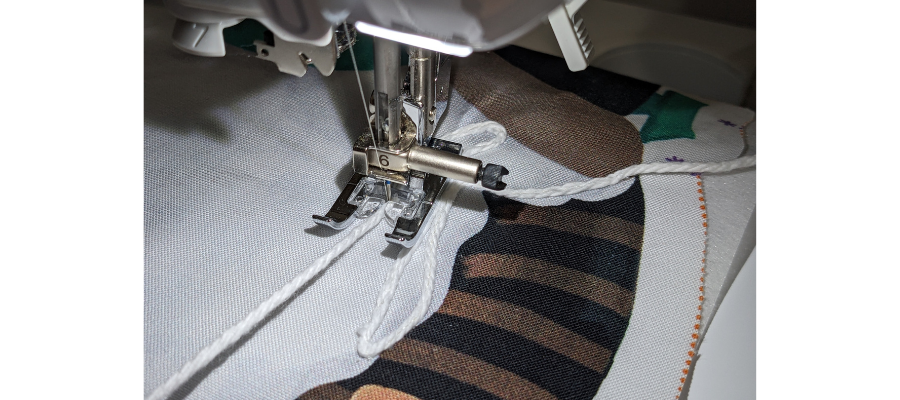
Yarn can be stitched onto the design, as shown above. DK-weight yarn and heavier can be positioned in front of the needle as it sews a straight stitch. Or, you can use lighter yarns with a zigzag stitch. A machine foot with a small opening at the front can help keep the yarn directly in front of the needle. To secure the ends, you’ll either need to start and end the couching at the edge of the piece, or pull the yarn ends through to the wrong side.
Bonus Idea – Applique
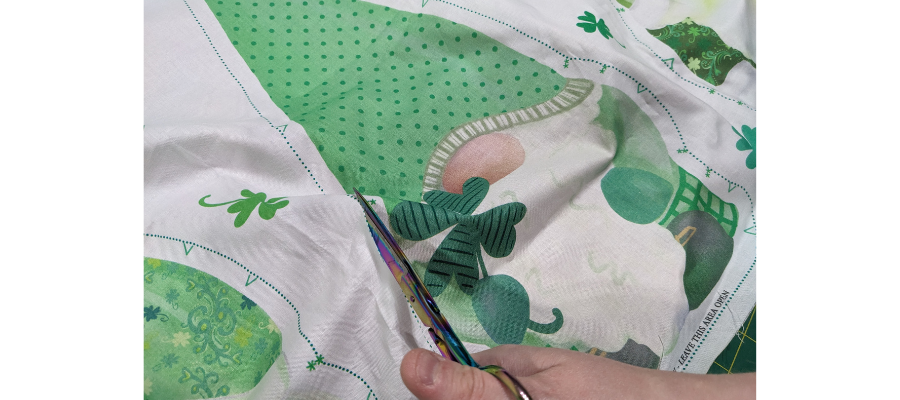
If you don’t want to make plushies, you could also use gnome panels as appliqué, for something like a tote bag. Cut out along the lines as usual.
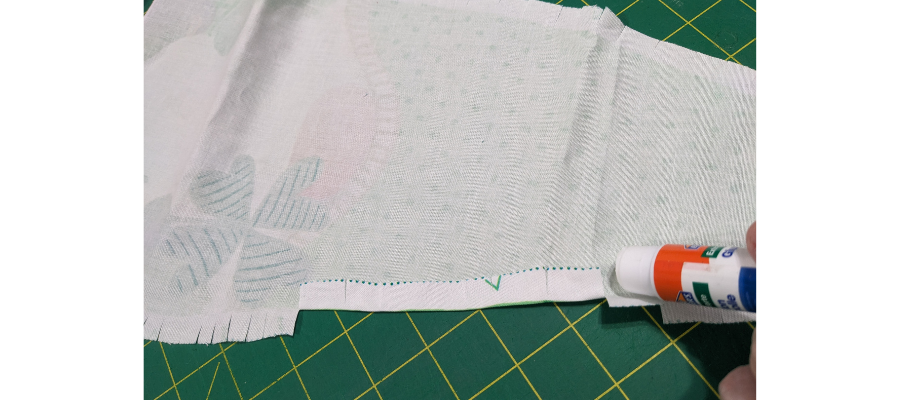
Snip close to the image all the way around, making small tabs, and glue them to the wrong side.
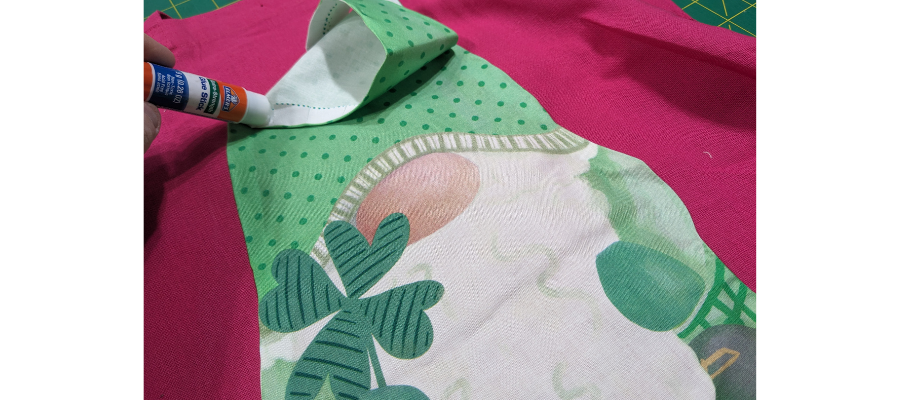
Glue the gnome to your tote bag. If the hat extends too far, you can fold it to the back of the design and align the fold with the top of the bag.
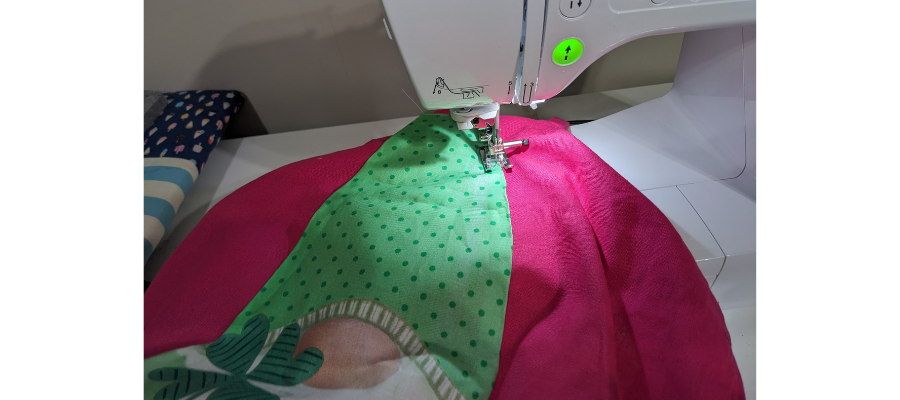
Stitch the appliqué down close to the edges.
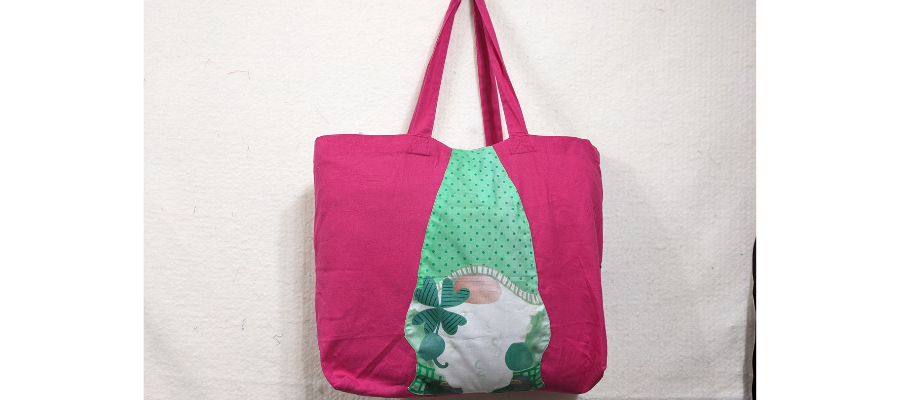
How did you make #gnomesmyway? We’d love to see your creations on social media and hope you’ll share them with us! Please post, and tag us on Instagram or Facebook so we can celebrate your design! #TrendTexFabrics @trendtexfabrics
Looking for more tutorial and project ideas? Check some other ideas out here.
