Tip Time: Sewing curves with one pin
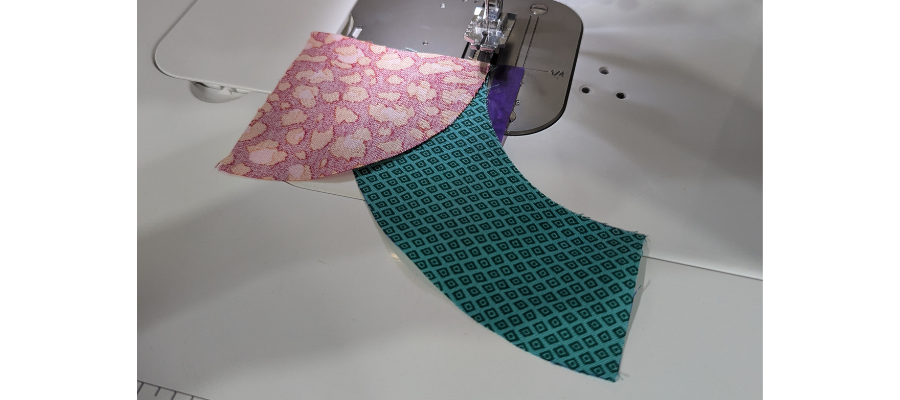
When it comes to sewing curves, you can pin, pin, pin or you can try this method. Either way, the secret to successful pieced curves is to slow down from your usual pace and stitch little by little until the seam is complete. Let’s give the one-pin method a try…
First, you’ll match your fabric pieces with right sides together, ensuring that the convex curve is on top to minimize stretching. The curves will run in opposite directions, and one may appear longer than the other, but trust the process!
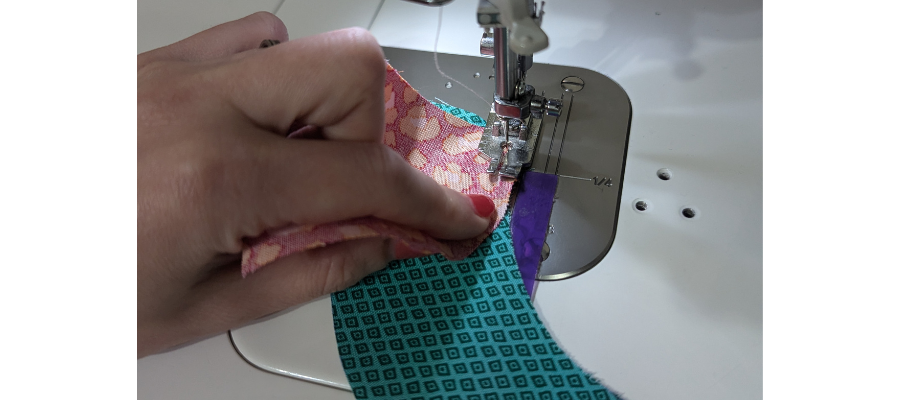
Make a couple of stitches with a ¼” seam allowance and backstitch.
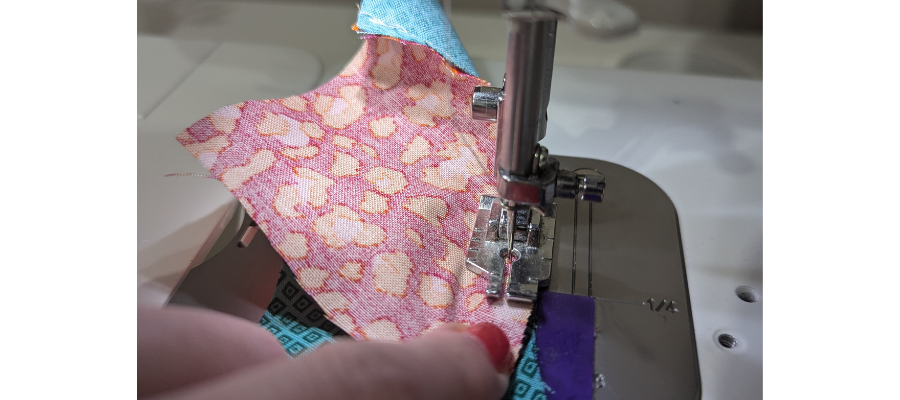
Continue to sew, bringing the two raw edges together as you go. You’ll probably want to stop every few stitches to adjust, which may require you to lift the presser foot, so when you begin, make sure that your needle is in the down position. Go slow and don’t pull the fabrics; if you do, they may stretch and look misshapen at the end.
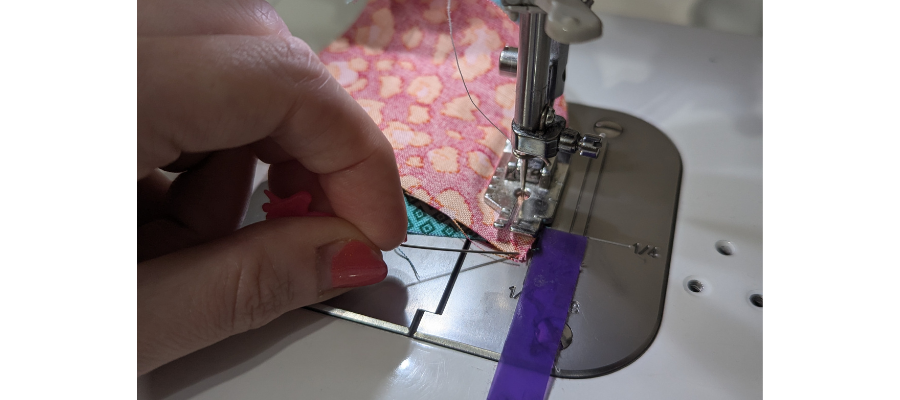
Once you get close to the end of the seam, it will become increasingly more tricky to match the raw edges. This is where your one pin comes in. Use the pin to pick up the corner of the top piece and bring it over to the bottom piece. Hold it together in the way until the seam is complete to protect your fingers from the needle. Backstitch.
Once the curve is sewn, press the seams out towards the outer piece so it lays flatter. Make sure to press and not iron; pushing the fabric at this stage can distort your curve.

Ready to put this to practice? Try it out with our Paradise Curve Coasters Tutorial.
