No-Slip Hanger Covers Tutorial
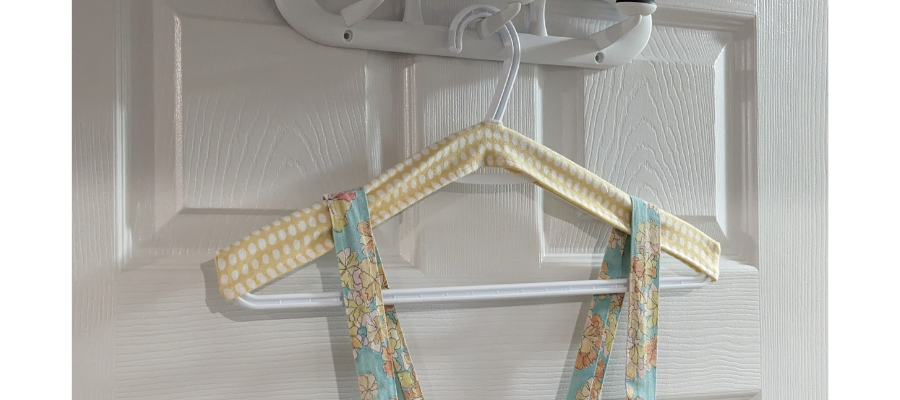
Tame your wide-neck clothing with these no-slip hanger covers. The grippy nature of flannel fabric keeps your straps and shoulders in place, and they take minutes to make.
Looking for a reason to make these hanger covers? It is a great addition to your closet during a spring clean to keep it tidy and clear of garments that have fallen to the floor.
This is also a great flannel scrap-buster project!
Seam allowances are ¼” unless stated otherwise for this no-slip hanger cover tutorial.
Finished Size: varies Difficulty: Beginner Time to make: 15 Minutes
Here’s what you’ll need for your Hanger Covers:
- Clothes hanger
- Sewing machine with a buttonhole foot
- Cutting tools: rotary cutter, mat, and ruler
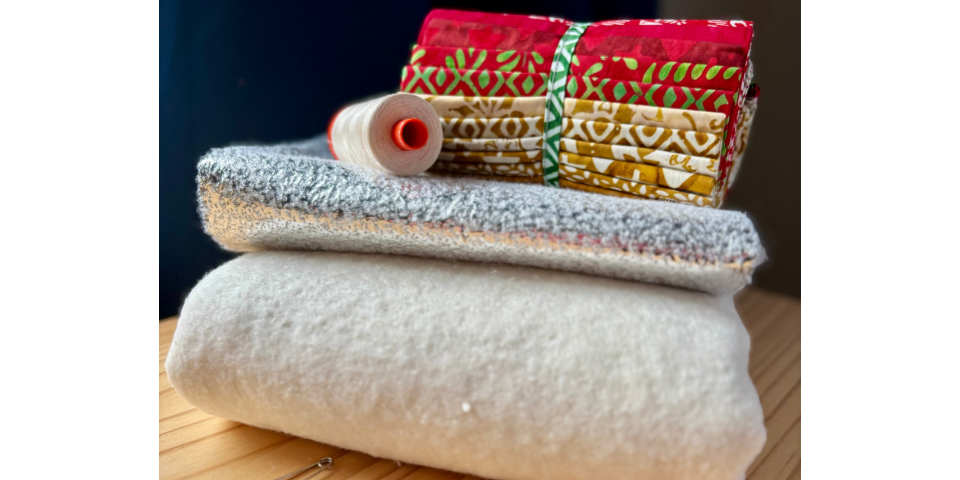
- Flannel fabric – you can make four from one fat quarter
- Buttonhole chisel (optional) or craft knife
- General sewing notions: measuring tape, iron, marking pen, pins, thread, etc.
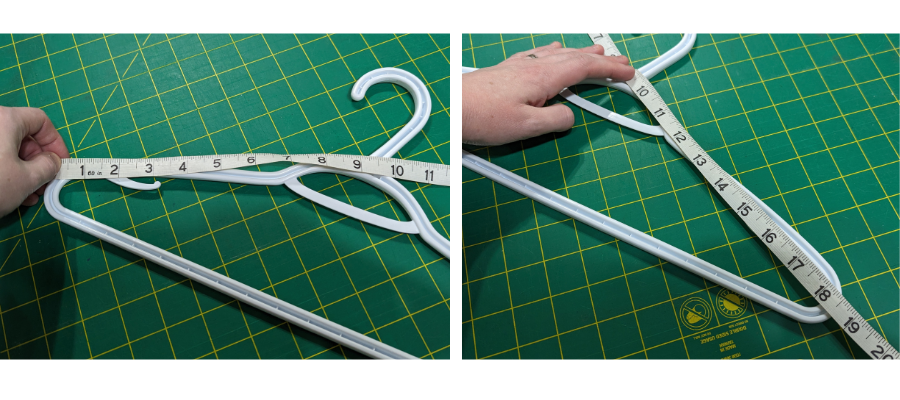
Measure the width of your clothes hanger. Follow the shape of the hanger as you measure. Also measure the thickness of the hanger. The one shown here is 18 ½” wide and ½” thick.
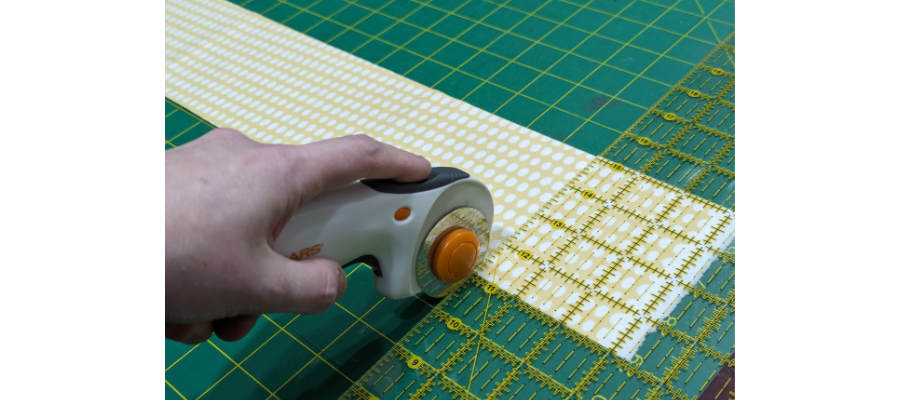
Cut a piece of flannel along the crosswise grain (from selvedge to selvedge) that measures eight times the thickness of the hanger. This direction is slightly stretchier on woven flannel fabrics than parallel to the selvedge. Cut the length to ½” shorter than your width measurement. Ours measures 4″ x 18″.
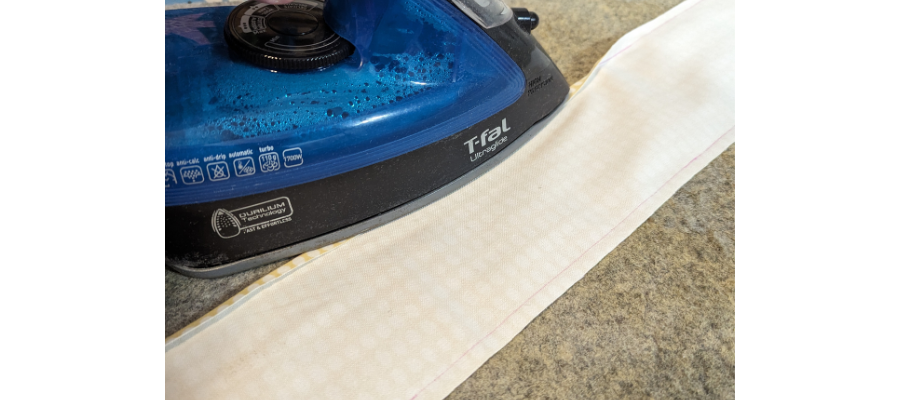
Mark ¼” from each long edge with an erasable marker. Fold and press along these lines.
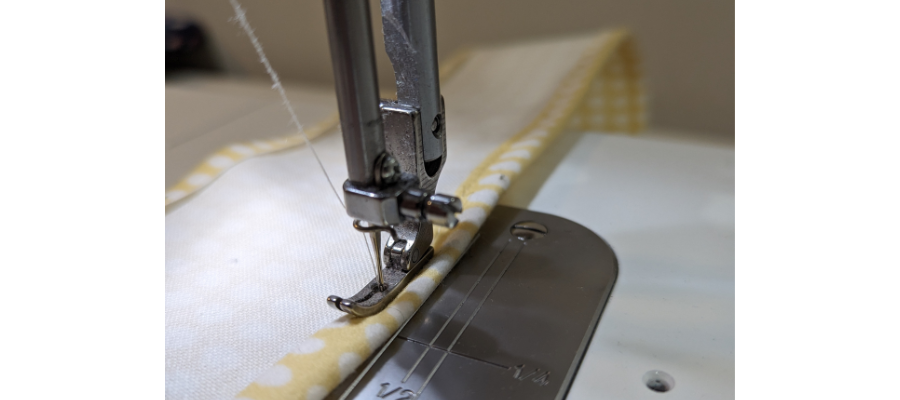
At the machine, fold one of the edges under again to conceal the raw edge, and top-stitch close to the fold. Repeat for the other long side.
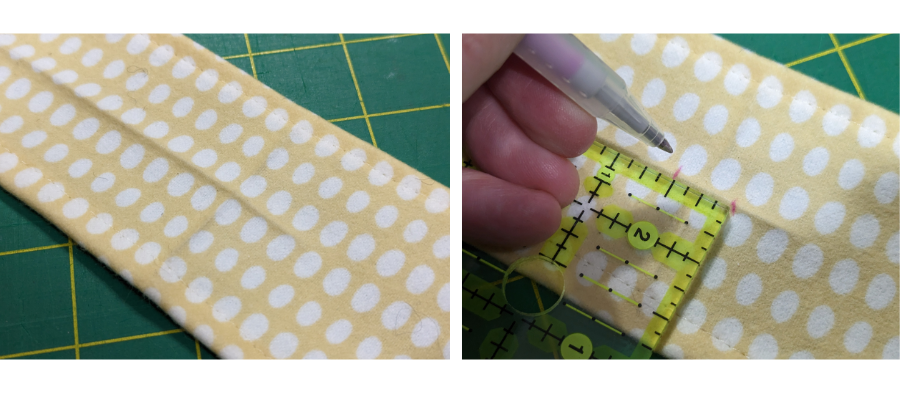
Fold in half and press in both directions to find the centre of the hanger. Mark either side of this point equally so the marks are the same distance apart as the thickness of the hanger. In this case, the thickness is ½” so the marks are ¼” either side of the pressed centre point.
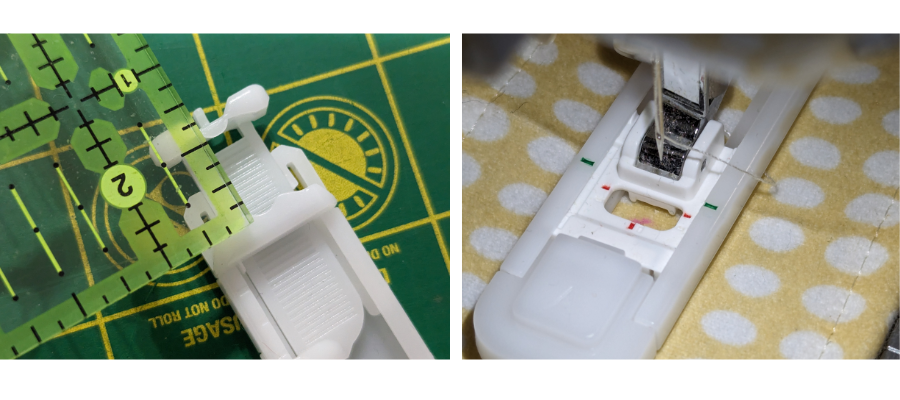
Set up your buttonhole foot for a button just a touch larger than the thickness. You can insert a button of the correct size into the buttonhole foot or measure it and set it without. Start stitching out a simple buttonhole, starting on one of your marks.
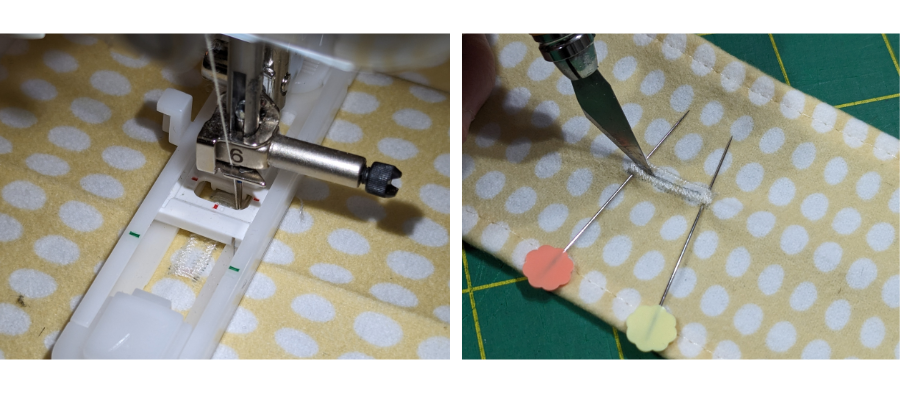
Once the buttonhole is stitched out, cut open with a buttonhole chisel if you have one, or alternatively you can insert a pin into each bar tack end to protect the stitches and cut between the pins with a craft knife.
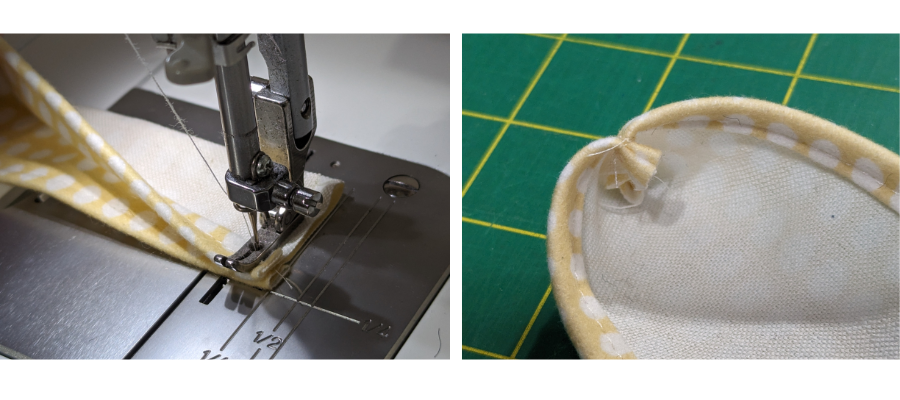
Fold the fabric right sides together with the long edges meeting. Sew the short ends, back-stitching at the start and finish.
Turn the hanger cover right-side out and attach to the hanger, putting the hook through the buttonhole and stretching the fabric over the ends.
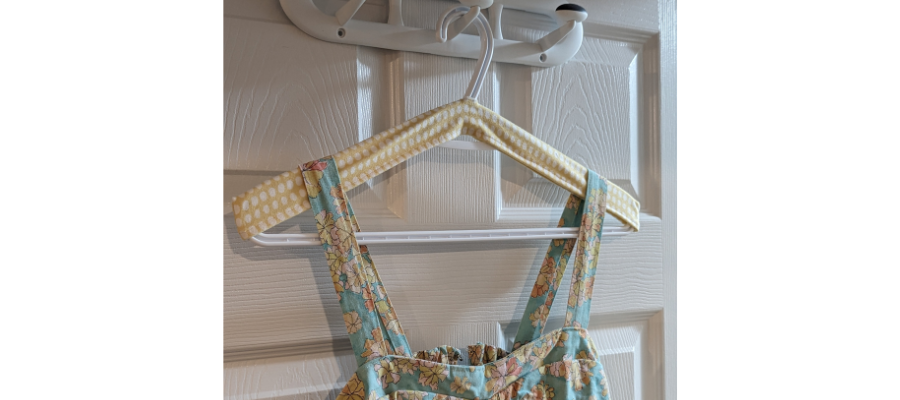
Did you make a hanger cover with this tutorial? What flannel did you choose? We would love to see! Please post and tag us on Instagram or Facebook so we can celebrate your design! #TrendTexFabrics @trendtexfabrics
Looking for more tutorial and project ideas? Check some other ideas out here.
