Hexie Pincushion How-To

If you’re thinking of trying English paper piecing, this hexie pincushion tutorial provides a soft introduction to basting shapes, but uses them for applique instead of piecing. Minimal hand sewing required!
Make something just for you, and play with a new technique at the same time!
Finished Size: Approx .5 ½” across x 2 ½” tall
Difficulty: Intermediate
Time to make: 1 hour
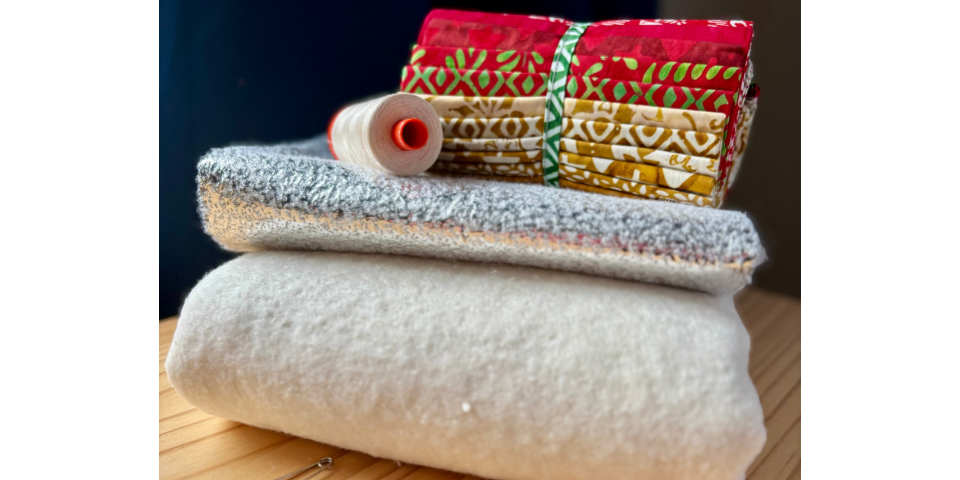
Here’s what you’ll need:
- Sewing machine with a blind-hem stitch
- ¼ m focal fabric
- ¼ m background fabric
- 14 1″ paper hexagons (hexie papers)
- Fabric glue pen or glue stick
- Pair of compasses
- Poly-fil stuffing
- 1 cup of rice or crushed walnut shells
- Add-A-Quarter ruler (optional)
- Fabric marker (optional)
- Fabric scissors
- Hand-sewing needle
Take a hexie paper and line it up on your focal fabric. Note you don’t have to cut out the same motif or repeat each time, and you can use scraps of different fabric if you wish!
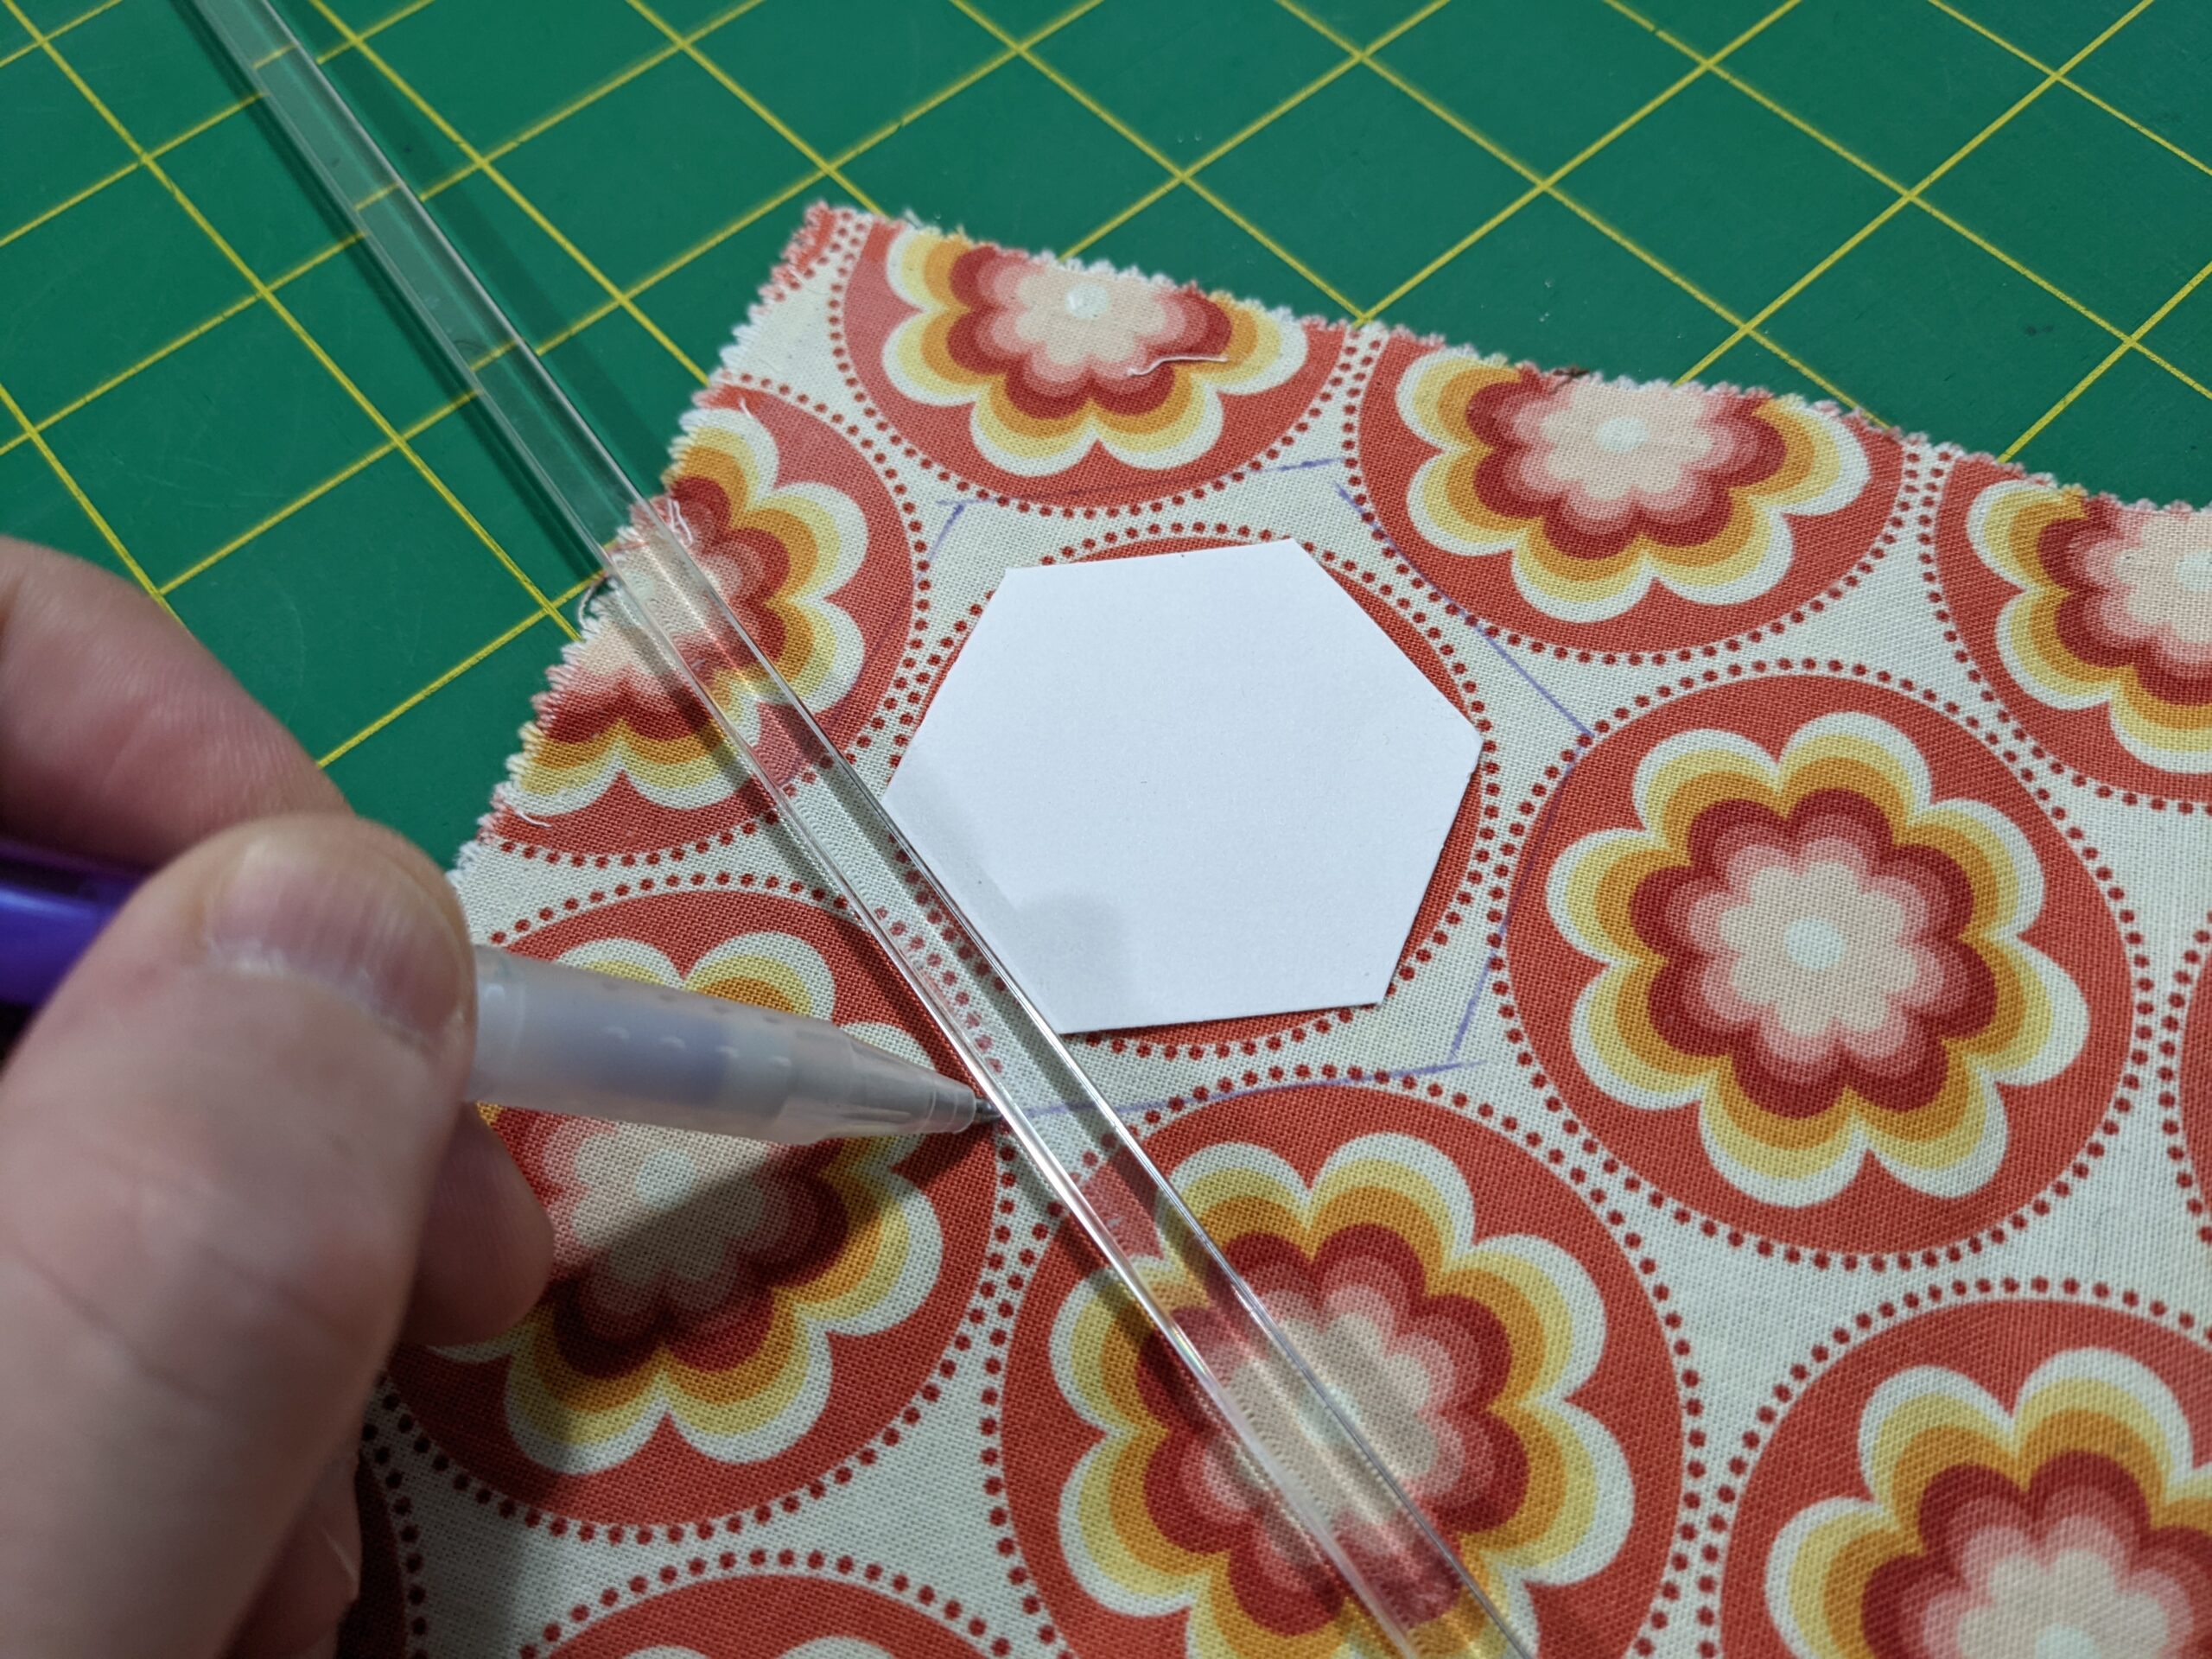
Draw ¼” around with a fabric marker and cut out. You don’t need to be precise, you can wing it, as long as you have ¼” to ½” spare all the way around.
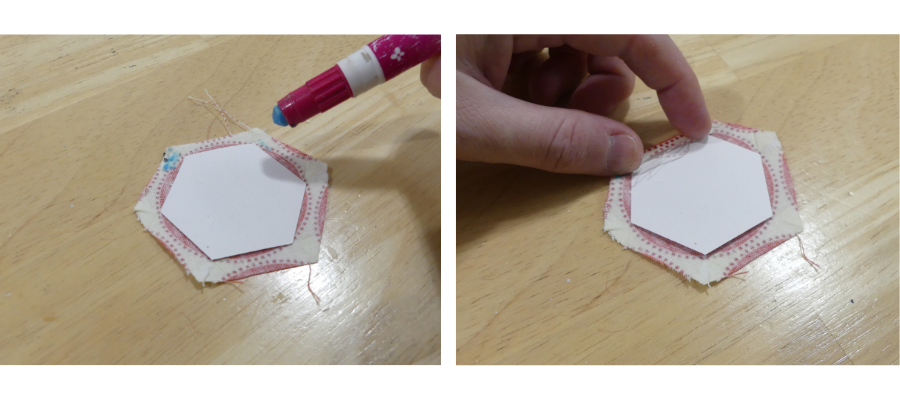
With a paper piece positioned on the reverse, add a dot of glue to each side where fabric touches when folded over the paper edge. You can also add a small dot to the centre of the paper to keep it in position, but any glue that adheres to the paper will make it a little more tricky to remove later on, so use sparingly!
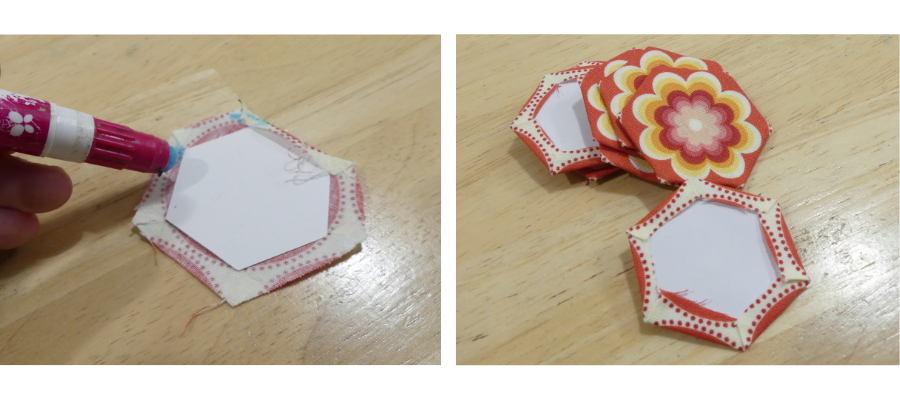
Keep working your way around the hexagon and press with an iron when done. Make 14.
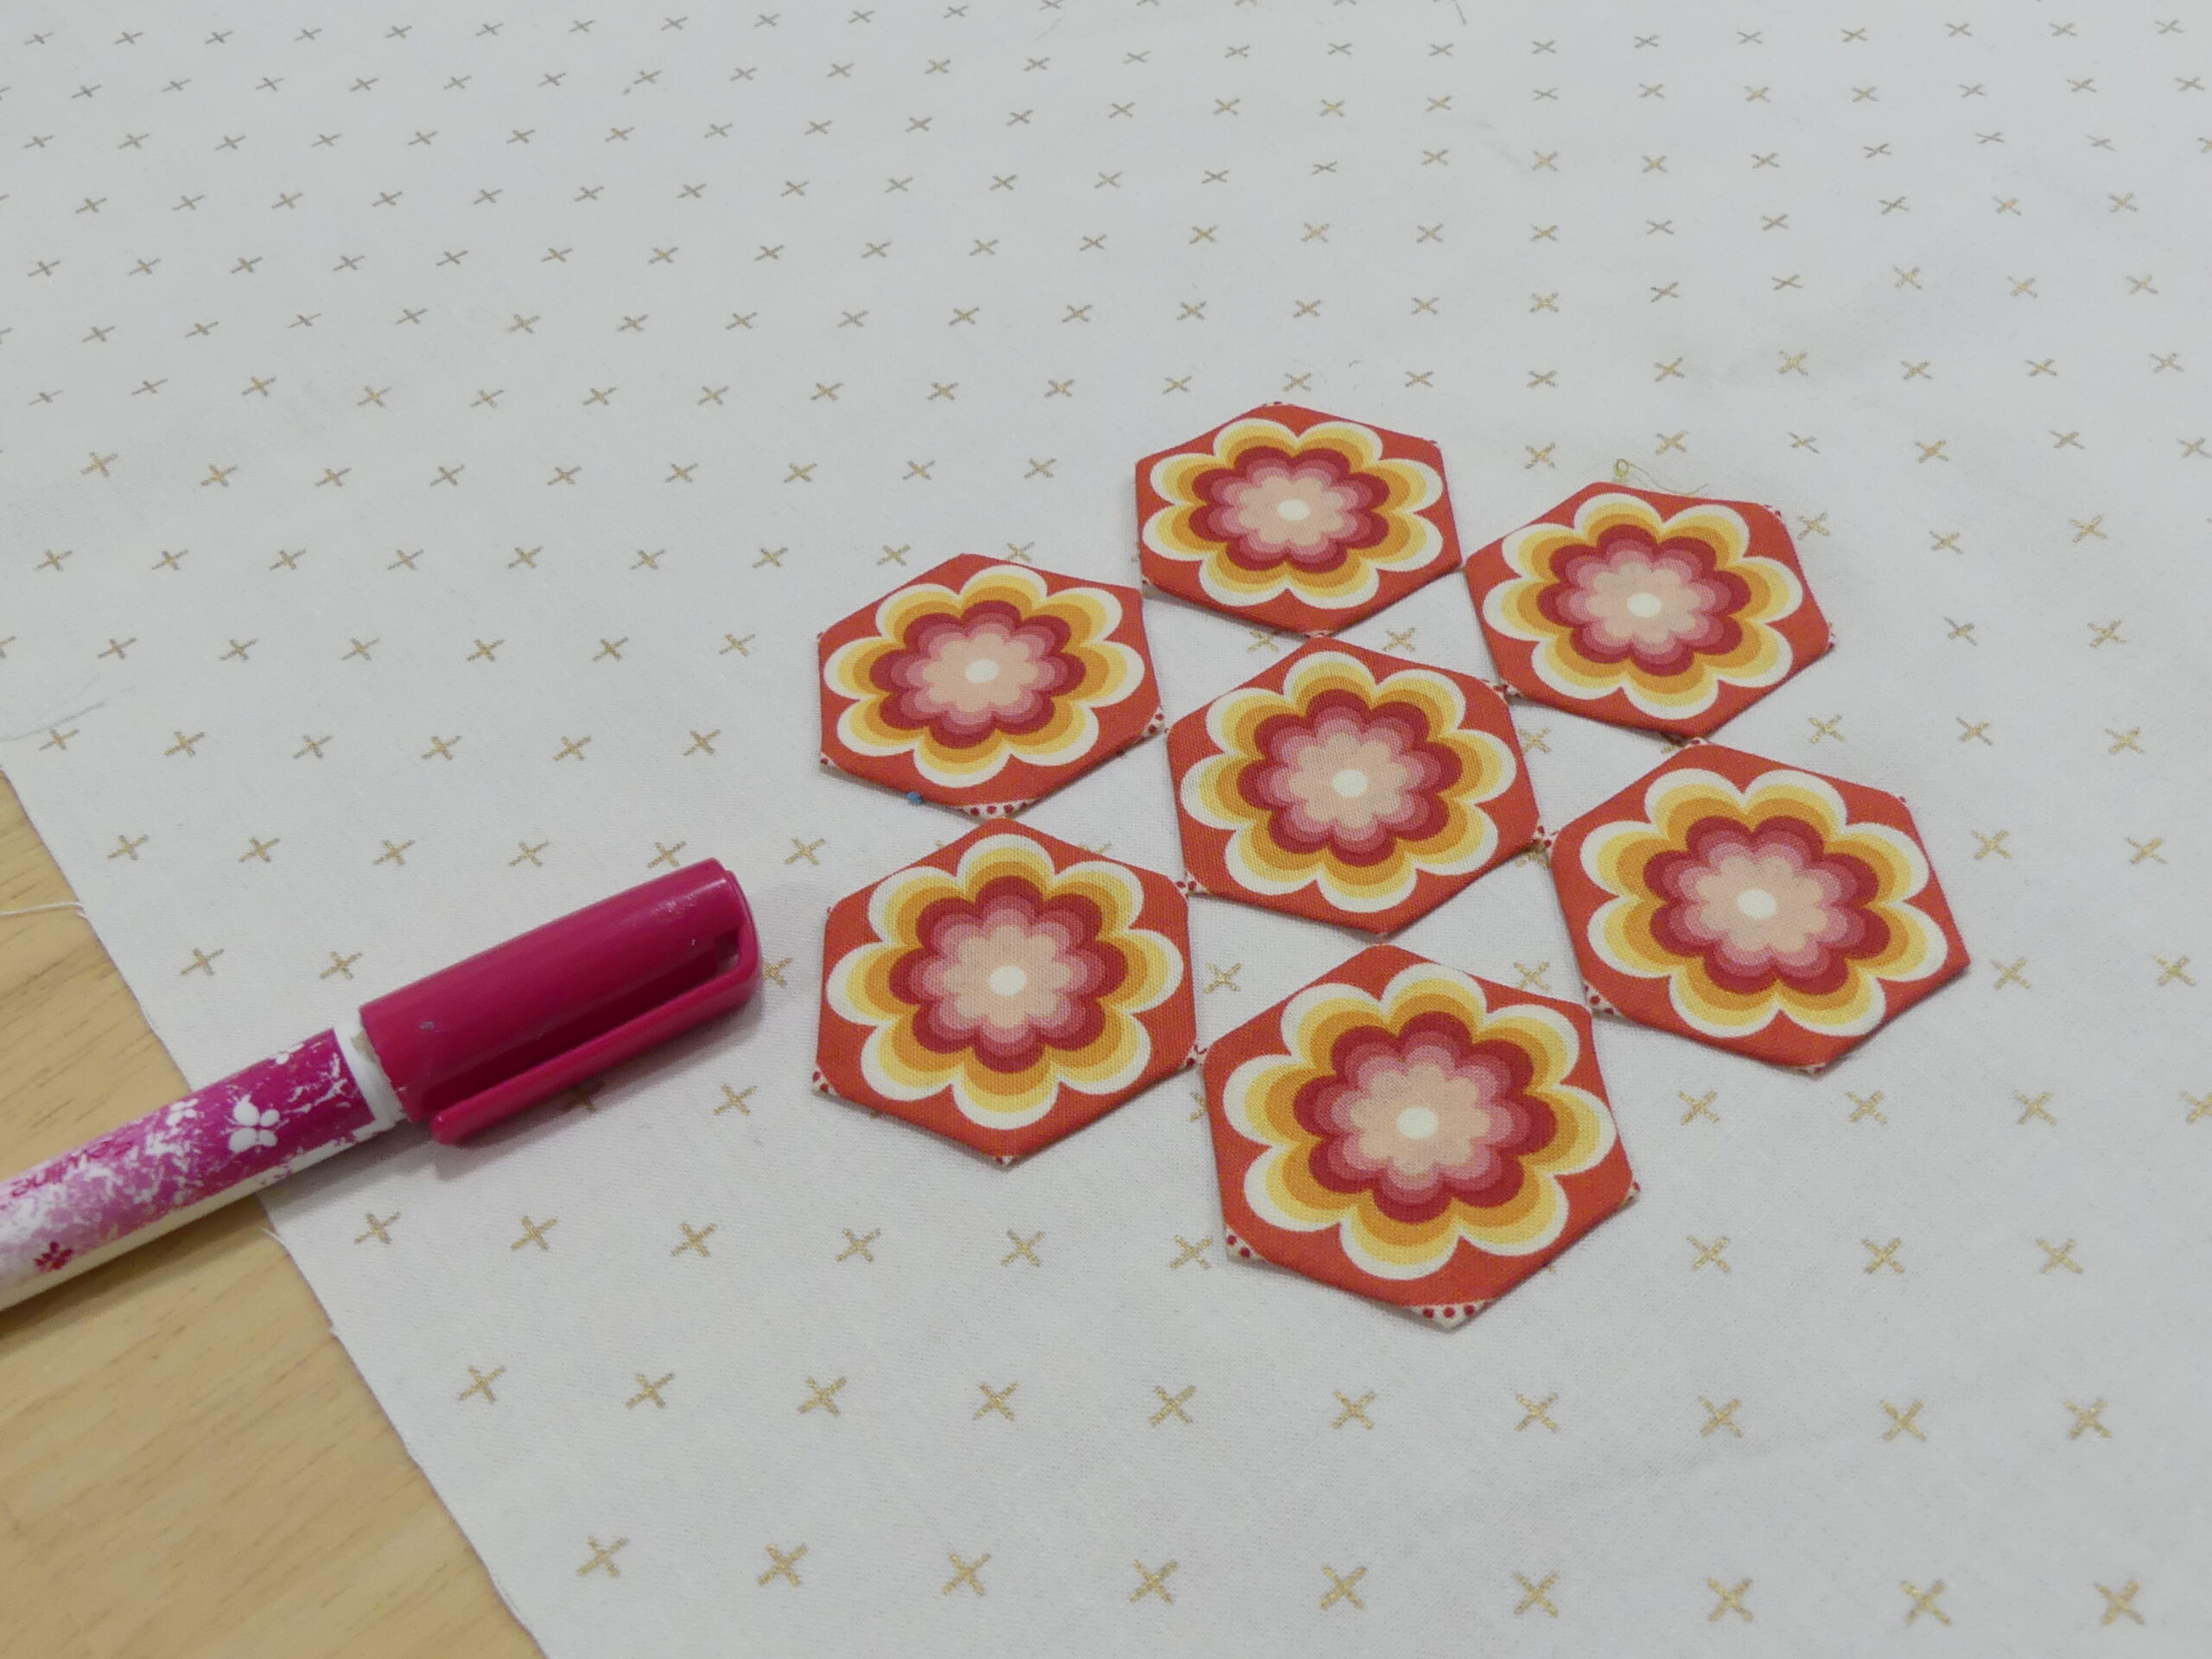
Arrange seven hexagons, as shown, in a “pointing star” formation on the background fabric and glue into place. There will be little triangles of background fabric showing between your focal hexies.

With the pair of compasses set to 3 ½”, position them in the centre of the middle hexagon and draw a circle evenly around. Cut out the circle. Repeat previous two steps to make two for your hexie pincushion.
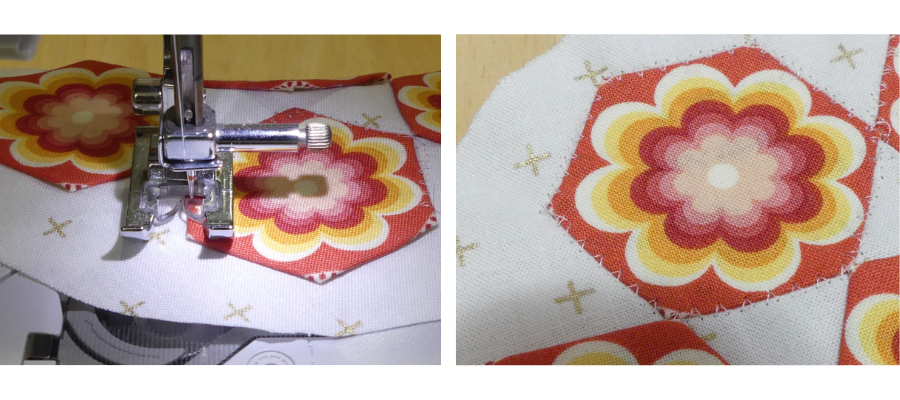
With a fine thread in your machine, sew around each hexagon with a narrow blind hem stitch. The “V” of the stitch should take little bites of the hexagon shape, and the straight stitches should be on the background fabric. Sew all the hexies down this way, securing the thread at the start and end.

Flip over to the reverse and cut through the backing fabric only, underneath a hexagon shape. Cut away, leaving a small seam allowance within the stitches. Pull out the paper. Repeat for all shapes in both circles.
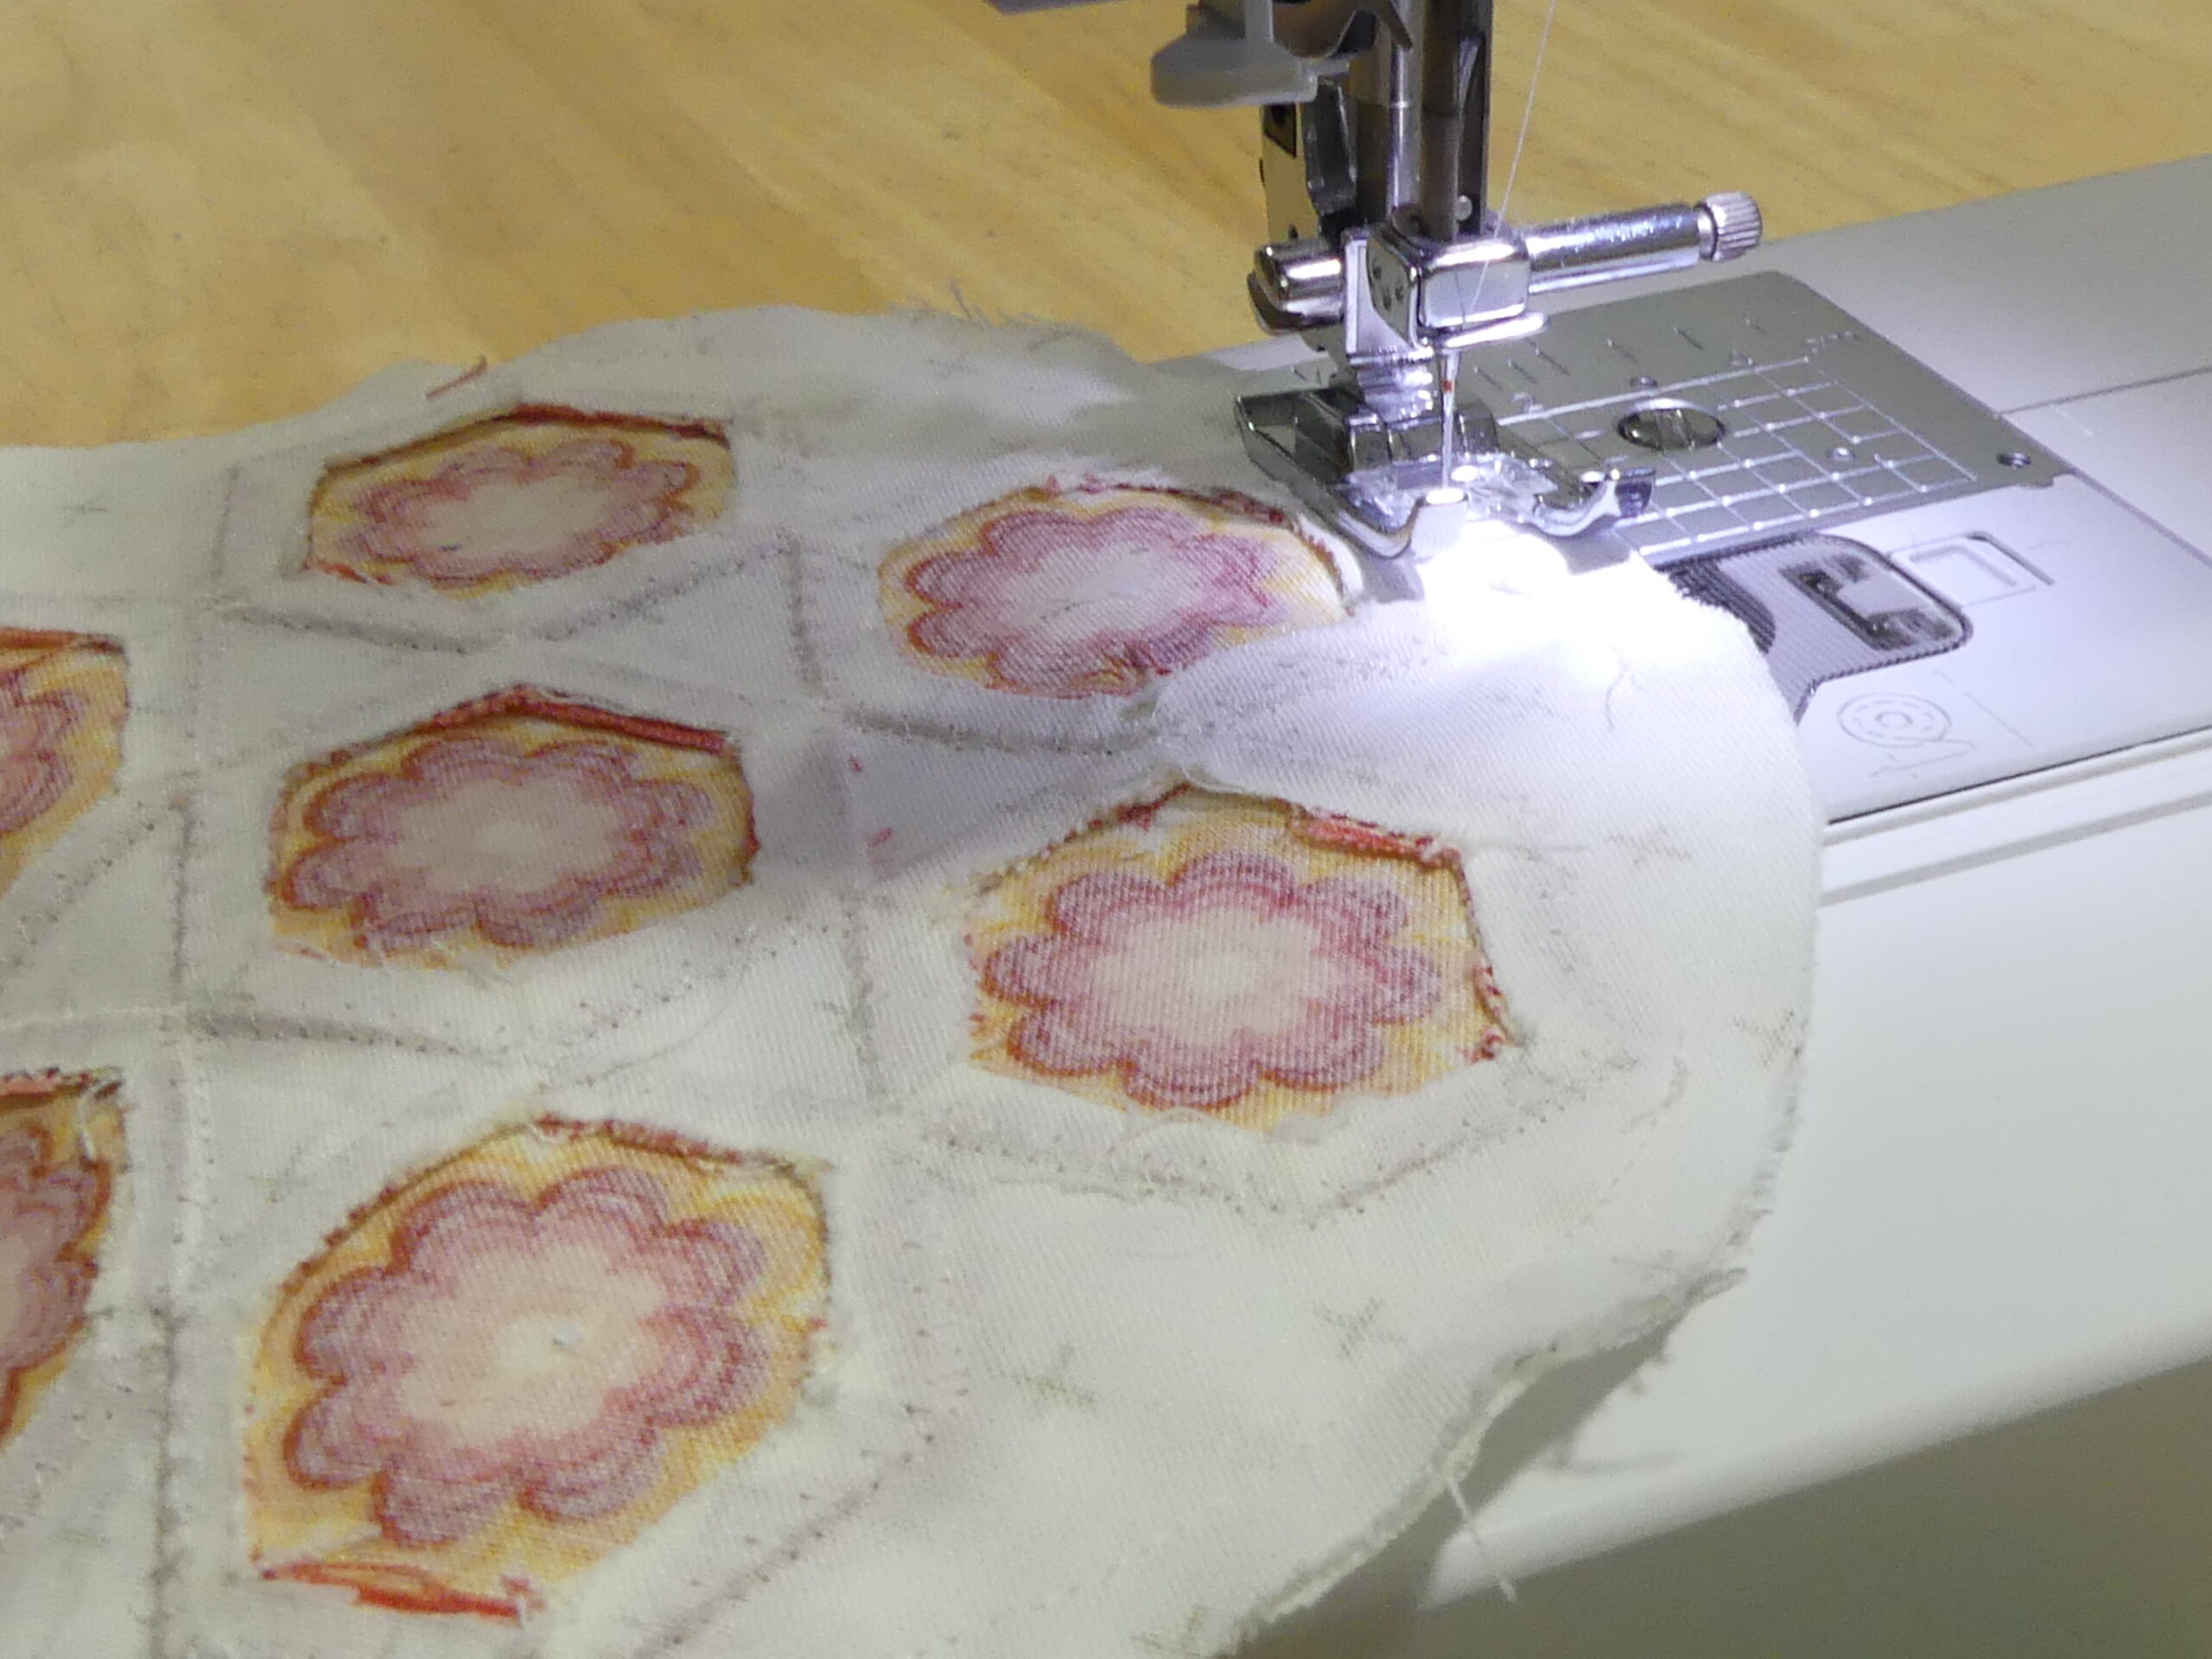
Position circles right sides together. With a ½” seam allowance and a straight stitch selected, sew around the circle, leaving a 2–3″ for a turning gap.
Turn the hexie pincushion right side out. Stuff with Poly-fil until about half full.
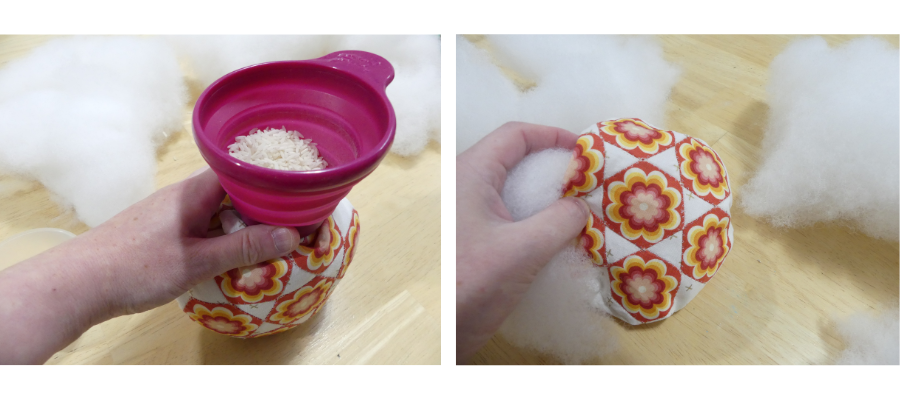
To add some weight, make a well in the centre and add a cup of rice or crushed walnut shells. Walnut shells are good because they will also help to keep pins and needles sharp. You can often find them in local quilt shops. Continue to stuff until really full, ensuring the rice or shells are in the middle to balance the weight.

With the raw edges tucked inside, sew the opening closed by hand with a small ladder stitch close to the edge. For a ladder stitch, you alternate the working direction, creating the appearance of a running stitch on both sides of the opening. Tie off your thread and fill your new hexie pincushion with your favourite pins!

We love to see your creations! Post your finished projects to inspire others — and when you do, tag us on Instagram or Facebook! #TrendTexFabrics @trendtexfabrics
