
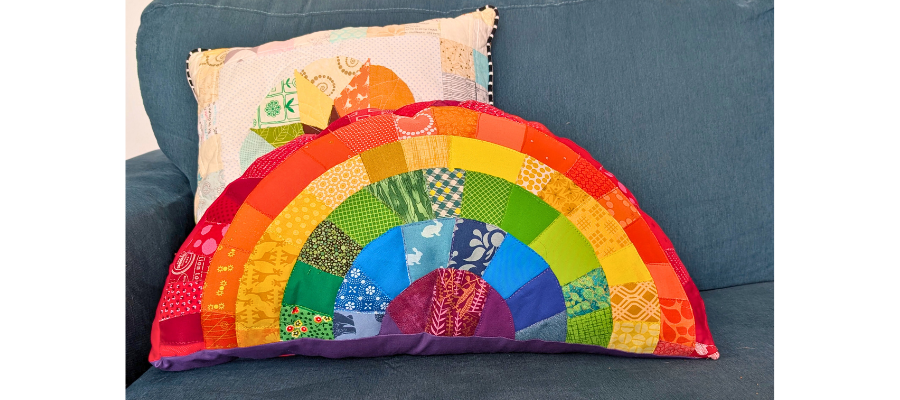
Scrappy Rainbow Feature Cushion Project
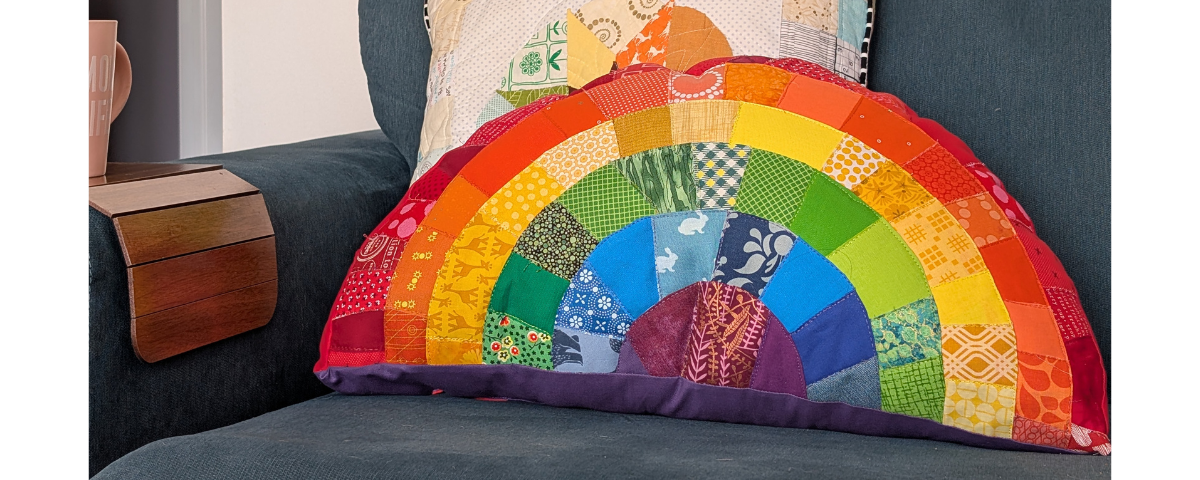
Finished size: 23” wide x 12” tall x 8” deep (approx)
Difficulty: Confident Beginner
Project time: An afternoon
We’re celebrating pride month with a feature cushion you can use all year round.
Looking for a fun and quick way to use up your fabric scraps? Look no further!
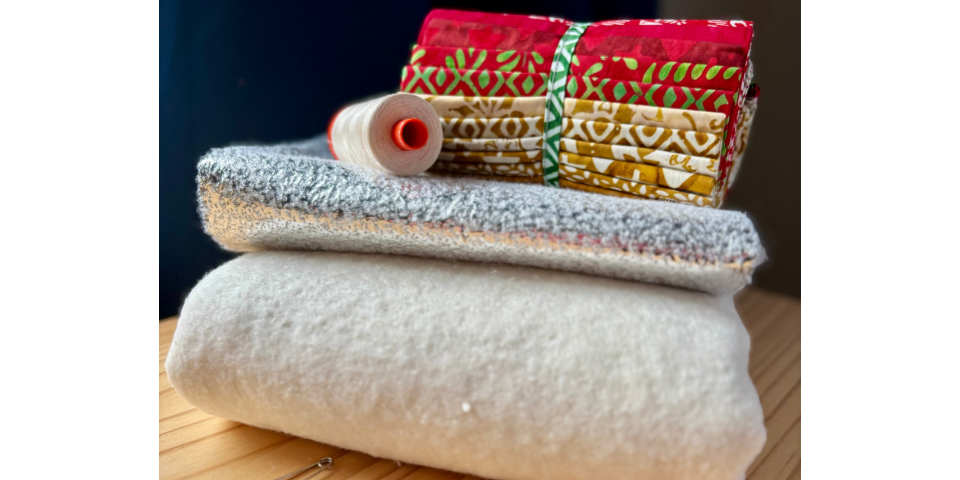
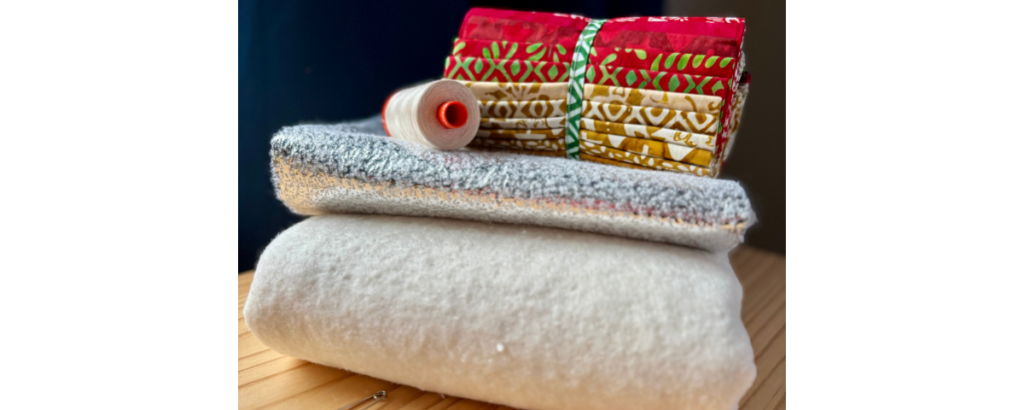
You will need:
- 1/2m of fabric for the back – either quilting cotton or heavier weight fabric, such as upholstery fabric
- 1/8m red fabric
- 1/8m purple fabric
- A collection of rainbow coloured fabric scraps
- 1/2m muslin
- 1/2m canvas
- 1/2m Steam A Seam or Pellon EZ-Steam fusible web
- Large scrap of batting
- 1/2m medium weight interfacing (if using quilting cotton on reverse)
- Fibre fill
- String, tape and pencils
- General sewing notions: sewing machine, rotary cutter, pins, iron, thread, glue stick etc.
Seam allowances ¼” unless stated otherwise. RST = right sides together.

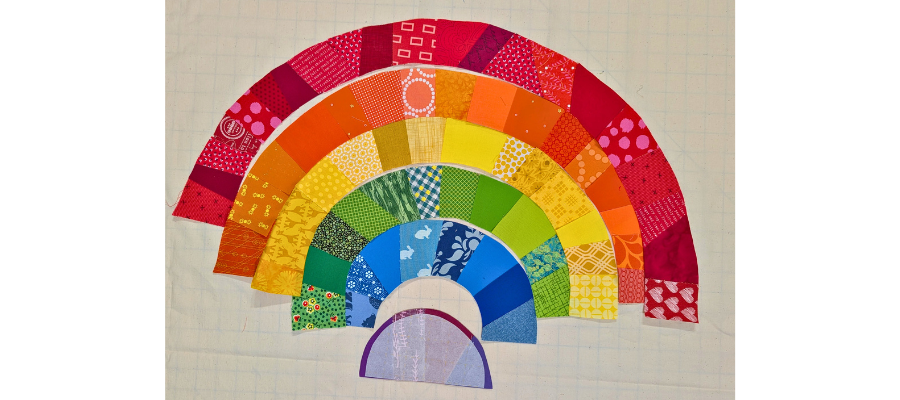
Tie two pencils together with string. You may need to adjust your knot or wrap around one pencil and tie until the points of the pencils measure 12” apart. You can also use a pair of compasses if you have ones big enough to make a 12” radius.
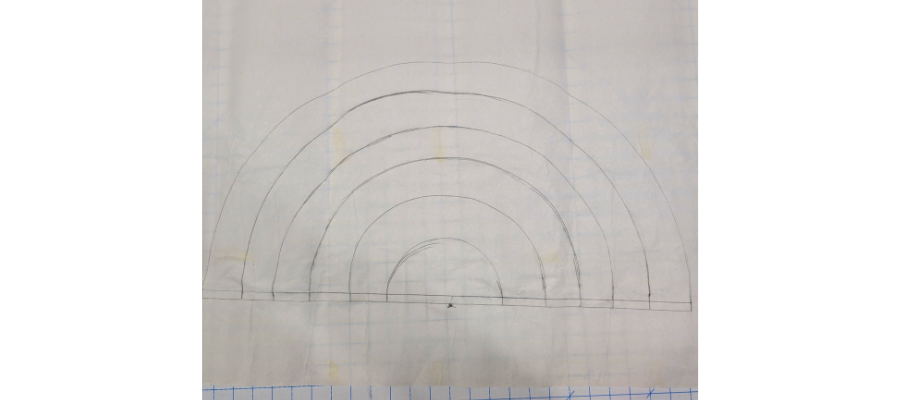
Draw an arc. This may take some practise and the grid on the paper/on your mat underneath will help you stay on track. Once you are happy with this first one, wrap the string around the pencil you’re drawing with until your pencil points are 1” apart and tape.
Draw another arc using the same centre dot.
You will draw four more arcs, one at 8”, one at 6”, one a 4” and the final one at 2” using this same method.
Draw a line for the bottom of the rainbow through the centre dot.
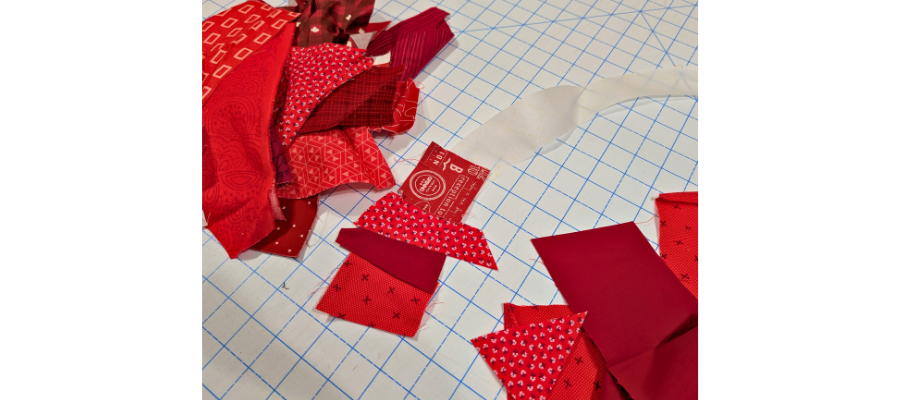
Cut out the arc shapes, you will have 6 in total. Remove one of the backing papers to reveal a tacky surface.
With your scraps organized by colour, cut sections bigger than the arc and overlap along the whole length.
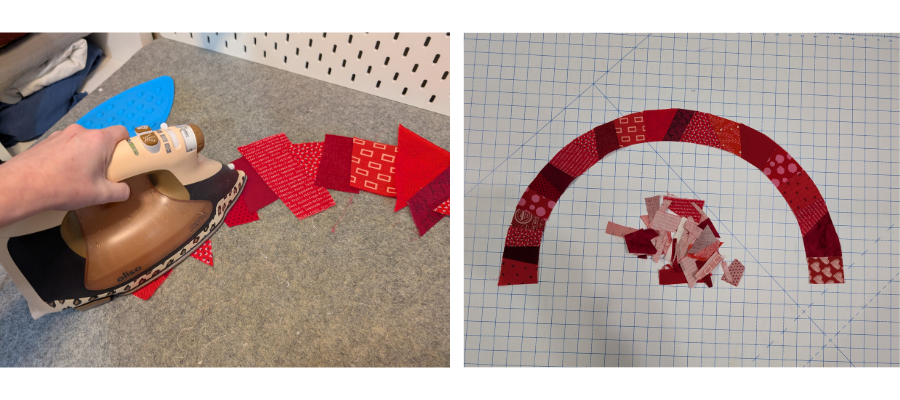
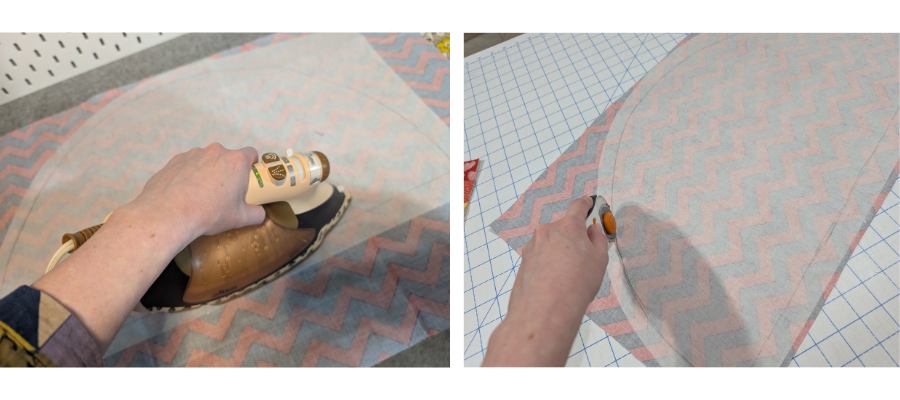
When you’re happy with the arrangement, fuse in place.
Trim this down with ¼” extra away from the fusible for a seam allowance. If you find some areas don’t have enough seam allowance, you can glue another piece of fabric over the top and trim again.
Repeat for all six pieces.
Being careful to not distort, remove the backing paper from the red arc and apply to the muslin piece, leaving plenty of space for the rest of the rainbow.
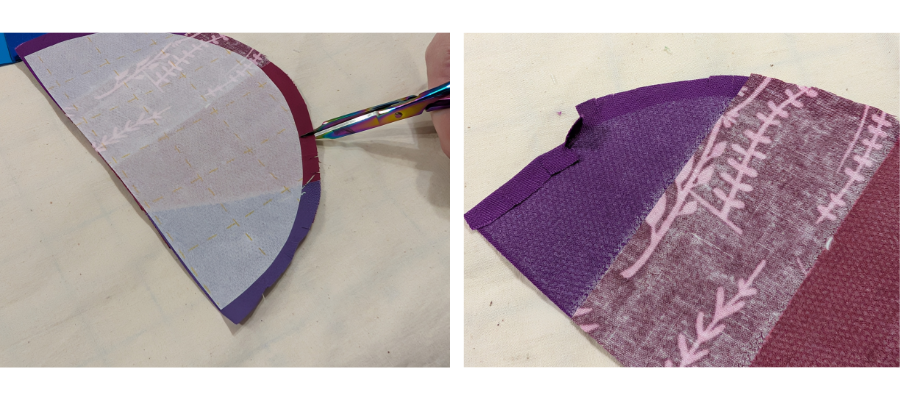
With the remaining shapes, clip the top edges to the paper with small scissors and remove the paper. Fold the fabric to the reverse. It will stick to the tacky surface of the Steam-a-Seam, but areas where fabric overlaps will require a touch of glue to fold in place.
To attach the pieces together, add glue to the folded edge and apply the piece to the seam allowance on the inside of the next arc.
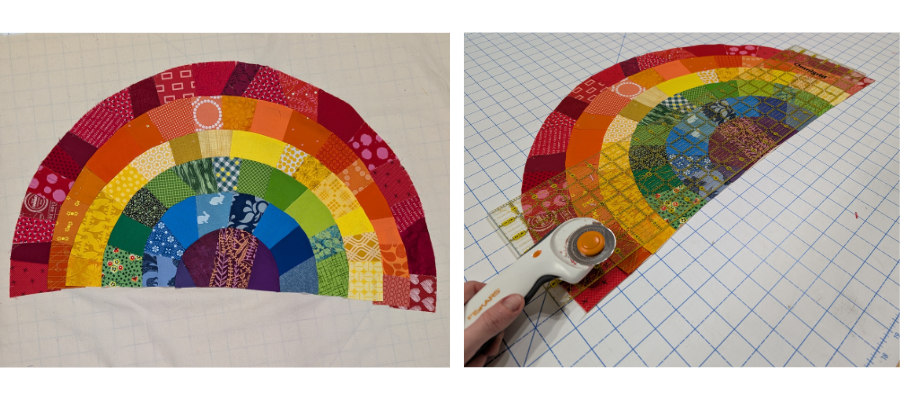
Once all the pieces are together, fuse to the muslin with an iron. Cut away the excess around the shape. Trim the bottom edge to be straight if necessary.
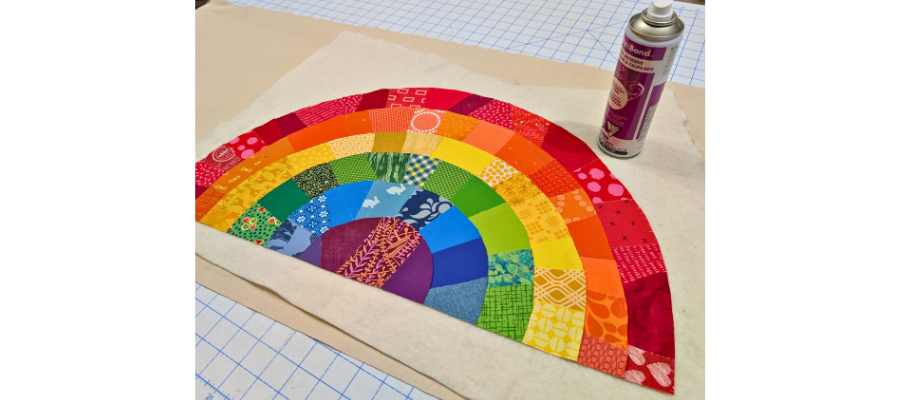
Next, baste the rainbow to a piece of scrap batting and a piece of canvas for rigidity. This can be done with spray baste or with pins.
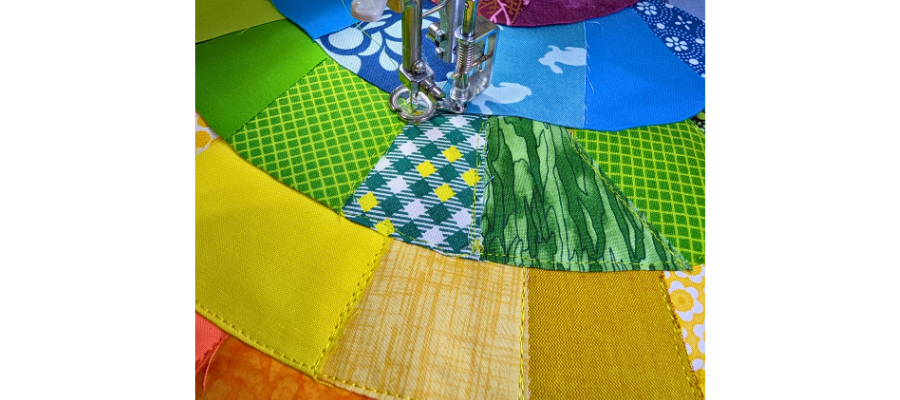
Quilt it all down using a darning foot and free motion quitting for easy maneuverability. Sew along the edges and then down the joins of each fabric piece. You can also use a walking foot or regular foot if you prefer. Matching colour polyester thread with a heavyweight needle is recommended to work with these layers.
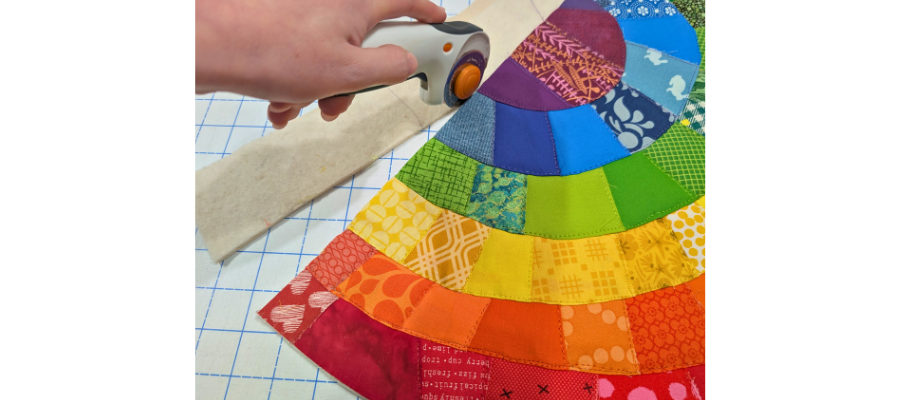
Once quilted, trim away backing and batting flush with the edge of the rainbow.
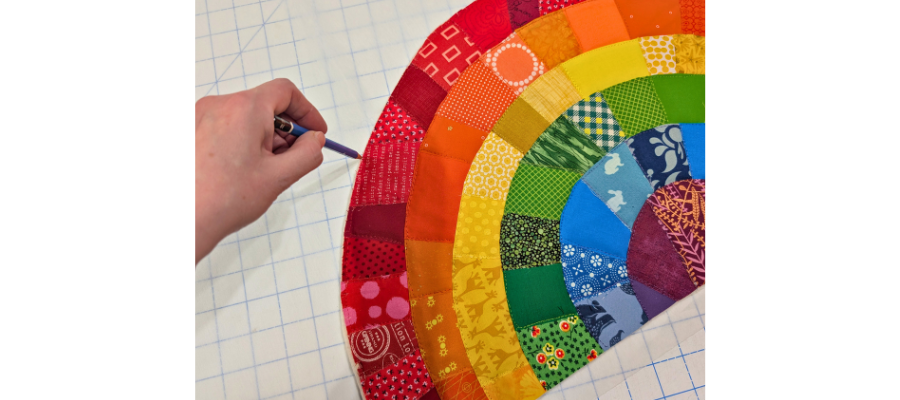
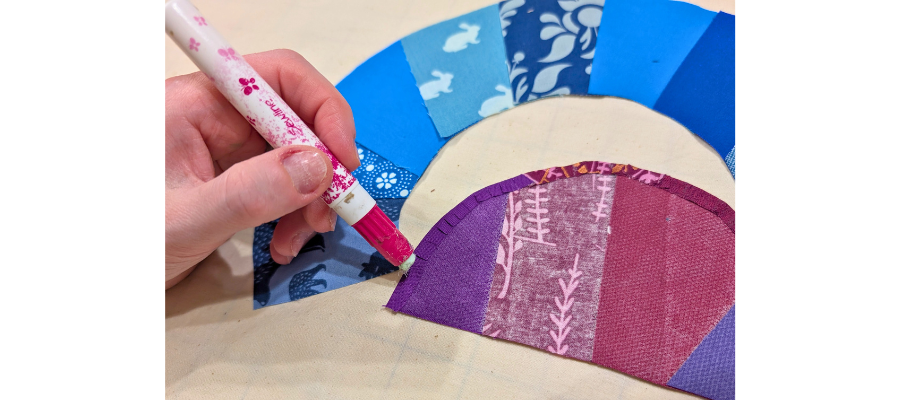
Draw around the rainbow shape onto fusible interfacing.
Roughly cut out and then fuse to the reverse of the backing fabric, pressing from both sides to fuse well. Cut out along the line.
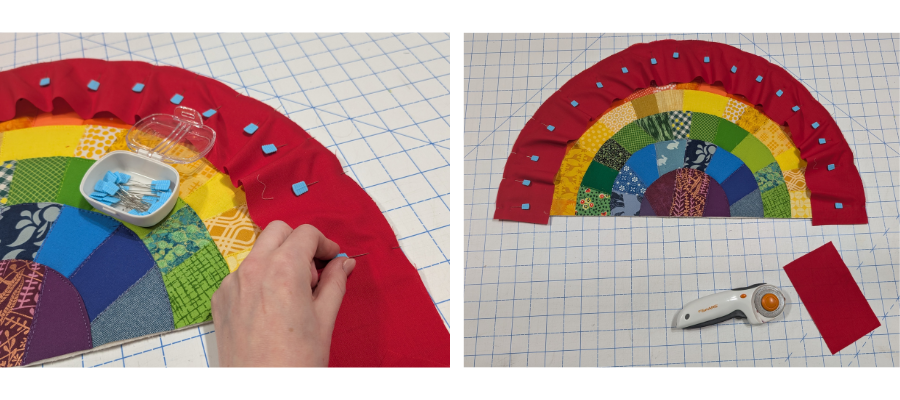
Cut a 3 ½” strip of each of the red and purple fabric from selvedge to selvedge. The red strip should measure the length of the top arc plus ½” and the purple should measure the length of the bottom edge plus ½”. Measure your piece to check your finished size.
On this example after quilting and trimming, the piece had reduced down by about ½” so the finished length of the purple strip was 24”. With the red strip and the selvedges removed, we trimmed off the excess after pinning in place.
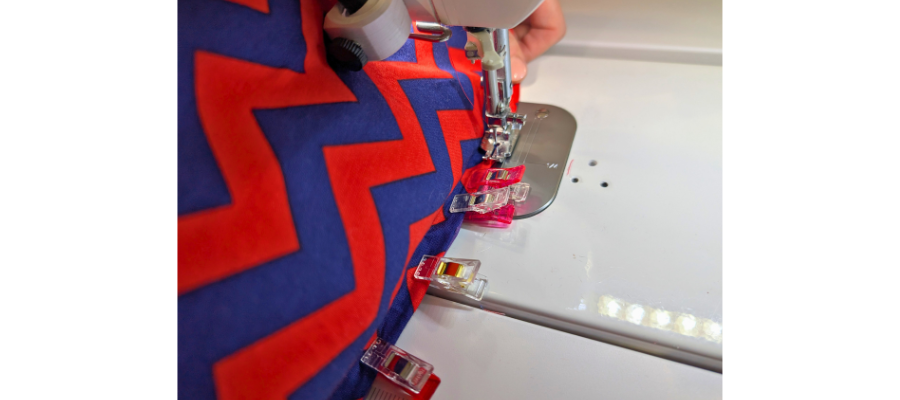
Pin the red fabric along the top curve leaving ¼” overhang at each end.
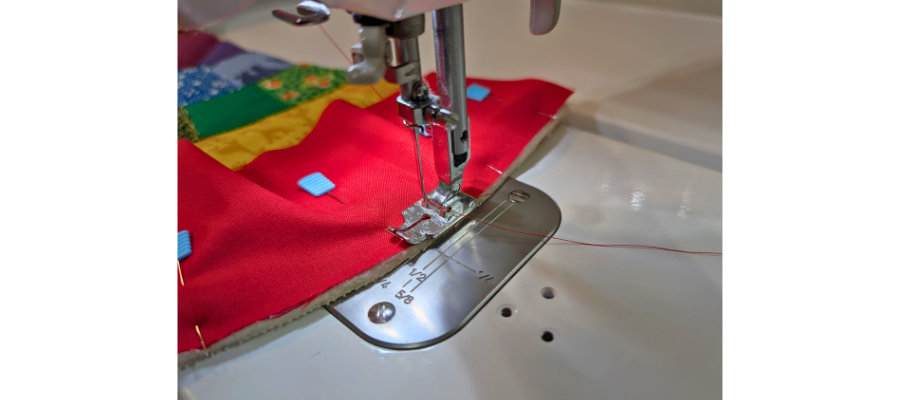
Stitch in place starting partway into the curve to leave room for attaching the purple strip. Stop before getting to the end.
Join the purple strip to each end of the red strip, then finish stitching around.
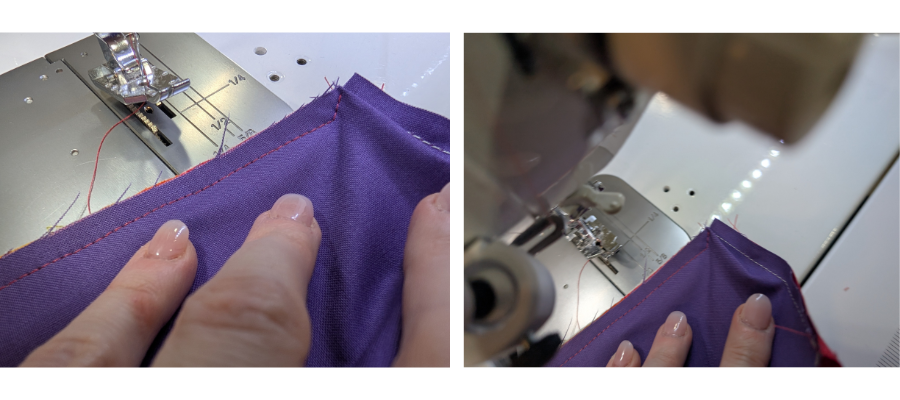
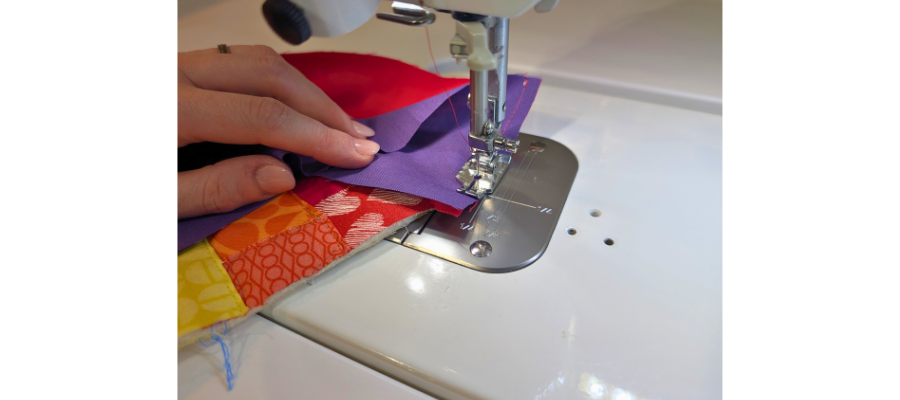
The corners will look mitred for best results – once you get to the corners fold the fabric and sew off the end, then bend the excess the other way to continue sewing the other side of the corner. This will create a small point.
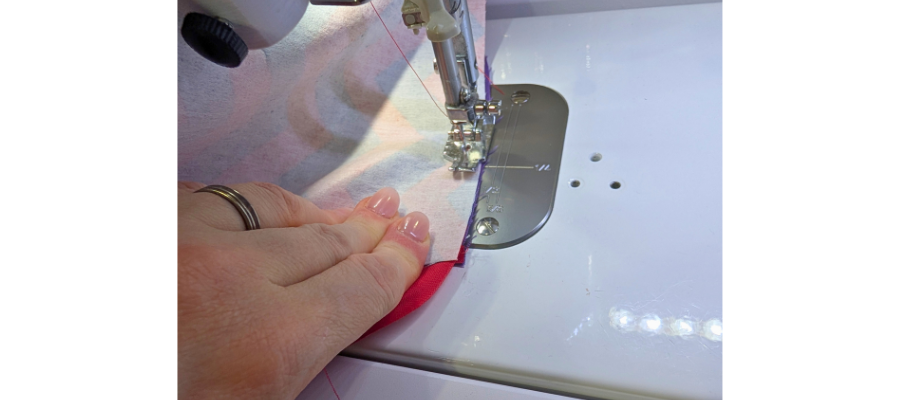
Sew the backing piece to the other side of the strips starting just past the middle of the bottom edge. The corners should align with the purple strip end including the seam allowance to make sure it is positioned properly. When you get to ¼|” of the corner, put the needle down and manipulate the fabric before making the turn.
Leave a turning gap of around 4” or so on the bottom edge, and back stitch.
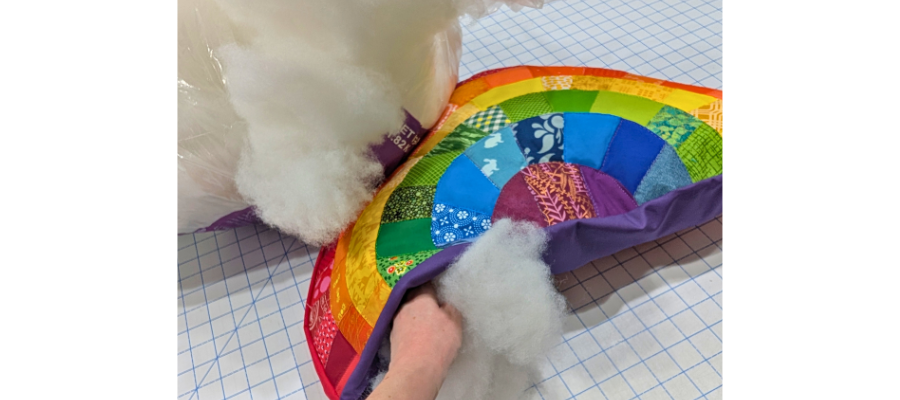
Turn rainbow right side out and push out the corners.
Stuff with fibre fill, or you can use tiny fabric scraps if you are looking for an alternative to throwing them out..
Once fully stuffed, fold the turning gap edges under ¼” and sew together to close. You can do this by hand with a ladder stitch, or by machine.
We want to see your finished rainbow pillow and see the scraps you used for this fun project! Don’t forget to tag us on Instagram or Facebook so we can see and celebrate your creations! #TrendTexFabrics @trendtexfabrics