
Scrappy Drawstring Bag Tutorial
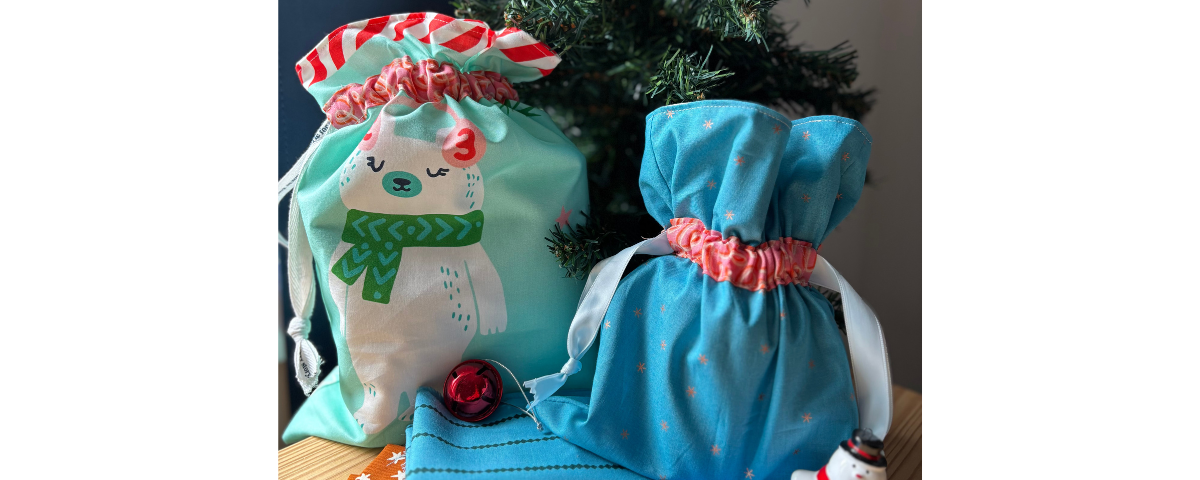
Beginner & scrap friendly, no measuring needed – customize to your gift!
Out with disposable gift wrap and in with these quick and easy lined drawstring gift bags. Spend the afternoon whipping up a handful of fun and reusable gift bags for the holidays. This is a great scrappy project or buy that Christmas fabric you’ve been eyeing, they’re going to look great either way!
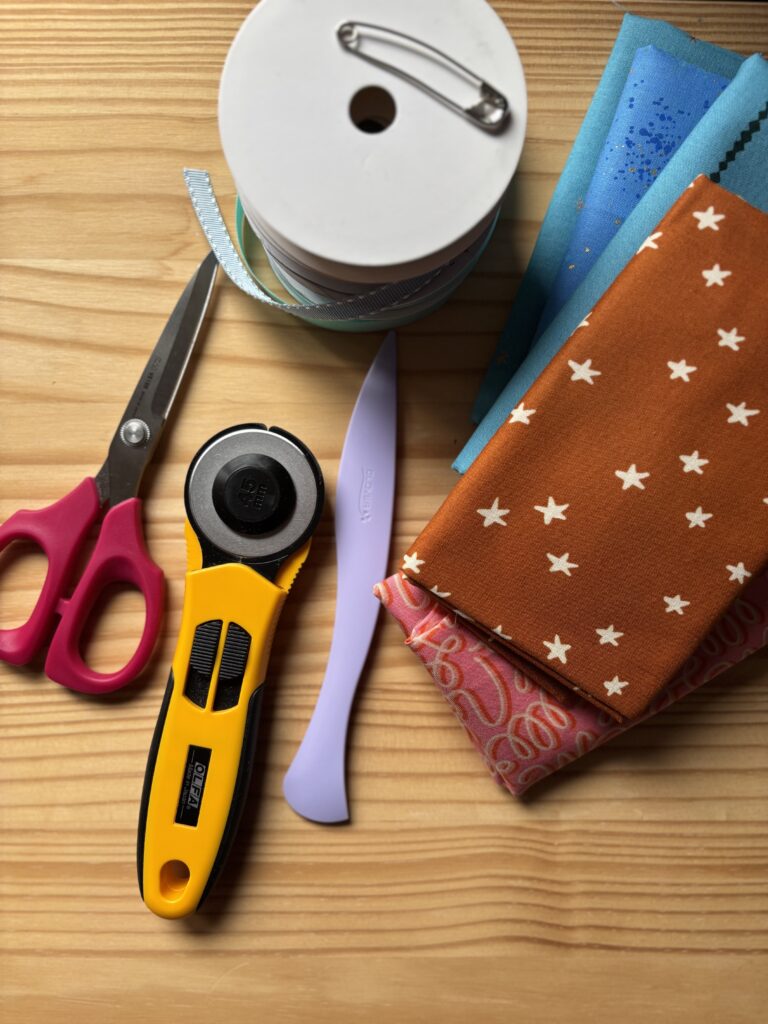
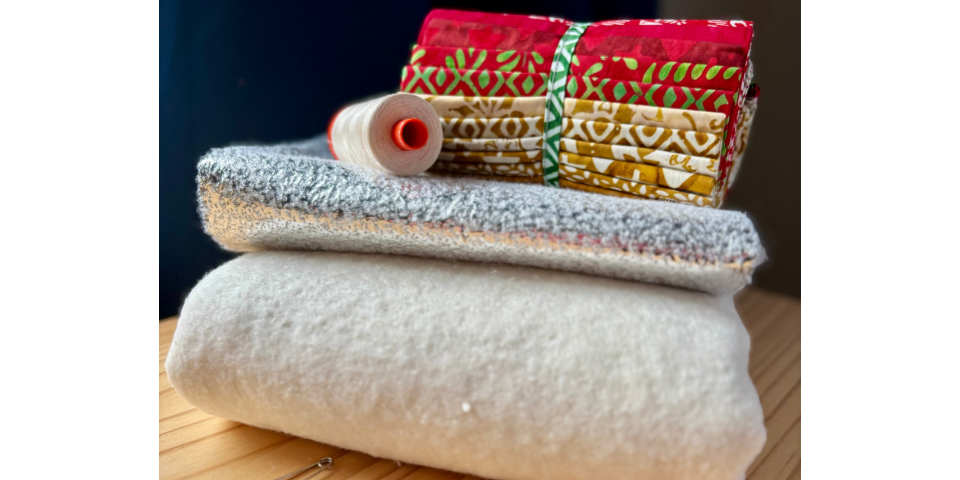
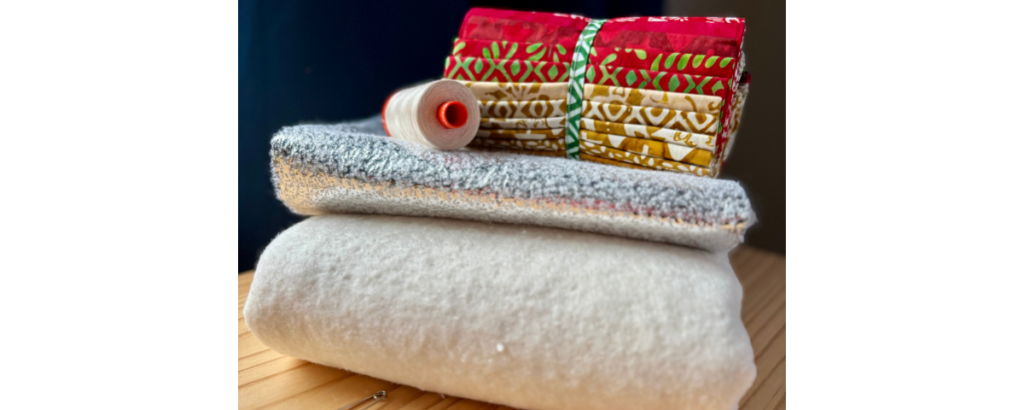
You will need:
- Quilting cotton for the main body of the gift bag
- Ruby Star Society fabric from various collections and elements from the Peppermint Please Panel by Sarah Watts were used for this tutorial
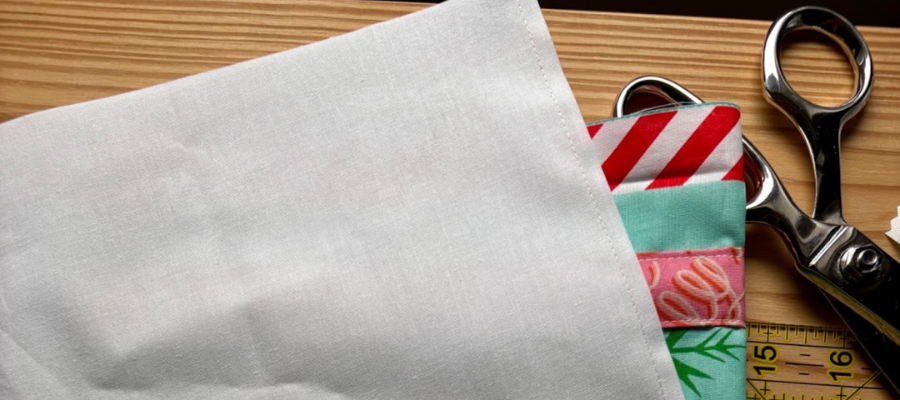
- Quilting cotton for the lining, cut to the same size as the main body fabric
- Grunge from Moda was used in this tutorial
- Strip of quilting cotton for the drawstring casing (roughly 2-4 inches by the width of the gift bag)
- Ribbon, cord or similar for the drawstring
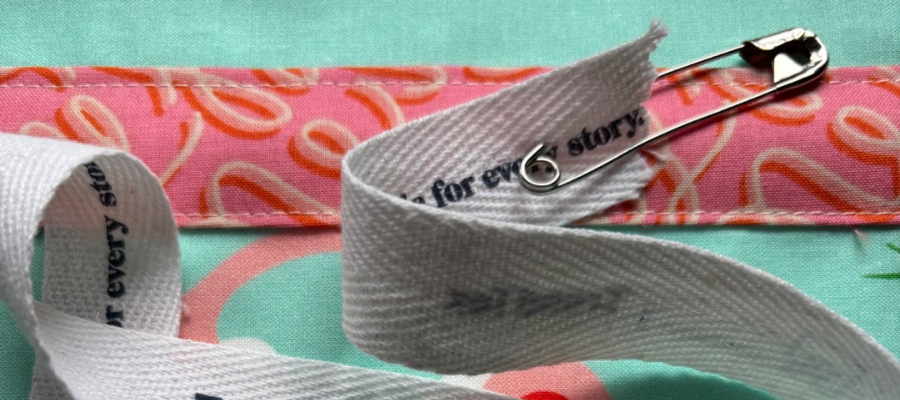
- Safety pin for threading drawstring through casing
- A hera marking tool for marking casing placement (optional)
- Pinking shears for cutting the ribbon (optional)
Preparing your fabric
Main body and lining fabric
- Lay a gift on top of fabric similar to how you would with traditional gift wrap to gauge size. Or make several gift bags using various scraps of fabrics and use whichever works best for the size gift you have. (See customization section below before cutting)
- Remember to account for seam allowance and the drawstring casing. You’ll want to leave about 2 ½ to 3 inches above the top of the casing to have a nice ruffle.
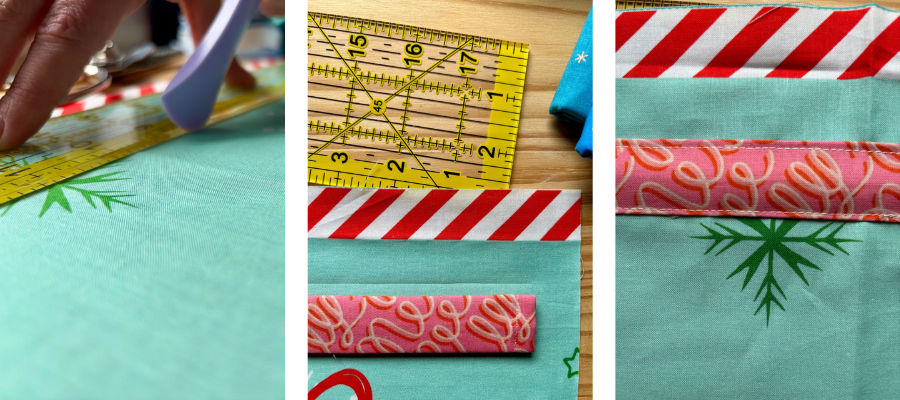
Making the drawstring casing
- Cut a roughly 2-4 inch wide strip, its length will depend on whether you’re making a one or two-sided drawstring bag. See notes under customization.
- Finish each end of the casing strip by folding over each end (roughly ¼ inch) two times and edgestitching. (The casing is meant to be narrower than the body and lining fabric widths once hemmed).
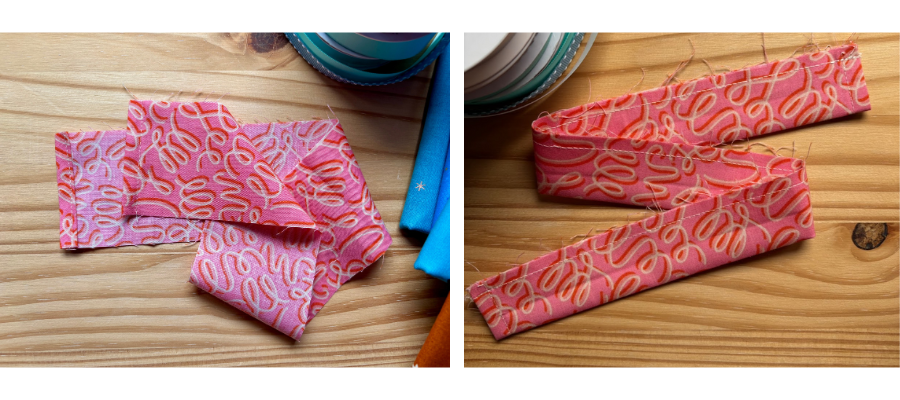
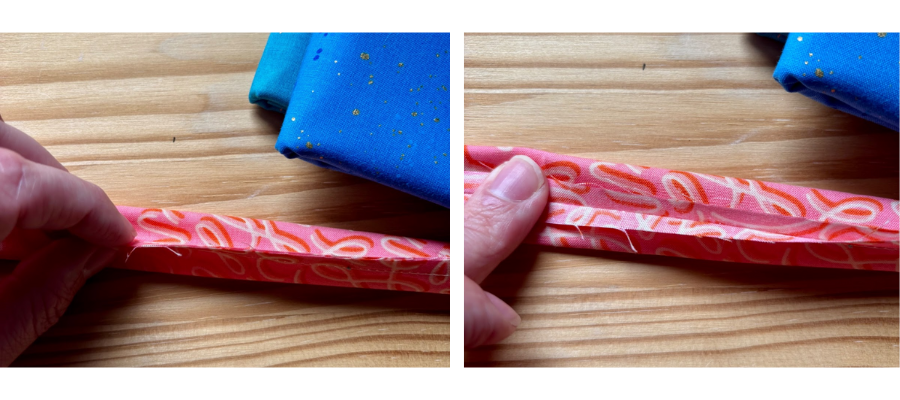
Sew the long raw edge of the casing wrong sides together, backstitching on each end.
Roll casing so that seam is centered on (and hidden) in the back. Press seam open to reduce bulk.
Customization
Depending on the size and shape of fabric available, whether your prints are directional and/or personal preference.
One sided vs two sided drawstring
- One sided: Best for directional prints. Drawstring pulls on single side. Cut your fabric width twice as wide as your gift width.
- 1 seam will run along the bottom of the bag and up one vertical side
- Cut body and lining fabric the same size
- Two sided: More symmetrical design. Drawstring pulls from both sides. Cut your fabric length twice the length as your gift height.
- 2 vertical seams
- Cut body and lining fabric the same size
- You will need to make 2 separate casings and sew to the top and bottom end of the main fabric
Gift bag assembly

Cut the main body of the bag fabric to desired size. Cut lining fabric the same size.
Lay out the main fabric and decide on drawstring casing placement. The top of the casing should be 2 to 3 inches below the top of the main fabric.
Optionally, use a hera marker to create a crease where the casing will be sewn. This will help as a guide at your sewing machine.
Edgestitch both long sides of the casing onto the main body of the bag using about an ⅛ inch allowance. Back stitch at each end.
Fold main fabric right sides together and sew.
- One sided bag: Sew down the vertical seam, pivot and sew along the bottom of the bag to the folded edge. Back stitch at each end.
- Two sided bag: Sew two vertical seams. Back stitch at each end.
Sew the lining fabric the same way, leaving an opening a few inches wide for turning right side out. Backstitch on each side of the opening.
With the main fabric right sides out, place into the lining so that the right sides of the main and lining fabric are touching. Sew all the way around the opening of the gift bag. Backstitch at the end.
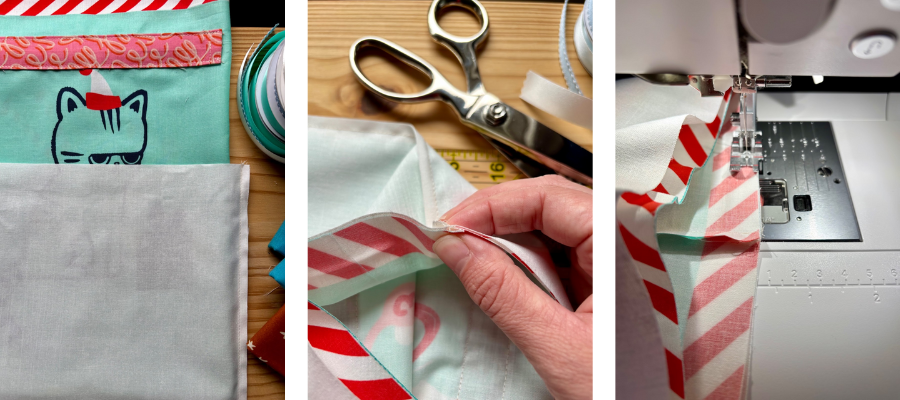
Use the opening in the lining to turn the bag right sides out.
Once the main fabric is pulled through the lining, sew the lining opening shut. Backstitch at the beginning and end.
Push lining fabric into the gift bag.
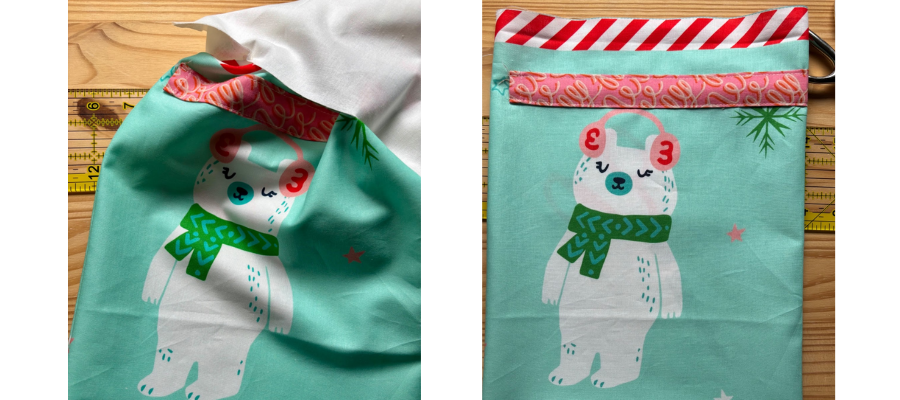
Iron the gift bag opening, roll the seam with your fingers to adjust the lining with the main fabric. Topstitch around the opening of the bag.
Attach a safety pin to the drawstring material and pull it through the casing. Once it’s through the other side, knot the drawstring ends.
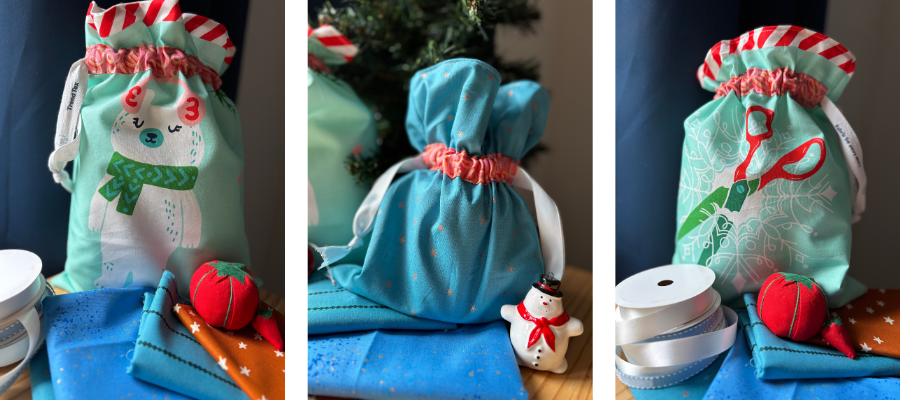
You’re all done!
How many will you be making? They are so quick and easy. Make a few or a whole set! A fantastic make during the holiday season. Use them under your Christmas tree or they can be great for wrapping host gifts to add a personal touch.
Don’t forget to tag us on Instagram or Facebook so we can see and celebrate your creations! #TrendTexFabrics @trendtexfabrics