Patchwork Block Tote Bag Tutorial
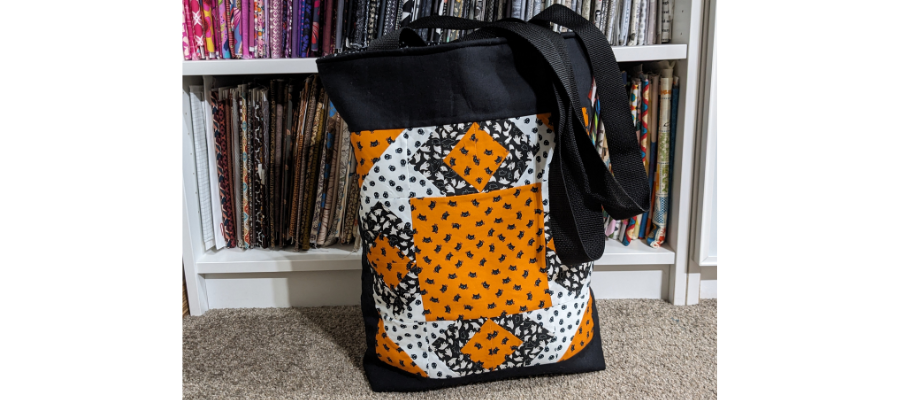
A tote bag is always useful! On this project, you can practise your patchwork without making a whole quilt.
You can use any 12″ block you have already prepared, or follow along to make ours, which includes a quick method of creating half-square triangles (HSTs) and flying geese.
The fabric we used for the block is Holiday Essentials Halloween by Stacy Iest Hsu for Moda, with Moda Ombre to finish the exterior. If you’d prefer to make your tote bag in an all-season fabric line, feel free!
Seam allowances are ¼” unless stated otherwise for this tote bag tutorial.
Finished Size: 17″ x 15″ x 3″ (approx)
Difficulty: Confident Beginner
Time to make: A day
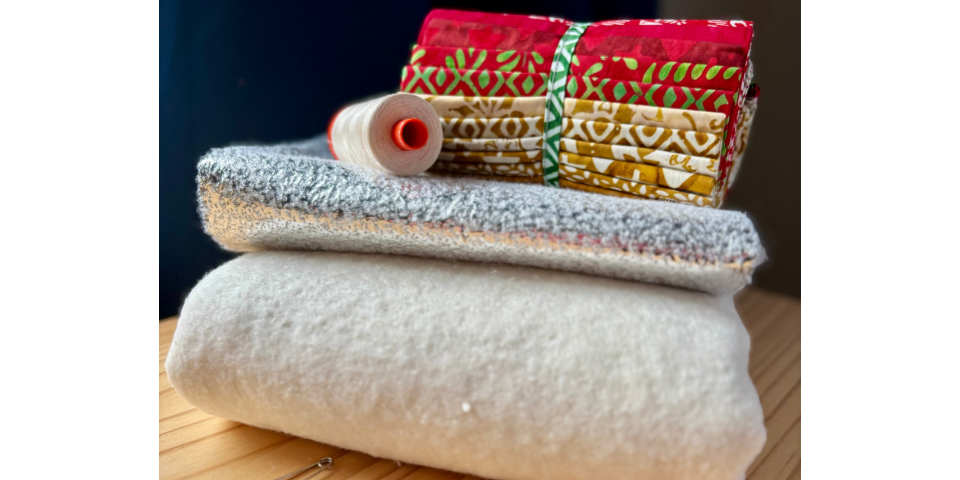
Here’s what you’ll need for this patchwork oven glove tutorial:
- Sewing machine
- Cutting tools: rotary cutter, mat, and long ruler
- 3 – fat eighths for patchwork
- 1/2m exterior fabric
- 1/2m lining fabric
- 1/2m full width lightweight fusible interfacing, such as EB-Fuse from Emmaline Bags
- 1/2m fusible fleece, such as Pellon 987F
- 2 yards of webbing
- General sewing notions: iron, marking pen, pins, scissors, thread, etc.
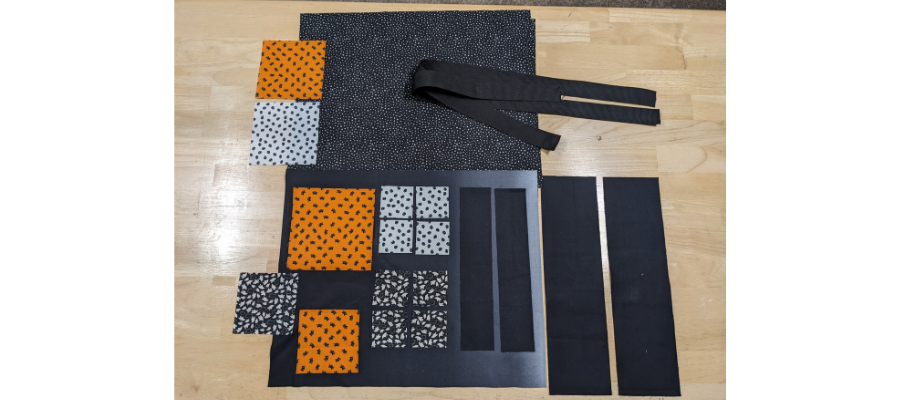
Cut the following pieces for your tote bag:
- Main body: 1 – 16 ½” x 20 ½” 2 – 12 ½” x 2 ½” 2– 16 ½” x 4 ½”
- Lining: 2 – 16 ½” x 20 ½”
- Patchwork:
Fabric A (orange): 1 – 6 ½” square 1 – 5 ½” square
2 – 4 ½” squares Fabric B (white): 1 – 5 ½” square 8 – 2 ⅝” squares Fabric C (black): 2 – 4 ½” squares
8 – 2 ⅝” squares - Interfacing: 2 – 16 ½” x 20 ½”
- Fusible Fleece: 2 – 16″ x 20″
- Webbing: 2 – 35″ lengths
Quilt Block Diagram:
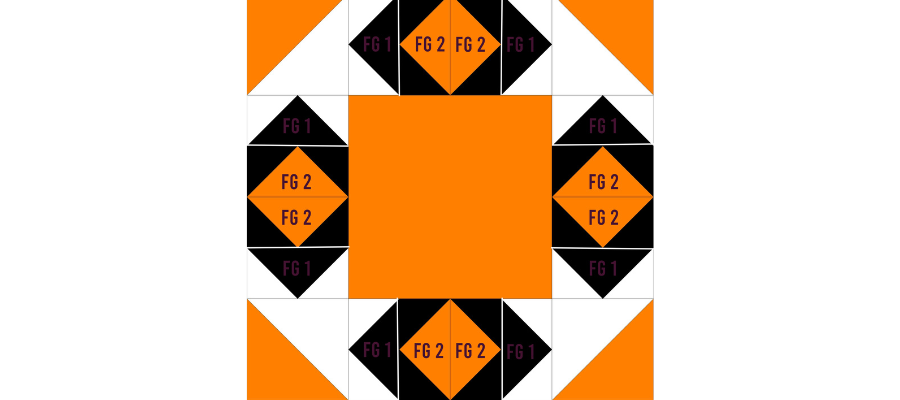
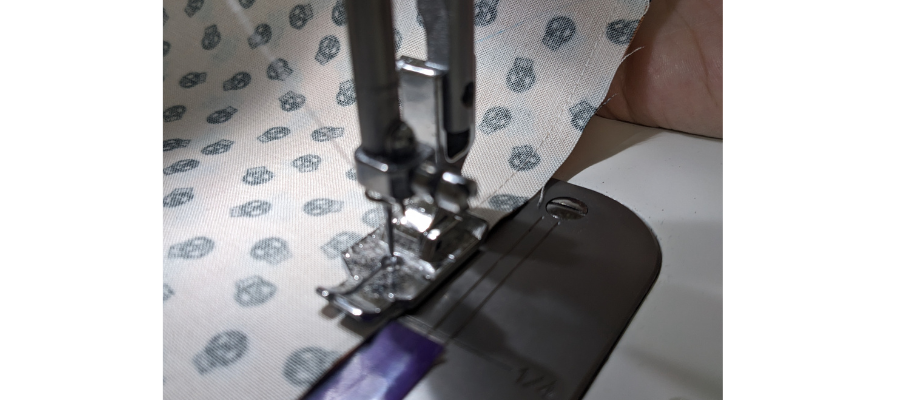
Start by making the corner HSTs. Take the 5 ½” squares (one each of Fabrics A and B), with right sides together, and sew around all four sides.
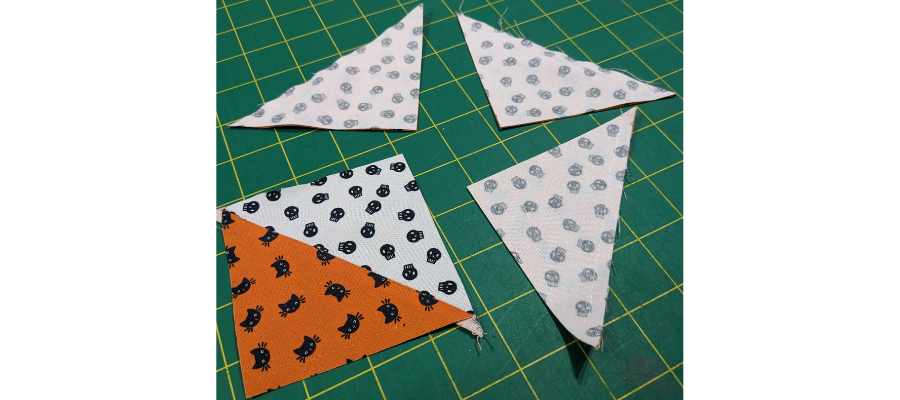
Cut corner to corner diagonally, twice, to make four triangles. Open out and press to the darker fabric. Trim to 3 ½” square if needed.
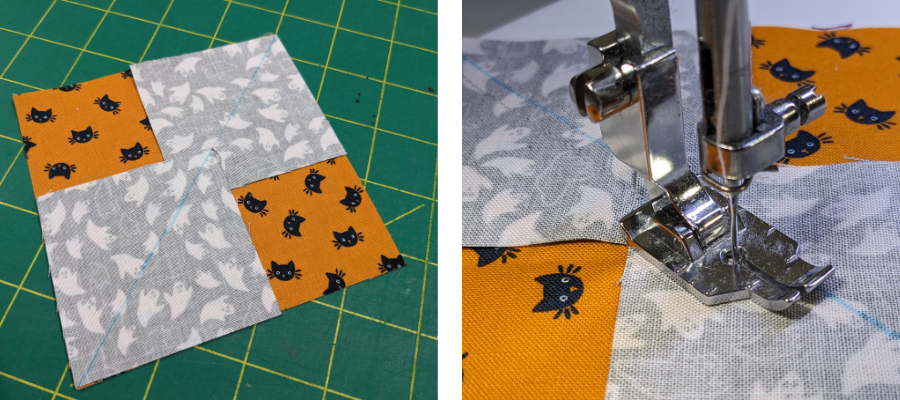
On to the flying geese. Draw a diagonal line from corner to corner on the back of the Fabric C 2 ⅝” squares. Take a 4 ½”square of Fabric A and position two squares in opposite corners, right sides together – so that the line goes from corner to corner of the larger square, and the small squares overlap slightly in the middle.
Sew either side of the line with a scant ¼”.
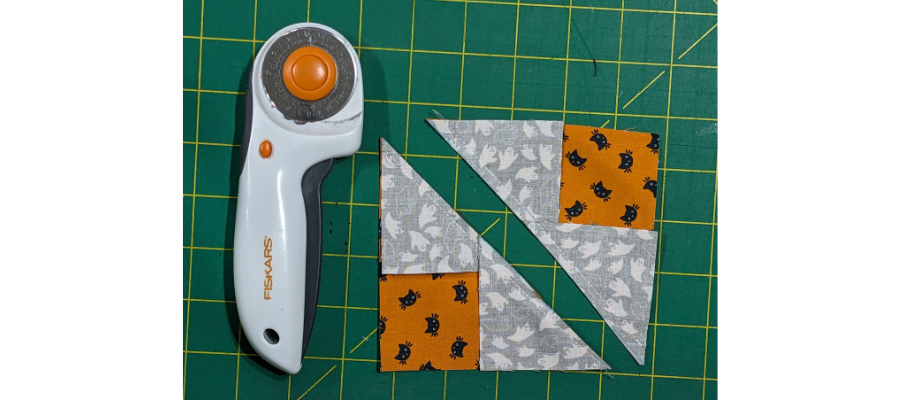
Cut along the line between the lines of stitching and press the seams toward the resulting smaller triangles.
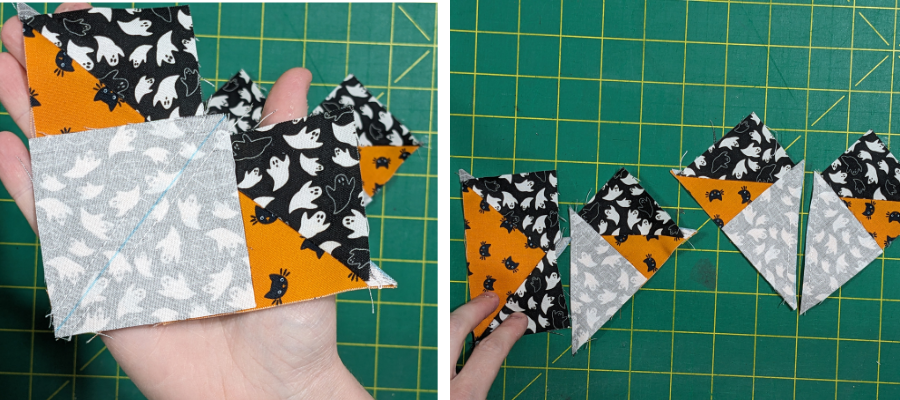
Take another 2 5/8″ square and position it so the raw edges are together, and it sits over the large triangle as pictured, with the line running between the smaller triangles. Sew either side of the line as before and repeat to make two.
Cut along the line and press seams toward the smaller triangles. Trim to 3 ½” x 2″, leaving ¼” beyond the central triangle point. This makes four flying geese (FG). Repeat with the same colours to make a total of eight FG2 units (as per the diagram).
With the remaining 4 ½” squares of Fabric C and 2 ⅝” squares of Fabric B, repeat the process to make eight FG1 units.
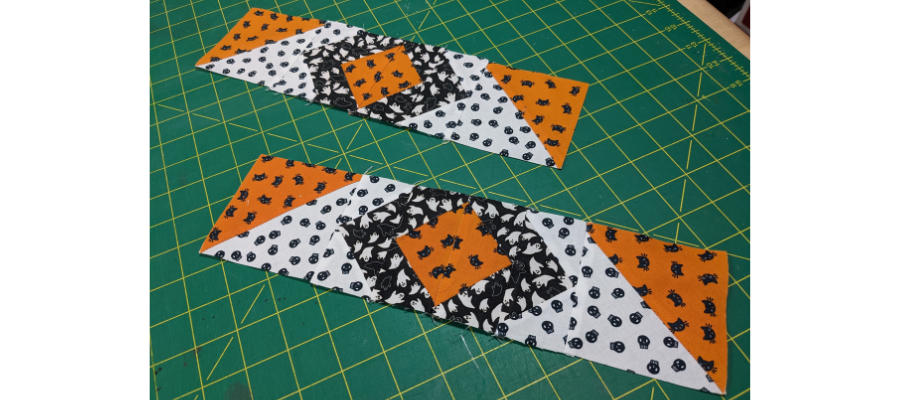
Now you have all the parts, it’s time to assemble the block. Referring to the diagram for orientation, sew two rows: HST, FG1, FG2 FG2, FG1, HST. Fabric A will point outward on the HSTs and the FGs will form a Fabric A diamond in the centre, with a Fabric C outline.
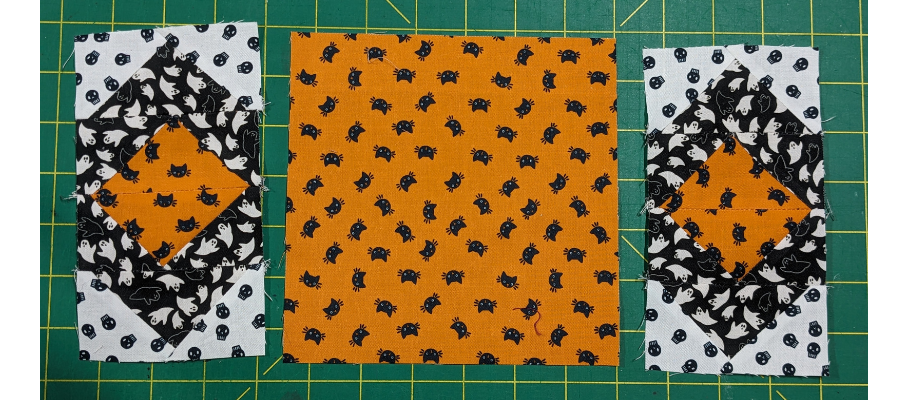
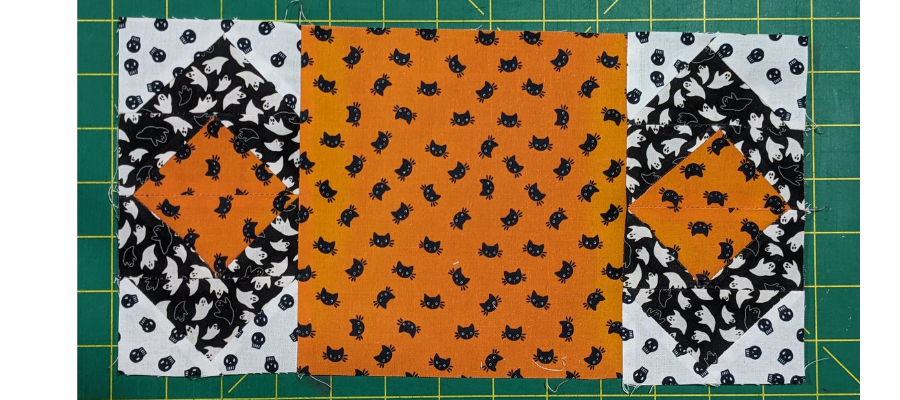
For the centre row of the block, you’ll need to sew the remaining FGs together first. Following the same pattern as before, making two pieces: FG1, FG2, FG2, FG1. Press seams.
Sew either side of the 6 ½” Fabric A square.
Press the rows alternate ways to make seam matching easier, and sew to complete the block. Press well.
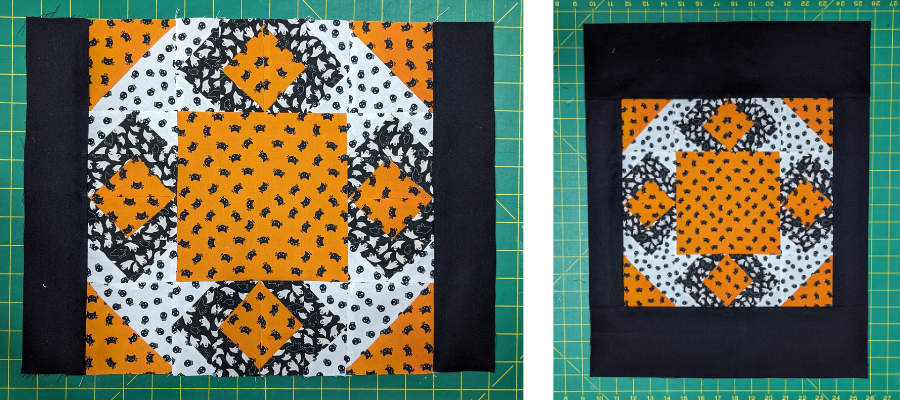
To finish the front of the bag, sew the exterior 2 ½” wide strips to the sides of the block and press to the darker fabric.
Sew the 4 ½” strips to the top and bottom, and press.
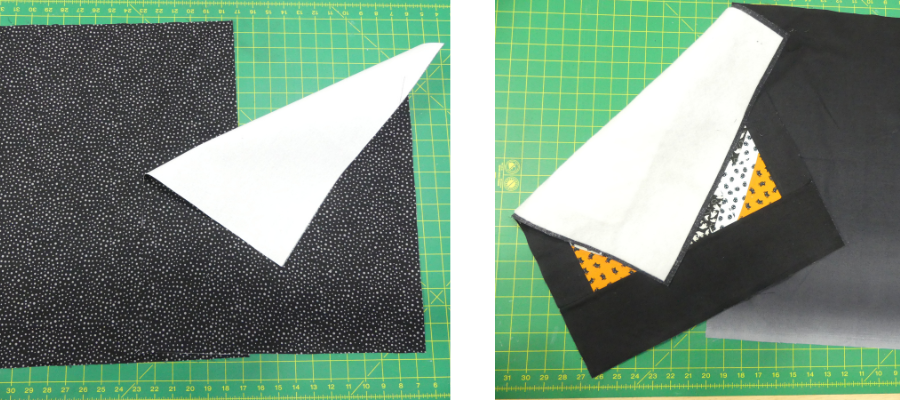
Interface the reverse of the lining fabric, pressing well. Press the fusible fleece to the reverse of the exterior panels. There will be ¼” less all the way around so be sure to carefully centre it before pressing from the non-fleecy side.
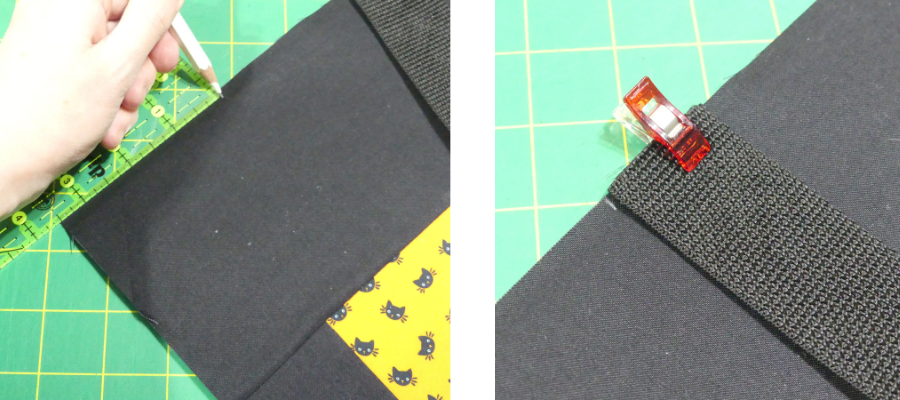
On the top of the exterior panel, measure 3 ½” from the sides and mark. Clip or pin each end of a webbing strap to the inside of each mark, making sure not to twist it. Repeat for the other panel.
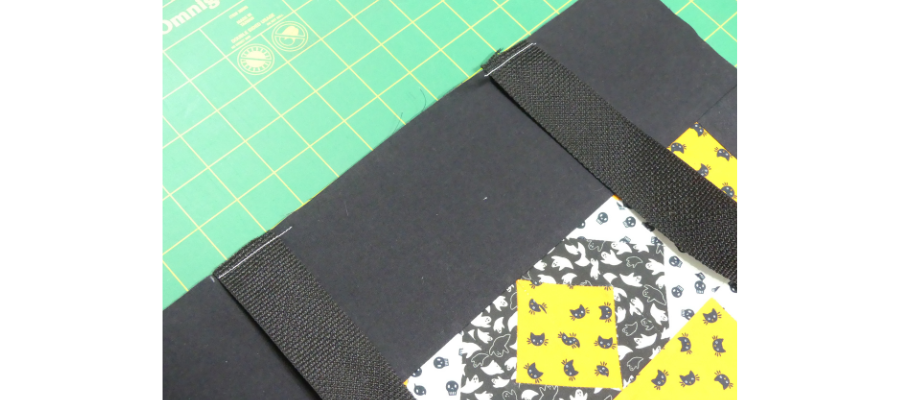
Baste-stitch in place at ¼” to secure the strap in position.
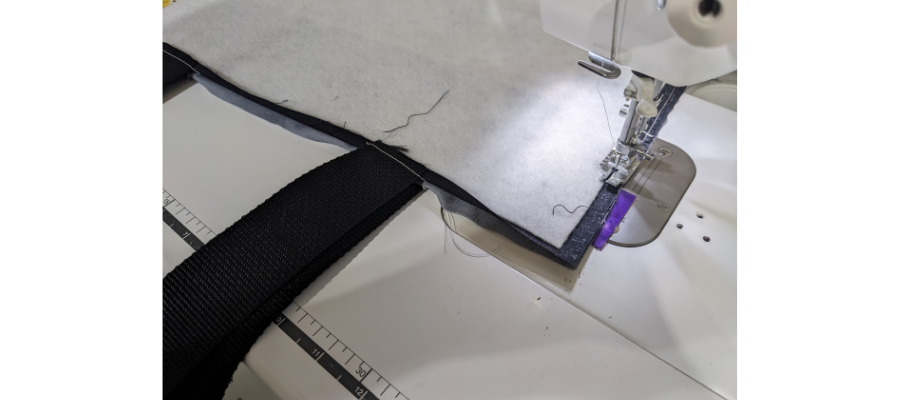
With both exterior pieces right sides together, sew the sides and bottom of the bag together, backstitching at the start and finish.
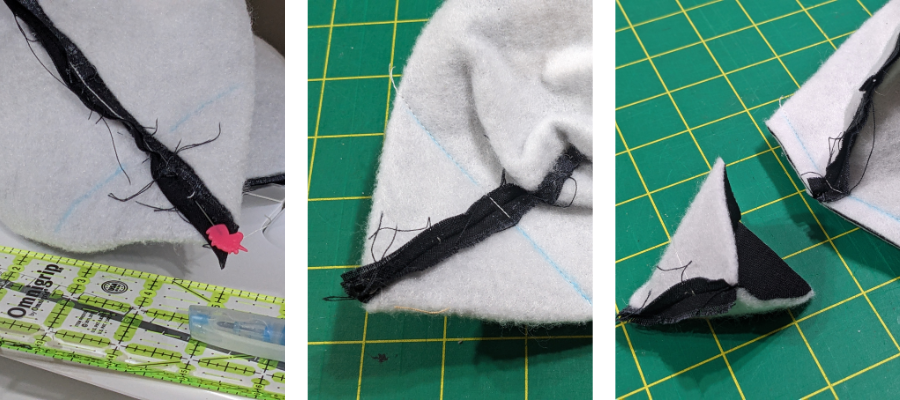
To box the corner and give the 3D effect, pull one of the bottom corners out and align the side seam with the bottom seam and pin. Measure 2″ from the point and draw a line.
Sew along the line and cut away the excess. Repeat for the other bottom corner.
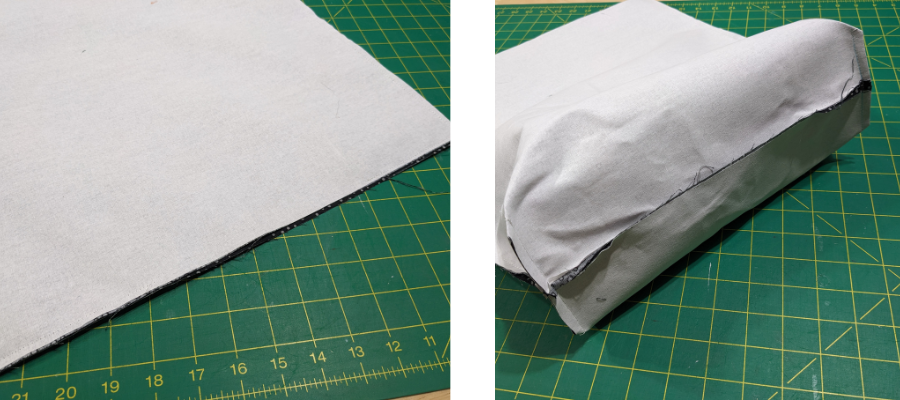
Align the lining panels right sides together and sew together, but this time leave a gap of a few inches in the bottom. Back-stitch when you start and stop.
Box the lining corners in the same manner as the exterior for your tote bag.
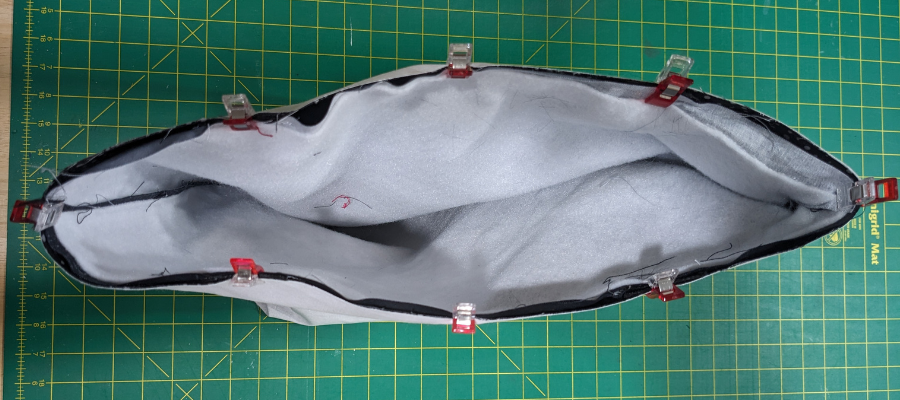
Turn the exterior right side out and leave the lining wrong side out. Put the exterior inside the lining so the right sides are together and clip or pin together, making sure the straps are tucked out of the way and the seams match.
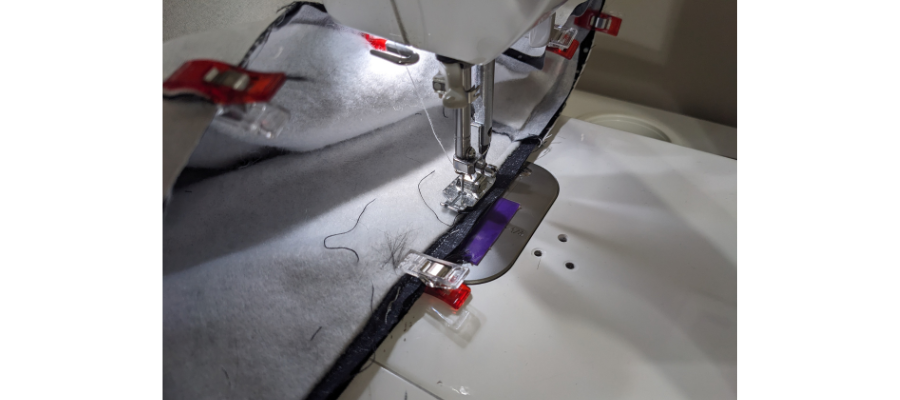
Sew all the way around the outside of the bag with a ½” seam allowance.
Turn right side out, pushing out the corners and pressing if needed. Sew up the hole in the lining.
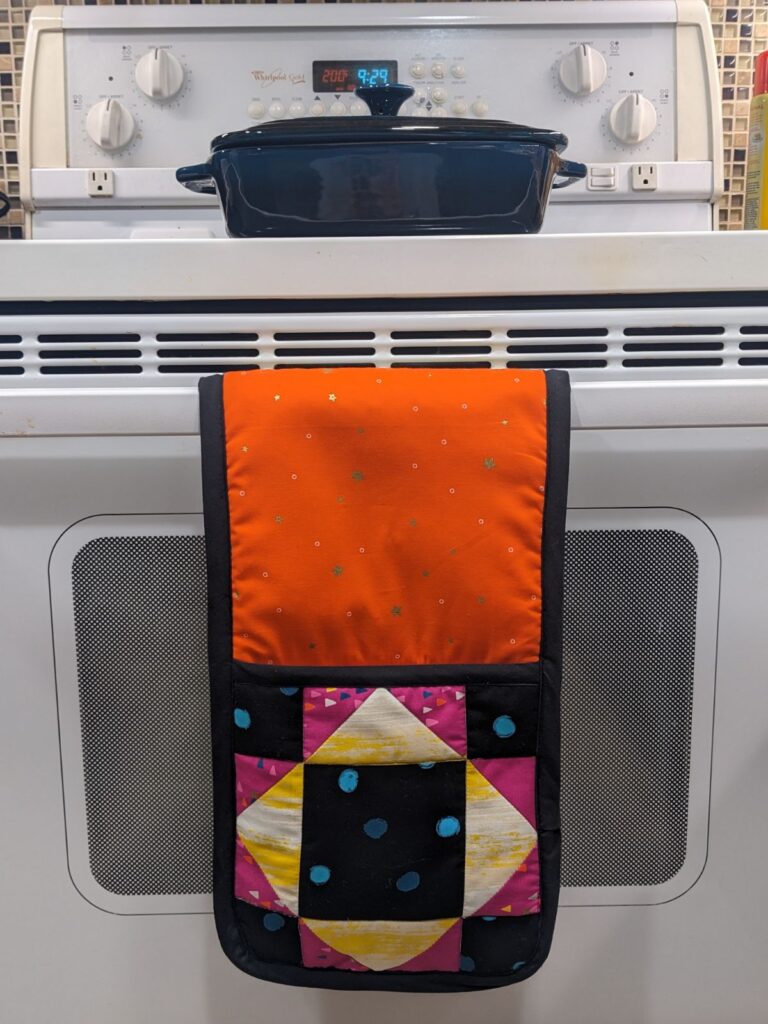
Press the top of the bag so the seam is even. Top-stitch all the way around with a ¼” seam allowance.
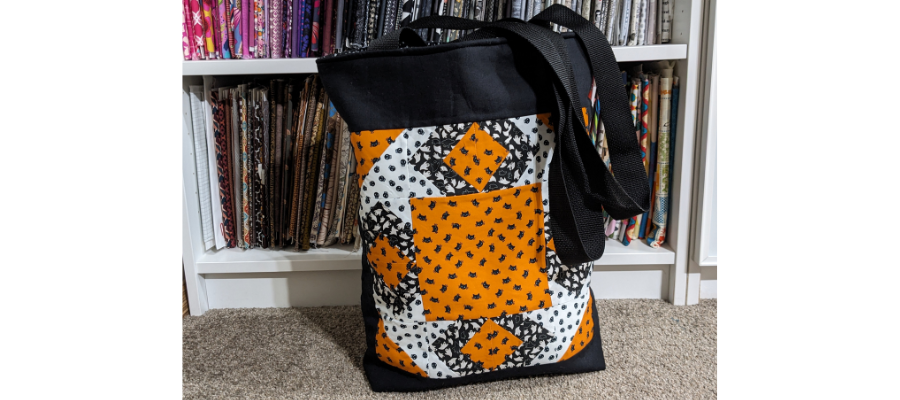
You’re done! What fabric did you use? We’d love to see your tote bags on social media and hope you’ll share them with us! Please post, and tag us on Instagram or Facebook so we can celebrate your design! #TrendTexFabrics @trendtexfabrics
Looking for more tutorial and project ideas? Check some other ideas out here.
