No-Sew Fairy-Light Decorations Tutorial
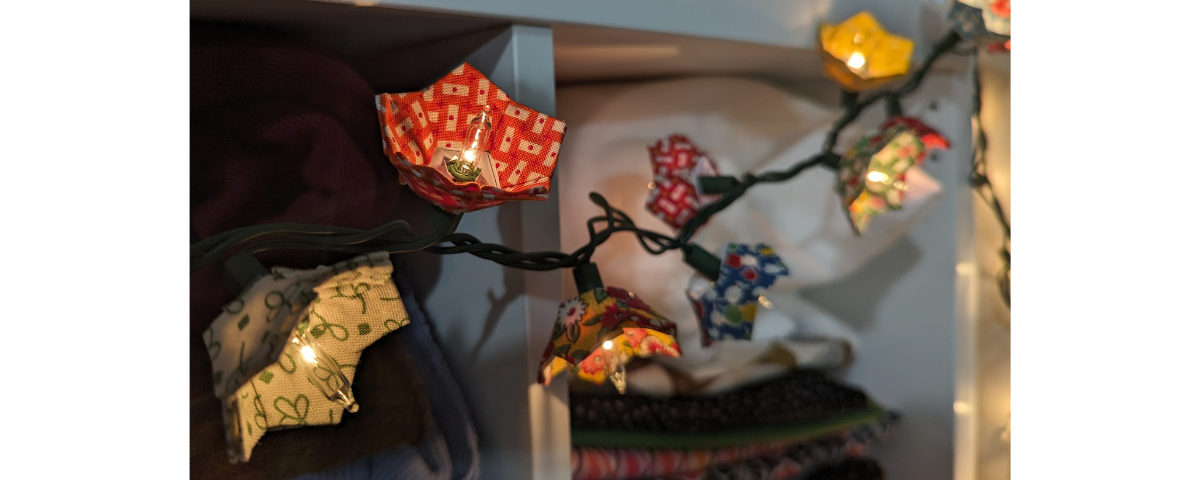
We’re making these cute flower cups to decorate and elevate your basic fairy lights. All you need is fabric scraps or charm squares to get started!
There is no sewing required in this fairy light decoration project, only permanent fabric glue. And maybe a bit of patience, since assembling these dainty flower cups can be a slightly fiddly process. However, it will be worth it when they’re done and adorning your sewing space with their delicate charm.
Finished size: Each shade is 1 ½” in diameter and ⅞” tall
Difficulty: Intermediate
Project time: ~20 minutes per light
Here’s what you’ll need for your fairy-light decorations:
- One charm square for each light
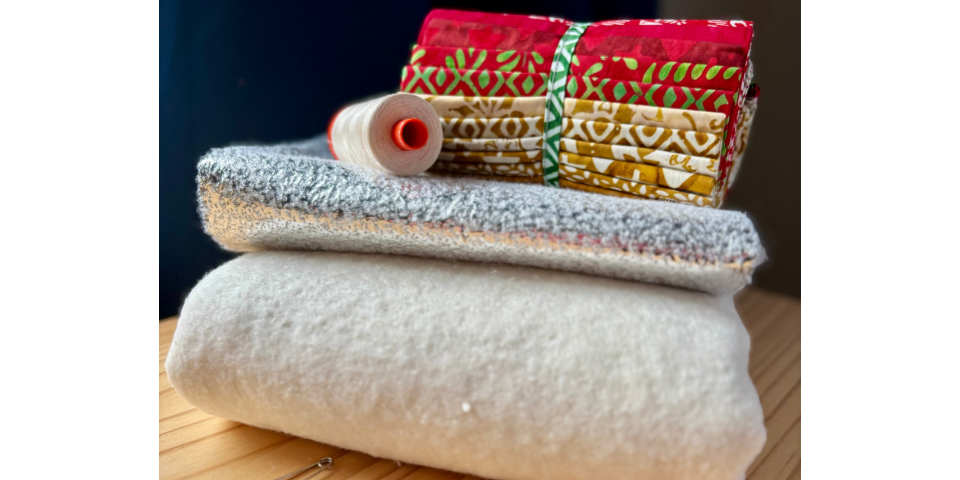
- 1/4 m medium-weight fusible interfacing (this will easily be enough for 20–25 lights)
- Glue stick
- Permanent tacky fabric glue
- Craft knife
- String of fairy lights
- General quilting notions: Scissors, iron, Wonder Clips
- Downloadable template
Print the template onto thick paper. Each sheet has paper inserts for 16 lights, so if you intend to make more, you’ll need to print it as many times as necessary.
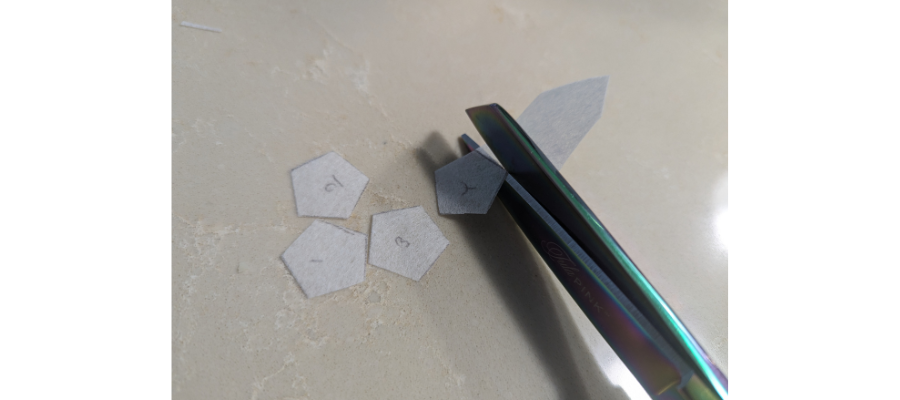
Trace the pentagon shape onto the interfacing (you will need to trace 10 for every light). You can draw around the template or trace with the shape underneath.
Cut out the pentagons.
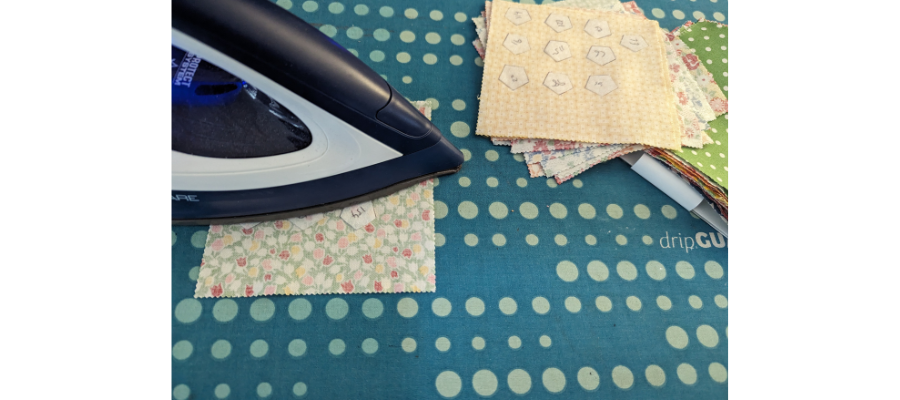
Fuse 10 pentagons to the wrong side of a charm square or large fabric scrap. Alternatively, if you have smaller fabric scraps, you could make the inside and outside of the finished light decoration different. If you choose this second option, you will only need to fuse two to five different fabrics.
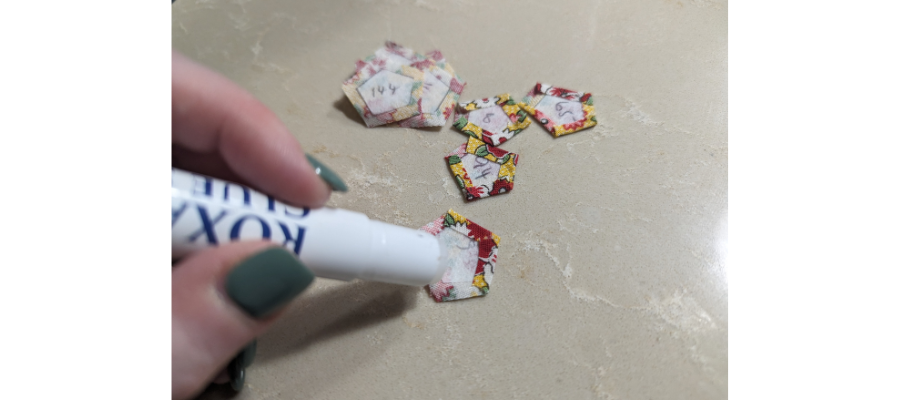
Cut out each shape leaving a ⅛”–¼” seam allowance. With a glue stick or glue pen, fold and glue four of the five edges to the back on each piece.
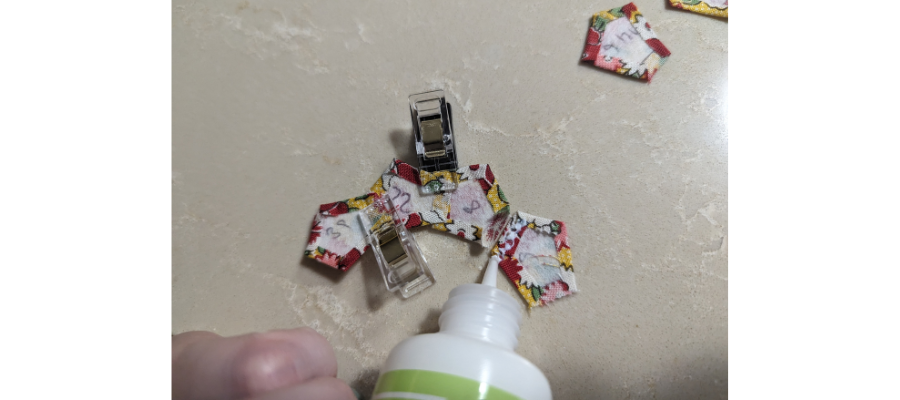
On one piece, add a dot of permanent fabric glue on the folded side opposite the open side. Fold and finger-press the open seam of another shape, then align with the glued edge and stick together, clipping as you go. Make two rows of five to form an arc shape.
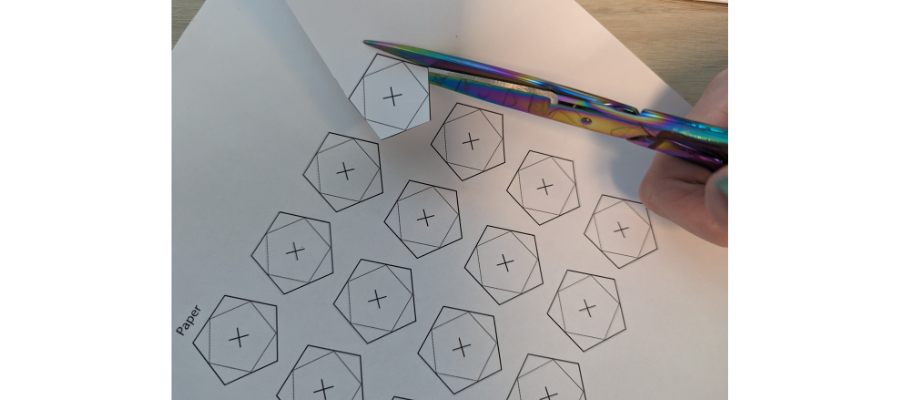
While the glue dries, cut out a paper insert from the template sheet. Cut the X in the centre with a craft knife.
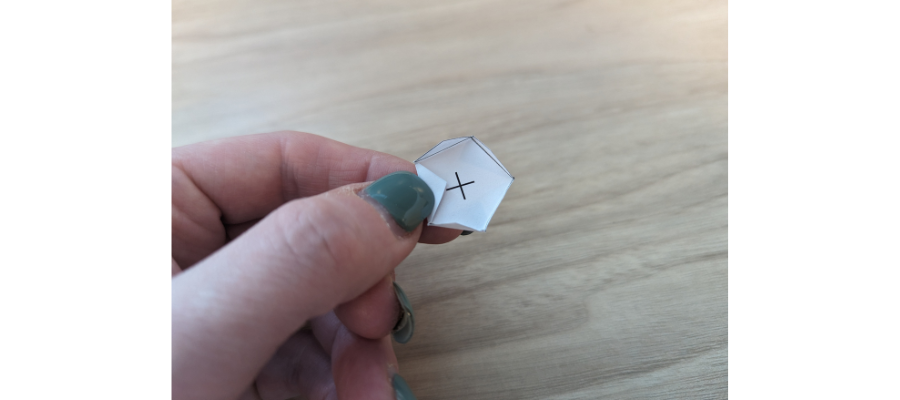
Fold in the sides along the lines.
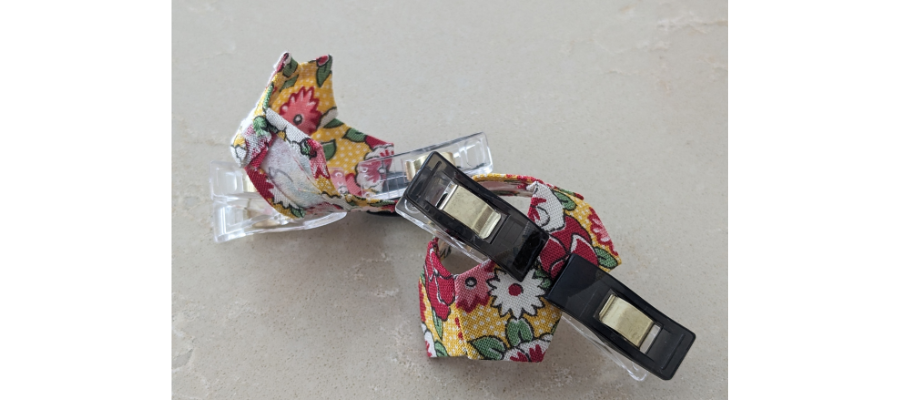
When the glue is dry on the fabric arcs, unclip them. You will then join the ends together on each shape to make a bowl. As before, fold and press the open seam allowance and then use permanent glue to secure it to the folded end.
Important: You will need to make one with the fabric facing outward, and one with fabric facing inward.
Clip and leave to dry.
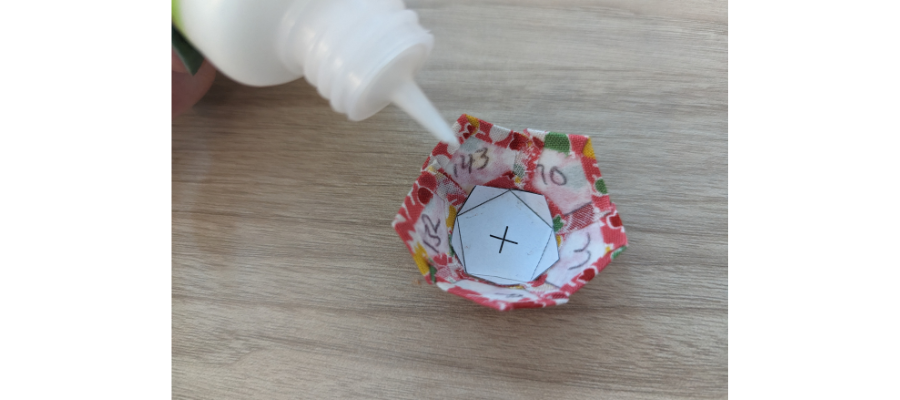
Insert the paper into the fabric-out bowl shape, aligning the folded paper edges with the straight edges. Glue the points to hold in place and leave to dry.
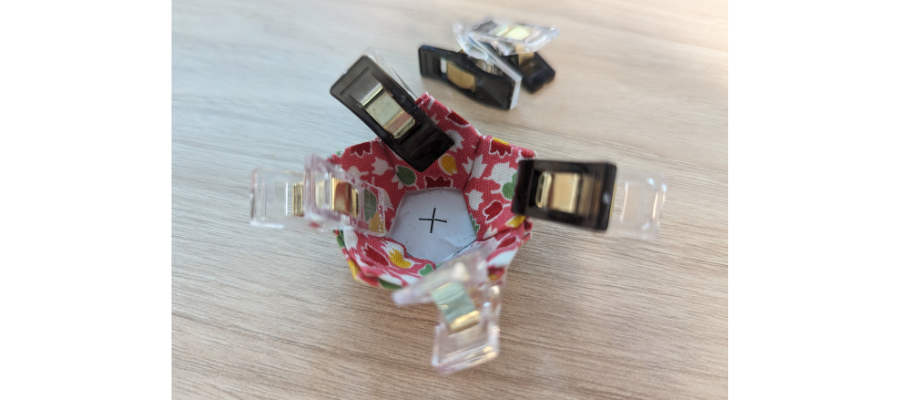
Add permanent glue to the points and joins of the piece with the paper centre.
Take the fabric-in bowl shape and carefully place it inside, matching the points and easing the bottom to cover the paper points. Clip and let dry.
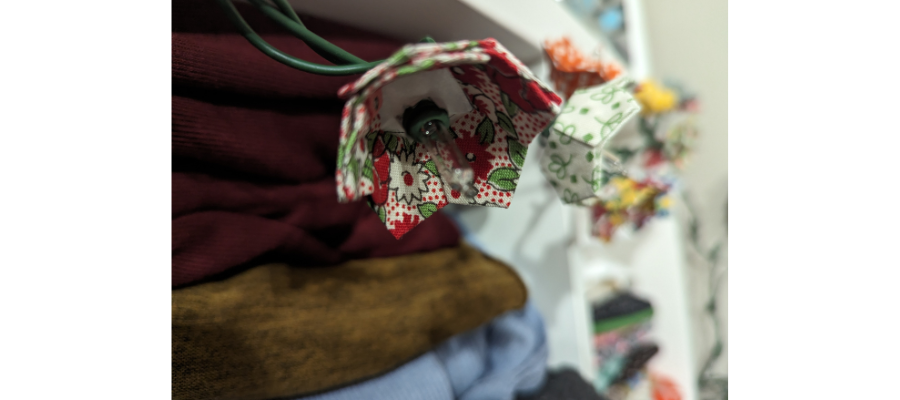
You’re ready to attach your completed flower cups to your fairy lights! Carefully push the bulb through the paper where you cut the X shape, letting it open up a bit more. Stop when the bulb is completely through and the decoration is sitting on the plastic bulb holder.
Repeat as many times as you like!
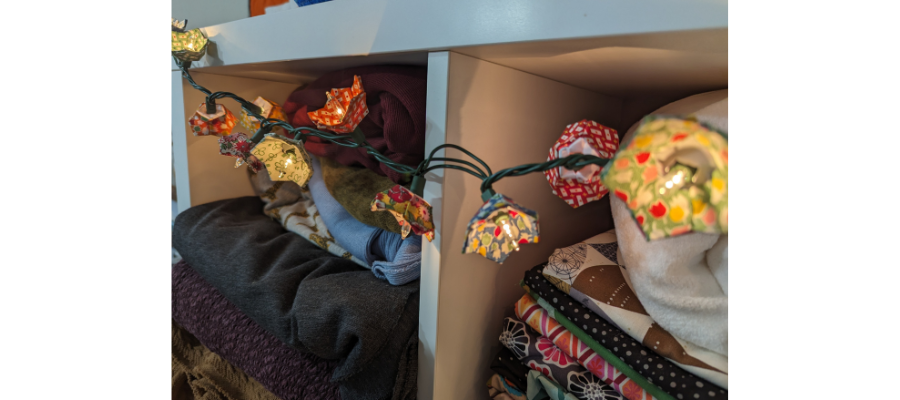
We can’t wait to see which fabulous fabrics you use to decorate your fairy lights with flowers. Don’t forget to tag us on Instagram or Facebook so we can celebrate your design! #TrendTexFabrics @trendtexfabrics
Looking for more tutorial and project ideas? Check some other ideas out here.
