Hidden ID Luggage Tag Tutorial
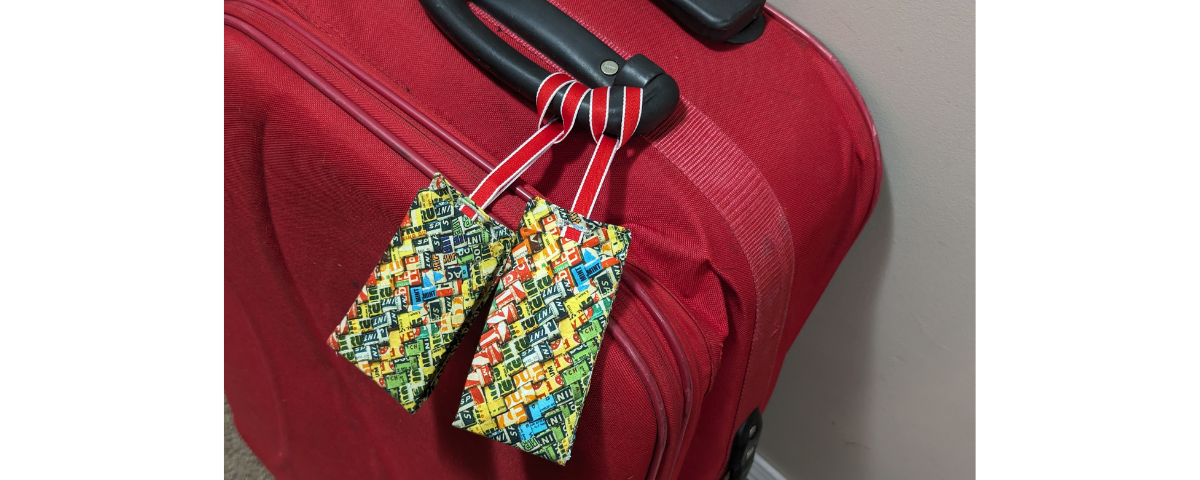
Make this luggage tag to help with identifying your suitcase on the baggage carousel! The folding design also keeps your personal details concealed.
It’s that time of year where we want a bit of sun (at least in the northern hemisphere!). But whether you’re getting away to warmer climates or to the ski slope, it’s a good idea to make sure your personal details are on your bags in case the worst happens. The size of this luggage tag is designed to hold details the size of a business card.
Tip: suitcases get dirty, so choose a busy fabric to keep it looking good before you get home.
Seam allowances are ¼” unless stated otherwise for this luggage tag tutorial.
Finished Size: 2 ¼” x 4 ½” (folded, minus hanger) Difficulty: Intermediate Time to make: 30 Minutes
Here’s what you’ll need for your Luggage Tags (per tag):
- Sewing machine with a buttonhole foot
- Cutting tools: rotary cutter, mat, and ruler
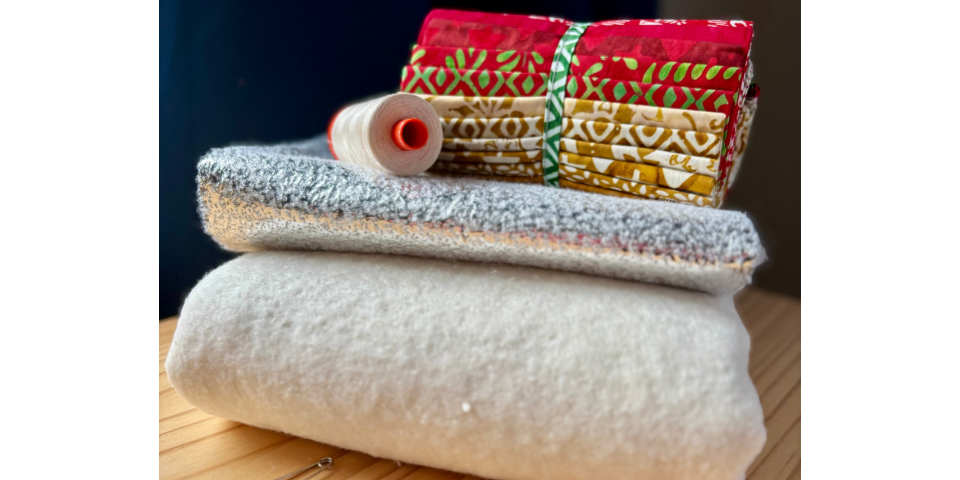
- Quilting cotton – scraps would work; a fat eighth is plenty
- Clear vinyl – a small piece; at least 4 ½”x 2 ¾”
- Single-sided fusible Peltex (71F) scrap at least 5 ½”x 4″
- ½” wide ribbon or twill tape
- Hot hemmer (optional)
- Buttonhole chisel (optional)
- General sewing notions: iron, marking pen, clips, scissors, thread, etc.
Tip: If you don’t want to buy a lot of clear vinyl, you can upcycle a clear pencil case or even some PVC packaging from bed linens, etc.
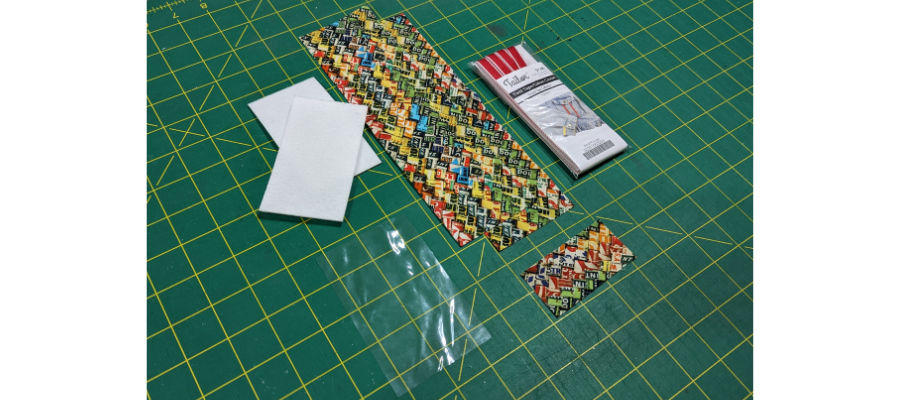
Cut the following for your luggage tags:
2x quilting cotton – 9 ½” x 2 ¾”
1x quilting cotton – 2 ¾” x 1 ½”
2x Peltex – 4″ x 2 ¼”
1x clear vinyl – 4 ¼” x 2 ¾”
1x twill tape or ribbon – 14″
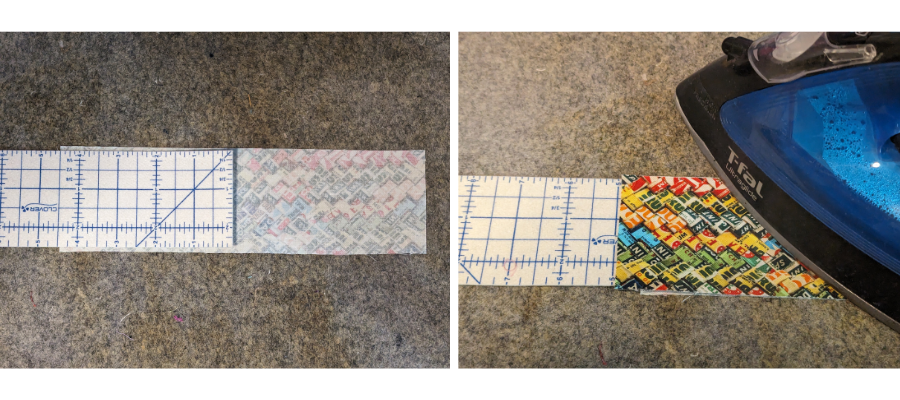
Fold and press a 9 ½” long fabric strip, wrong sides together, so that one side of the fold measures 4 ½” and the other measures 5″. A hot hemmer tool is useful for this, but not essential. Open out again. This will be the exterior piece.
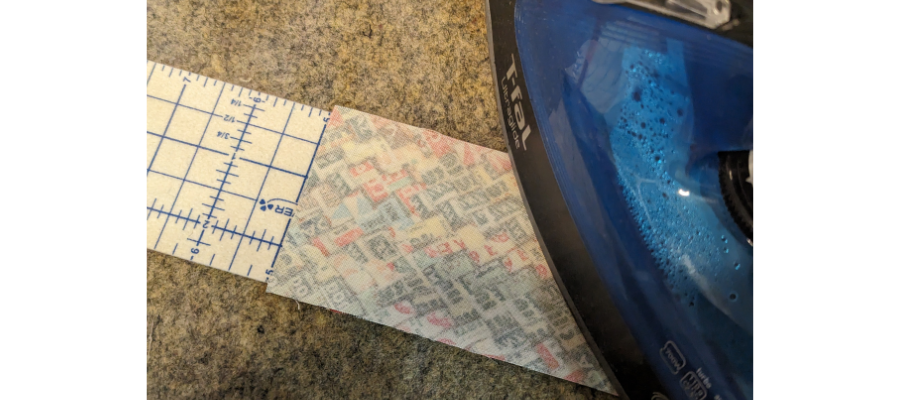
Repeat this step with the other strip, but this time, press the right sides together. This will be the interior piece.
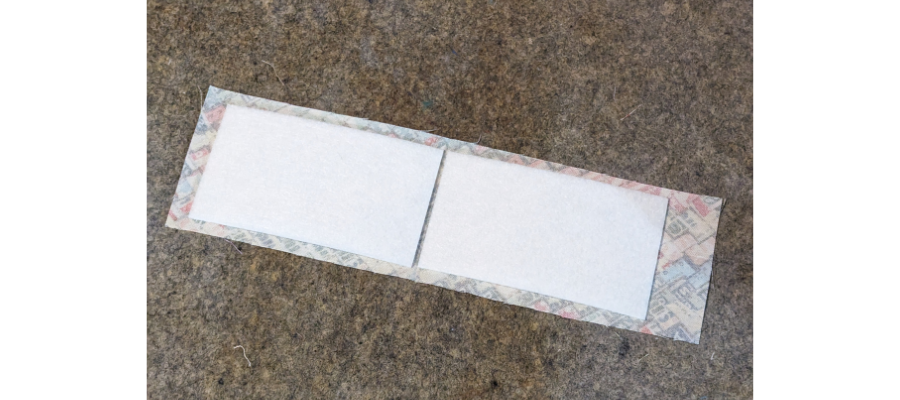
On the wrong side of the exterior piece, centre the two Peltex pieces with the rough side down, either side of the fold, leaving a tiny gap of around ⅛” between the pieces. Fuse in place. The easiest way to do this is to press – without moving the iron – using steam, then flip over and press with a dry iron on the fabric side.
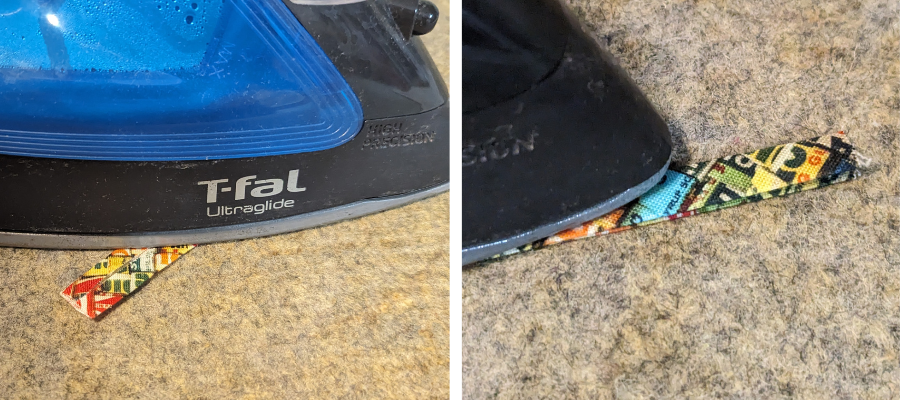
With the small 1 ½” strip of fabric, fold in half lengthwise and press to mark the centre. Open out then fold in the sides to meet the pressed line, wrong sides together. Fold back in half again and press well. This will be the top of the pocket.
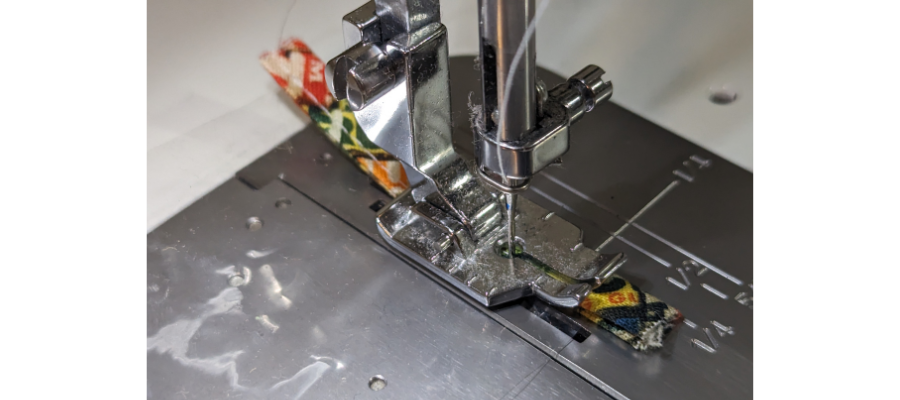
Insert a 2 ¾” edge of the vinyl into the fold. Top-stitch close to the edge through all the layers of fabric.
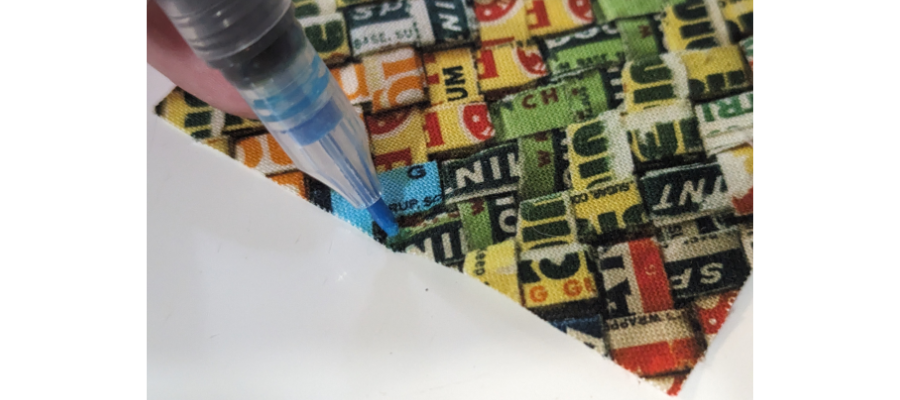
On the interior piece, fold the long edges together and finger-press at the 4 ½” end to find the centre. Mark.
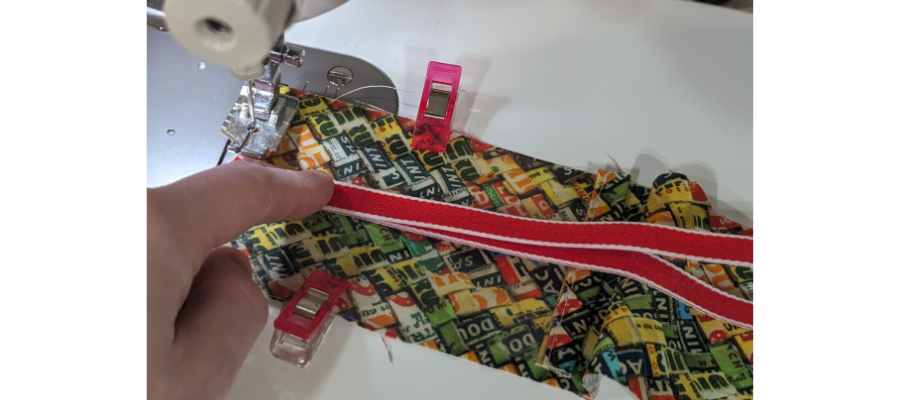
At the same end, align the raw edges with the vinyl pocket right sides up and clip in place – don’t pin! Fold the ribbon or twill tape in half to form a strap and align the raw edges with the mark you made, positioned over the top of the vinyl. Baste-stitch the strap in place ⅛” from the edge.
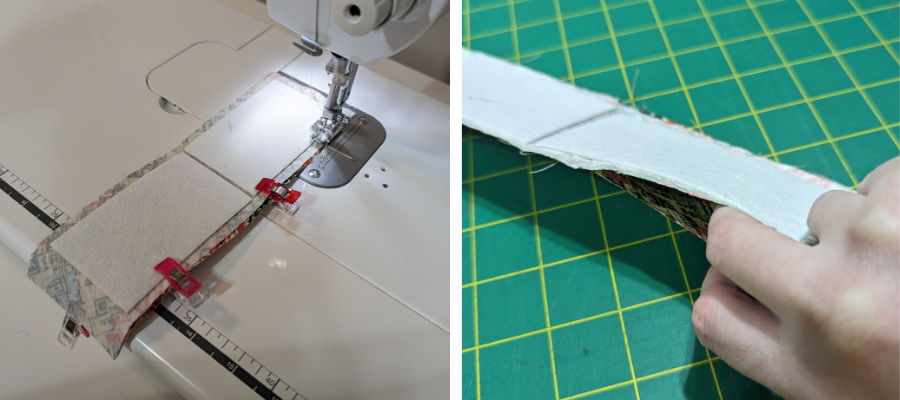
Now, with right sides together, align the two fabric pieces with the strap tucked inside, and folds together. Leaving a gap of around 3 ½” along one of the 5″ sides, sew all the way around. Be sure to back-stitch at the start and end.
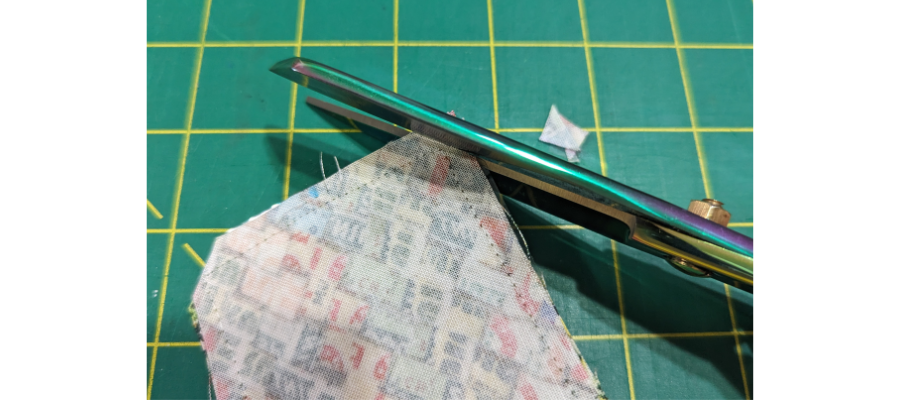
Snip off the corners close to the stitching.
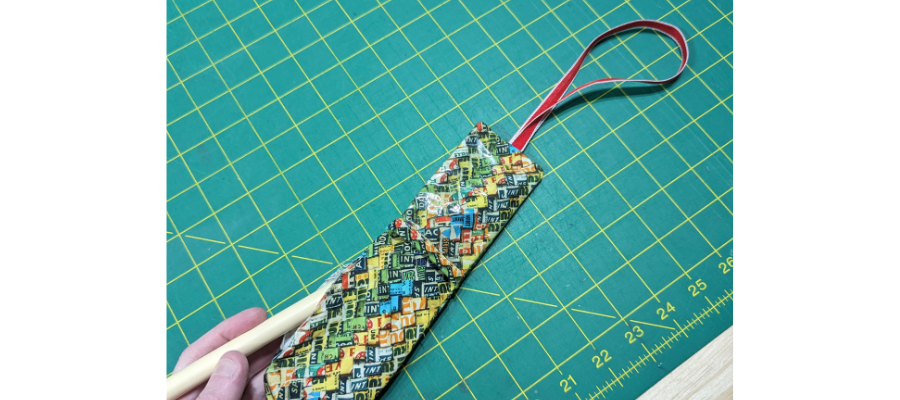
Turn the right sides out through the gap you left, using a blunt edge to help make the corners nice and sharp. If your strap is inside the vinyl pocket, you’ll need to turn just the pocket right-side out to fix it.
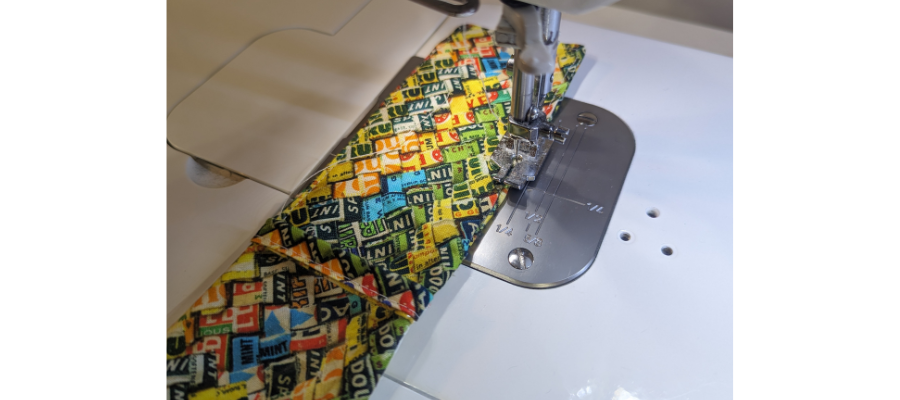
Turn the seam allowances for the gap under, and glue in place if it helps. Top-stitch around the whole edge at about ⅛” to close the gap, starting and stopping before and after the ID pocket. If you top-stitch over the vinyl, a business card will no longer fit.
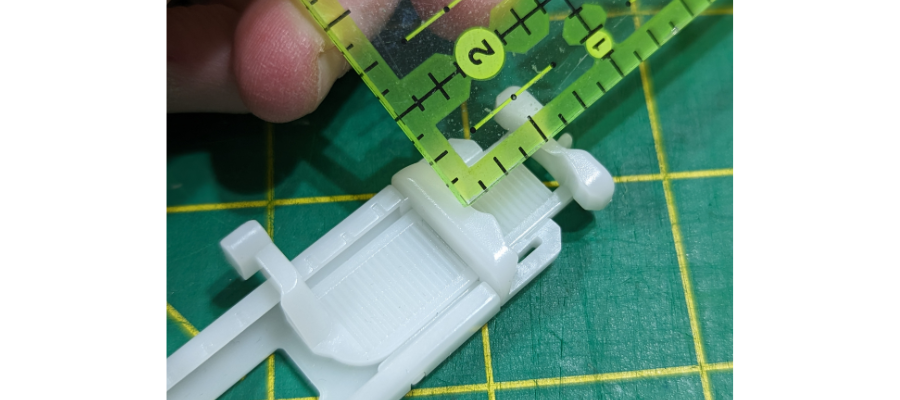
Set your buttonhole foot to around ⅜” – 7/16″. You can also use a button of this size to set it to the right dimensions.
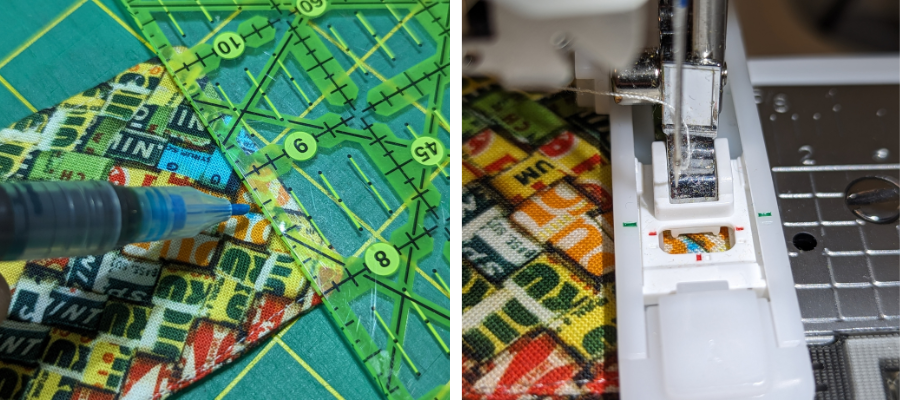
On the edge without the strap, mark 1/4″ from the end and 3/4″ from each side. Set up your buttonhole foot on your machine so it will start at this mark.
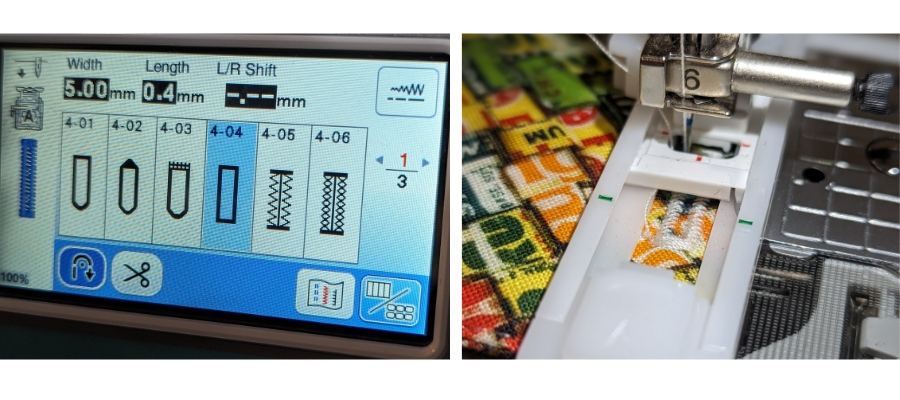
Choose a simple buttonhole design and proceed to stitch out the buttonhole.
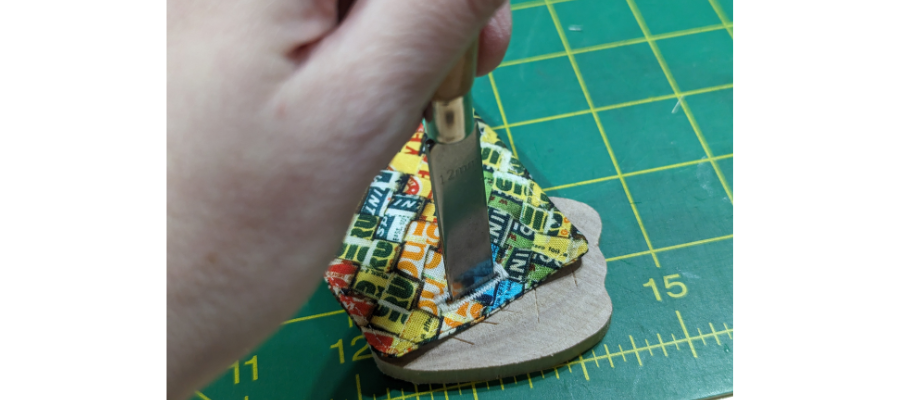
Open up the hole using a buttonhole chisel. If you don’t have one, you can carefully start a hole with a sharp pair of scissors.
Now all you need to do is thread your strap through the buttonhole and attach it to your bag!
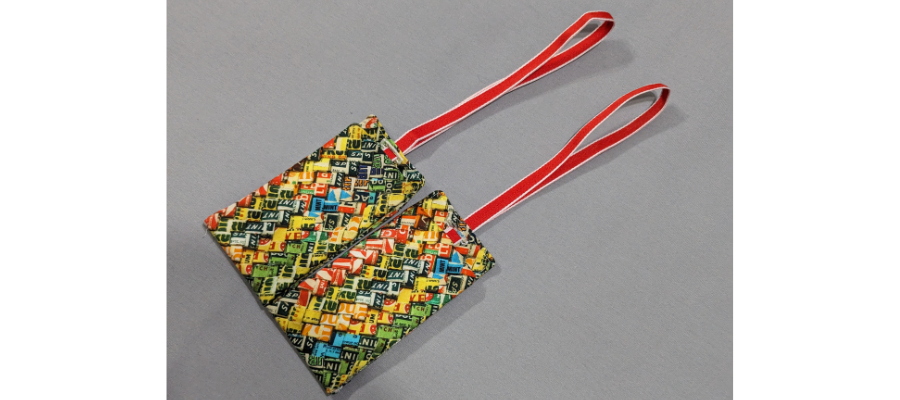
Are you heading off on a trip? Did you make a luggage tag … or two… or three? We would love to see! Please post, and tag us on Instagram or Facebook so we can celebrate your design! #TrendTexFabrics @trendtexfabrics
Looking for more tutorial and project ideas? Check some other ideas out here.
