French-Seam Fat-Quarter Pillowcase Tutorial
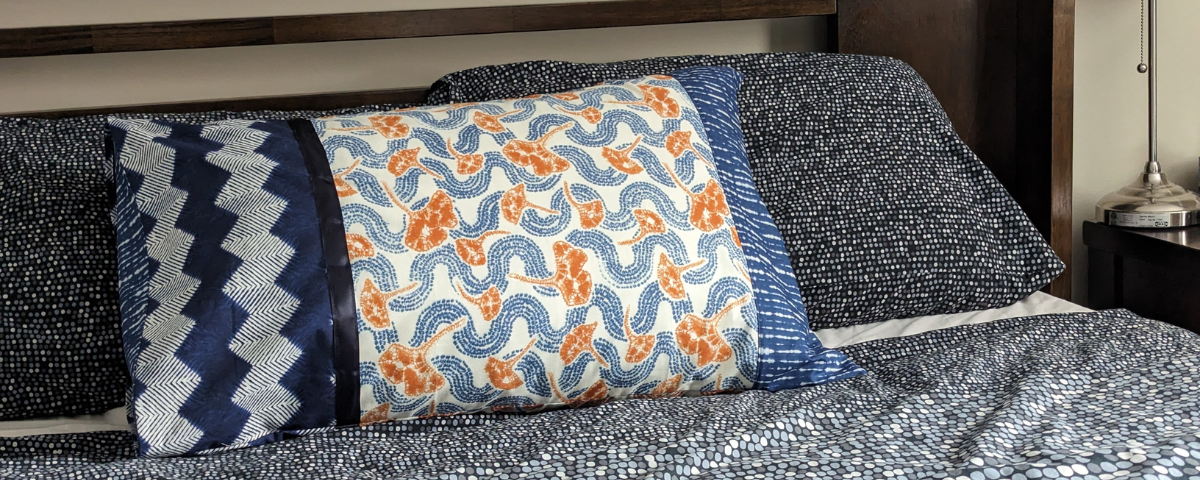
French seams hide this pillowcase’s raw edges, giving it a professional touch and a more luxurious look.
The side flap properly conceals the pillow form, giving it a tidy appearance for display on your bed with this beautiful french-seam fat-quarter pillowcase.
The measurements for this project are for a snug fit on a standard pillow size. If you need to make it queen- or king-size, or you prefer a looser fit, you will need to use fabric yardage and increase the pieces accordingly, allowing for ½” seam allowances for the French seams. The fabrics used in this project are from Kawa by Debbie Maddy for Moda.
Finished size: 19 ½” x 30″ Difficulty: Confident beginner
Project time: One evening, approximately 2–2 ½ hours
Here’s what you’ll need for your pillowcase:
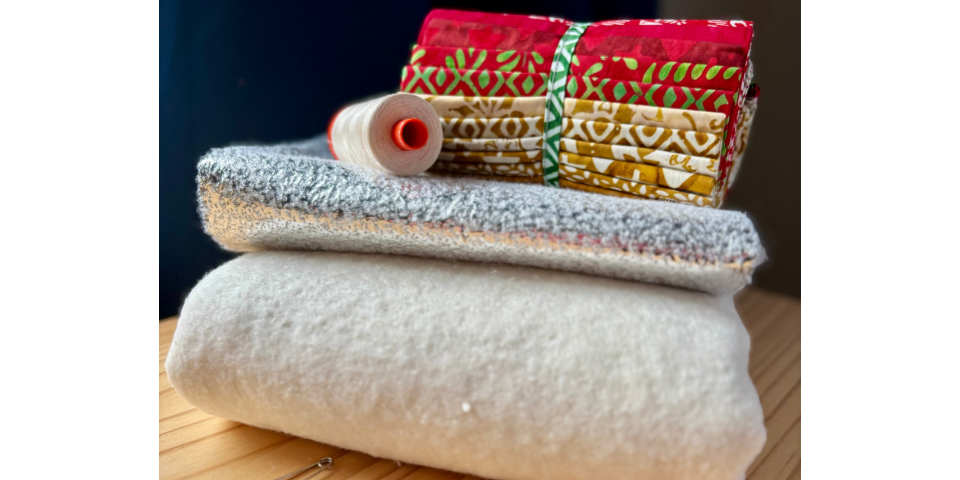
- Four fat quarters
- 1.15 m satin ribbon, ⅞” to 1 ½” wide, depending on your preference (optional)
- General quilting notions: rotary cutter, ruler and mat, sewing machine, thread, etc.
Cut the following pieces:
Fabric 1: 18″ x 20 ½”
Fabric 2: 18″ x 20 ½”
Fabric 3: 2x 9″ x 20 ½”
Fabric 4: 3x 6″ x 20 ½”
Note that Fabrics 1 and 2 are the same print, but in the opposite colourway, so each side of the pillowcase is coherent but different. You could also make these from half a metre of the same fabric if you want both sides to be identical.
How to sew a French seam
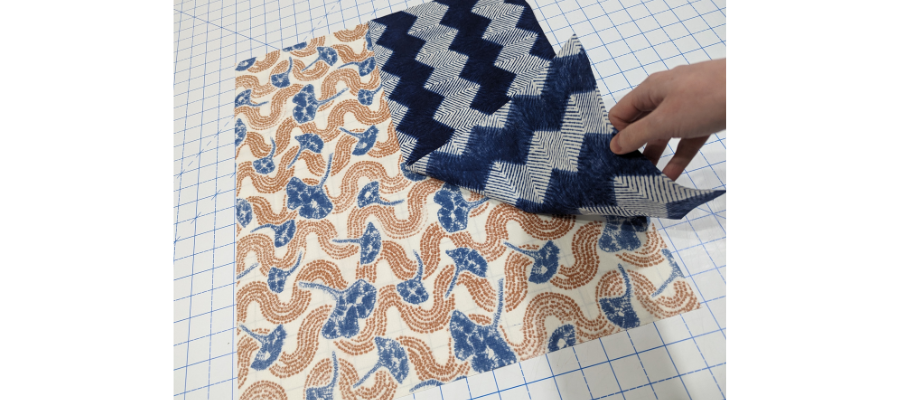
With Fabric 1 and a Fabric 3 piece positioned wrong sides together, sew a ¼” seam.
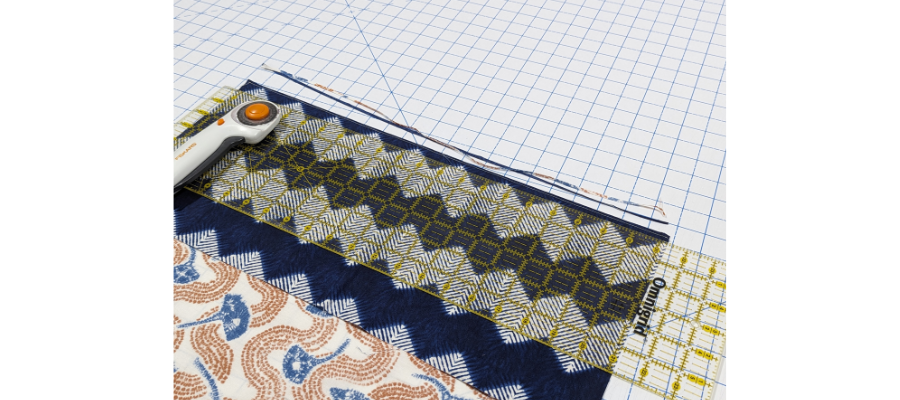
Trim down the seam allowance to about ⅛”.
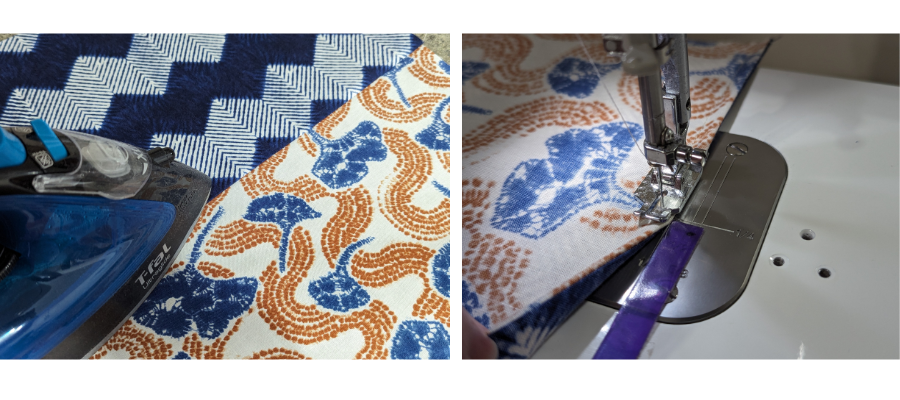
Press the seams to one side, then fold along the seam again, this time right sides together. Stitch along the fold at ¼” seam allowance to complete the French seam. Press to the side again.
***
Top-stitch the seam in place, ⅛” on the pressed side to keep it in place, and so that the fabric lies flatter.
Repeat the process with Fabric 2 and the remaining piece of Fabric 3.
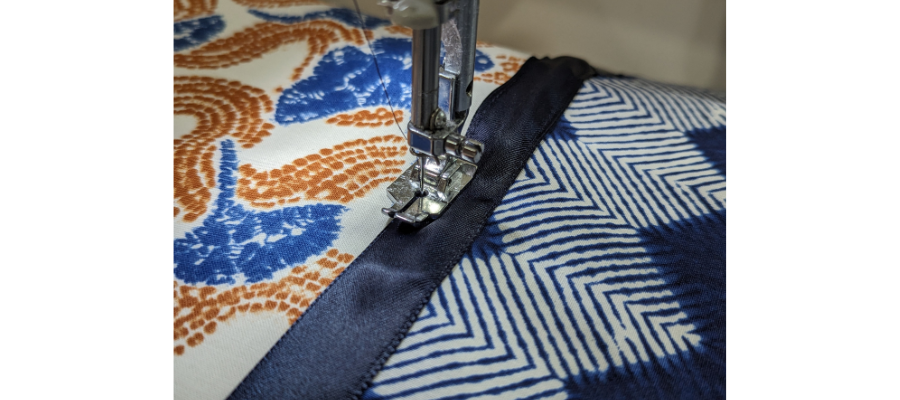
Cut your ribbon in half. Centre it over the seam you just created and stitch down with matching thread, about ⅛” from each side. Trim away the excess and repeat for the second panel.
Take one of the panels and attach a Fabric 4 piece with a French seam to the Fabric 3 side.
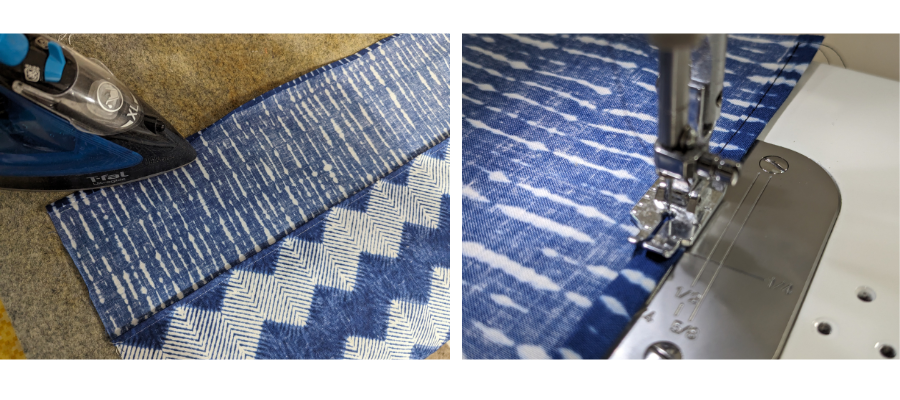
With the raw edge opposite the seam you just sewed, press under to the wrong side at ¼” and then ¼” again. Stitch close to the fold to hem.
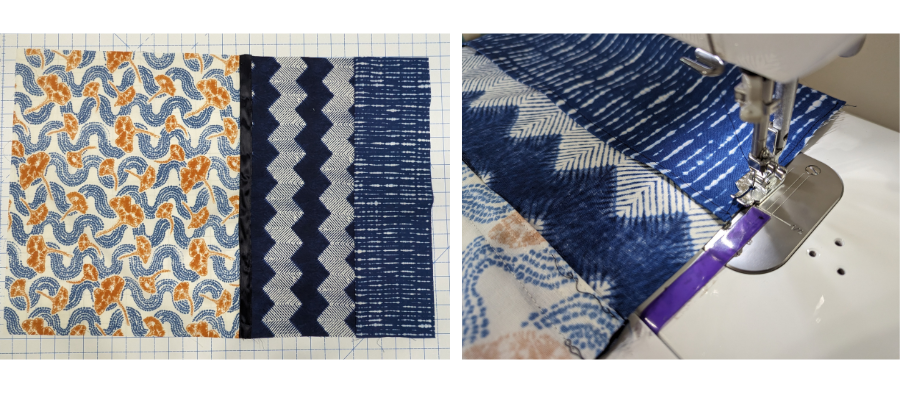
Fold the Fabric 4 piece back along the joining seam so that wrong sides are together. This will be the flap. Baste-stitch in place at about ⅛” from each side.
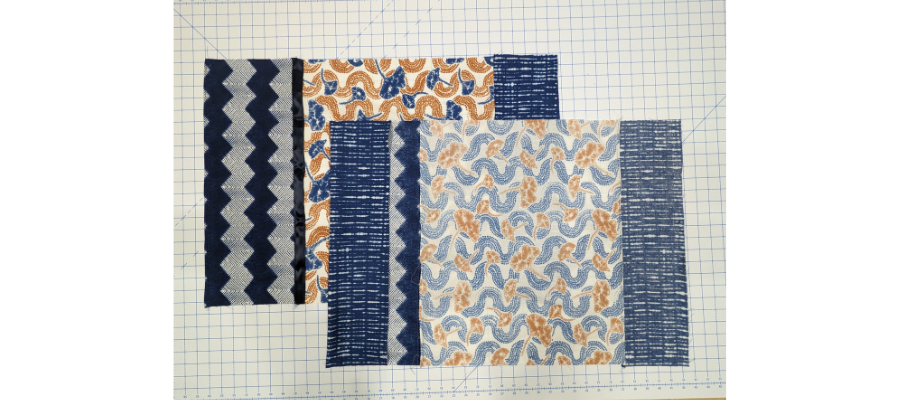
On the opposite end of the panel, sew on one of the remaining Fabric 4 pieces with a French seam, press to the side, and top-stitch as before. Repeat for the other panel.
On the panel without a flap, hem the Fabric 3 edge as before, folding in at ¼” twice and stitching in place.
Sew the two panels together with another French seam, matching the unfinished ends together.
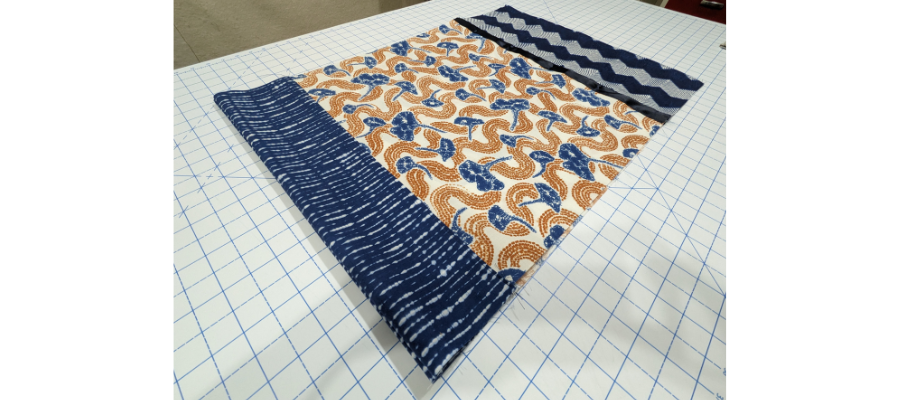
Next, fold along this seam, wrong sides together, and sew along the longer sides with a ¼” seam allowance, and trim down as before. These will also be French seams, but we’ll sew the final right sides together a little differently.
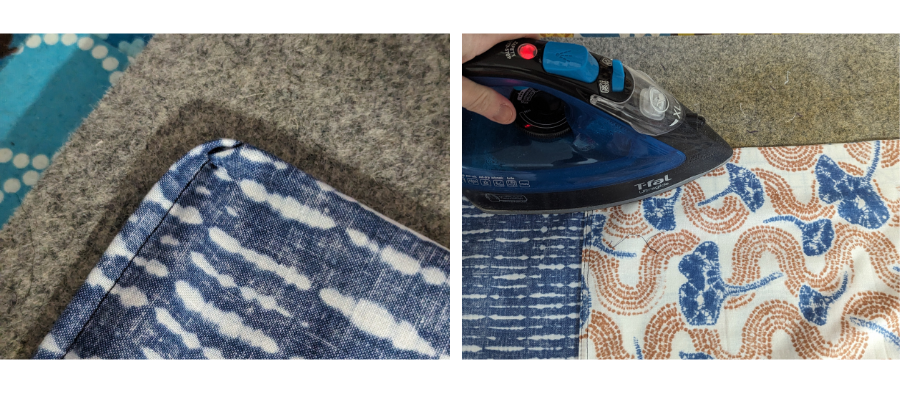
Turn the pillowcase inside out. Your corners may look a little squished, but this is OK. Press the fold as best as you can from this side, pushing from the inside with a piece of card or another tool to make sure it isn’t too folded.
To finish the side seams, rather than stitching edge to edge, start right at the bottom seam and go all the way to the open edge, back-stitching at the start and end.
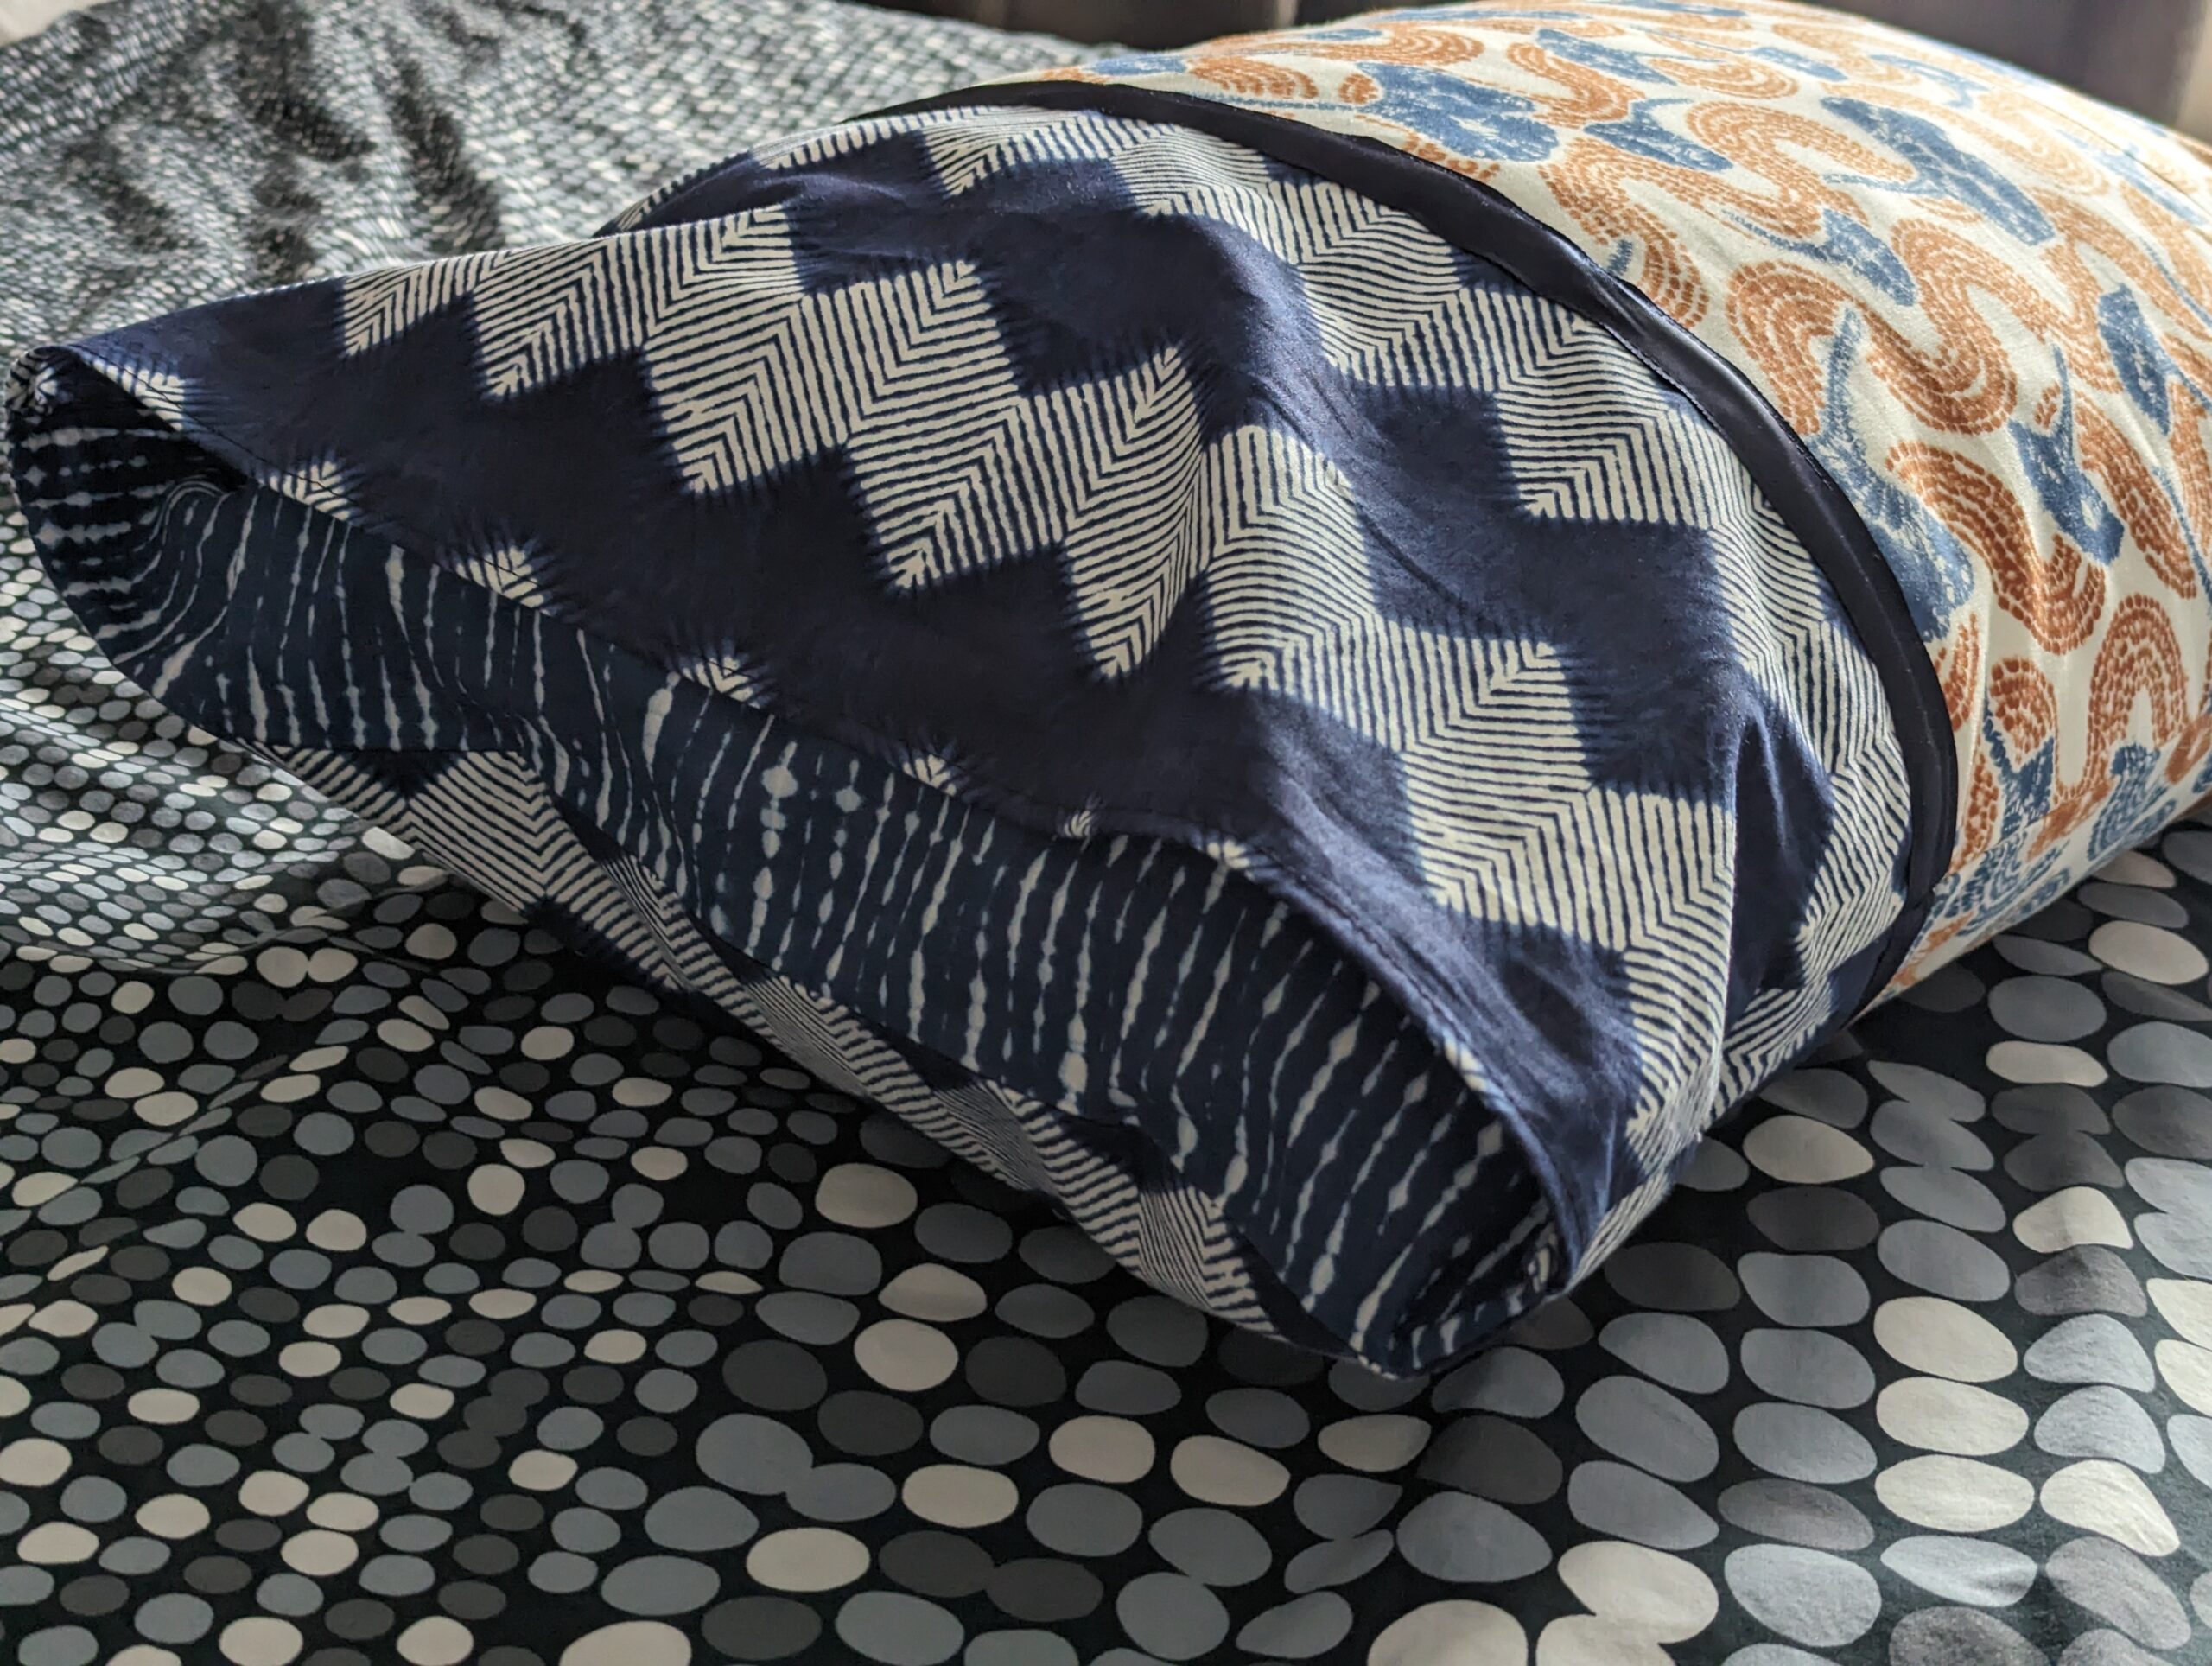
When you finish your pillowcase, we want to see it! Don’t forget to tag us on Instagram or Facebook so we can celebrate your design! #TrendTexFabrics @trendtexfabrics
Looking for more tutorial and project ideas? Check some other ideas out here.
