Fabric Weaving Tutorial
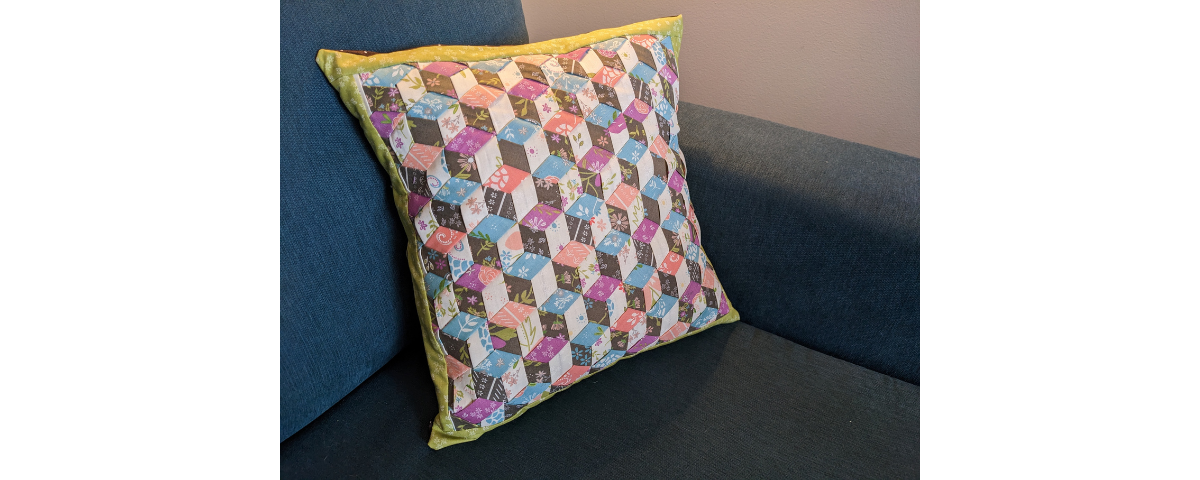
Make a statement cushion and try a new technique: fabric weaving is such a fun way to use strips of fabric, you’ll want to make more than one!
You can create this fun tumbling-block effect with no Y-seam sewing with this fabric weaving tutorial.
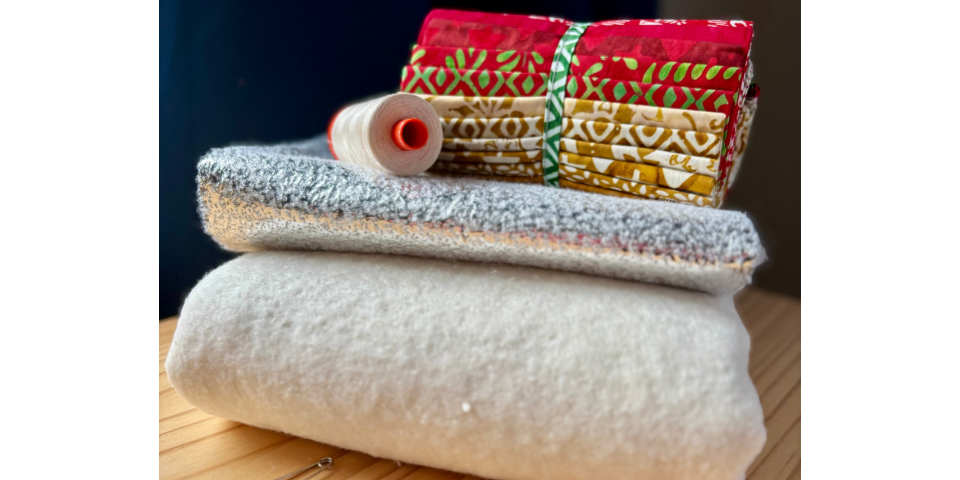
The fabric used for this project is Balboa by Sherri and Chelsi for Moda. The Honeybun precut makes it easy to jump in without having to cut your own strips.
Finished Size: 14″
Difficulty: Intermediate
Time to make: 2 ½ – 3 hours
Seam allowances are ¼” throughout.
Here’s what you’ll need for this fabric weaving tutorial:
- Sewing machine
- Cutting tools: rotary cutter, mat and ruler
- Foamboard
- 22 – 24x 1 ½” fabric strips
- 1/2m fusible interfacing
- Fat quarter of backing fabric
- Clover 18mm (¾”) Bias Tape Maker (optional)
- Wefty Needle (optional)
- General sewing notions: iron, pins, scissors, pencil, etc.
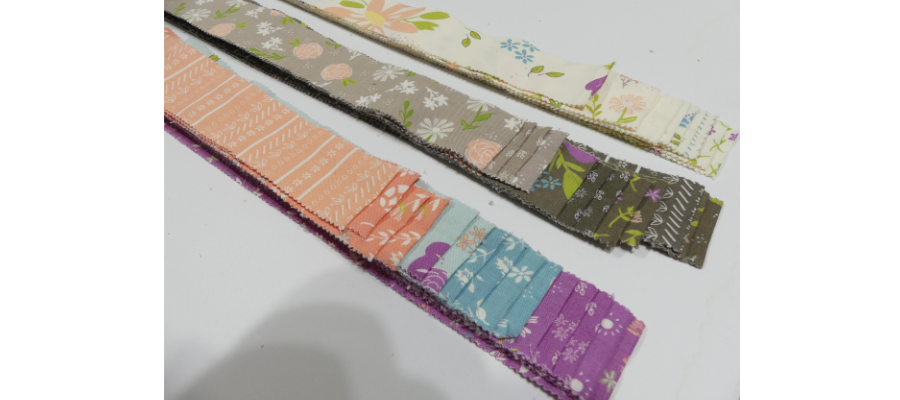
Separate your 1 ½” fabric strips into three colour groups. You will also need an additional two strips for borders. You will need six strips of Colour 1, and seven to eight strips for Colours 2 and 3. These are all width-of-fabric strips, so if you are cutting your own, make sure to cut selvedge to selvedge.
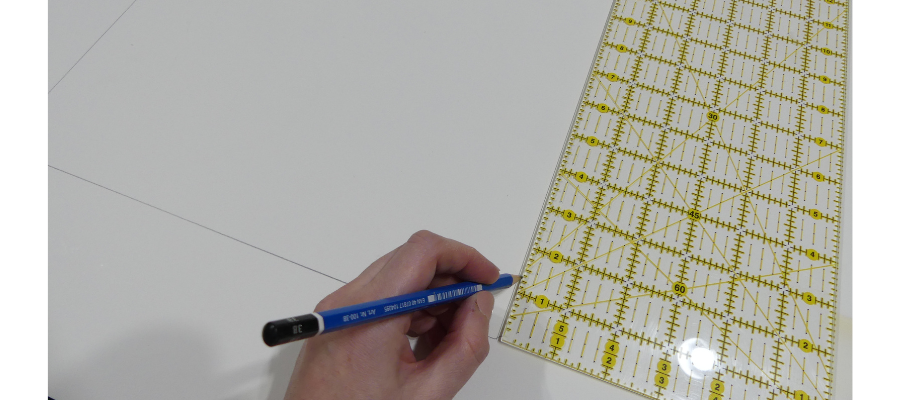
Draw a 12″ square onto your foamboard. You will need all your weaving to stay within this square.
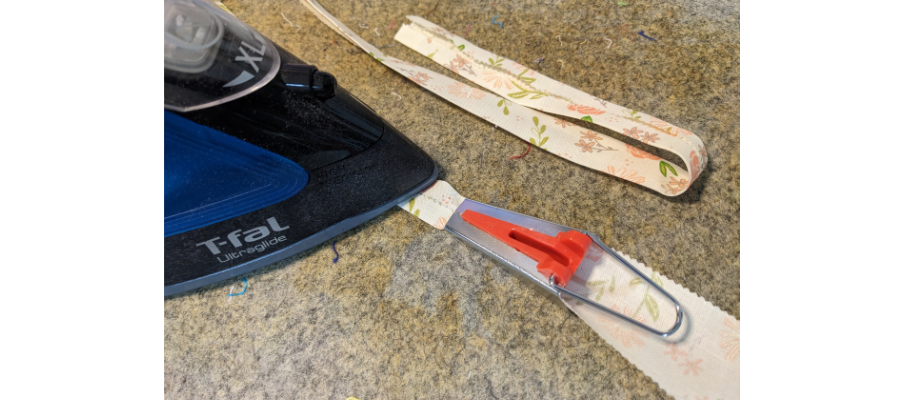
To prepare the fabric strips, fold in half, wrong sides together, to find the centre, then fold and press the raw edges to the centre fold. A Clover Bias Tape Maker can make this easier. If you are using one, you only need to fold and press a couple of inches – enough to feed into the tool, and then press as you pull the fabric through.
Cut the six Colour 1 strips into thirds to make a total of 18 ¾” finished strips.
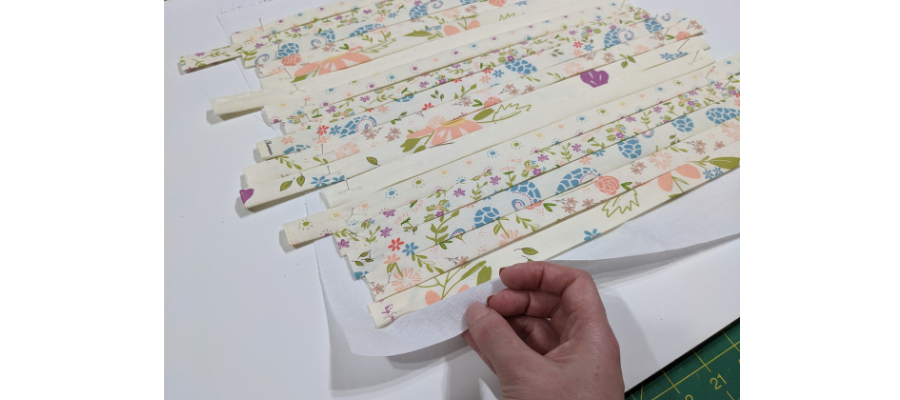
Layer a square of interfacing larger than 12″ over the foamboard, with the textured adhesive side up. You should still be able to see the square through the interfacing.
Layer the Colour 1 strips vertically, covering the whole square with a bit of excess all the way around. Pin them to the foamboard so they are snug to each other but not overlapping.
Prepare your Colour 2 strips. Cut them in half.
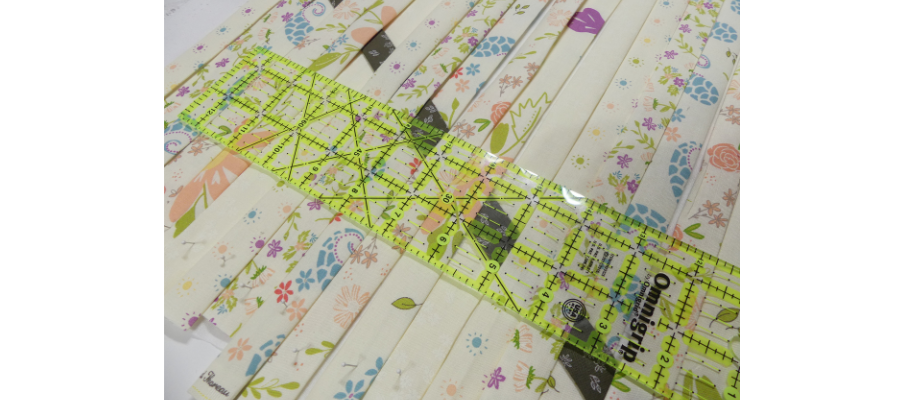
Starting from the left, weave under two strips, then over one, and continue this pattern all the way across. Make sure it aligns with the 30-degree line on your ruler. You may find a Wefty needle makes it easier to get in between the strips. Pin in place.
The next strip can be positioned either directly above or below your first. Start by going over one, then under two, and then continuing over one and under two. This slightly different start will create an alternating pattern.
The next strip – working in the same direction – will start under one, over one, under two. Alternate these three starting positions for the whole design.
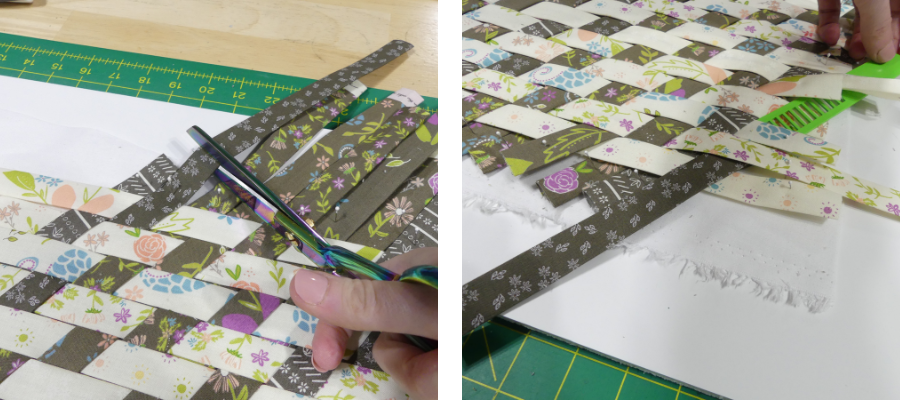
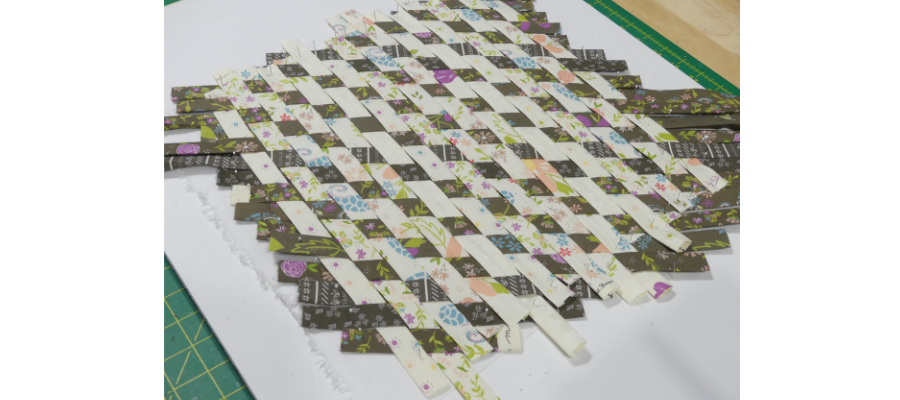
Cut very long tails off as you can use them for the smaller, final corner pieces. Continue until the whole square is filled.
Prepare your Colour 3 strips. Cut them in half.
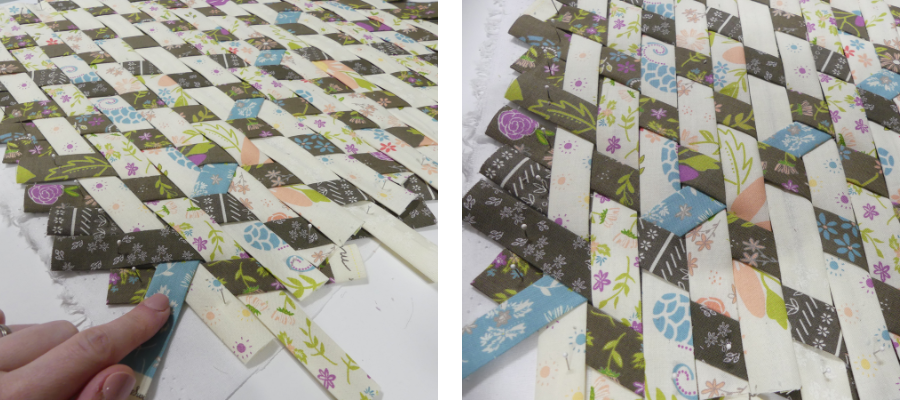
Work Colour 3 at the opposing 30-degree angle. So, when working left to right, it will angle upward if Colour 2 was worked in a downward direction. The general rule for this layer is to always go underneath Colour 2 as you work, and you will be working in an under-one, over-two pattern, referring to the vertical strips.
Locate a starting point where Colour 2 was over one. You want to start over one, under one, over two. Continue to work in an under-one, over-two pattern to the other side.
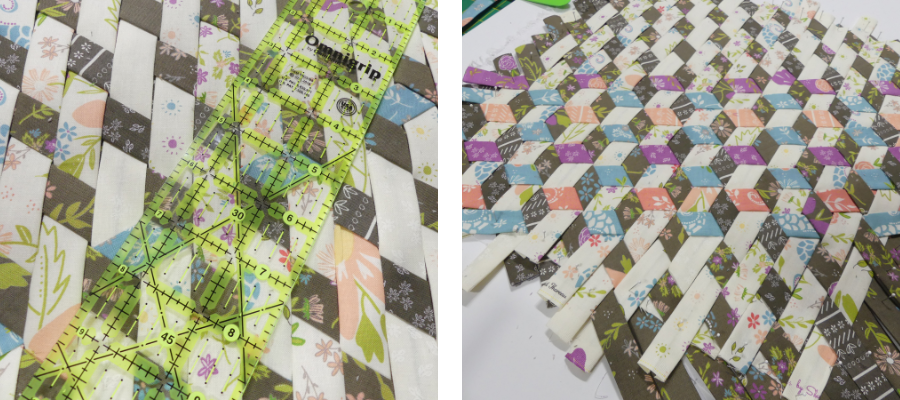
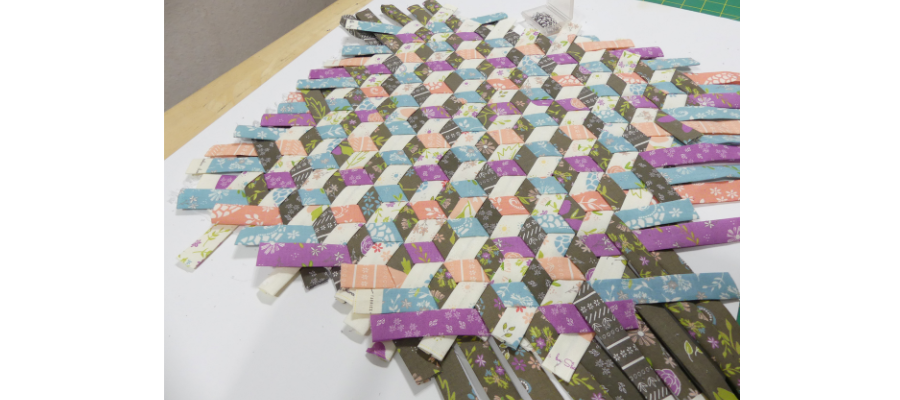
Check your angle is 30 degrees on this first strip, adjust accordingly, then pin. Continue to work strips alternating the start point as before. You will work the next strip under one, over two to start, and the next over two, under one.
Another way is to look at the diamond shapes created by Colour 2. You will weave under the bottom of a diamond, continue under the vertical and reappear out of the top of the next adjacent diamond.
Continue to cover the whole square, cutting off long tails for use where you only need small pieces as before.
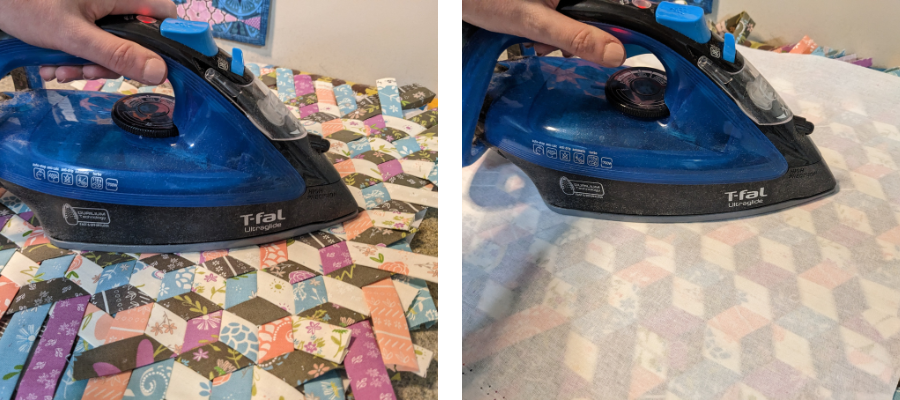
Remove the pins and carefully lift the interfacing from the foamboard and transfer to your ironing surface.
Press well with a hot iron, flipping it over and pressing from the back to secure the strips.
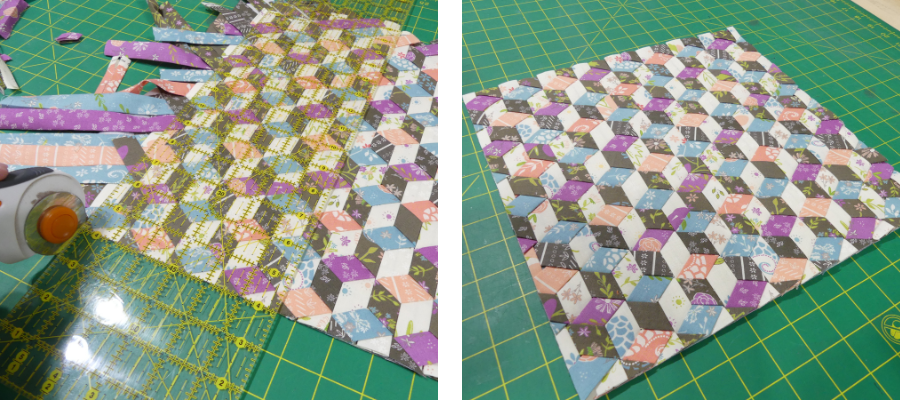
Trim the block down to 12 ½” square.
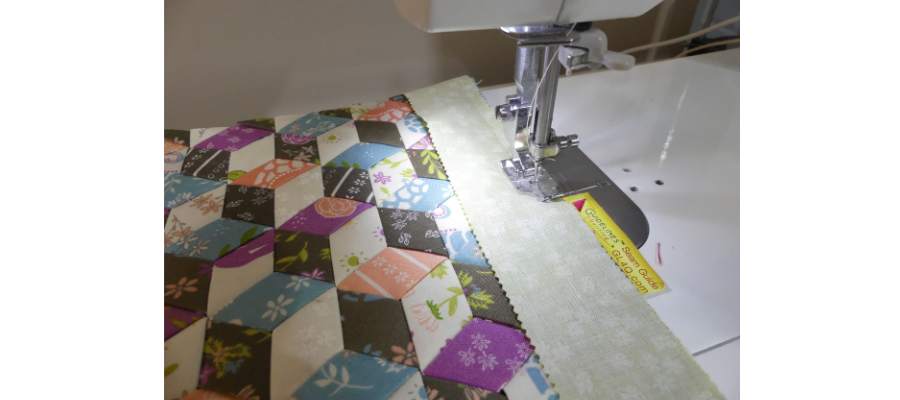
Cut your border strips in half. You can also interface these if you wish. Sew one on either side of the woven block. Press seams and trim flush with the top and bottom.
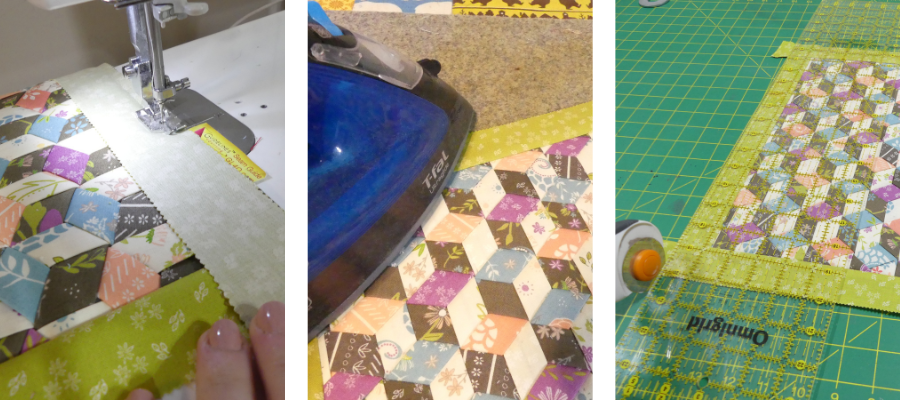
With the remaining two half-strips, sew to the top and bottom of the woven piece, press and trim to 14 ½” square.
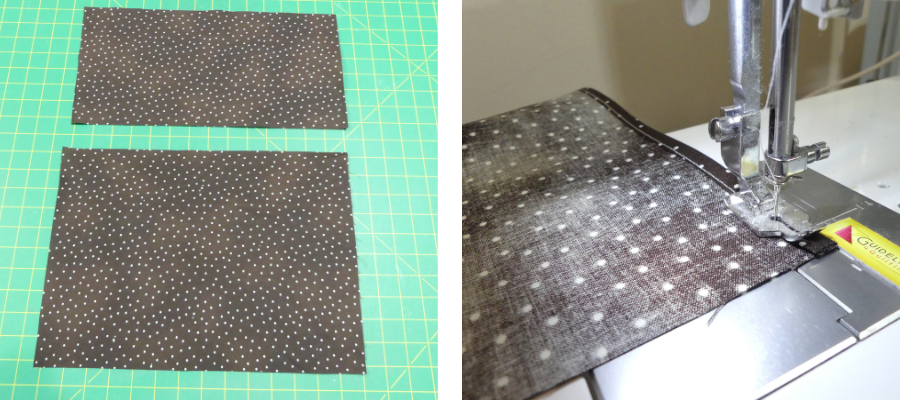
For the back of the cushion, take your backing fabric and cut two pieces, one 10 ½” x 14 ½” and another 7 ½” x 14 ½”. Fold over one long edge on each piece ¼” and then ¼” again and hem.
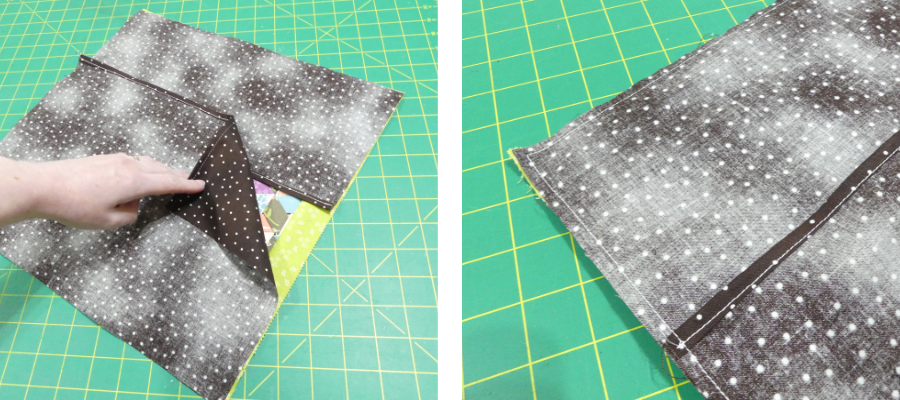
Layer the finished front panel facing up and the backing pieces down, right sides together. Layer the shorter piece at the top, followed by the longer piece lined up with the bottom of the panel. The hemmed edges should overlap in the centre.
Sew all the way around the edge and turn right sides out.
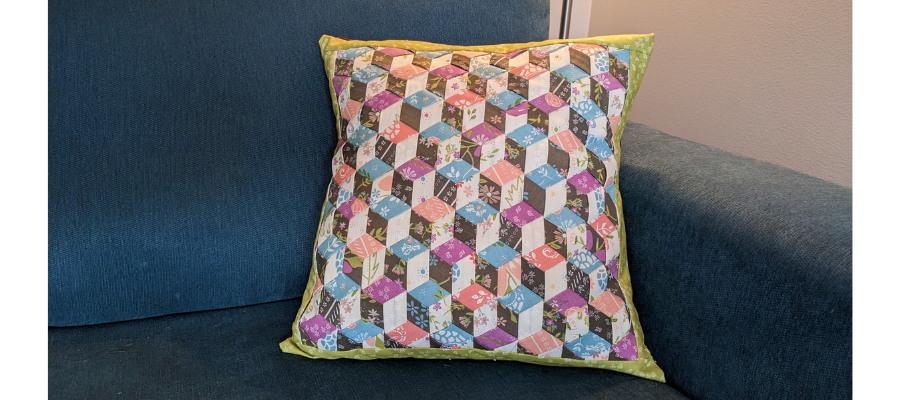
You’re done making your Sei Bella Solids Quilt! We’d love to see your creations on social media and hope you’ll share them with us! Please post, and tag us on Instagram or Facebook so we can celebrate your design! #TrendTexFabrics @trendtexfabrics
Looking for more tutorial and project ideas? Check some other ideas out here.
