Drawstring Bag Tutorial
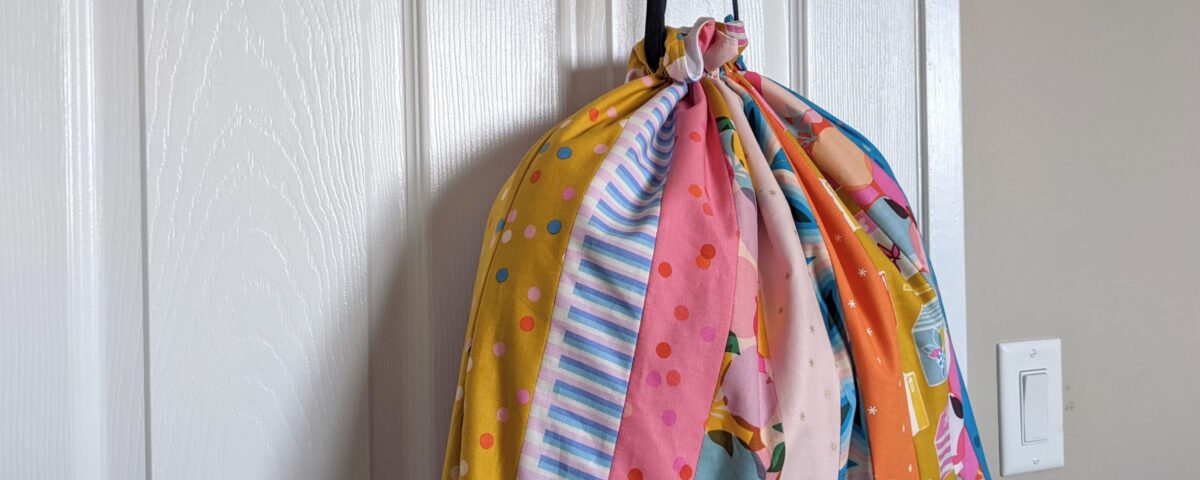
If you have some spare jelly roll strips, you can make this useful drawstring bag – great for containing a knitting project or a few toys. Or, line it with a waterproof fabric to use as a wet bag for kids’ swimming gear or baby laundry.
Finished Size: Approx. 19 ½” x 19 ½” x 3″ Difficulty: Easy
Time to make: 2 1/2 hours
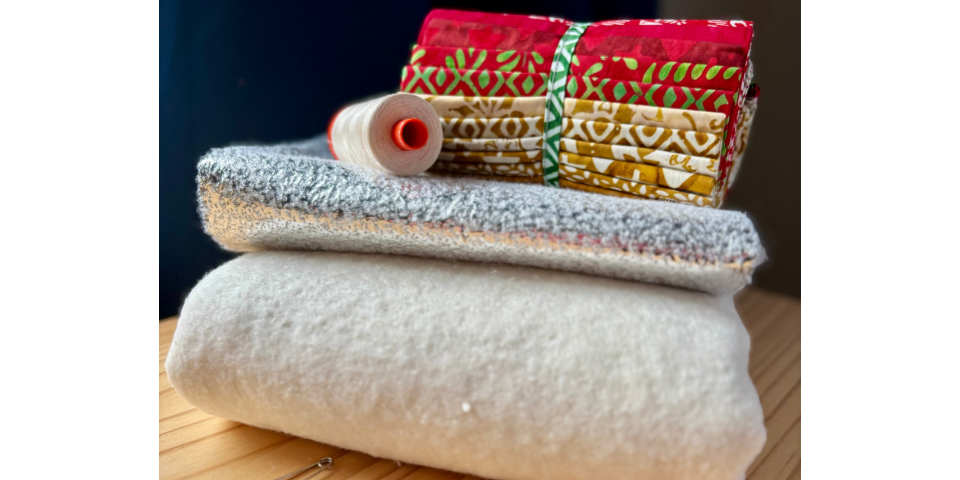
You can make two drawstring bags from just one junior jelly roll plus lining fabric!
Seam allowances are ¼” unless stated otherwise.
Here’s what you’ll need:
- Sewing machine
- 10 jelly roll strips
- 5/8m lining fabric
- 2 3/4m of ½” bias tape or ribbon
- Cutting tools: rotary cutter, mat and ruler
- Washable fabric marker
- Wonder clips or pins
- Drawstring threader (optional – you can also use a safety pin if you don’t mind going a little slower)
- Fray Check Liquid Seam Sealant (optional)

Sew the jelly roll strips together along the long edges. Press the seams open. Trim this panel to 40″ wide. The height will be 20 ½”.
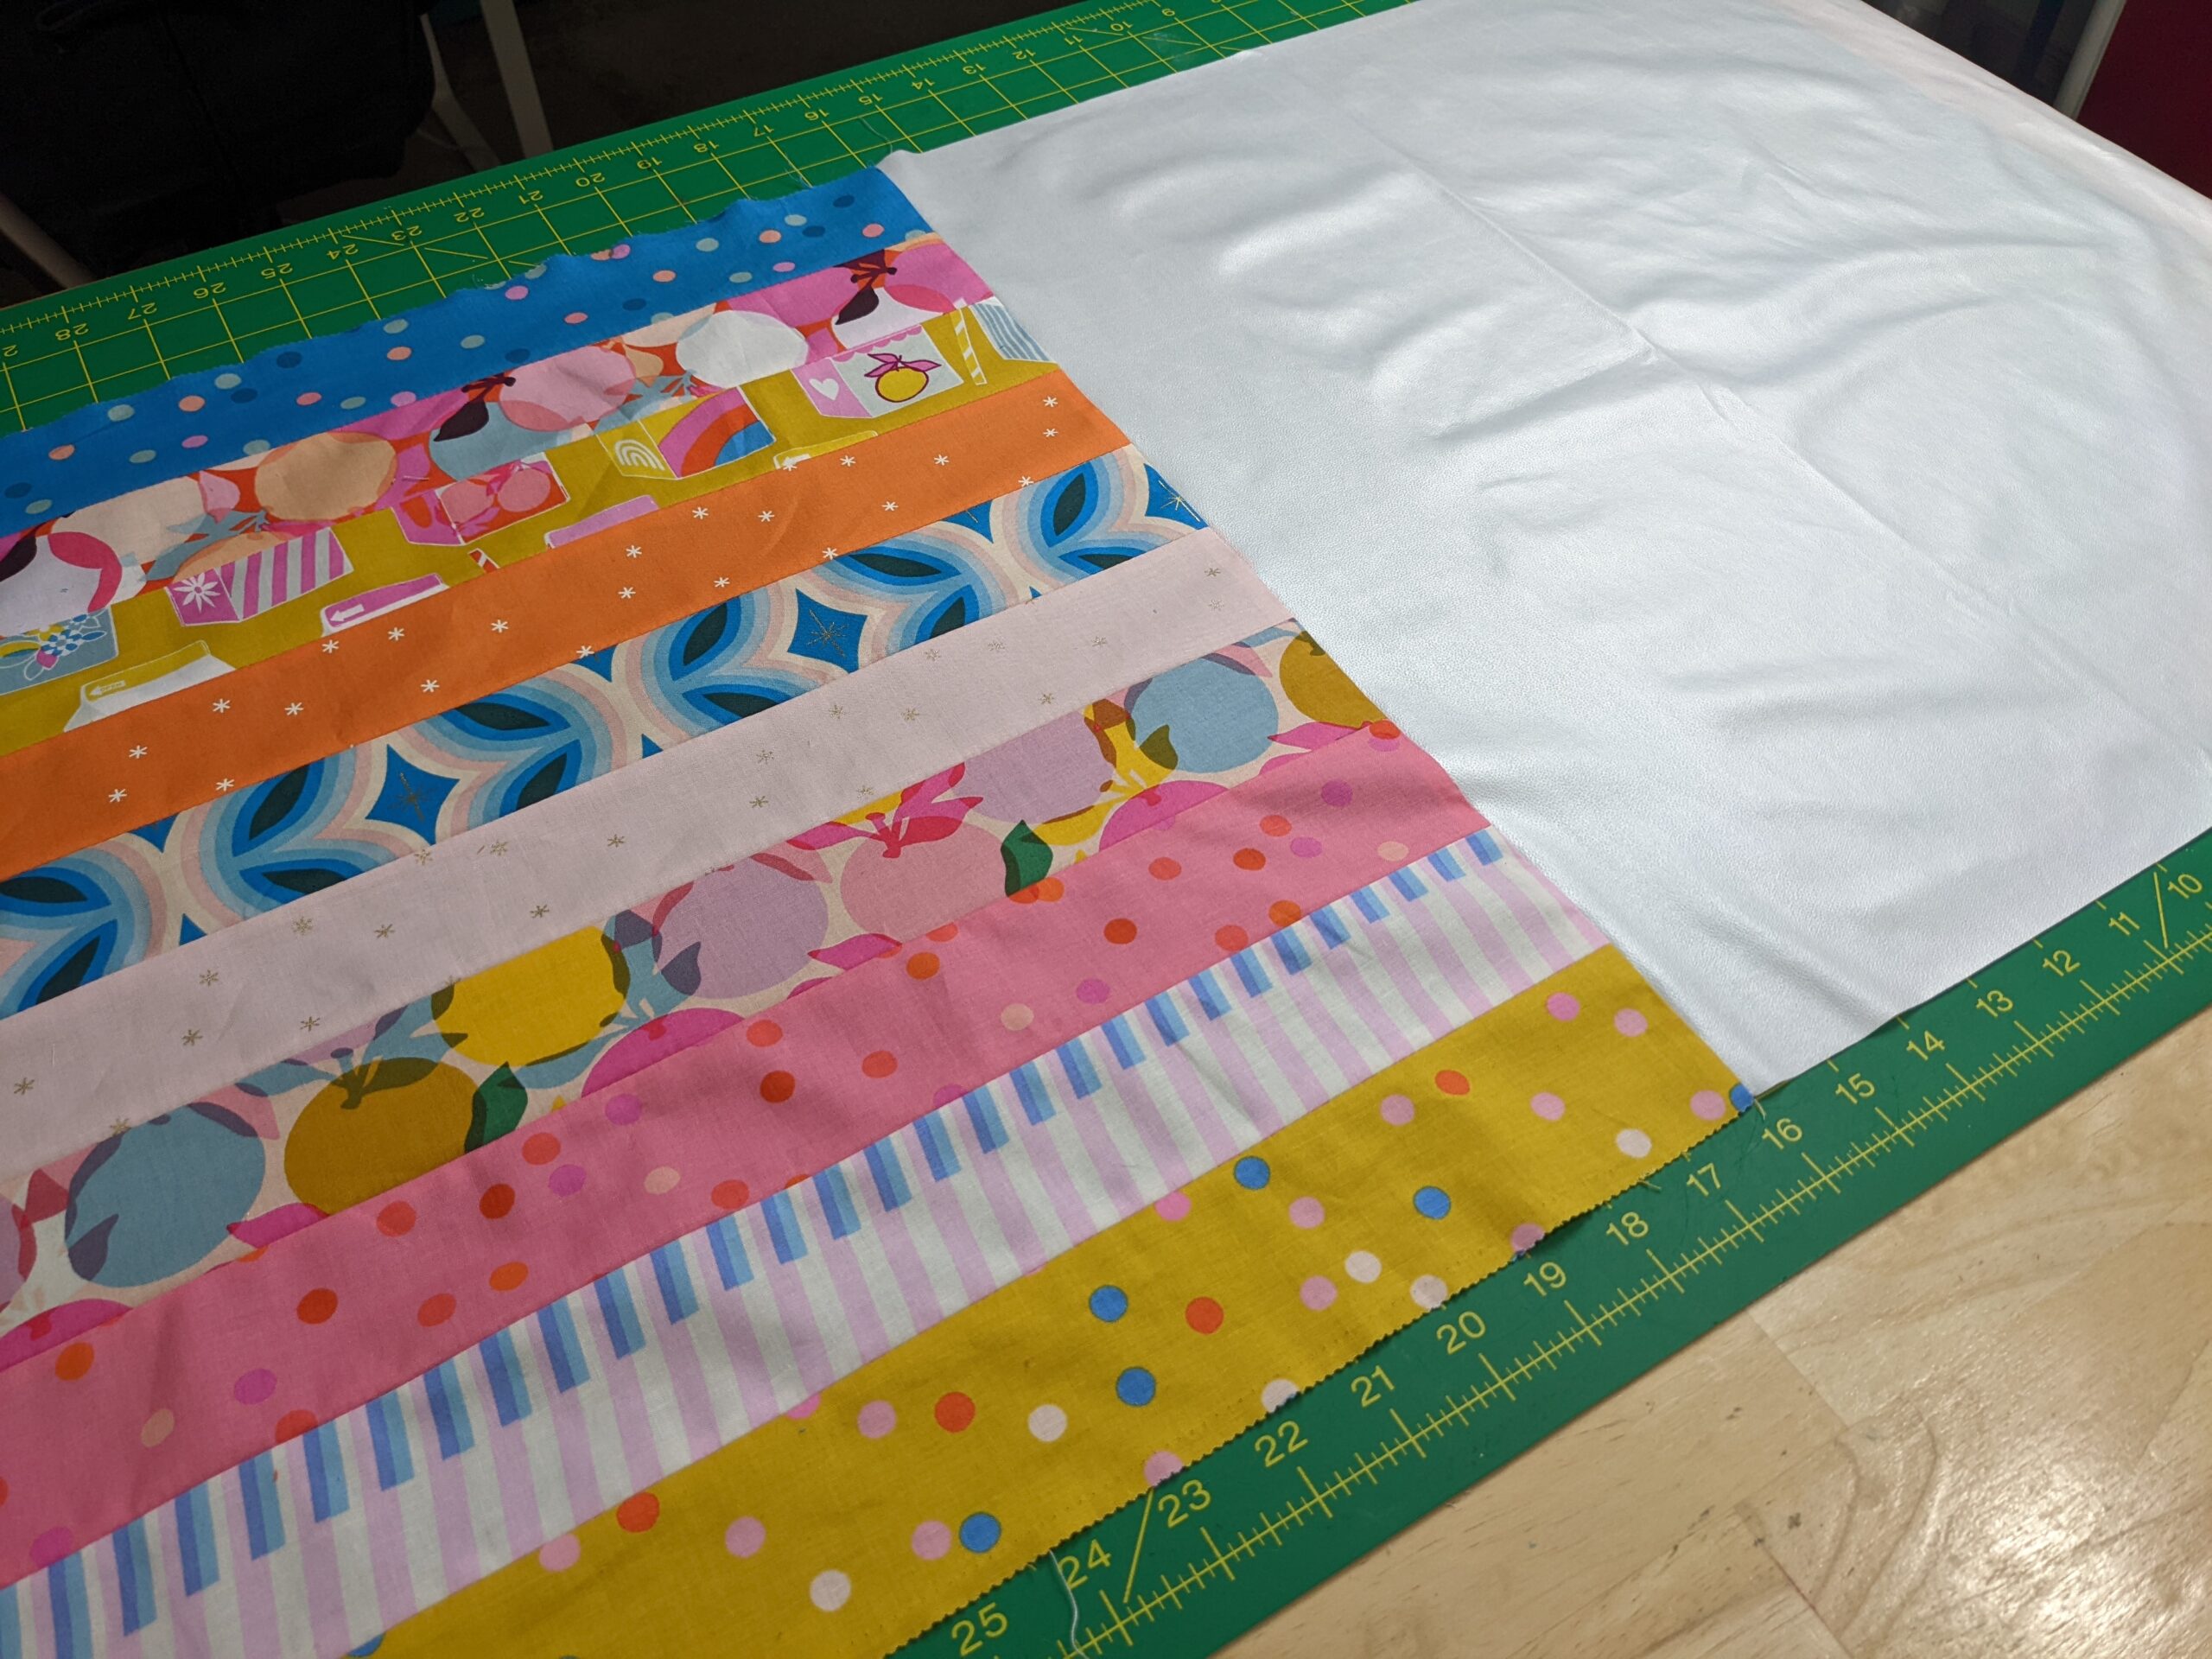
Cut two pieces of lining fabric to 20″ x 20 ½”. Sew one to each end of the jelly roll panel. If you’re using waterproof fabric for the lining, be careful when you press this seam. You’ll need a pressing cloth and a lower temperature on your iron. Press toward the exterior fabric.
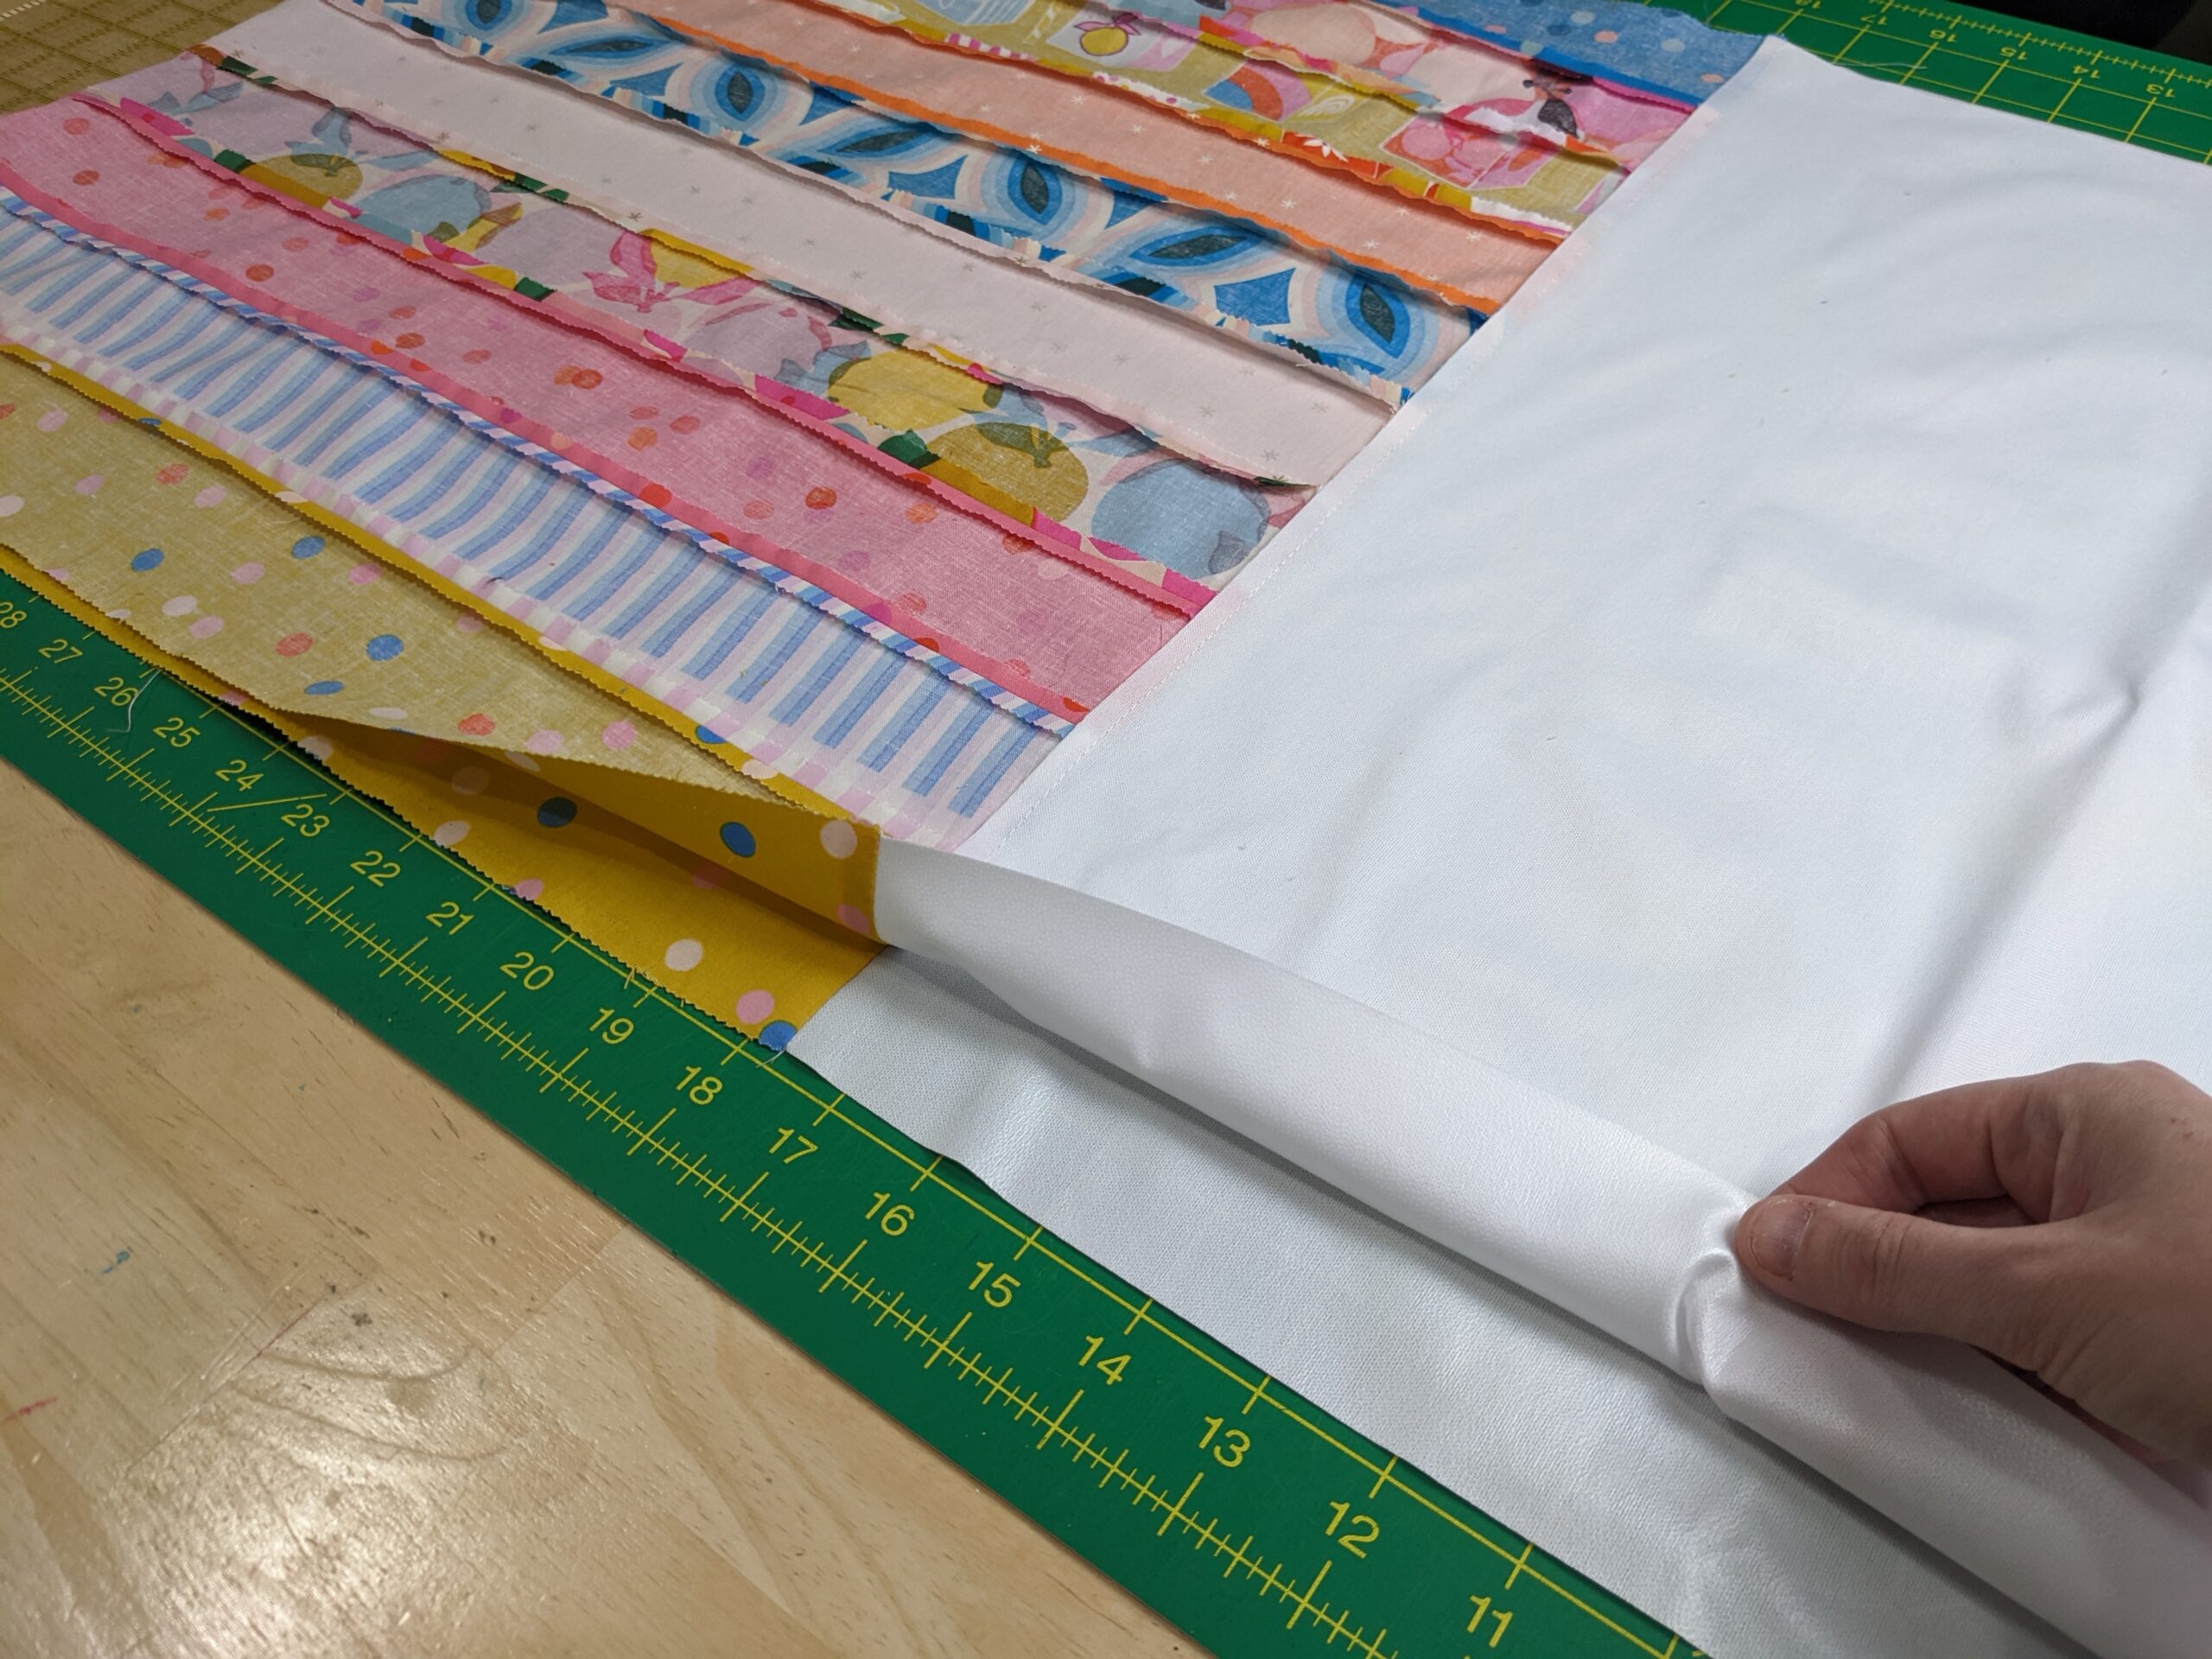
Fold the exterior panel in half, right sides together, bringing the two lining panels together. Match the seams and pin or clip.
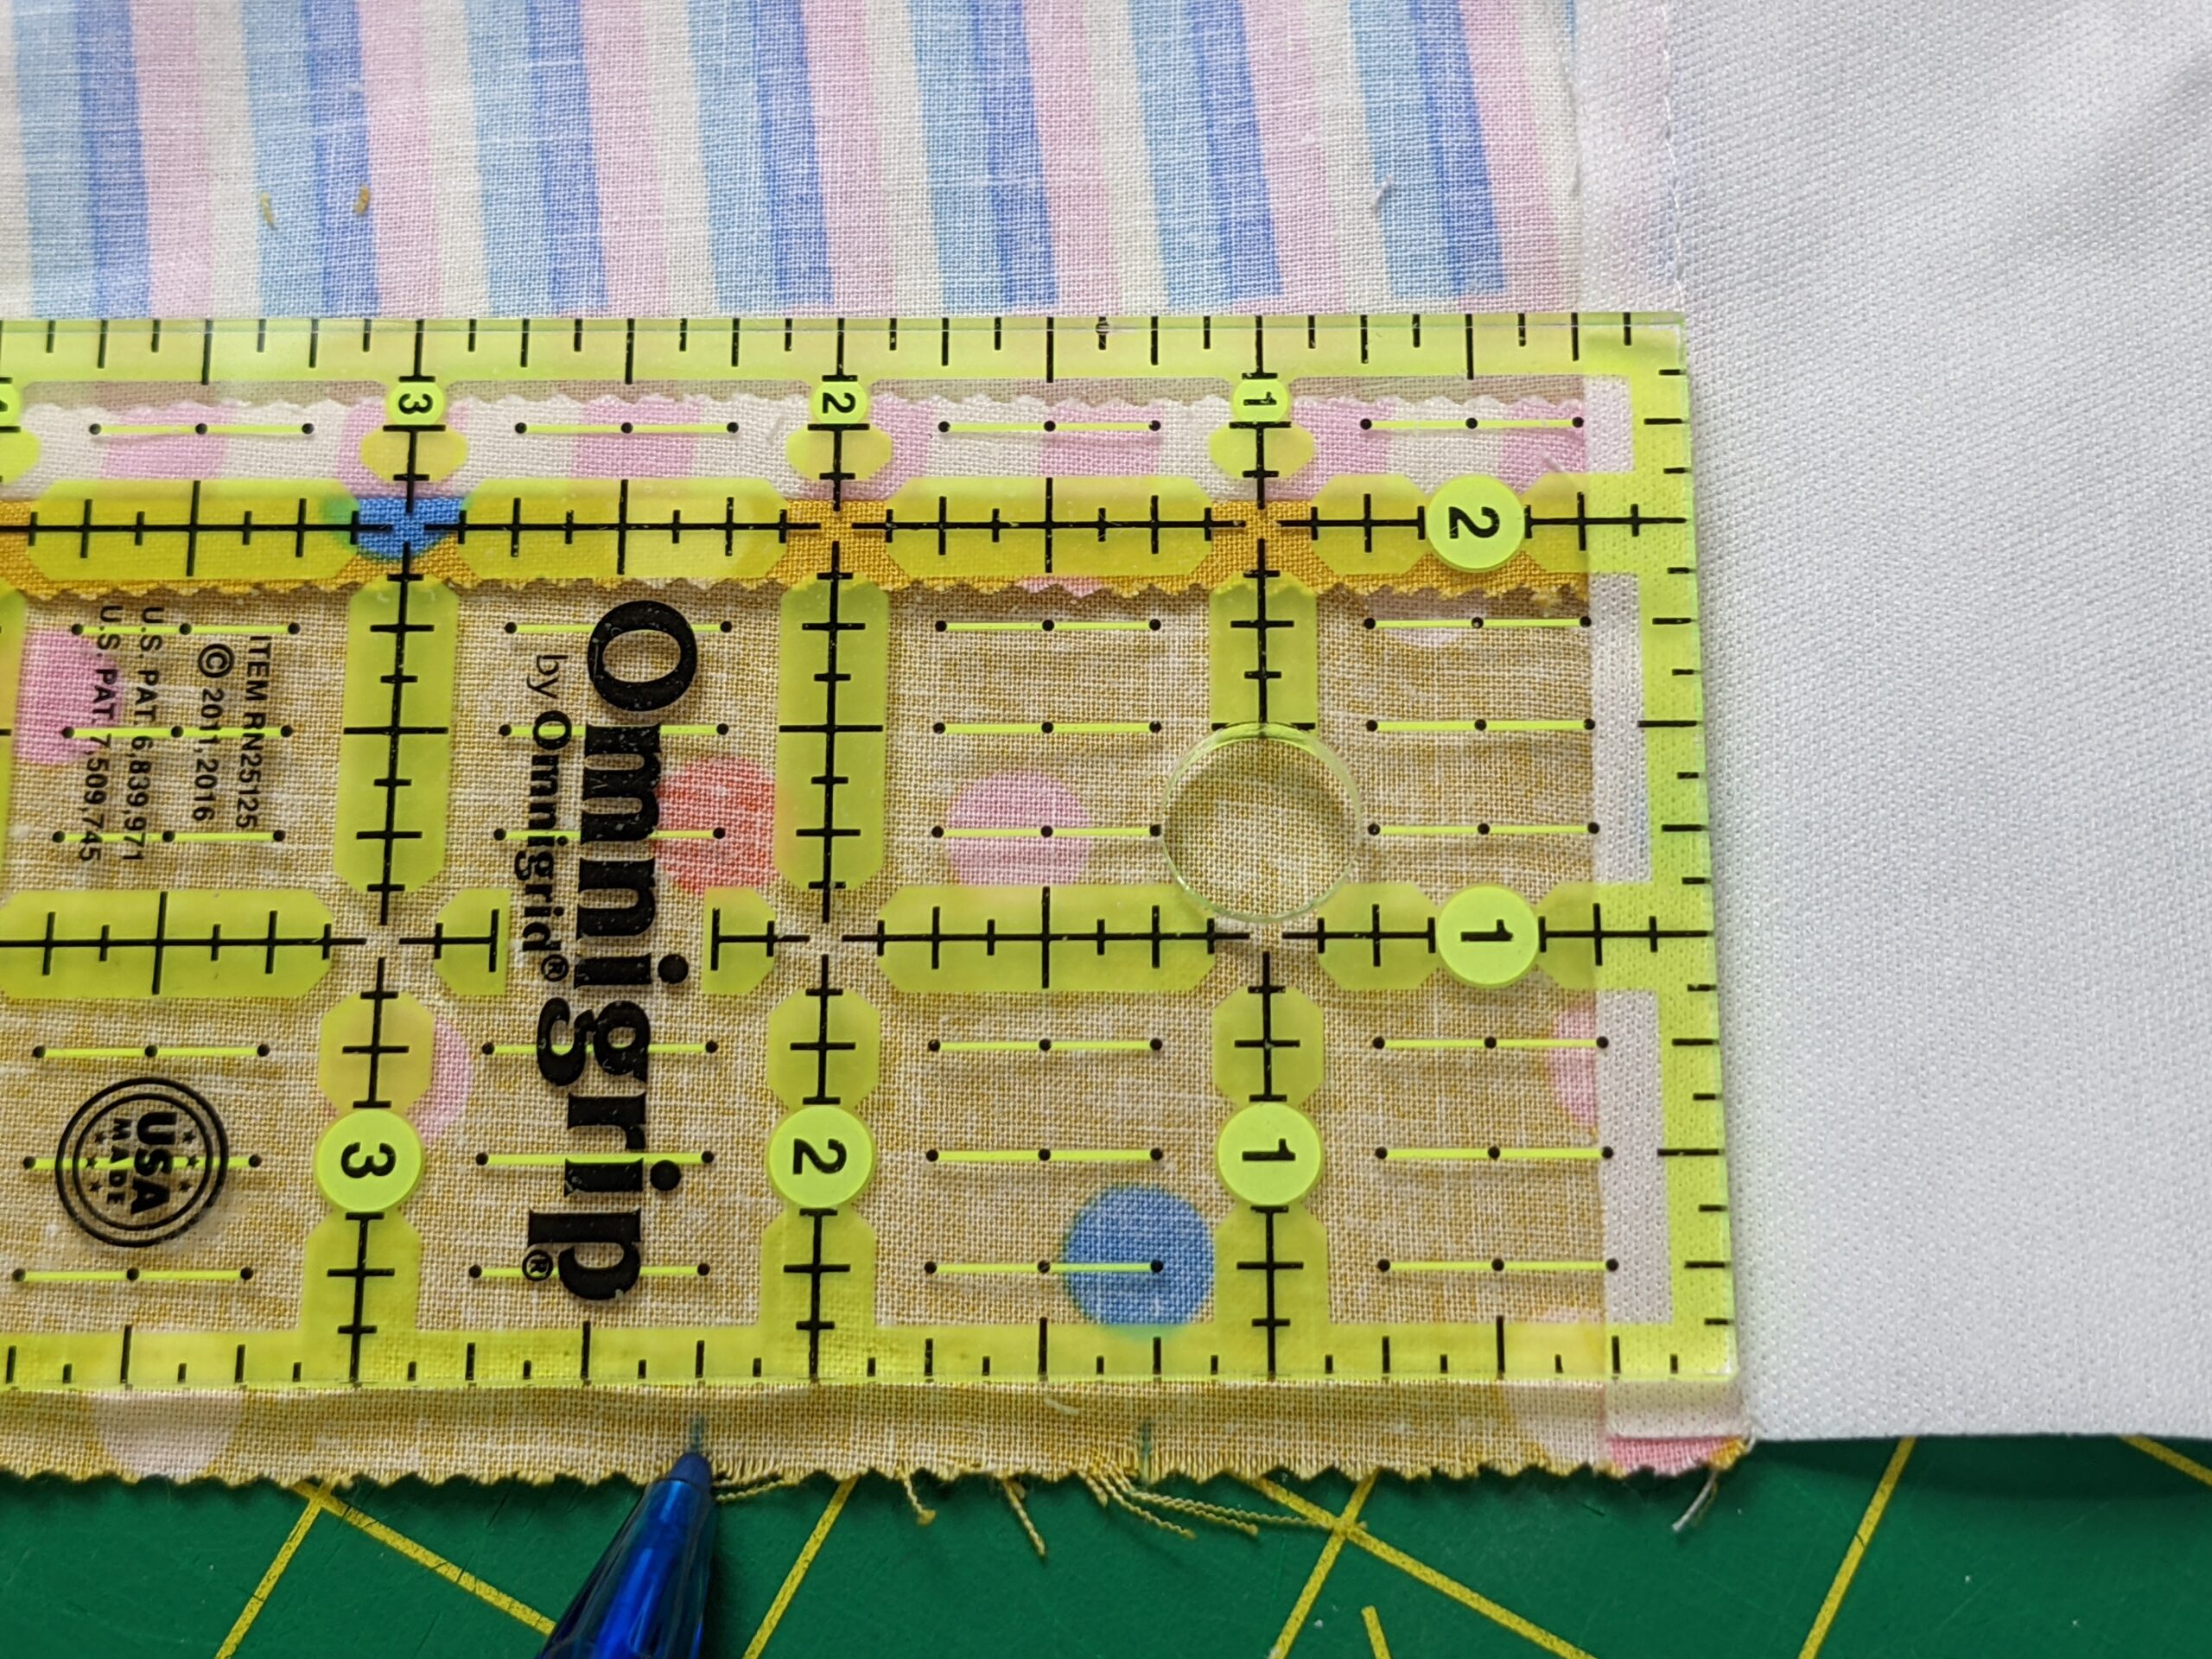
Measure 1 ¼” into the exterior fabric from the seam line and mark at the edge of the fabric. Make a second marking 1″ from that one, or 2 ¼” from the seam line. Repeat on the other side.

Sew around the three raw edges, backstitching and leaving a gap between the markings – and leaving a few inches at the bottom of the lining panel for turning through later.
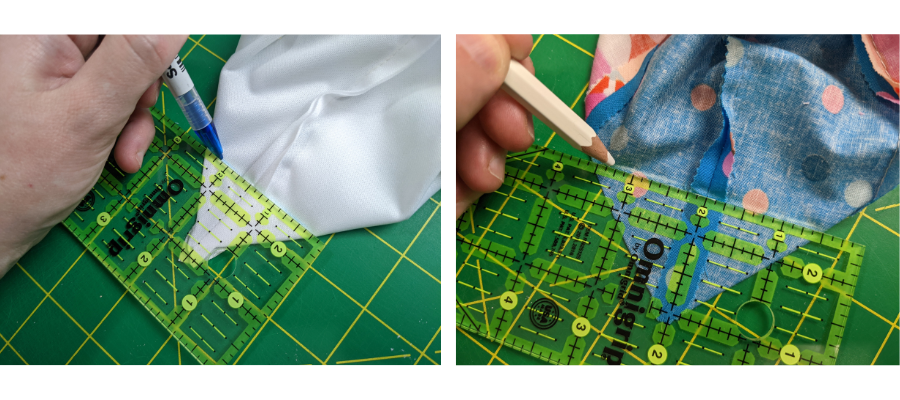
Fold the corners so the seam runs down the centre. Measure 1 ½” from that point and draw across with your ruler. Pin or clip. Repeat for all four corners.
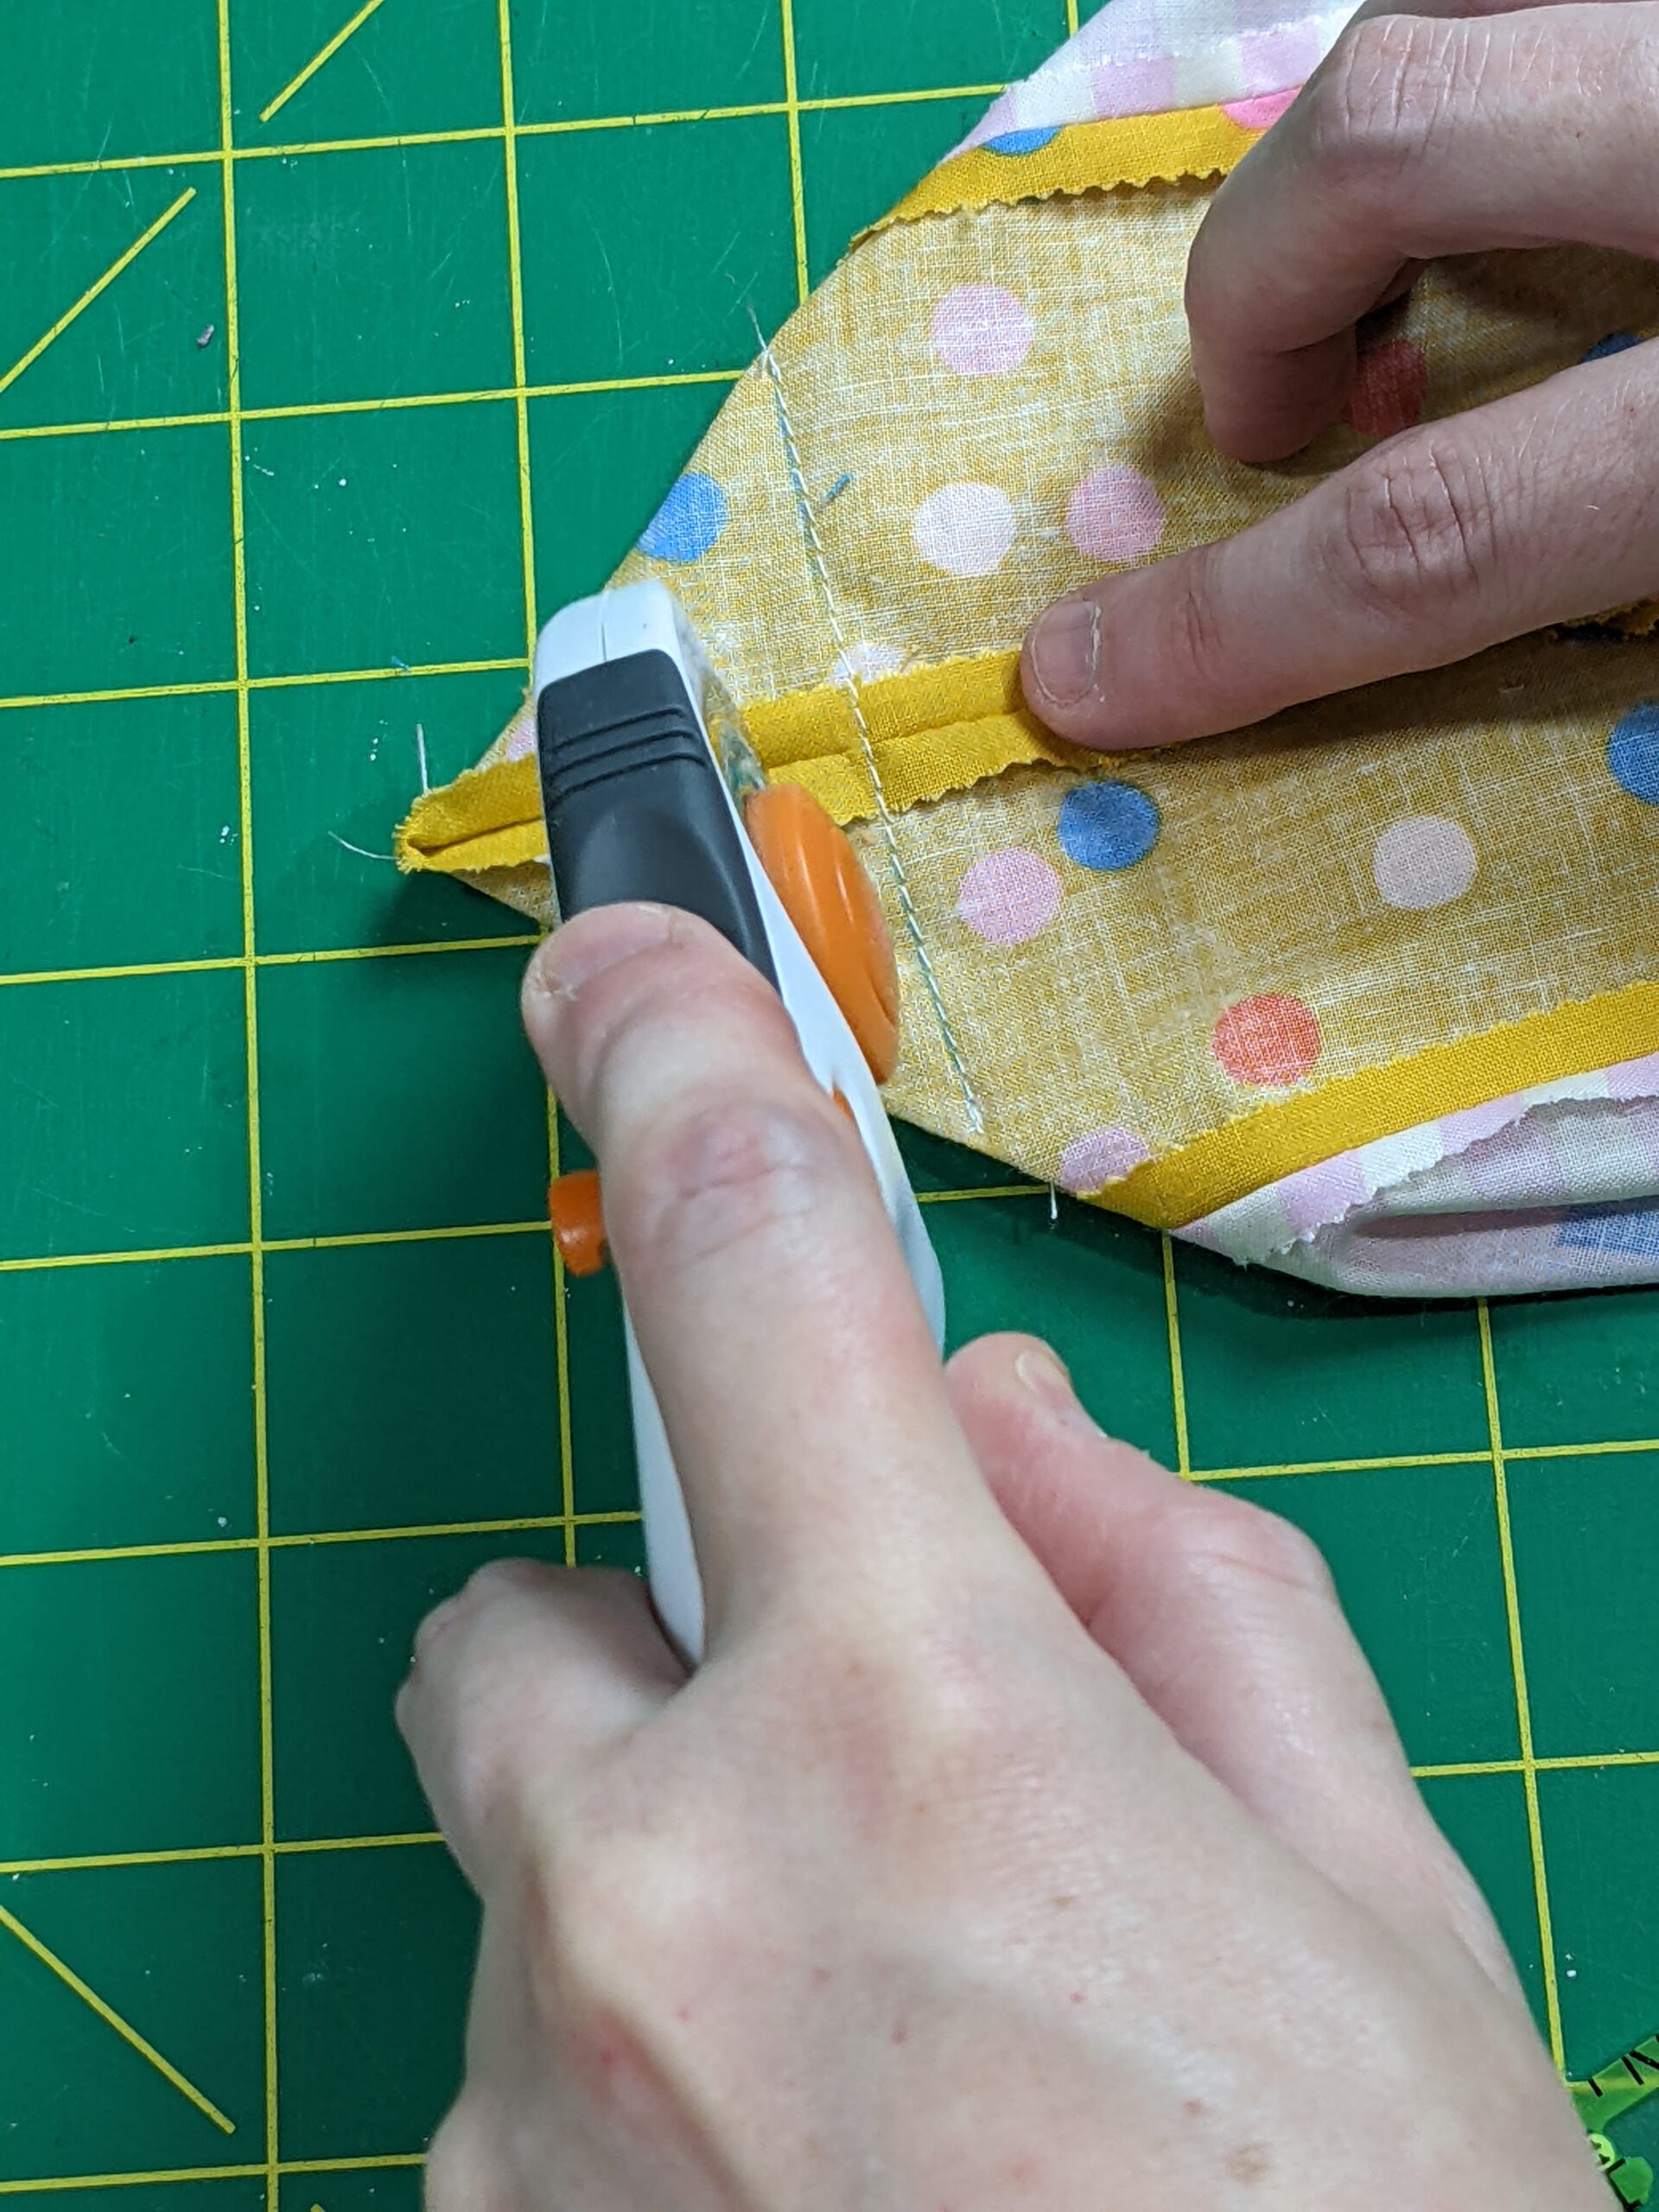
Sew along the lines you made and trim off the excess.
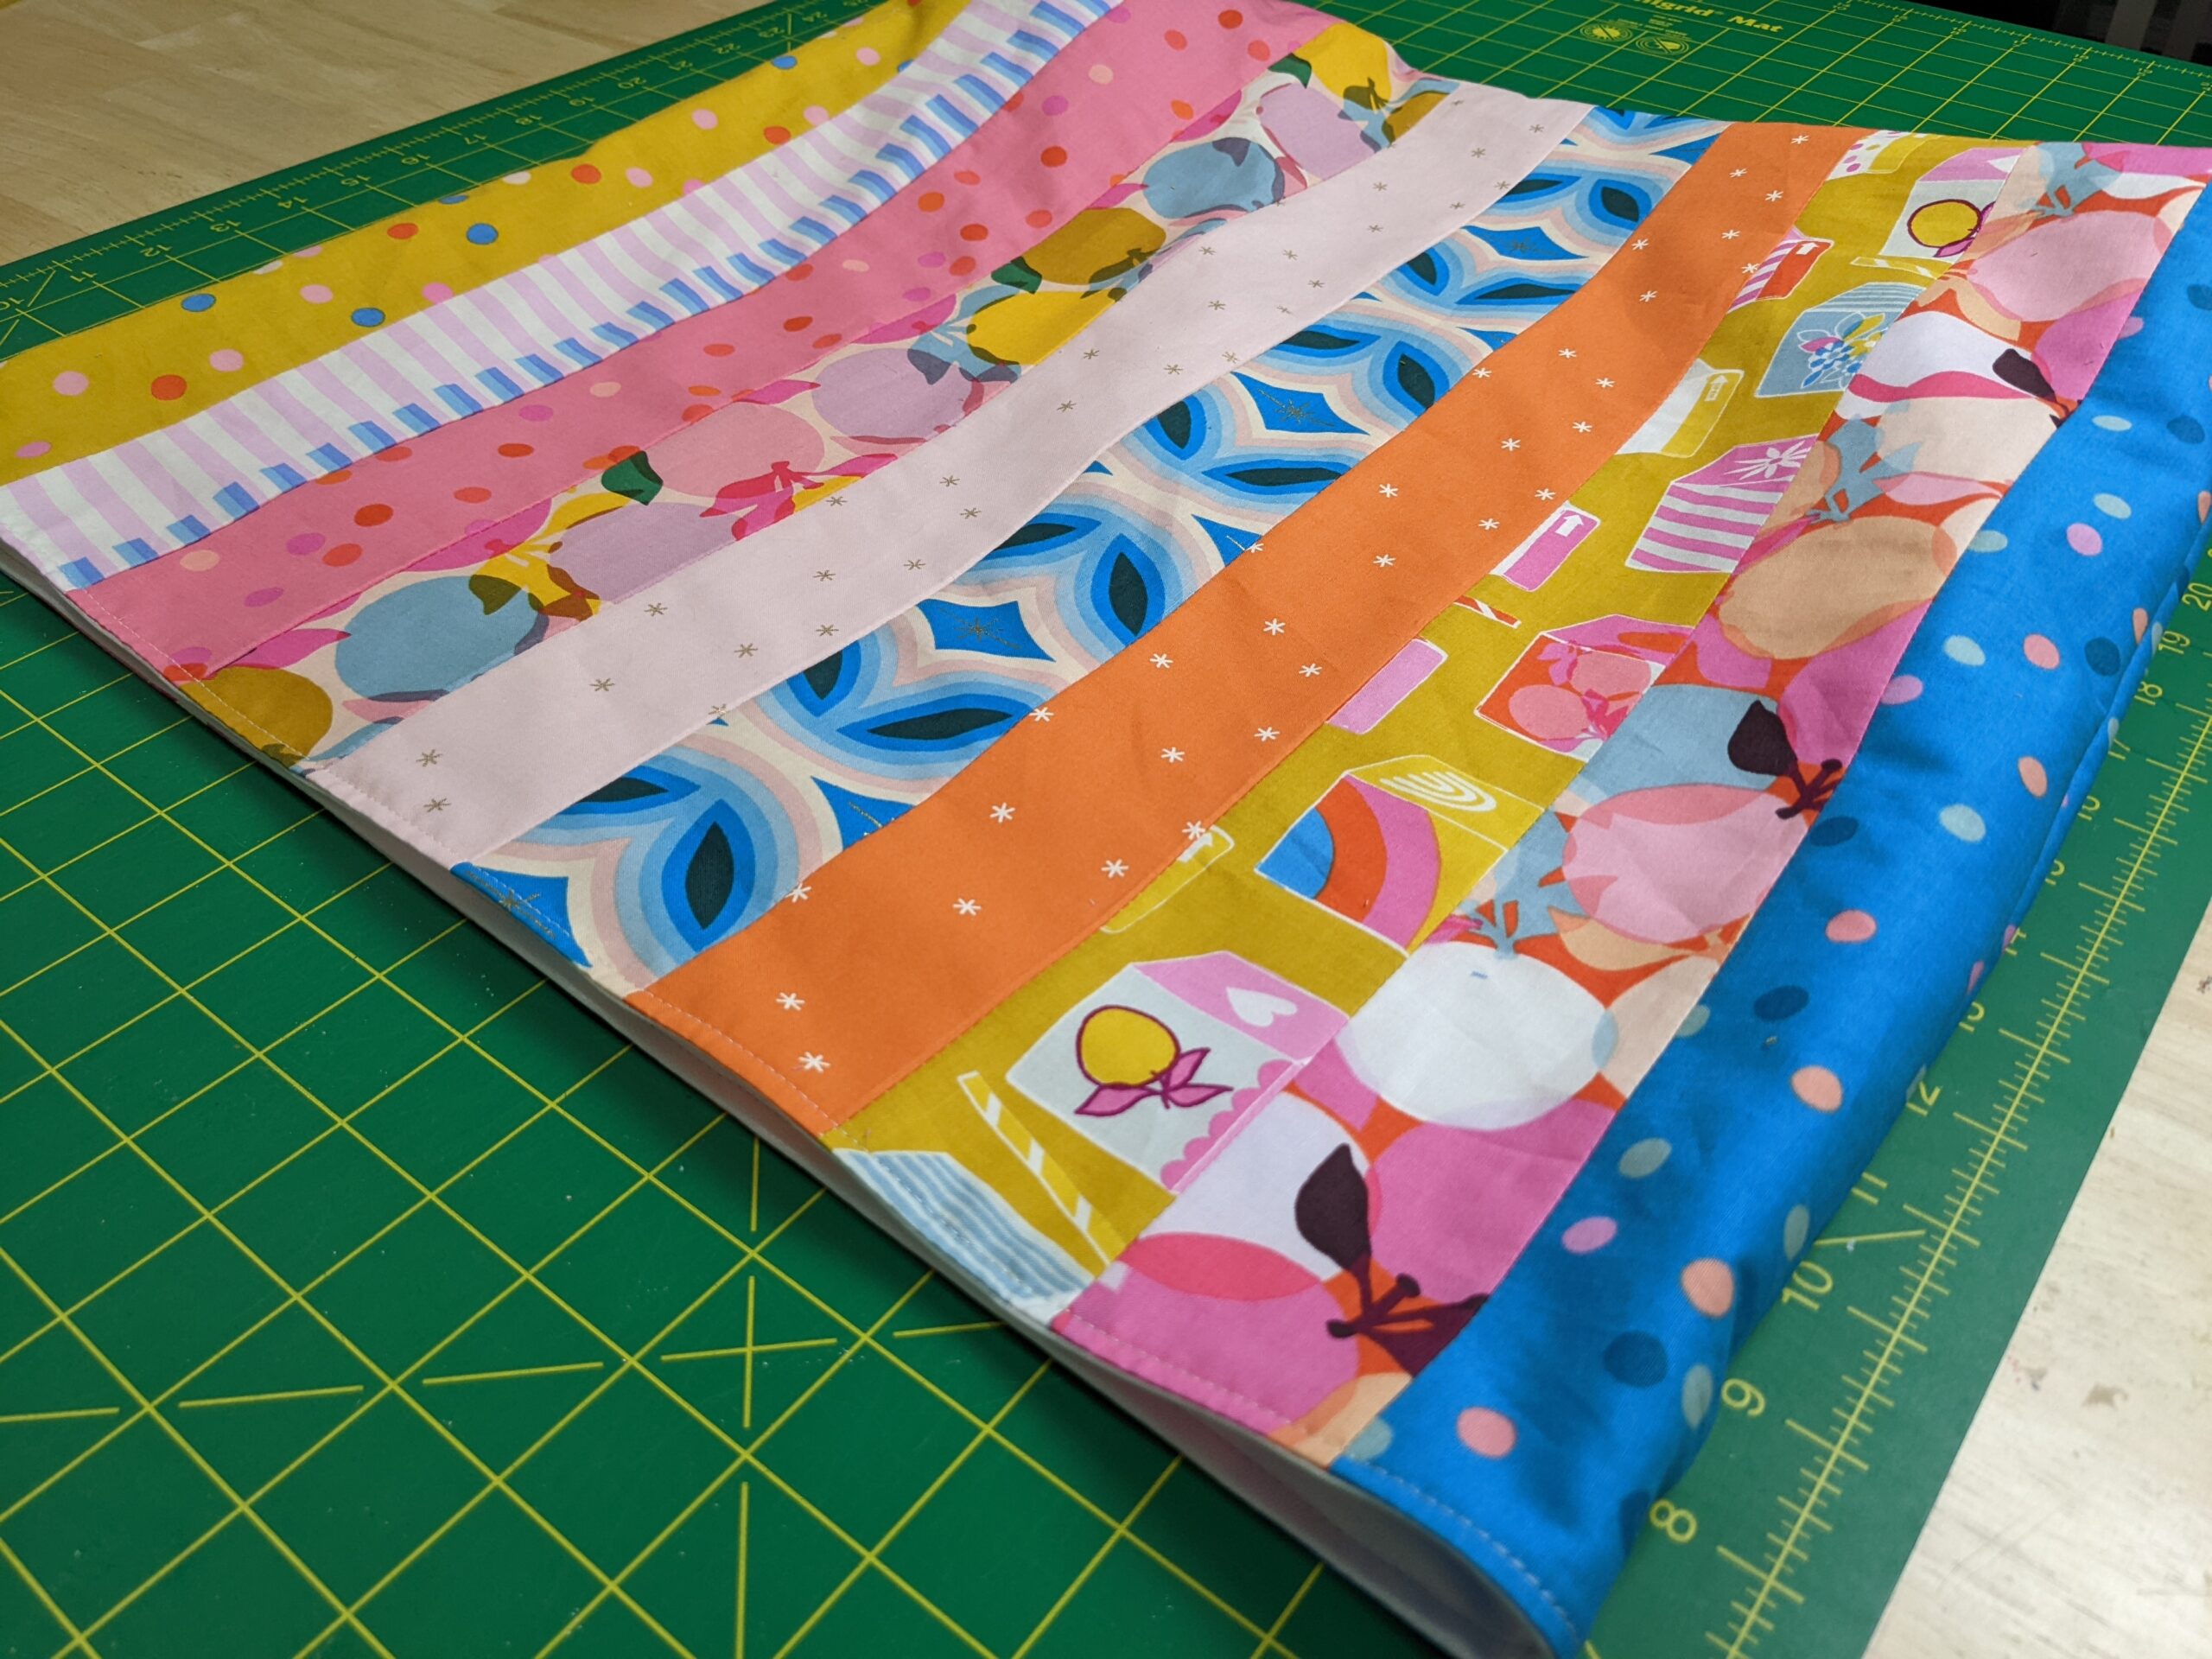
Turn the bag right side out through the hole in the lining, pushing out the corners. Press and topstitch ⅛” around the opening of the bag.
You can now sew up the lining hole by hand or with your machine.
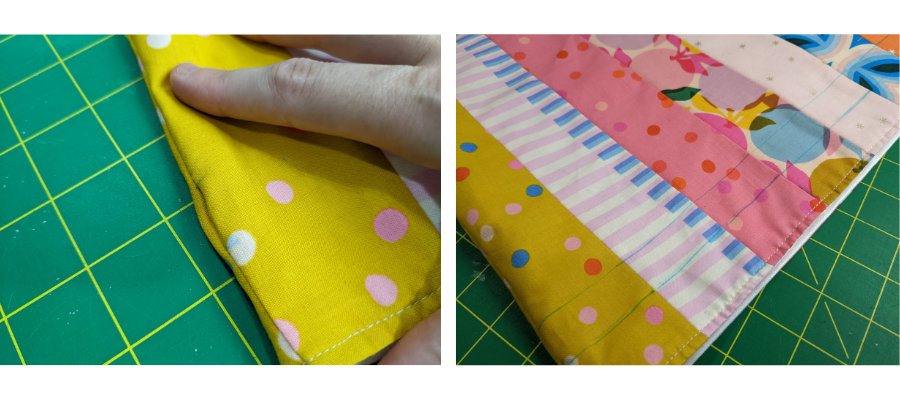
Mark the small openings with a fabric marker at both sides. Using a ruler, join them up. Repeat for the other side of the bag.
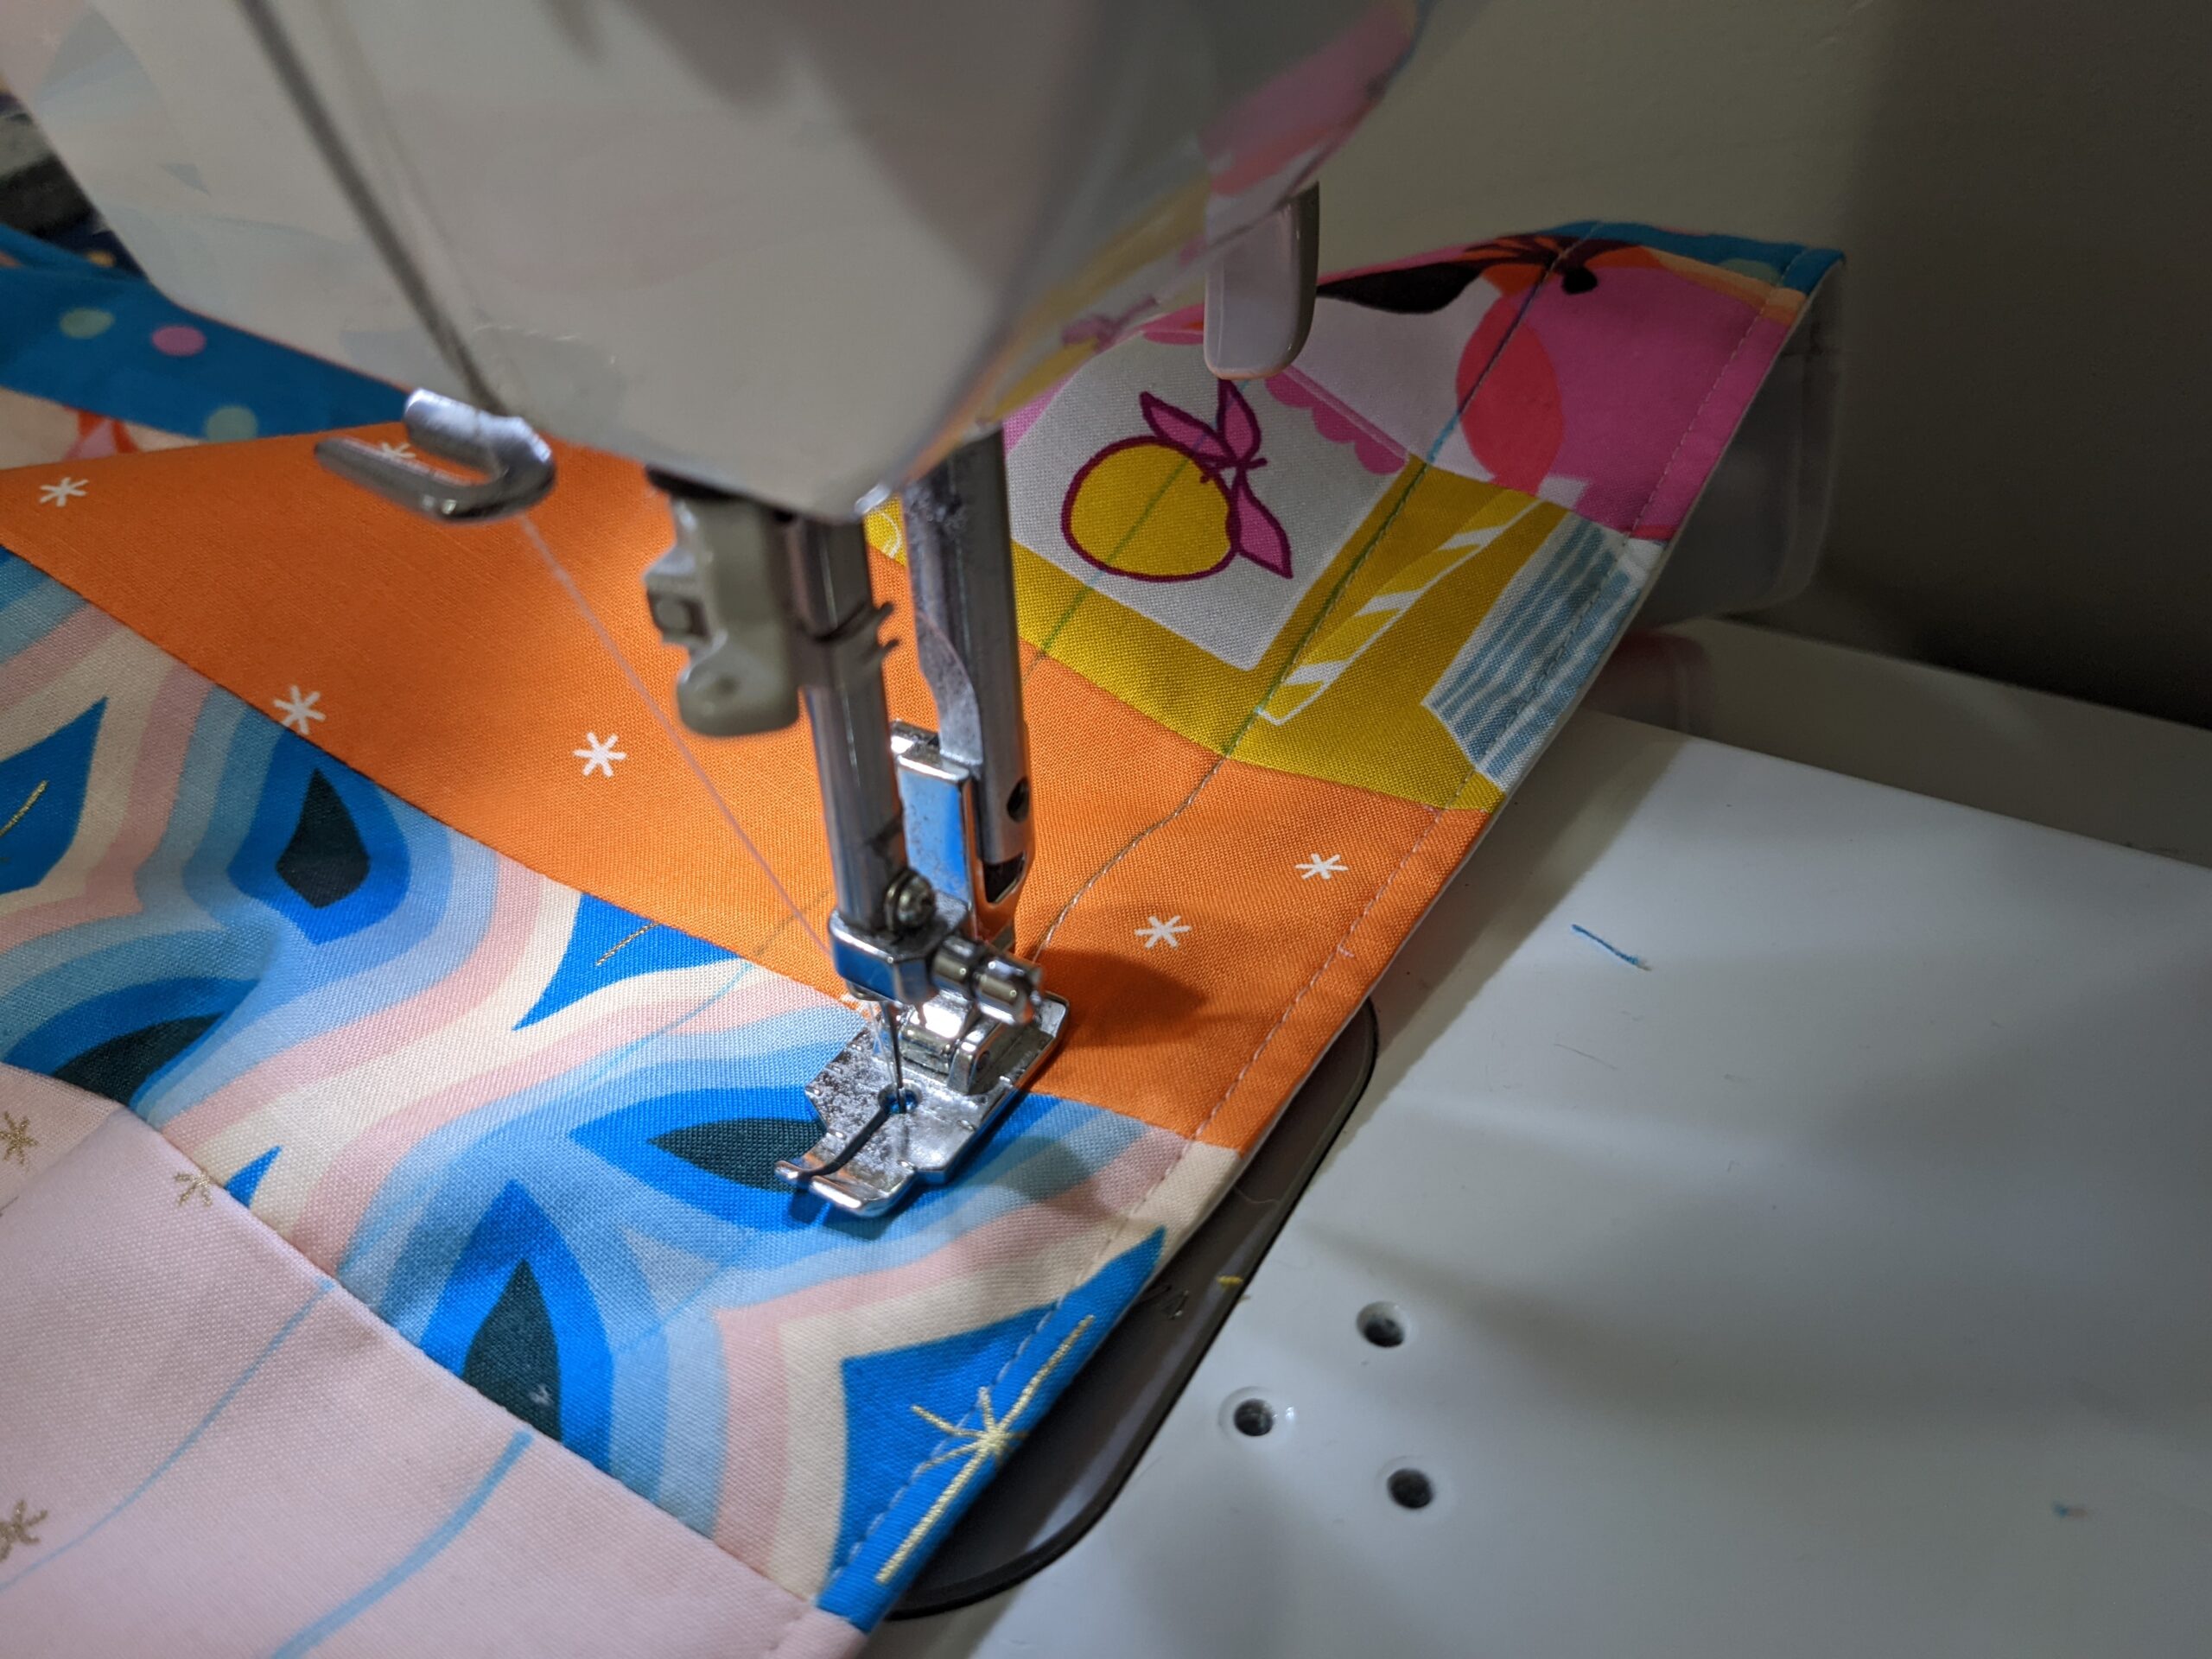
Sew along the lines, around the whole circumference of the bag.
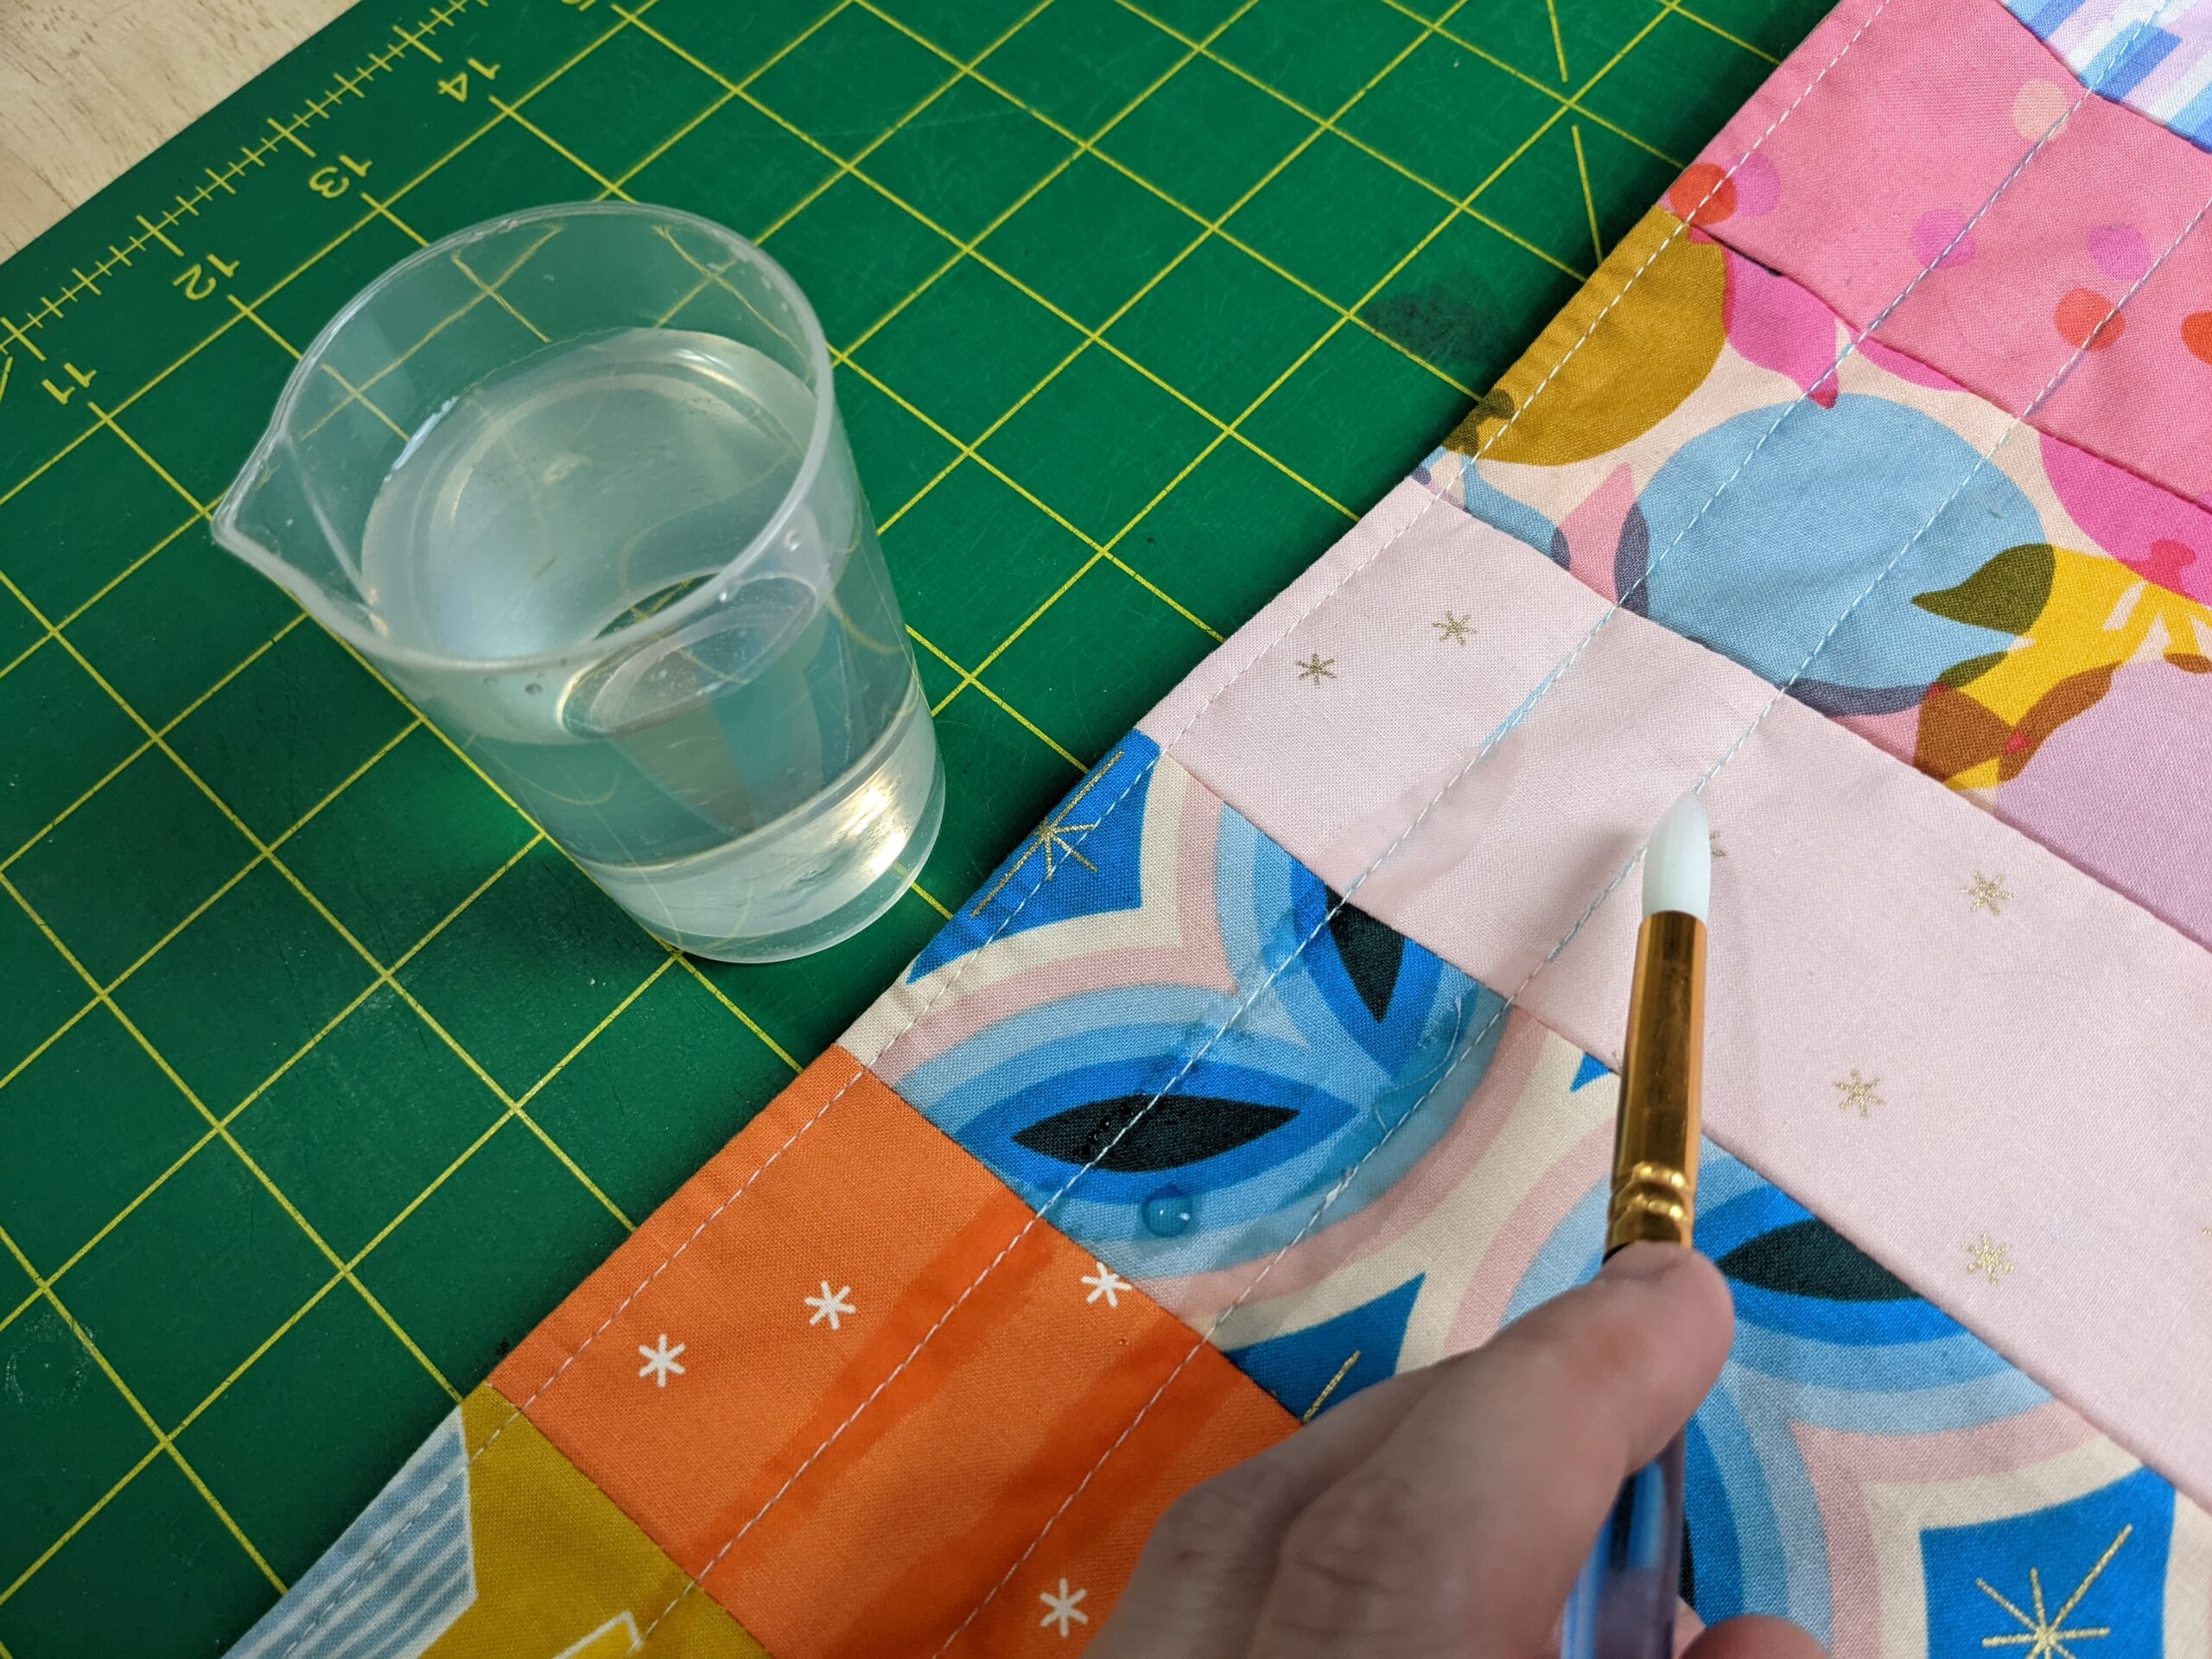
You can now remove the markings with water. You may need to leave it to dry for a short while, or press with the iron to speed things up.
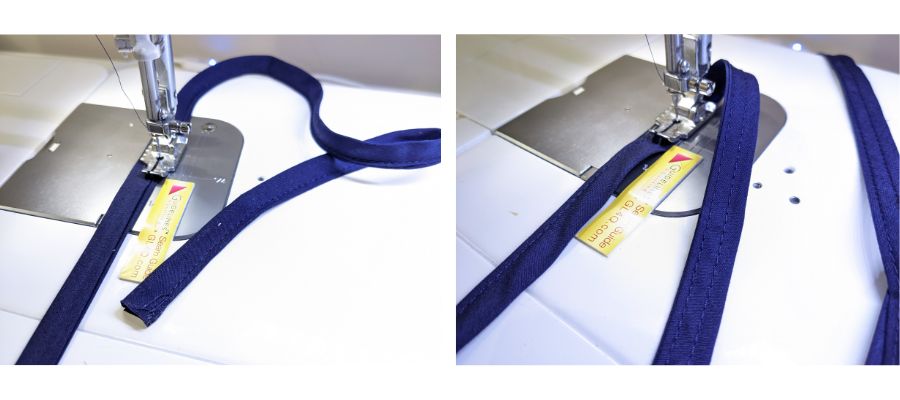
While the bag is drying, you can sew the bias tape together. If you are using ribbon, you can skip this step. Sew the tape closed along the entire length, then sew a second line of stitching along the folded edge.
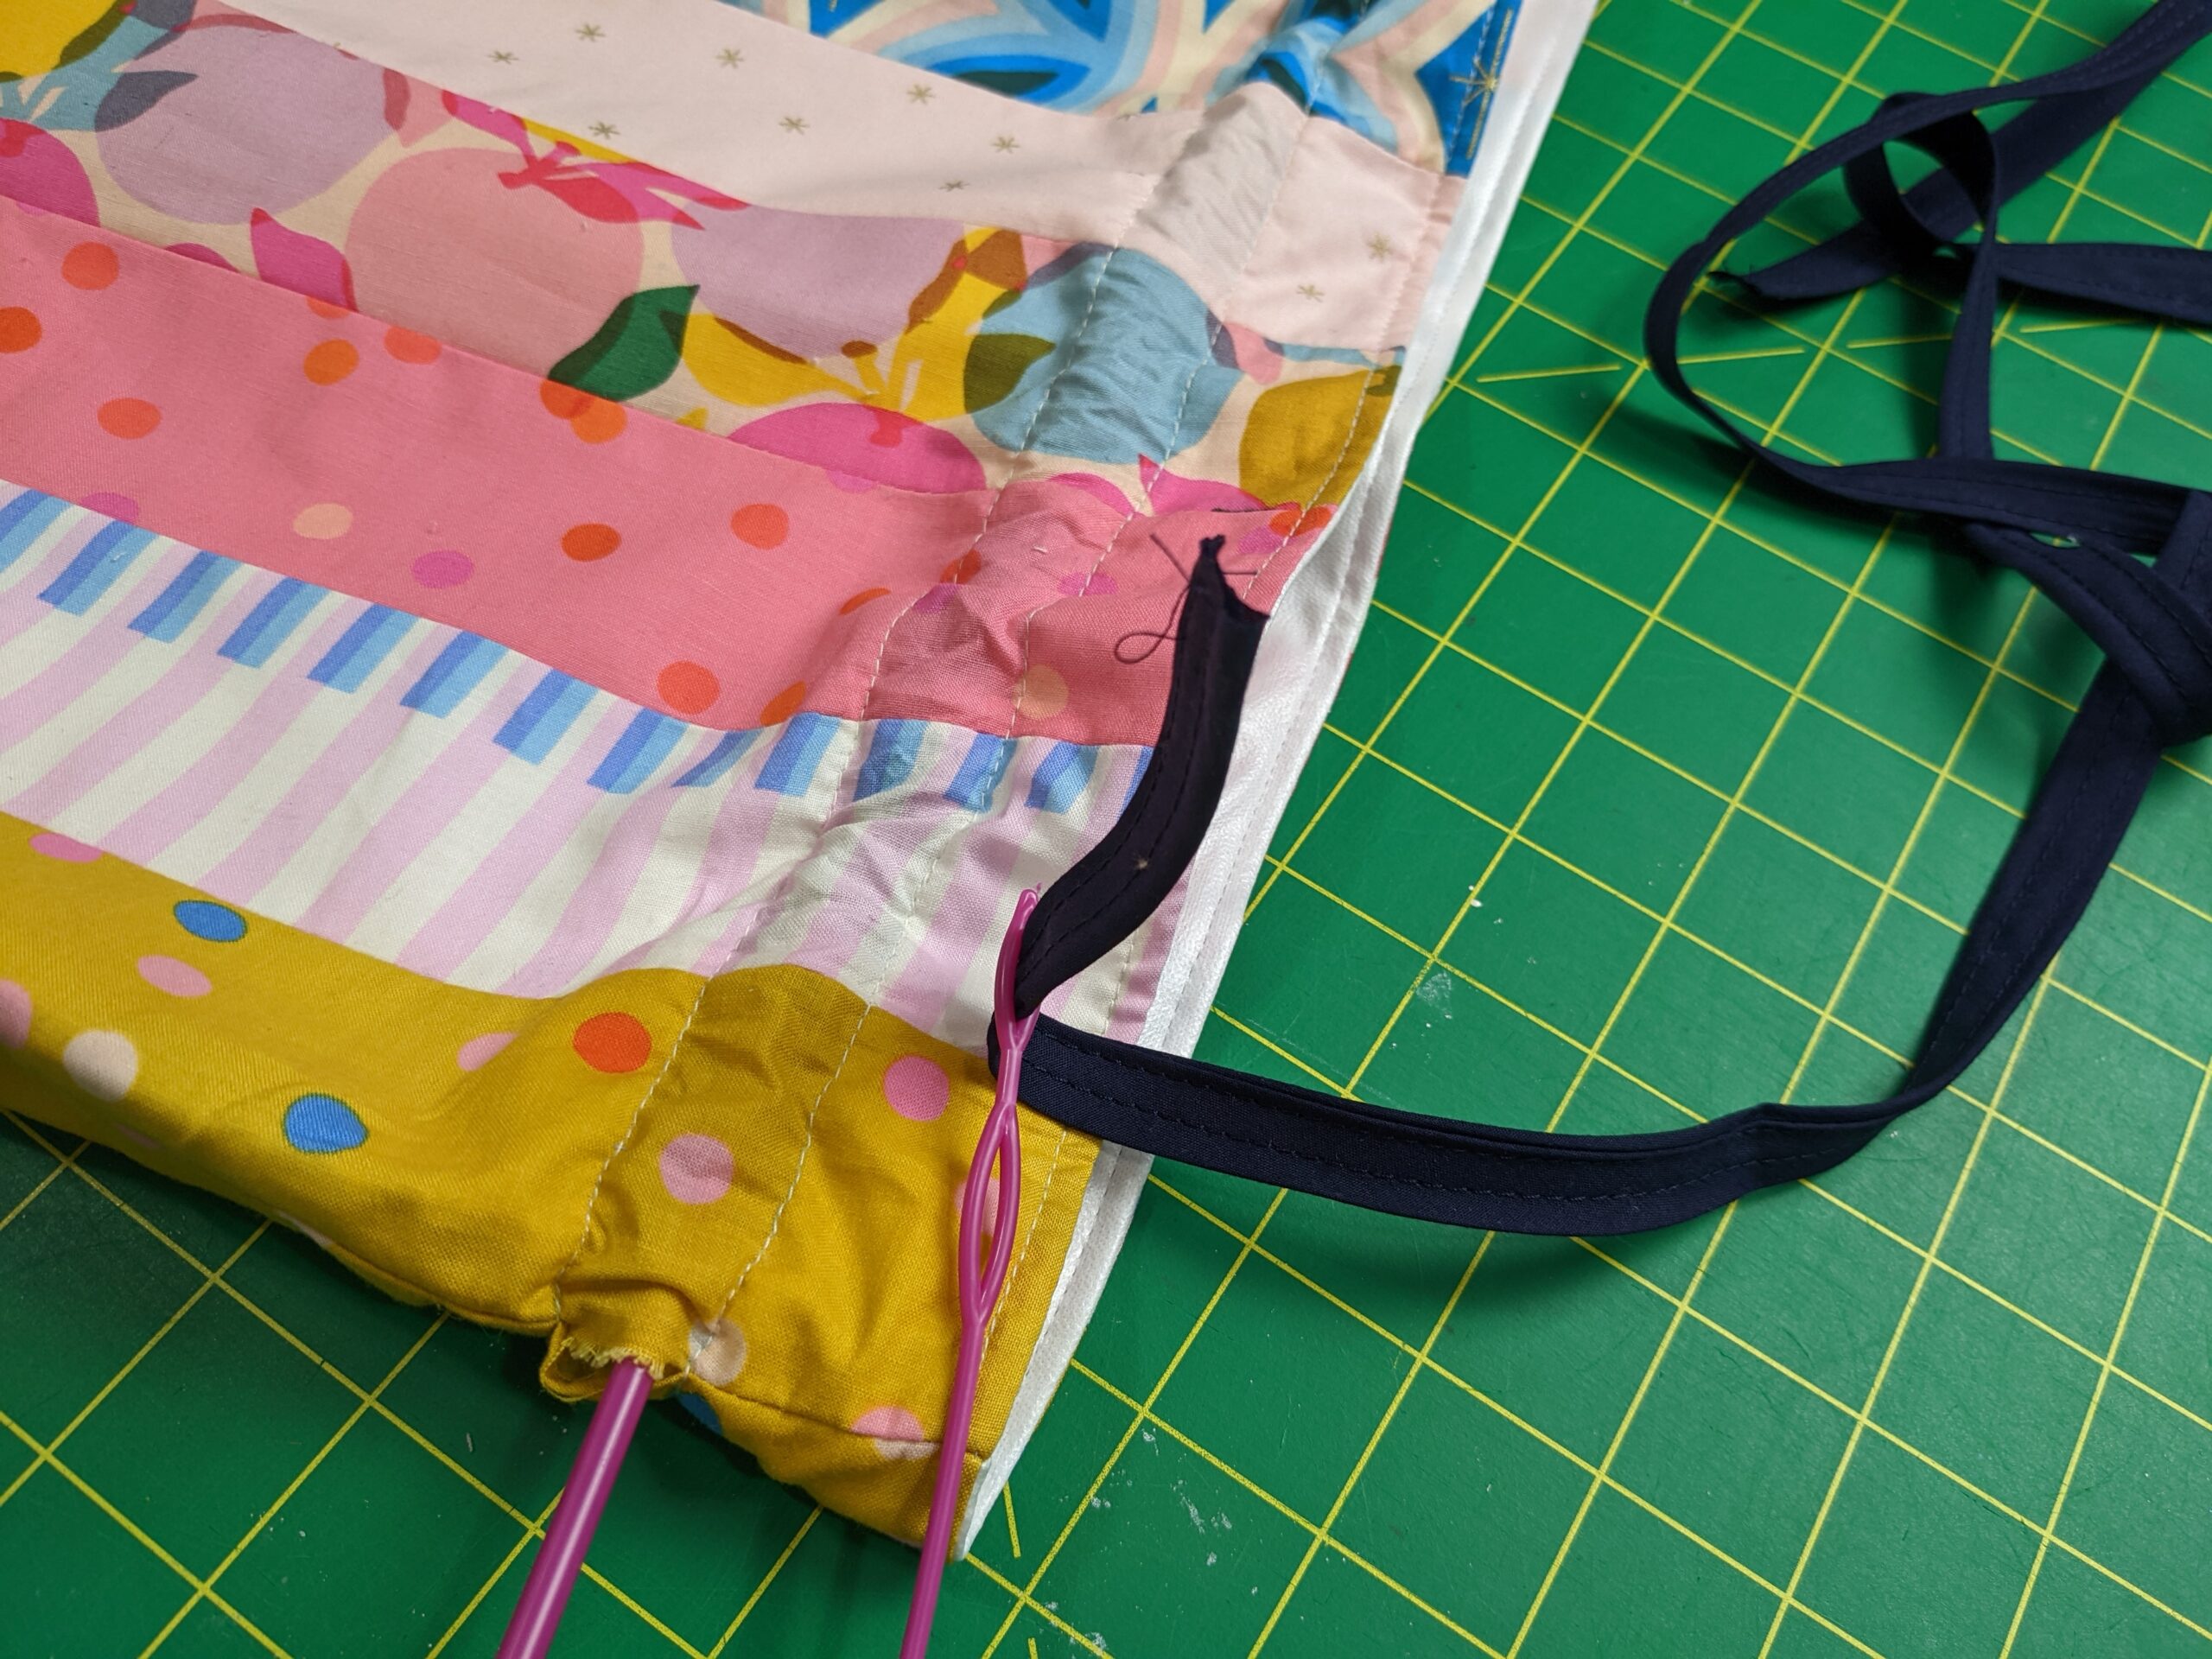
Cut the ribbon or bias tape into two equal lengths. If you have a drawstring threader, use it to thread one of the pieces through one channel, then round the back and through the second channel until both ends meet. If you don’t have this tool, you can attach a safety pin to one end and gradually feed it through by feeling along the channel with your fingers.
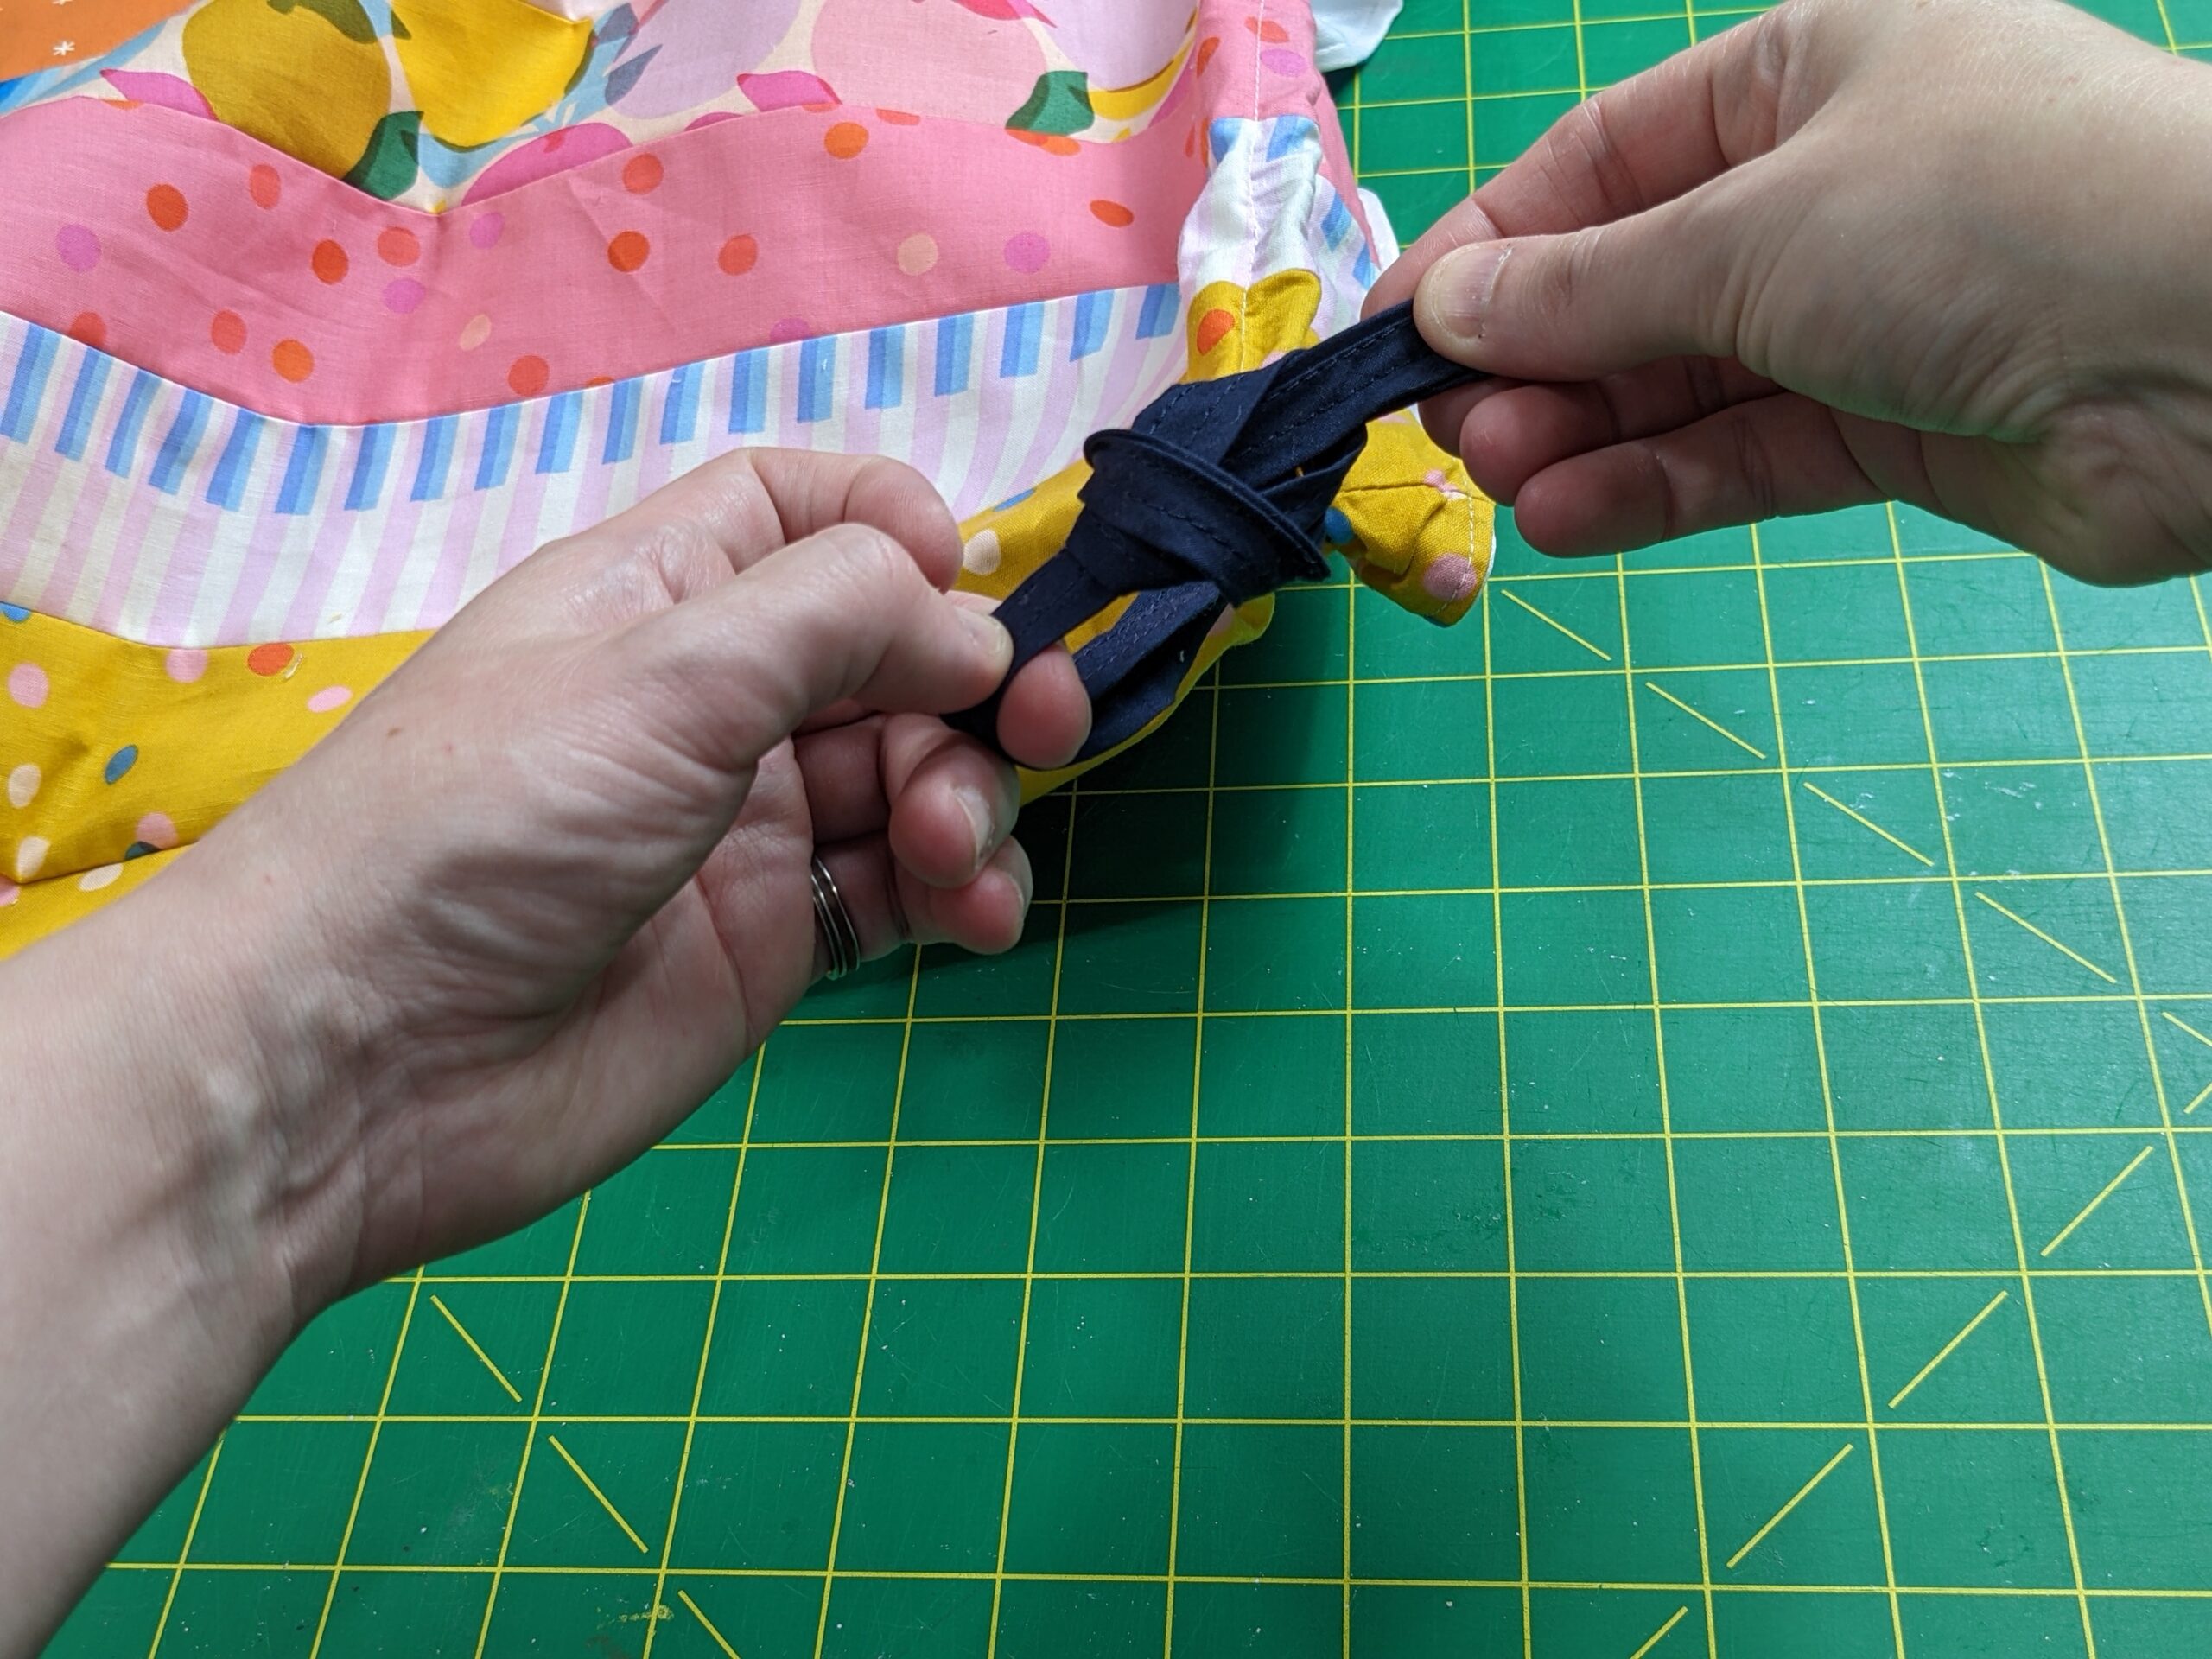
Knot the two ends together to secure. Repeat on the other side of the bag with the remaining bias tape strip.
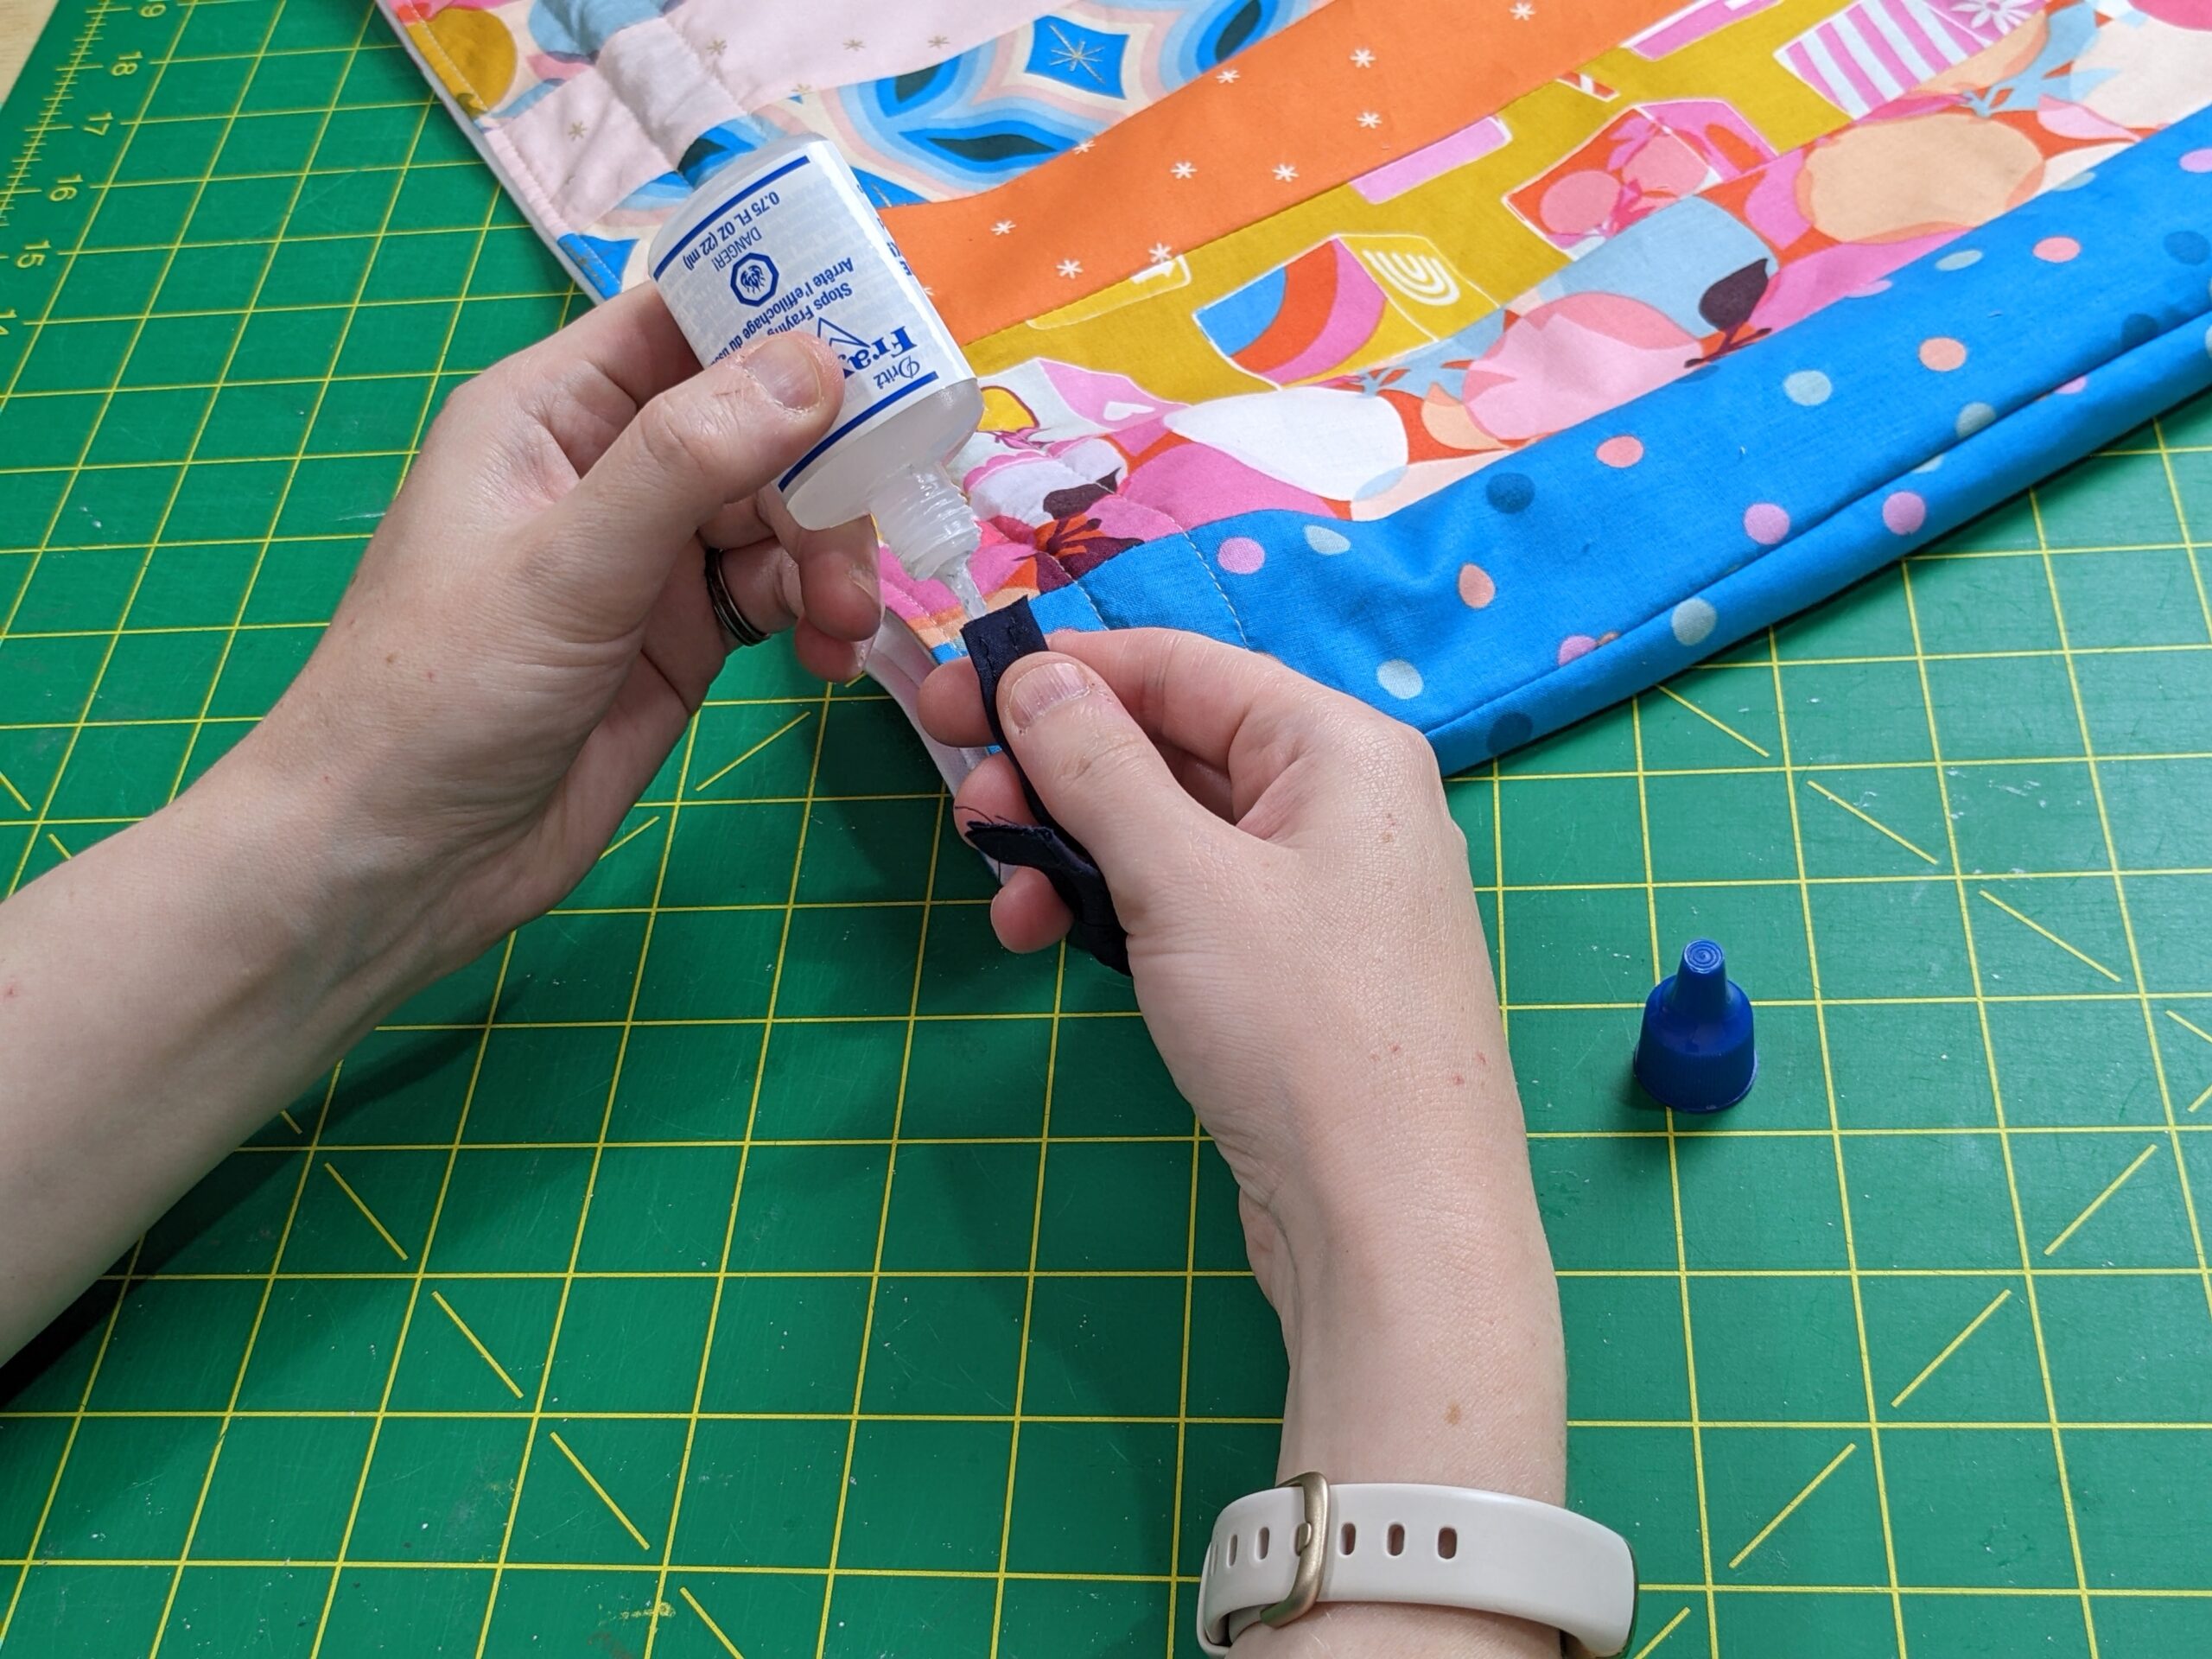
Apply Fray Check to the ends of the cord and you’re done. You’re ready to fill the bag with whatever you wish!

Admire and enjoy your new bag! Then post your creation to inspire others — and when you do, tag us on Instagram or Facebook so we can see and celebrate your design! #TrendTexFabrics @trendtexfabrics
