Cute Container Tutorial
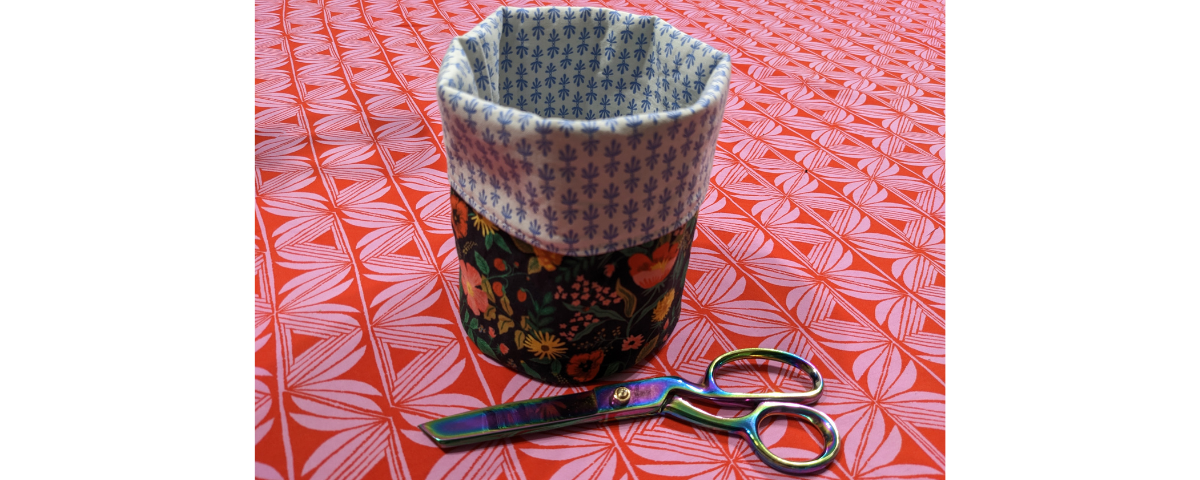
This fabric container tutorial makes absolutely adorable buckets that are really handy for all sorts of small items that need stashing around the home, or even for covering plant pots. Plus, they’re reversible AND fat quarter friendly!
The base is sturdy, with a plastic or cardboard insert, which makes additional use of the template you’ll need to make the bucket cylindrical.
The fabric shown here is Camont by Rifle Paper Company for Cotton + Steel.
Finished Size: 5″ x 5″ x 4 ½”-8″ (depending on how much you fold over)
Difficulty: Intermediate
Time to make: ½ hour
Seem allowances are ¼” unless stated otherwise.
Here’s what you’ll need for this notecards for quilters tutorial:
- Sewing machine
- Cutting tools: rotary cutter, mat and ruler
- 2 fat quarters – one for the exterior and one for lining
- 3/4m Pellon SF101 Woven Interfacing or similar
- A 6″ square of template plastic or cardboard for the base
- Pencil, ruler and pair of compasses
- Non-sewing scissors
- General sewing notions: iron, clips or pins, scissors, etc.
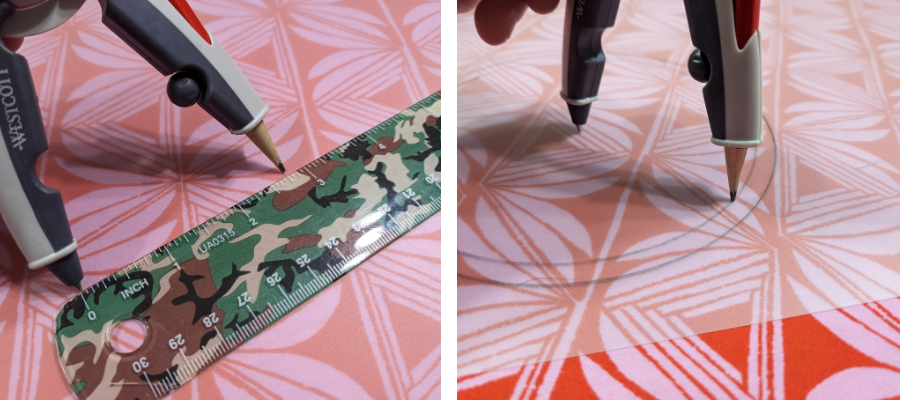
With a ruler, set your pair of compasses to 2 ¾” and draw a circle onto your template plastic or cardboard. Repeat at 2 ½” and draw another circle inside the first. Cut out around the outer circle with regular scissors.
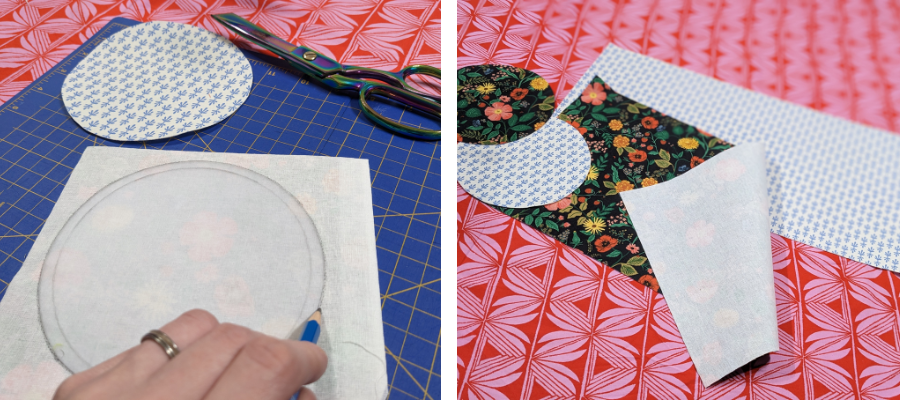
Next cut the following:
16 ¼” x 8 ½” – 1x outer fabric, 1x lining fabric, and 2x interfacing
6″ square – 1x outer fabric, 1x lining fabric and 2x interfacing
Fuse the interfacing to the back of the corresponding fabrics. Use the circle template to draw onto the back of the interfaced squares and cut out.
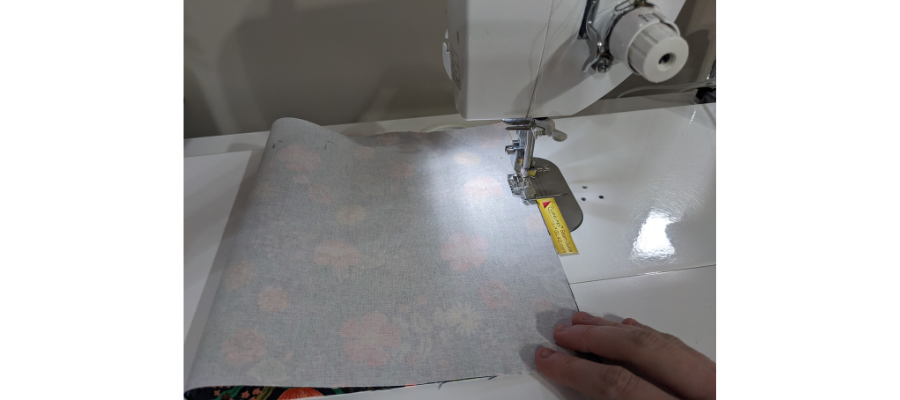
Position the shorter ends of the exterior fabric right sides together and sew to make a cylinder, back-stitching at the start and end. Repeat for the lining.
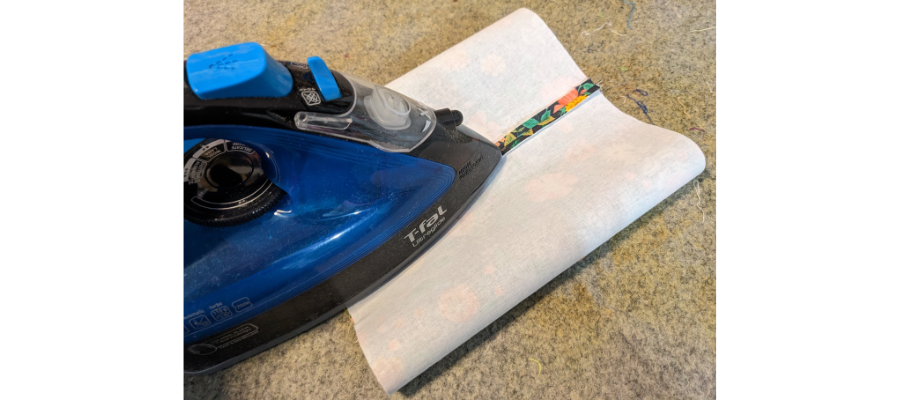
Press the seams open.
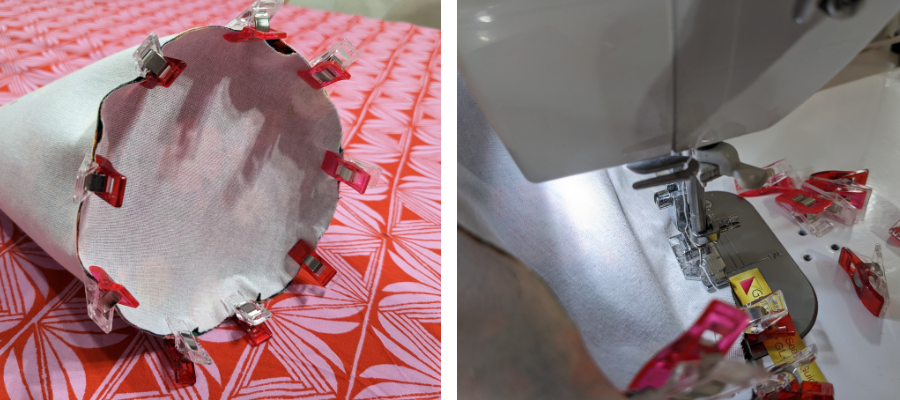
With the right sides together and the wrong sides facing out, carefully clip or pin the circular bases to the corresponding fabrics – exterior to exterior and lining to lining. You may need to ease them in place slightly, ensuring they are even all the way around. Sew together.

Turn the lining right-side out and place inside the exterior, which should still be wrong-side out. Align the side seams. Sew together around the remaining raw edge, leaving a gap of a few inches for turning and back-stitching at the start and end.
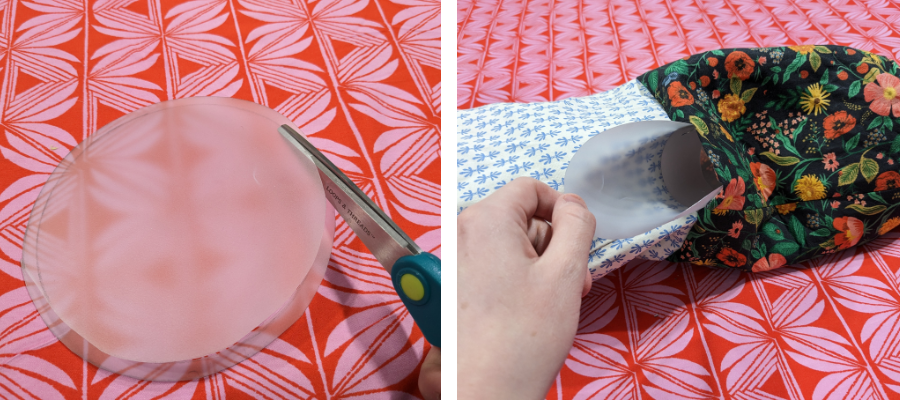
Cut the circle template along the inside line to make your base. Turn through the gap you left so you can see the fabrics right-sides out, and insert the base piece so it sits snugly against the bottom of the exterior fabric. Push the lining inside and press the top seam.

Top-stitch ⅛” from the top of the container, catching and closing the turning gap.
Fold down the top to your desired height.

You’re done! We’d love to see your creations on social media and hope you’ll share them with us! Please post, and tag us on Instagram or Facebook so we can celebrate your design! #TrendTexFabrics @trendtexfabrics
Looking for more tutorial and project ideas? Check some other ideas out here.
