
Car Seat Organizer Tutorial

Looking for a simple and fun way to keep the kids’ stuff within reach on long car journeys? Look no further than this car seat organizer.
Finished size: 15 ¾” x 19 ¾”
Difficulty: Beginner / Intermediate
Project time: An afternoon
If you have specific items in mind, you can measure them, and sew where you need to put dividers for a bespoke organizer!
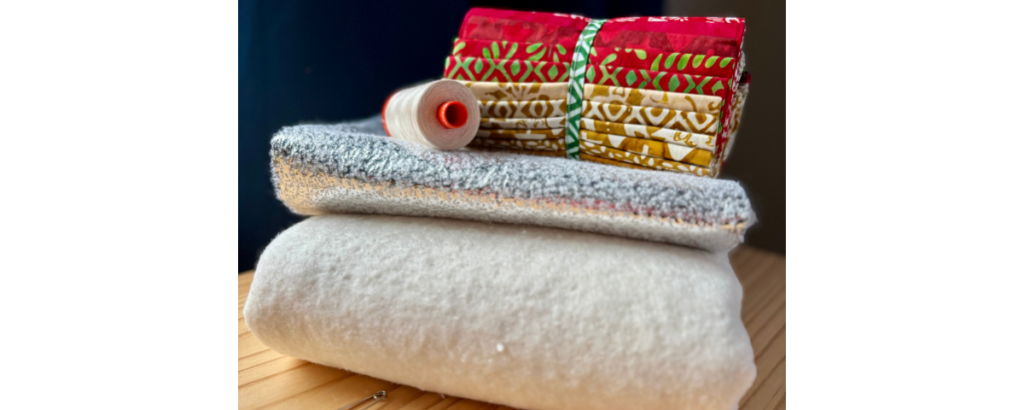
You will need:
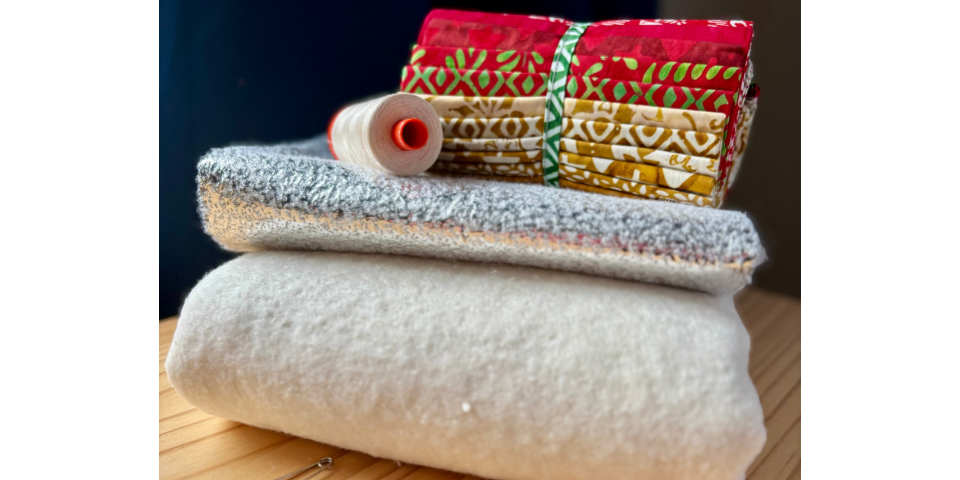
- 1/2m of heavy-weight fabric, such as canvas or denim
- 6x fat eighths (8 if skipping the mesh)
- Piece of mesh 18 ½” x 7″ (optional)
- 3/4m heavy to medium weight interfacing
- Roll of tape
- 1 1/4m – ⅜” elastic
- Foldover elastic or scraps of knit fabric (optional)
- 3/4m – 1″ wide webbing
- 1″ wide quick-release buckle
- Fray check
- General sewing notions: sewing machine, clips, iron, thread, glue stick etc.
Seam allowances are ¼” unless stated otherwise. RST = right sides together.

Cut four fat eighths down to 16 1/2″ x 5 ½”. Sew them together along the longest edges. Press seams open. This is the front.
Cut interfacing – one piece measuring 16 ½” x 20 ½” and one piece measuring 21″ x 7 ½”. Fuse the largest piece to the back of your pieced front.
Cut a piece of heavy-weight fabric to the same size – 16 ½” x 20 ½”. This is the back.

Using a roll of tape or another small and circular object as a template, marking to round the corners of the front and back; then cut.
Cut the remaining fat eighths to 21″ x 7 ½”. Fuse the remaining interfacing to the piece you intend to use as the front of the pocket.

Mark 2 ¼” from each side along the bottom of each piece. Cut from the mark to the top corner to make both pieces into trapezoid shapes.

Align the long edges RST and sew along this edge only. Press open and fold so the wrong sides are together and the seam is on the fold, which is the top.

Top-stitch ½” from the top to create a channel for the elastic.

Cut a piece of elastic a little longer than the top edge. Attach a safety pin and thread it through the channel until you can see elastic at both ends.

Stitch down the free end of the elastic within the seam allowance to hold in place and trim.

RST again, align the bottoms of the two pocket pieces and sew along, back stitching at the start and end. Turn tube right side out. Press.

Measure 3″ up from the bottom of your pieced panel. Align the bottom of the pocket with this measurement. Top-stitch this edge in place at ⅛” and then top-stitch the side with the trimmed elastic, also at ⅛” from the edge.

With the safety pin end, pull the elastic until the length of the pocket top matches the bottom edge length. Make sure the height of the pocket is the same at both ends and then baste the remaining edge in place. Trim elastic.

Mark the centre of the pocket and sew to divide into two, back-stitching at the start and end.
For the second pocket, you can make another in the same way, or add a mesh pocket. For the mesh pocket, cut a piece 7″ tall by 16 ½” wide, with the stretchiness of the mesh running sideways.
Mark 1″ from the sides on the top edge and taper as before so the top measures 14 ½” and the bottom measures 16 ½”. Tapering the top will mean it holds onto items more securely.

Cut two pieces of foldover elastic at 16 ½”, or you can use knit fabric scraps. To use knit fabric, cut two strips 2″ wide and press along the centre. Open up and fold the long edges to meet the centre, and apply a couple of dabs of glue stick to hold in place, if the iron alone isn’t enough.

Fold over and insert bottom edge of the mesh pocket inside, then top-stitch into place close to the fold to finish the bottom edge.

Repeat for the top edge with the second piece of elastic or knit, but clip to the start and end of the mesh, then pull the mesh slightly as you work to make it fit the longer edge.
Measure two inches from the top of the pieced front and mark. Align the top of the pocket with this marking and pin or clip in place. Top-stitch the bottom (which should be parallel to the first pocket) and the sides within the seam allowance.

Cut a length of elastic measuring 25″. Baste it to the front pocket piece within the seam allowances on both sides, 2″ from the bottom edge, making sure it isn’t twisted.
To prepare the buckle, cut two pieces of webbing, one 9″ and one 15″ in length.

On the female or square side of the buckle, insert the shorter piece and fold over 2″. Sew a box to secure in place and finish the raw edge with fray check.

For the male side that looks like a fork, thread through both holes and pull a few inches of webbing through. On the webbing that is on the underside, fold the edge over twice and topstitch to create a stopper that will not go back through the buckle.

Baste raw edges of the webbing to the top of the pocket panel RST with a little overhang, they should be positioned 4″ from each side.

Align the back piece with the front RST and pin or clip together along all edges, matching curves. Leaving a few inches at the bottom for a turning gap, and back-stitching at the start and end, sew all the way around with a ⅜” seam allowance.

Trim and/or notch the curved corners and turn right side out. Press carefully.
Top-stitch all the way around at ⅛” to close the turning gap and complete the organizer. Now all you need to do is attach it to your car and fill it with stuff!
What’s going in your organizer? Don’t forget to tag us on Instagram or Facebook so we can see and celebrate your creations! #TrendTexFabrics @trendtexfabrics
