
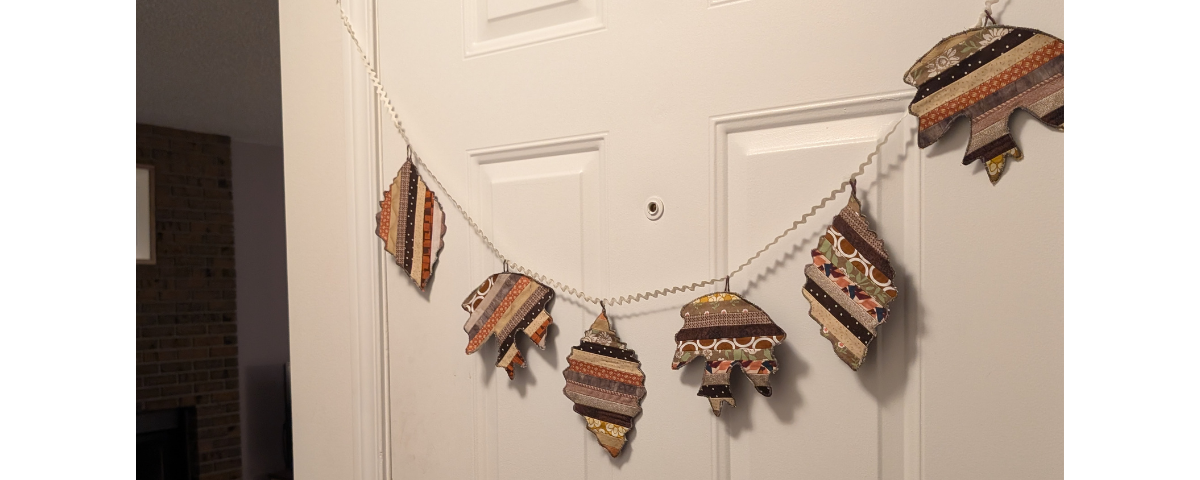
Fall Garland Tutorial Project
Here’s a project to help you use at least some of the ever growing pile of scrap fabric!
Finished size: Length to suit, leaves approx 7” tall Difficulty: Beginner Project time: 1 ½ hours +
This project uses string piecing to make a piece of fabric, and then you use that made fabric into something new!
An extra idea – you could applique some selvages into the project to showcase some of your favourite fabrics.
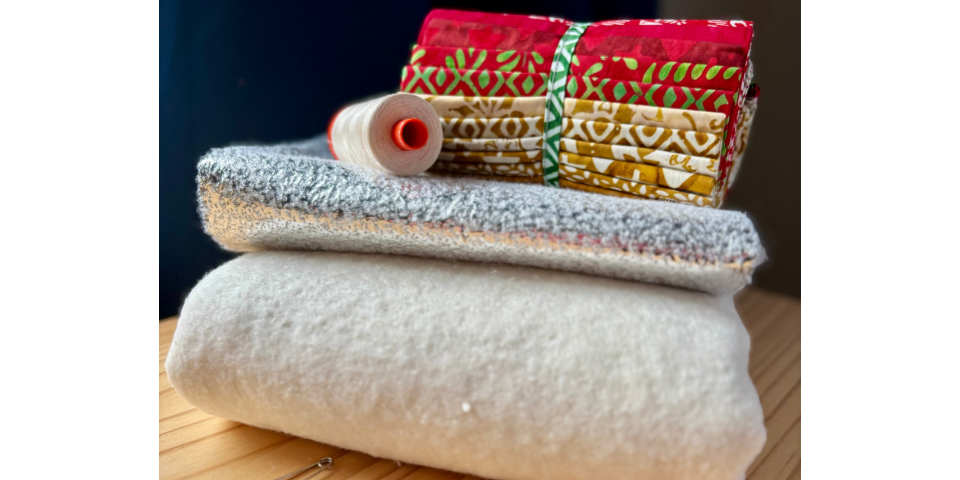
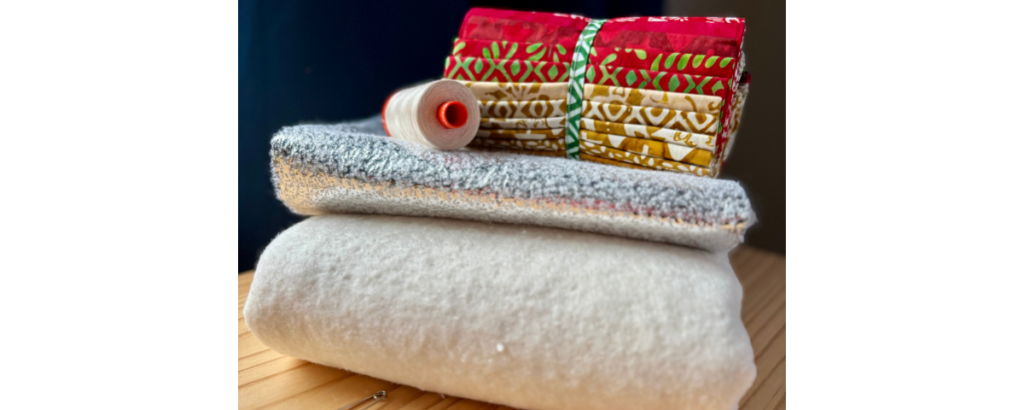
You will need:
- A bunch of scraps in fall colours
- 1/4m of Steam a Seam fusible web
- 1/4m+ of backing fabric
- Scrap yarn
- A length of chunky ricrac in the desired garland length
- Pencil
- General sewing notions: sewing machine, rotary cutter, pins, iron, thread, etc.
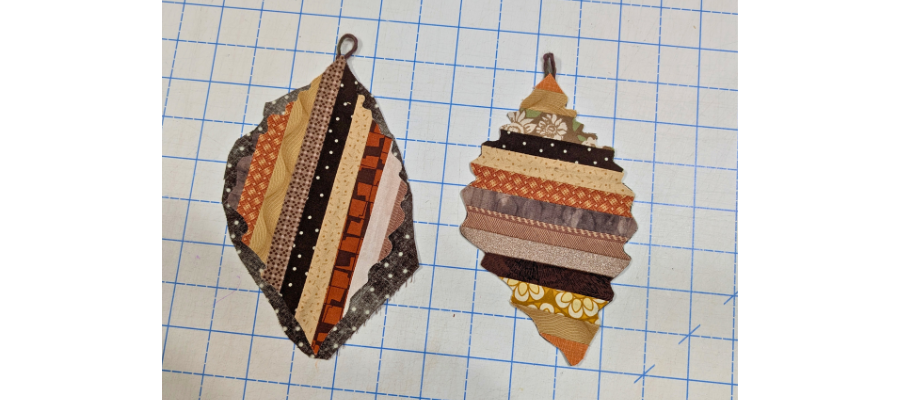
- Templates: Elm shape and Maple shape
Seam allowances ¼” unless stated otherwise. RST = right sides together.
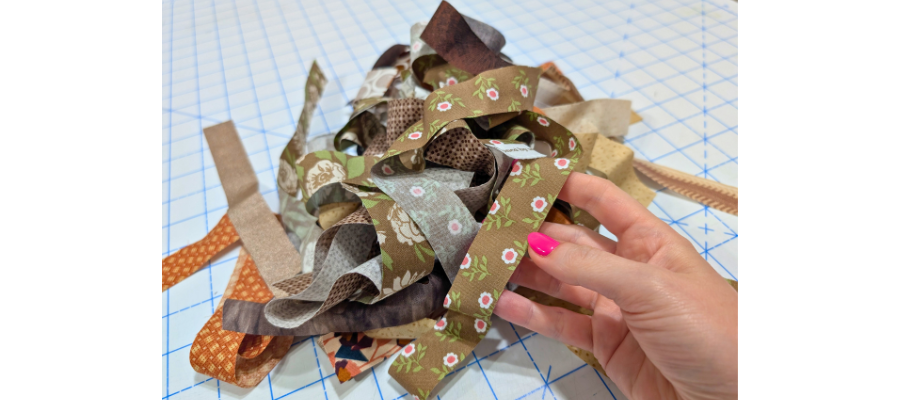
Cut your scraps into strips at least 8” long. You could cut these various widths, but to make a garland like ours, cut them at 1” wide.
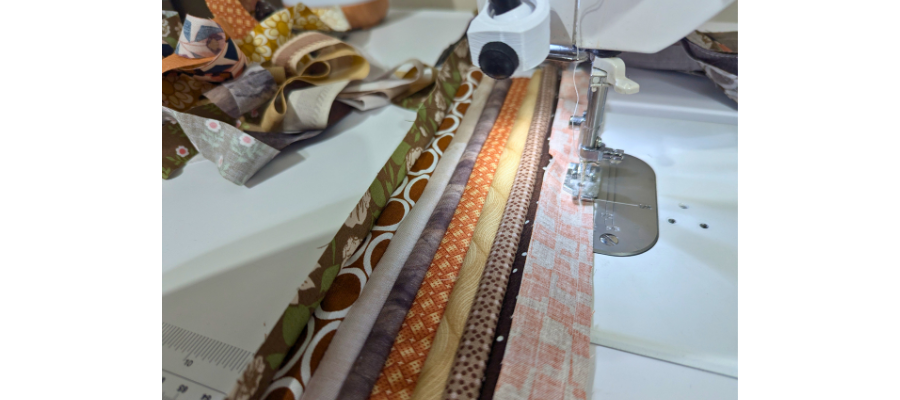
Sew the strips together along the longest edges to make a large piece of fabric.
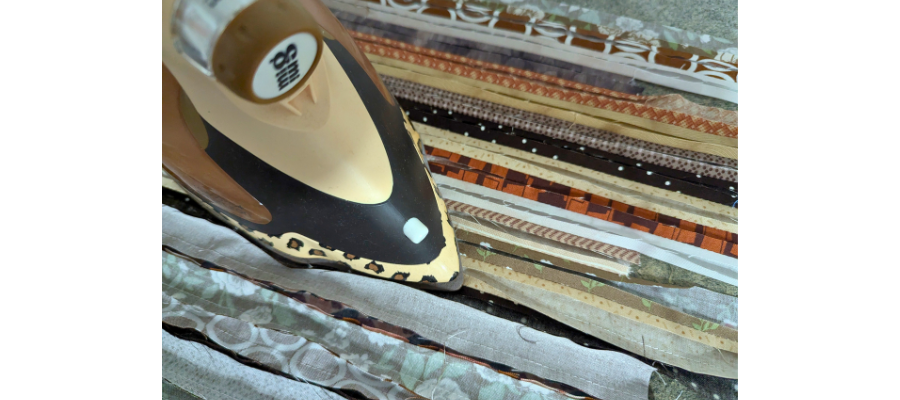
Carefully press all the seams open. This is so when you press fusible on the reverse it has more even coverage.
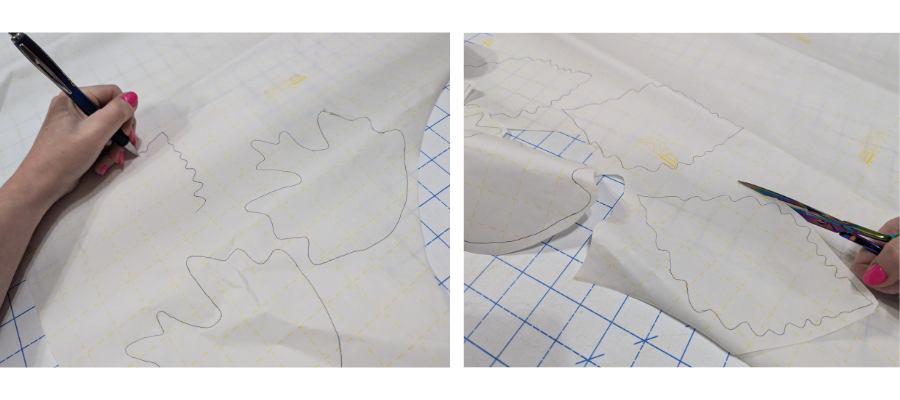
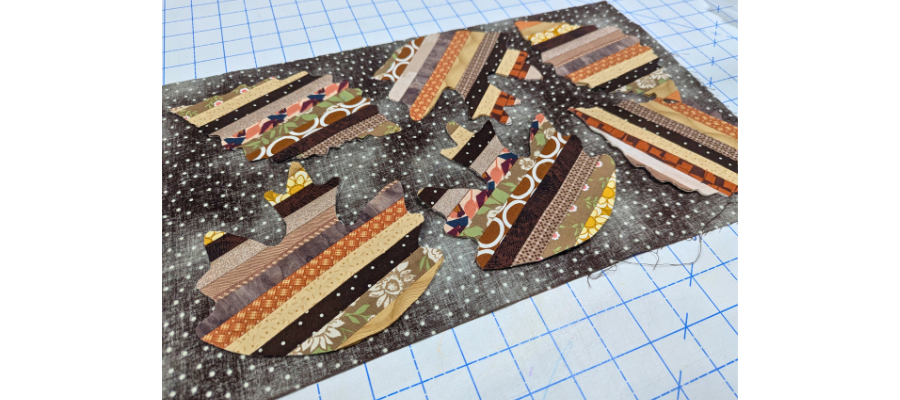
Using the templates (Elm and Maple), trace as many leaf shapes as you wish to make onto the gridded side of the Steam a Seam.
Cut out shapes roughly outside of the lines.
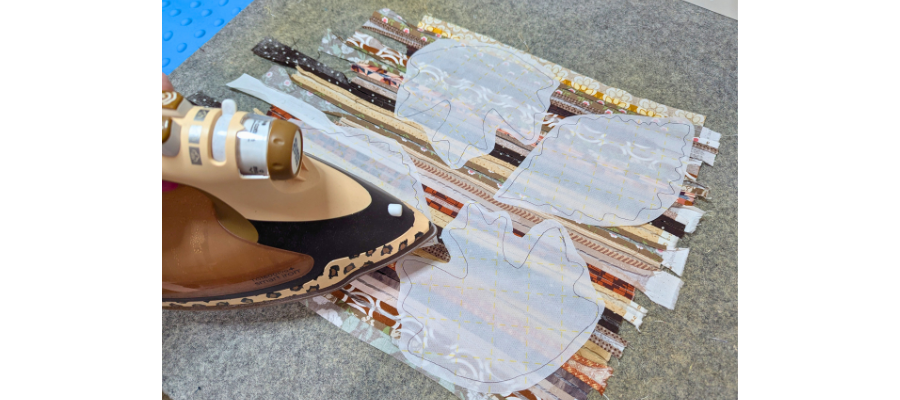
Peel off the backing and position onto the back of the pieced strips in a way that fits best. If you want them to look uniform and position the same way, you will have more waste and require a larger area. Press with an iron thoroughly.
Cut out leaves along the lines.
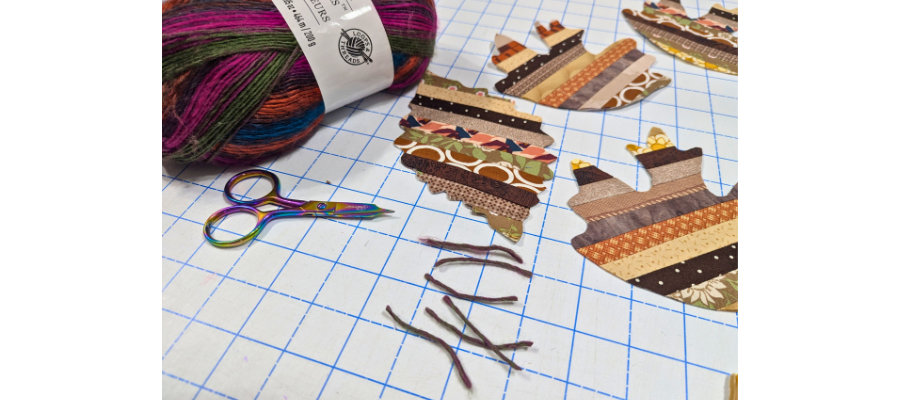
Cut a 2” piece of yarn for each leaf.
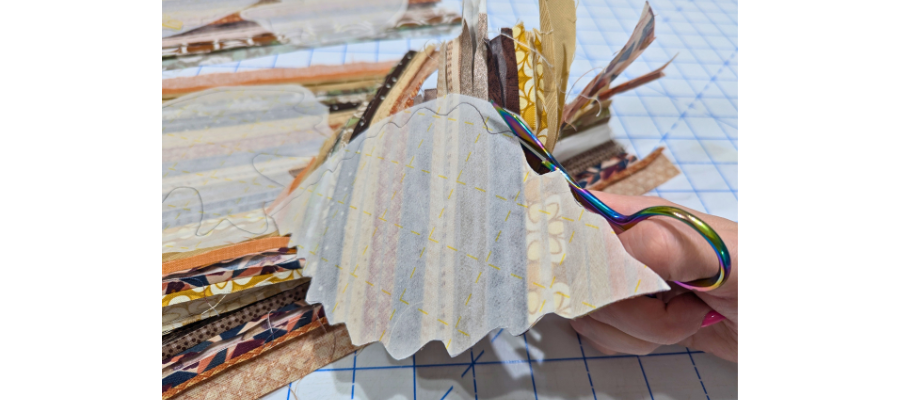
Peel off the remaining paper and position wrong sides together with the backing fabric to temporarily adhere in place.
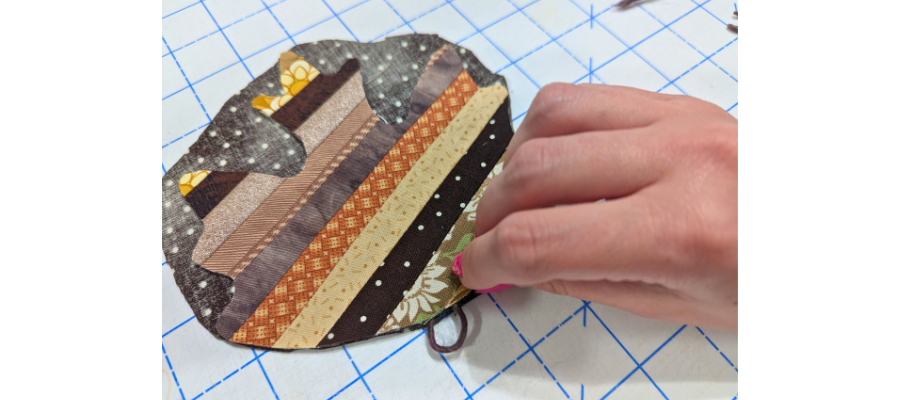
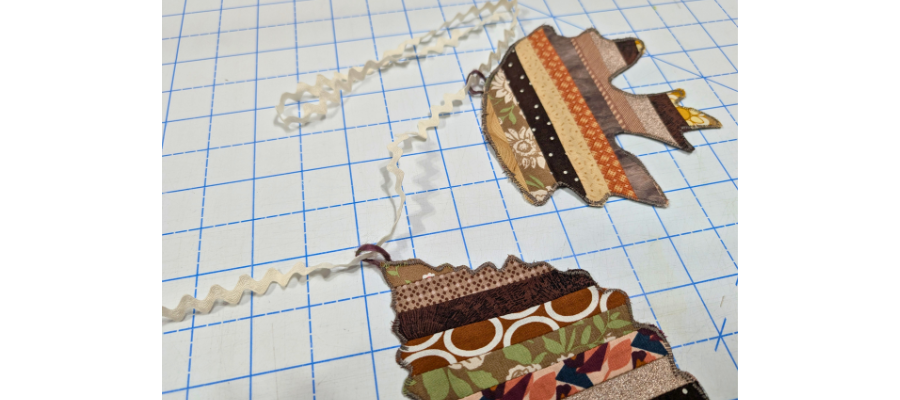
Roughly cut around the leaves, but flush to the top edge. Insert the yarn between layers to form a loop. Press very well from both sides.
Finish trimming the excess backing from the leaf shapes, being careful not to cut the yarn.
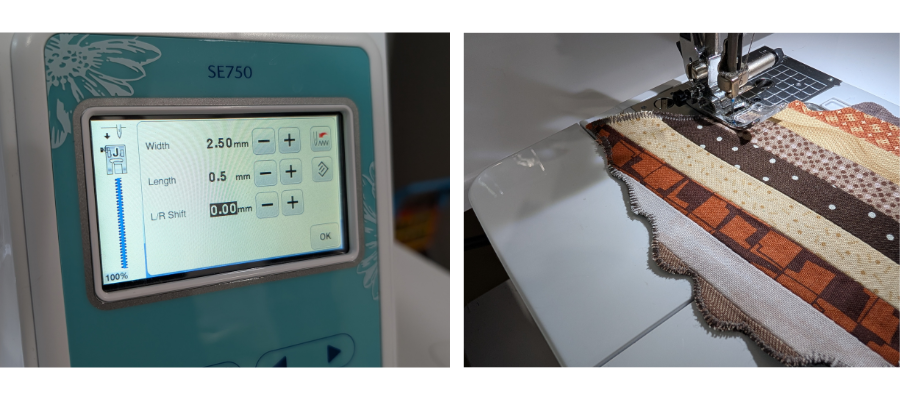
Set your machine to a zig zag stitch with a short stitch length. Finish the edges of each leaf by sewing into the leaf and off the edge , the edge of the leaf being in the centre of the zig zag stitch. This will require working slowly and pivoting with needle down in the fabric.
Thread leaves evenly onto the ricrac – the chunky zig zag will hold the leaves in place but also allow you to move them and add more leaves later if you choose to do so.
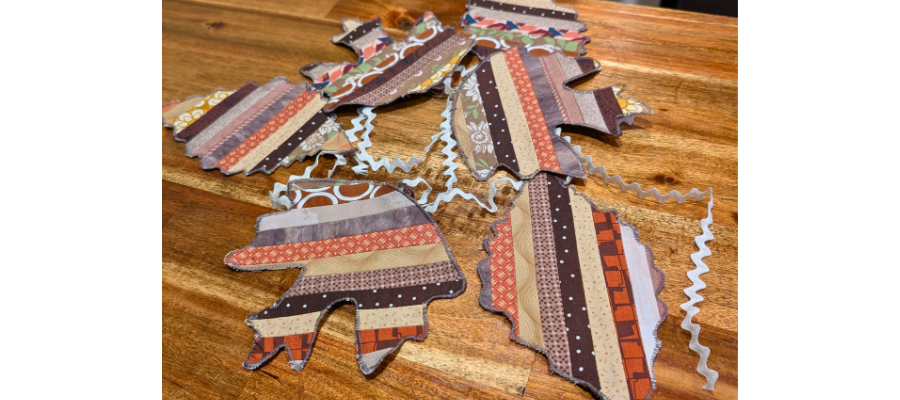
We want to see your fun scrappy garlands. Don’t forget to tag us on Instagram or Facebook so we can see and celebrate your creations! #TrendTexFabrics @trendtexfabrics