
TIP TIME: Sew a Perfect ¼” Seam
A quarter inch seam is essential for accurate piecing, and perfecting it will elevate your patchwork and make you feel like you can conquer any pattern!
1) Test your foot or needle plate
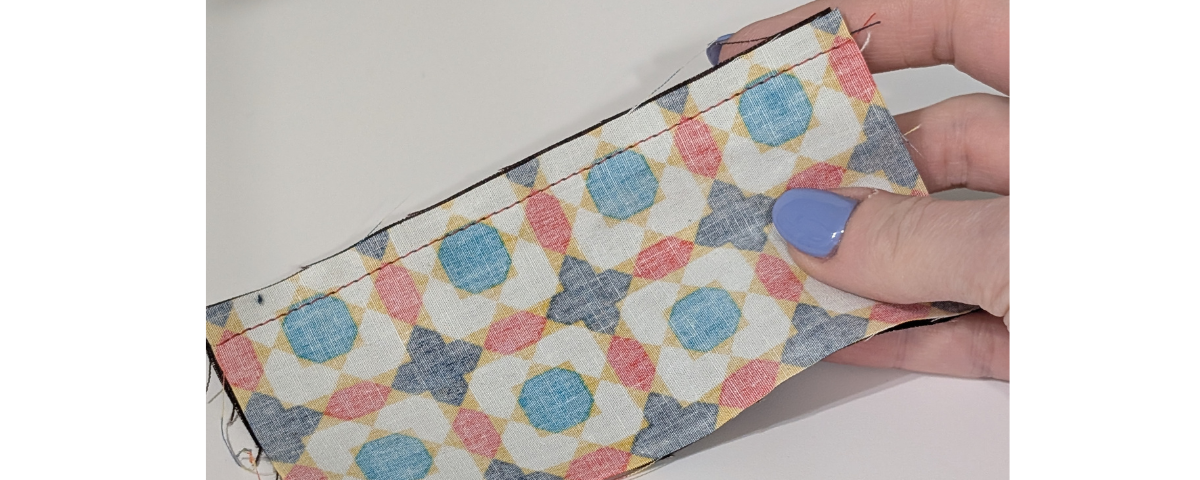
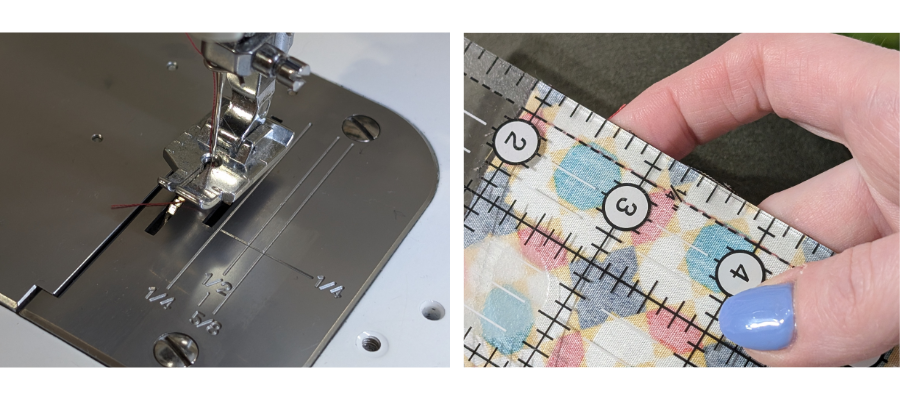
Whether you use a ¼” foot on your machine or rely on the markings on your needleplate, you need to know if this is truly working for you. Sew a seam as normal and measure with a quilting ruler for accuracy.
If your seam allowance is a tiny bit narrower, this is a scant quarter inch and will serve you well when patchworking as it will take into account the thickness of the thread, etc. If your seam allowance is larger, or much smaller, you will need to create your own guide.
2) Make your own guide
If you can’t rely on your foot or needleplate, don’t worry, you can attach a seam guide or piece of tape and create your own guide.
You can buy adhesive seam guides which add thickness to prevent your fabrics from shifting and you can also buy magnetic seam guides, though these are often not for use with computerized sewing machines.
To make a simple guide using masking tape, lower your needle gently down with the hand wheel onto the ¼” mark on a quilting ruler, with the edge of the ruler on the right. Your presser foot should be up for this. The edge of the ruler will now show you where you ¼” mark should be, and you can add masking tape directly alongside the ruler to mark your new placement.
3) Don’t focus on your needle while you sew
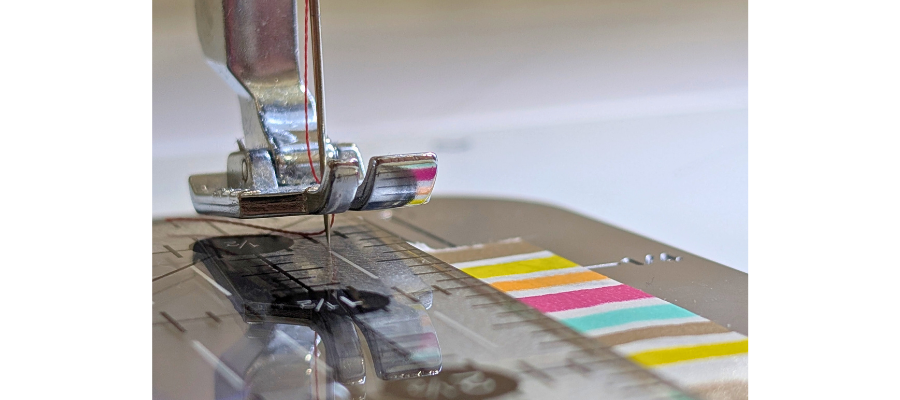
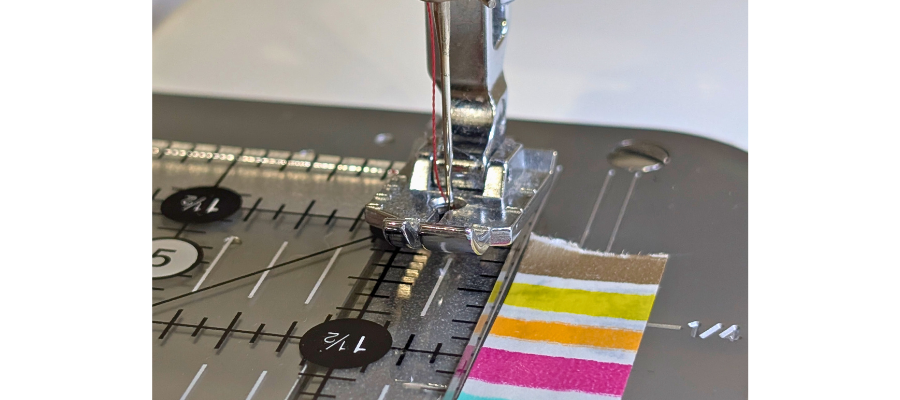
When you’re sewing you should be looking at where the edge of the fabric is lining up – against your seam guide – and not at your needle, to make sure you’re sewing consistently and evenly.