Jungle Paradise Stuffed Animal Panel Tutorial
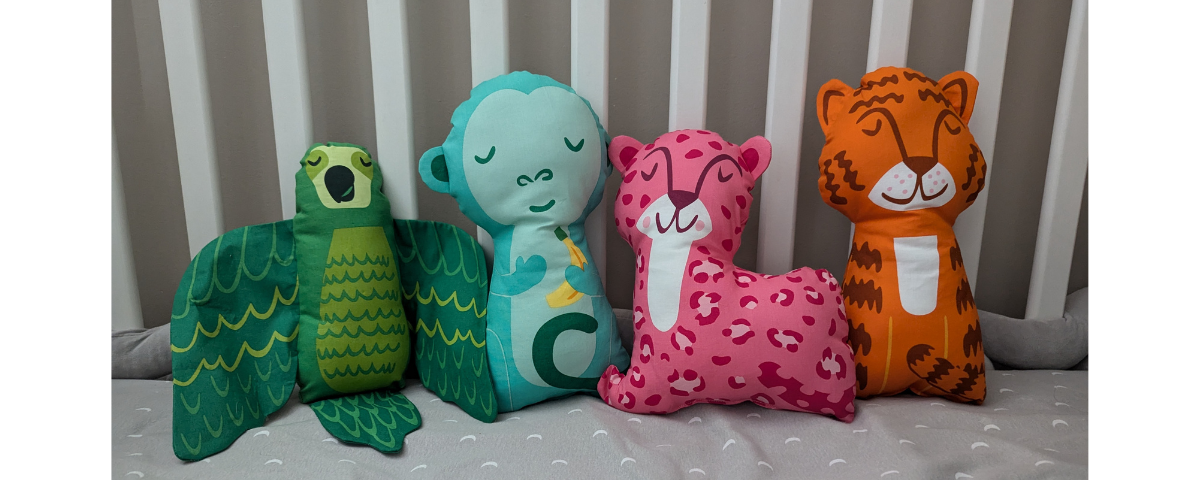
Finished size: Various – 8 ½” x 10″ x 3″ (Jaguar), 13 ½” x 14 ½” x 2 ½” (Parrot)
Difficulty: Easy
Project time: 15–20 minutes per animal
Make four cute animals from just one panel – they make great decorations for a kid’s bedroom!
These stuffies are easy to make, and could even be a good project to sew with kids as there’s no fiddly construction involved. Just cut out and go!
You will need:
- Jungle Paradise Stuffed Animal Panel
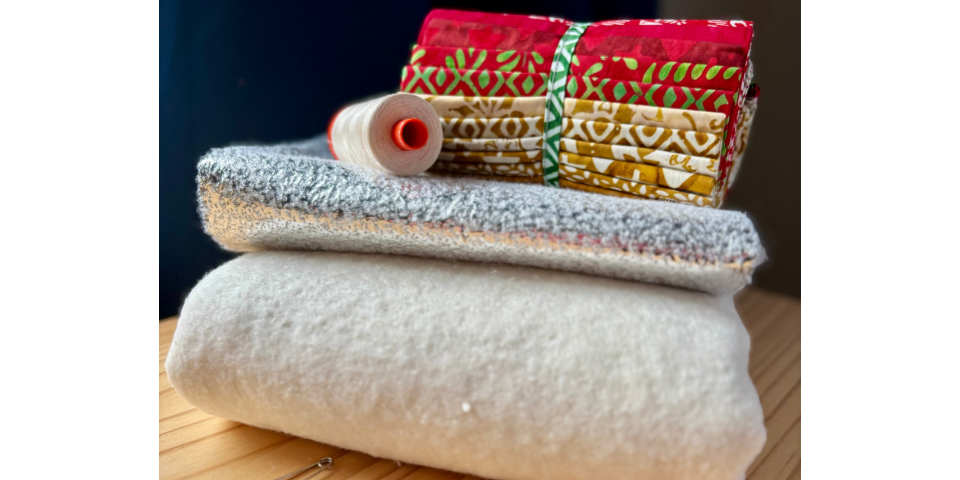
- 1/4m fusible medium weight interfacing
- Polyester Fibre Fill / Poly-Fil – a 12 oz bag is plenty
- Appliqué pressing sheet (optional)
- Wonder Tape (optional)
- General sewing notions: sewing machine, pins, scissors, thread, cutting tools, iron
The Jungle Paradise fabric collection is by Stacy Iest Hsu for Moda.
Seam allowances are ¼” throughout unless stated otherwise.
The instructions on the panel suggest cutting each piece as you go, but it is quicker to cut out all the pieces for each animal at the start. You only need to cut out the wings, tail and ear pieces roughly, as you’ll cut more accurately after fusing.
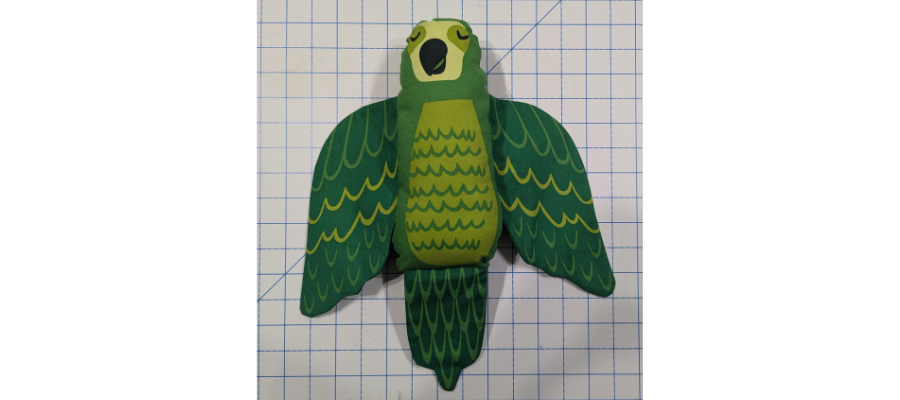
Parrot
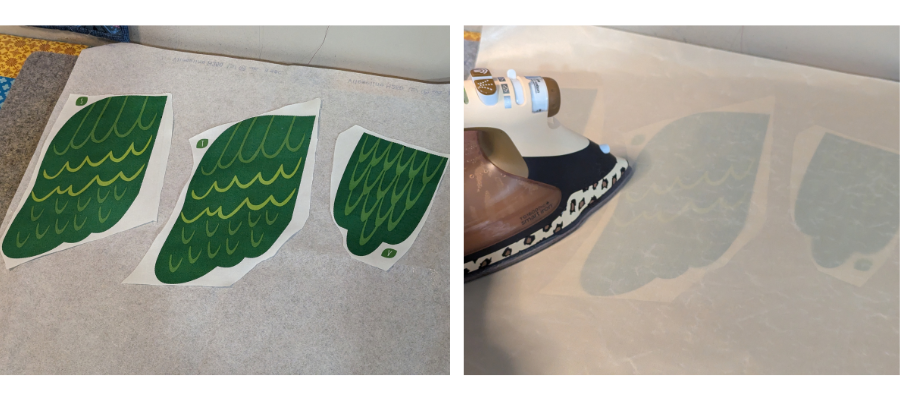
With two wing pieces (one piece ‘S’ and one ‘T’) and a tail piece, arrange right side up on the rough side of the fusible interfacing. With the pressing sheet over the top, press with an iron according to the interfacing instructions to block-fuse.
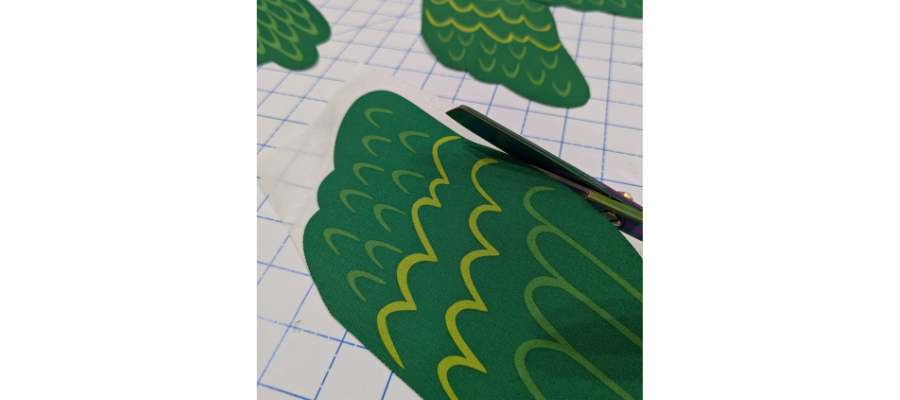
Cut out the pieces again. The block fusing method helps with making sure the interfacing is applied evenly.
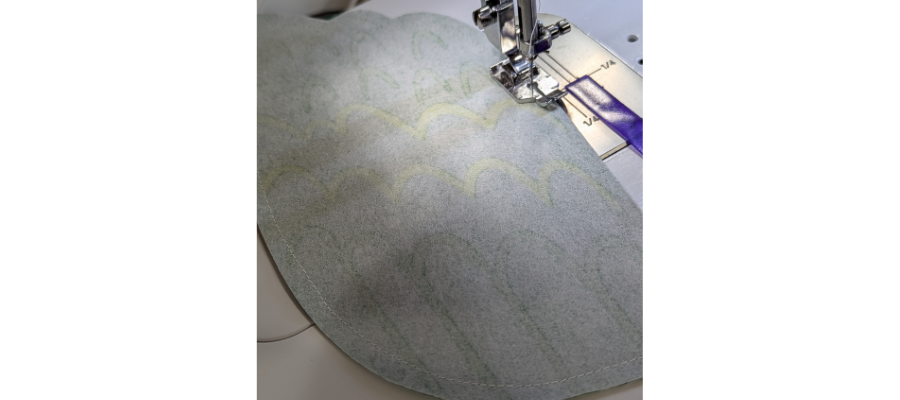
Sew the wing pieces right sides together. There should be two S pieces together and two T pieces together. Leave the straight edges open. Back-stitch at the start and end. Go slowly around the curves, as it can be tricky to maintain an even seam allowance in these areas.
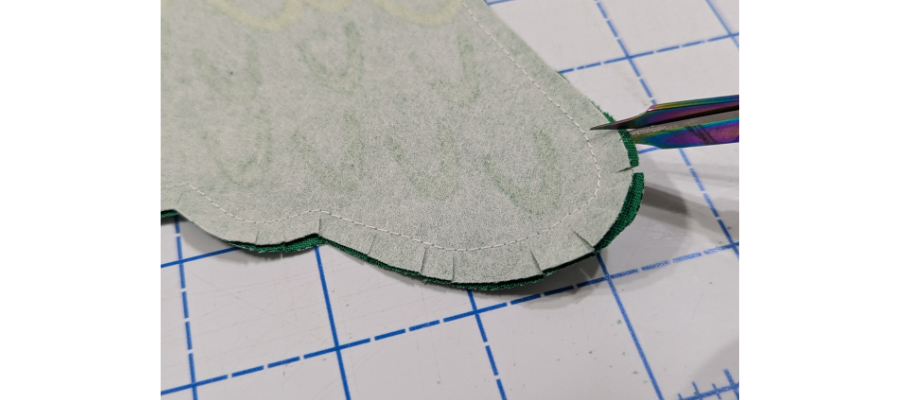
Clip the curves in the seam allowances, making sure not to cut into the thread. Turn right side out and press.
Repeat the sewing and clipping process for the tail (U and Y).
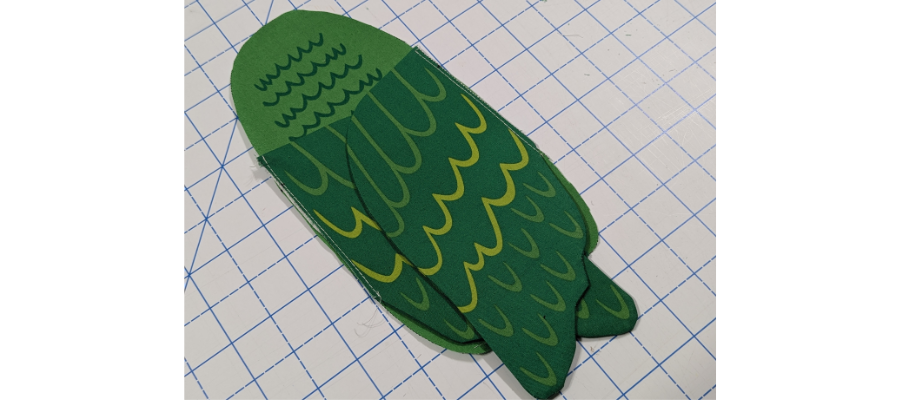
Baste-stitch the wings and tail to the edges of one of the main body pieces (X or Y) at ⅛”, matching the triangle markings and aligning the raw edges.
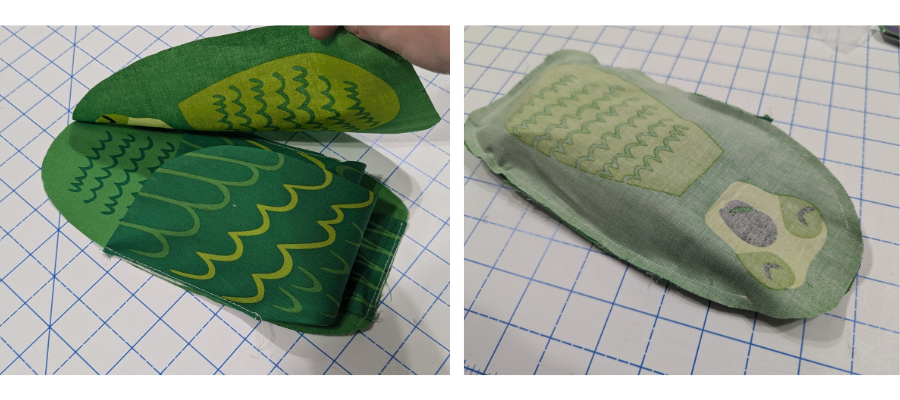
Sew the two body pieces right sides together, starting at the head area and back-stitching at the start and finish and leaving a turning gap of a couple of inches. Make sure the wings and tail are tucked in away from the stitch line.
Clip into the seam allowances as before to reduce bulk.
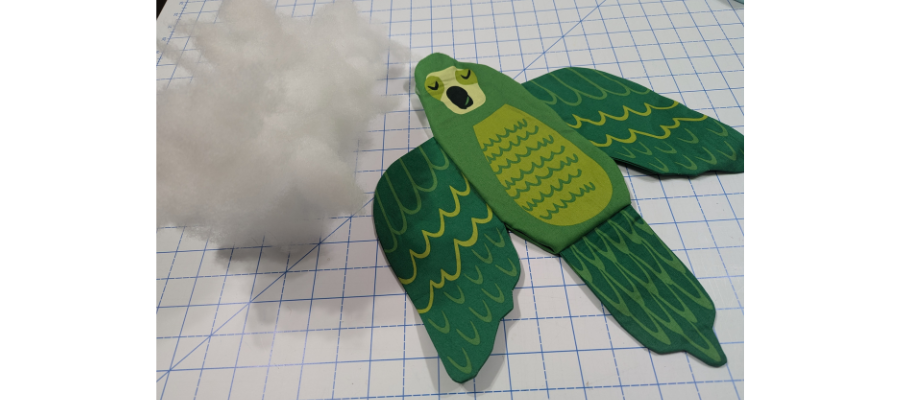
Turn right side out and press. Stuff with polyester fibre fill.
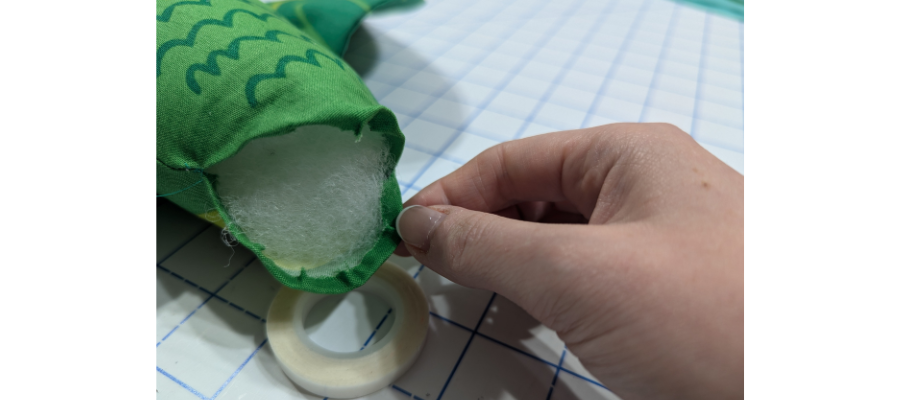
The opening will be hand sewn, as it is visible at the top of the head. Turn the raw edges to the inside. You may find that a couple of small pieces of wonder tape or glue stick will help with this.
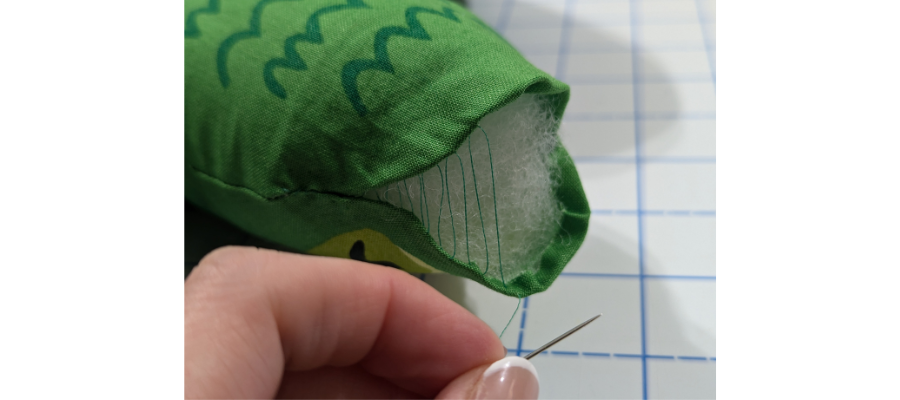
Thread a needle and knot. Sew a ladder stitch. To do this, catch a little of the fabric on the seam allowance close to the fold on the inside and then do the same for the opposite side of the opening, working one side and then the other. When you pull the thread taut, you will not be able to see it. Tie off to complete.
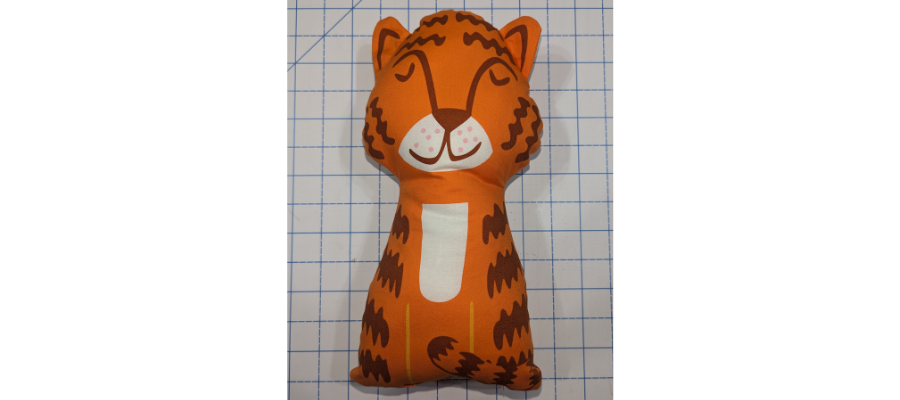
Tiger
Block-fuse the ear pieces; G and J.
Sew G and H, and I and J, right sides together, back-stitching at the start and end, and leaving the straight edge open.
Clip curves, snip off points and turn right side out. Press.
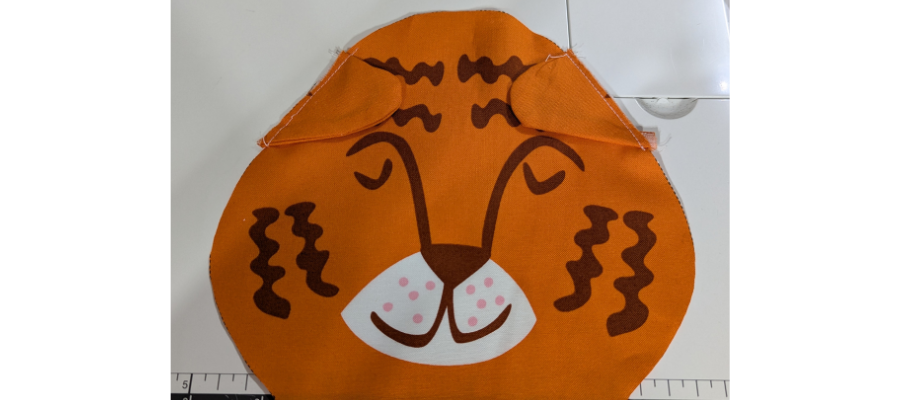
Baste-stitch the ears to the front body panel matching the triangle placement markers. The longer teardrop shaped part of the ear should point downward.
Sew the two body pieces right sides together, starting close to the bottom and back-stitching at the start and end. Leave a couple of inches open at the bottom.
Clip curves and turn right sides out. Stuff with polyester fibre fill.
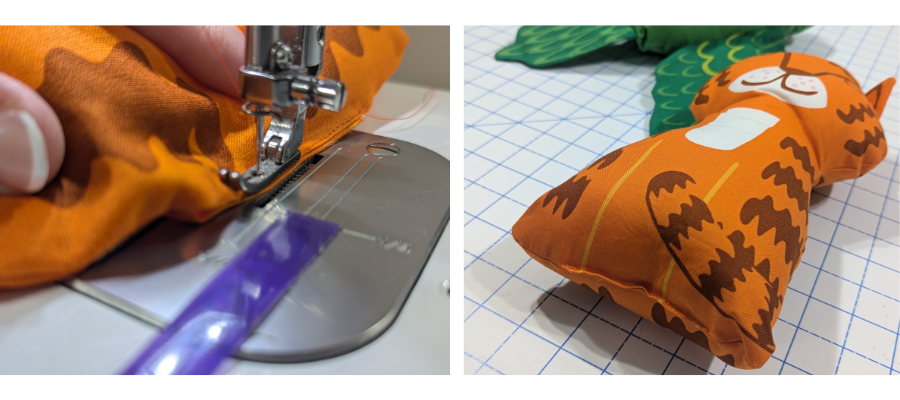
To sew up the turning hole and complete, you can either hand sew, or machine sew with a matching thread, as this is on the bottom and will be less visible than the stitching on the parrot.
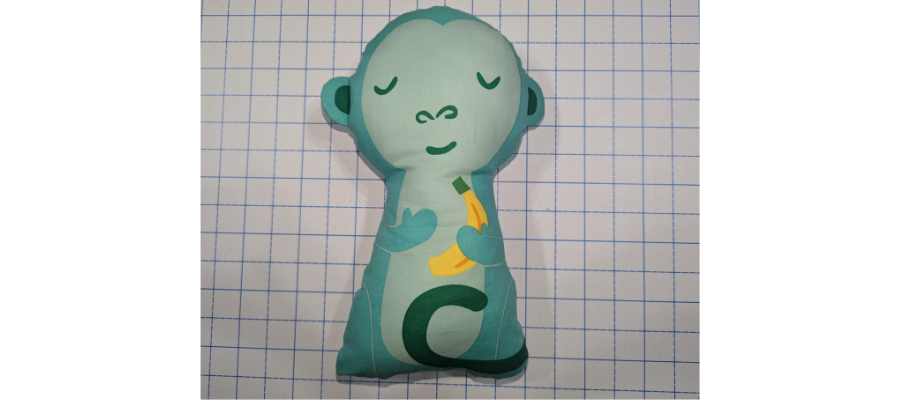
Monkey
Block-fuse the ear pieces; B and D.
Sew A and B, and C and D, right sides together, back-stitching at the start and end and leaving the straight edge open.
Clip curves and turn right side out. Press.
Baste-stitch the ears to the front body panel matching the triangle placement markers.
Sew the two body pieces right sides together, starting close to the bottom and back-stitching at the start and end. Leave a couple of inches open at the bottom.
Clip curves and turn right sides out. Stuff with polyester fibre fill.
To sew up the turning hole and complete, you can either hand sew, or machine sew with a matching thread.
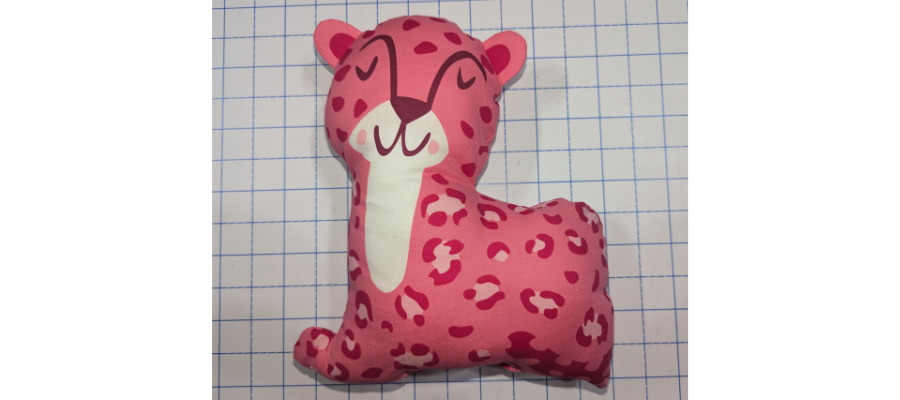
Jaguar
Block fuse the ear pieces; M and O.
Sew M and N, and O and P, right sides together, back-stitching at the start and end and leaving the straight edge open.
Clip curves and turn right side out. Press.
Baste-stitch the ears to the front body panel matching the triangle placement markers.
Sew the two body pieces right sides together, starting close to the bottom and back-stitching at the start and end. Leave a couple of inches open at the bottom.
Clip curves and turn right sides out. Stuff with polyester fibre fill.
To sew up the turning hole and complete, you can either hand sew, or machine sew with a matching thread.
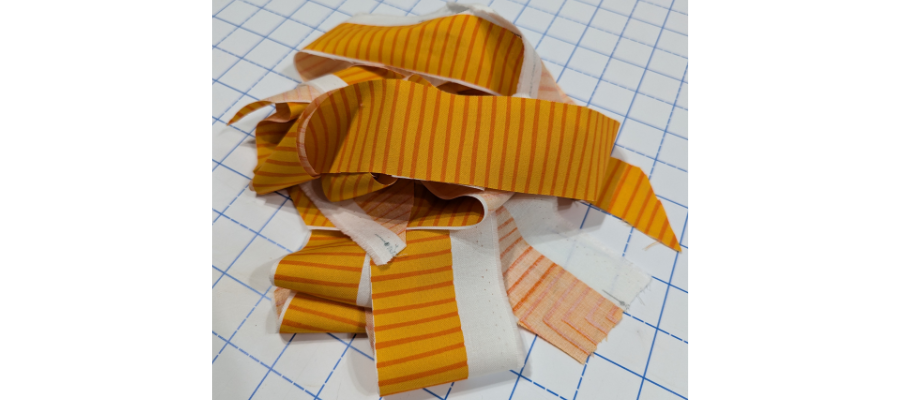
The leftover border on the panel is 1 ½” wide – keep it for narrow bindings or skinny strip piecing to make the most of it!
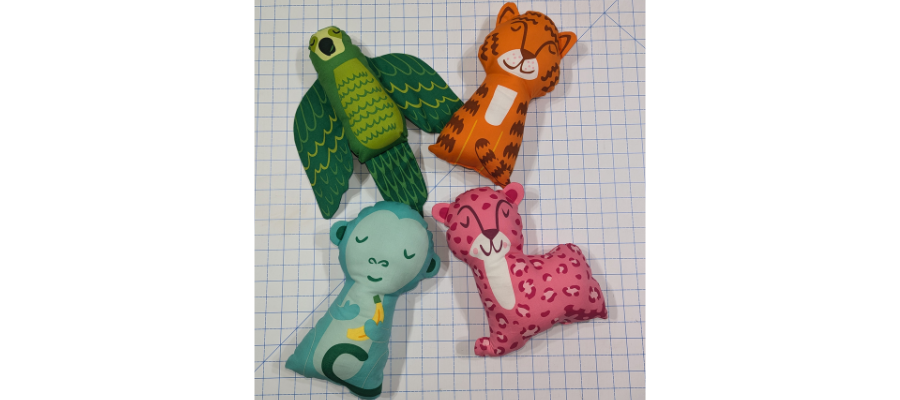
That’s four quick and easy stuffies stitched up! You can find other Moda panels with all kinds of quick-sew project ideas here! Don’t forget to tag us on Instagram or Facebook so we can see and celebrate your creation too. #TrendTexFabrics @trendtexfabrics
