Fat Eighth Brush Wrap Tutorial
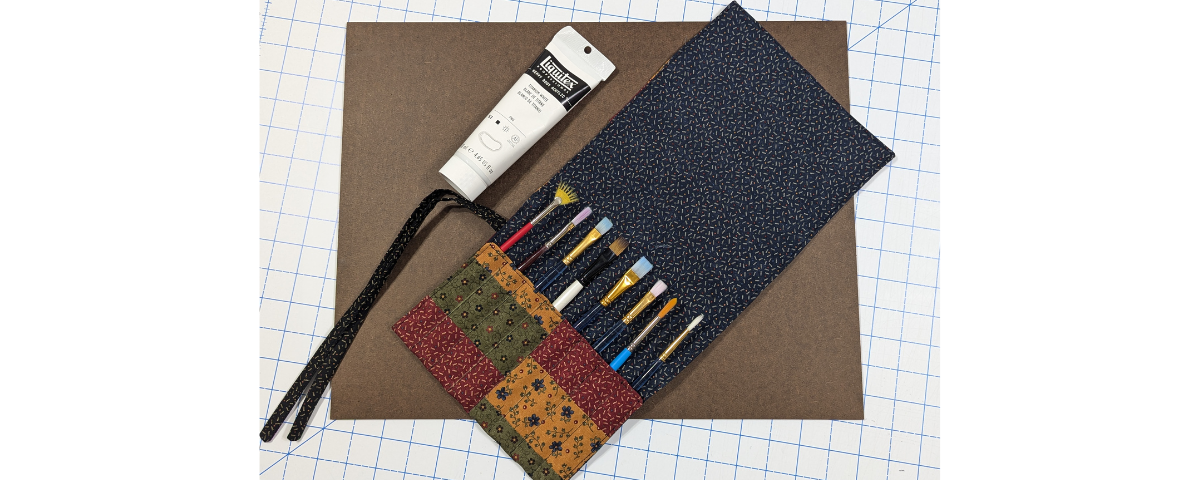
Make this wrap to roll up and store paint brushes, makeup brushes, or even markers or knitting needles!
Finished size: 17″ x 8″ flat, or 9″ x 2″ x 2″ rolled (approx)
Difficulty: Easy
Project time: 45 minutes
The pockets are 1″ wide but you can make them narrower and add more pockets if you wish. You can even start with a wider piece than a fat eighth for a roomier, chunkier wrap.
You will need:
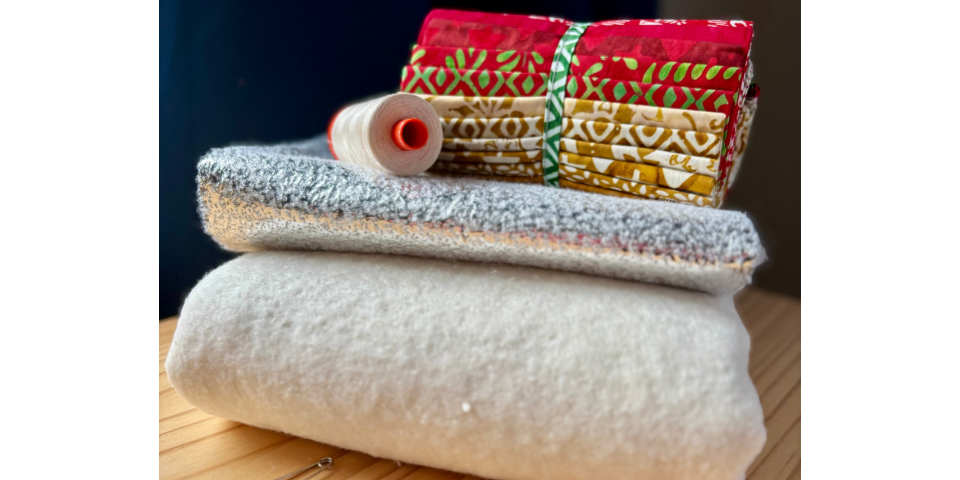
- Five fat eighths
- 1/4m woven medium weight interfacing
- A drinking straw and a bamboo skewer, or similar
- General sewing notions: sewing machine, scissors, thread, seam ripper, cutting tools, iron, marking pencil
Seams are ¼” unless otherwise stated.
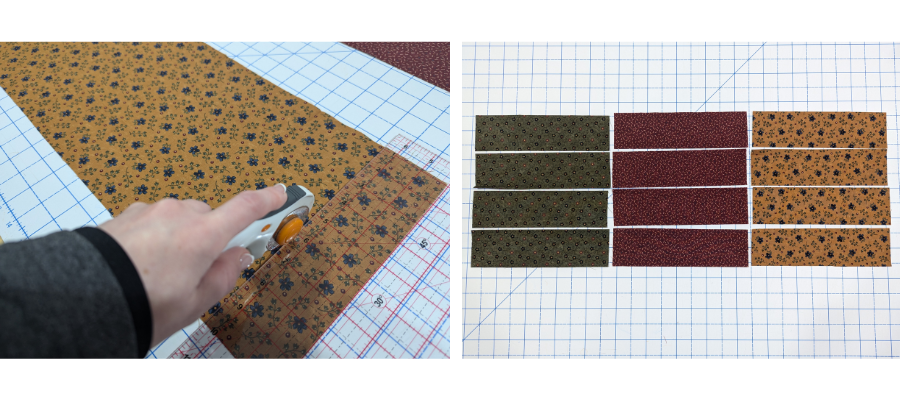
Take three of your fat eighths. Cut four 2 ½”-wide strips – across the short edge – from each piece, so that you have 12 pieces measuring 2 ½” x 9″ in total.
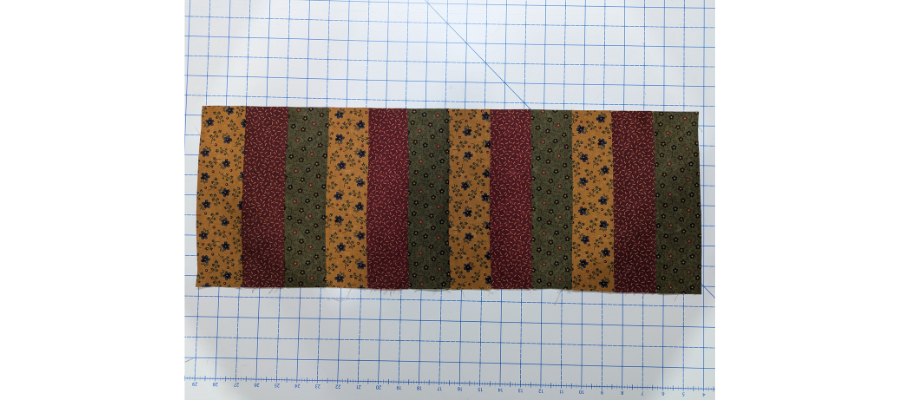
Sew the pieces together along the 9″ edges, alternating the fabrics. Press your seams well so that the assembled piece lays flat.
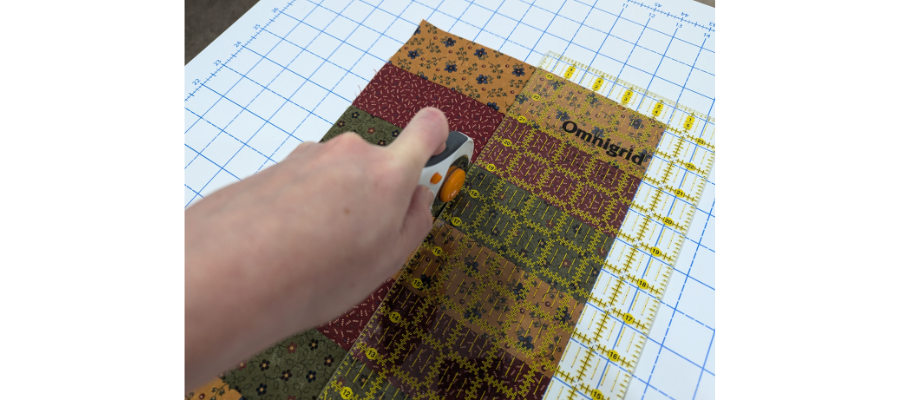
Cut this piece down the middle using a long ruler to make two sections measuring 4 ½” wide.
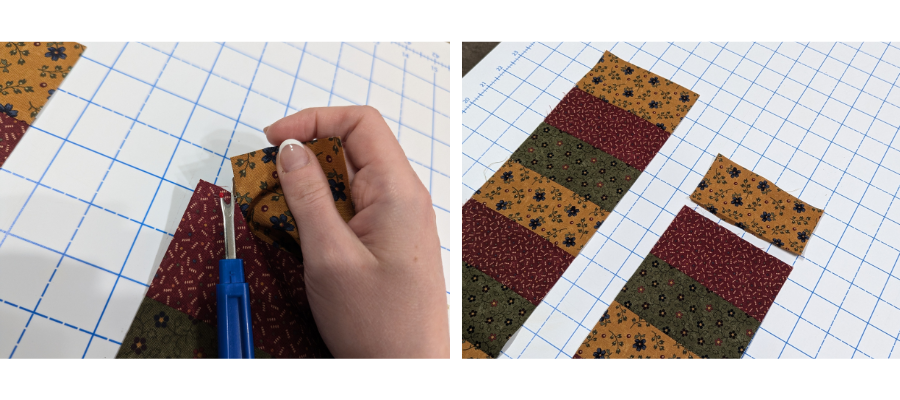
On one of the sections, use a seam ripper to remove the top piece. Press flat again.
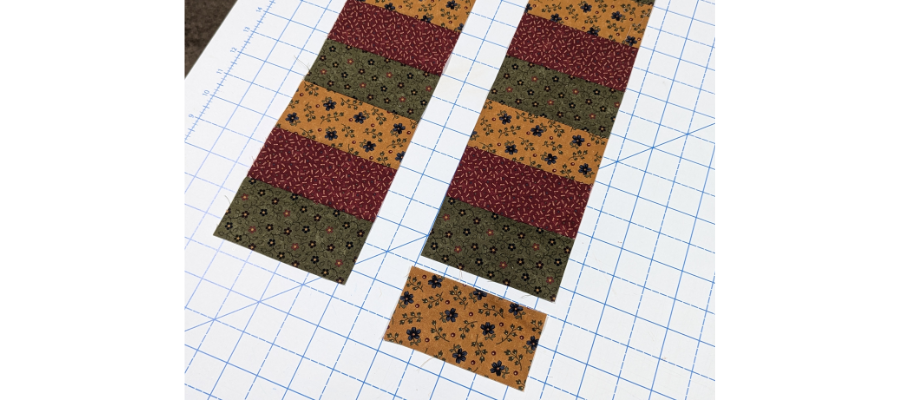
Move the detached piece to the bottom of the section it came from and sew in place. Press again.
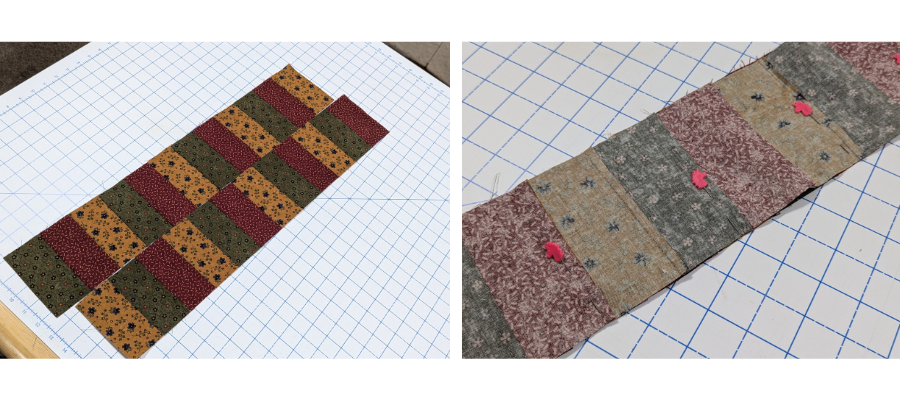
The sections will now be slightly different. Stagger them by a half drop, so that the seams sit in the centre of the neighbouring piece, and no two same fabrics are touching. Pin in place then sew back together. Press the seam open to reduce bulk.
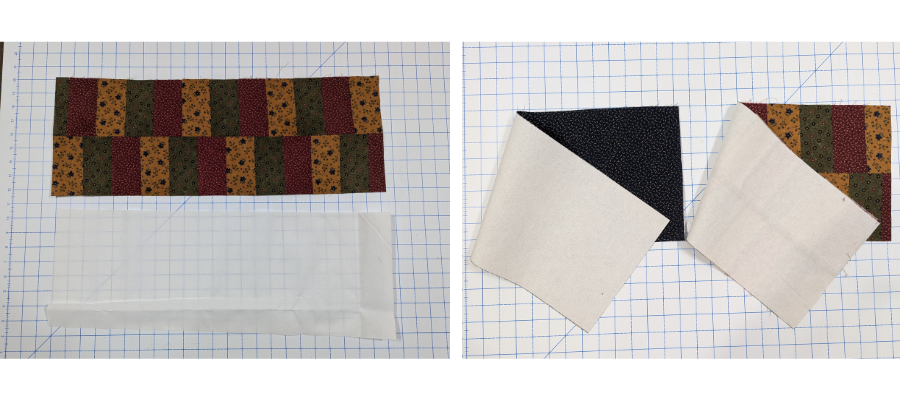
Trim the panel to 22″ long and ensure it is 8 ½” wide. Take your fat eighth for the lining and make sure it is the same size, trimming if necessary.
Cut two pieces of interfacing also measuring 22″ x 8 ½” and fuse to the reverse side of the exterior and lining pieces, following the manufacturer’s guidelines. Set aside for a moment.
If you prefer a quicker finish, use ribbon (½” to ⅝” wide). Simply cut two pieces at least 13″ long, and you can skip the next couple of steps.
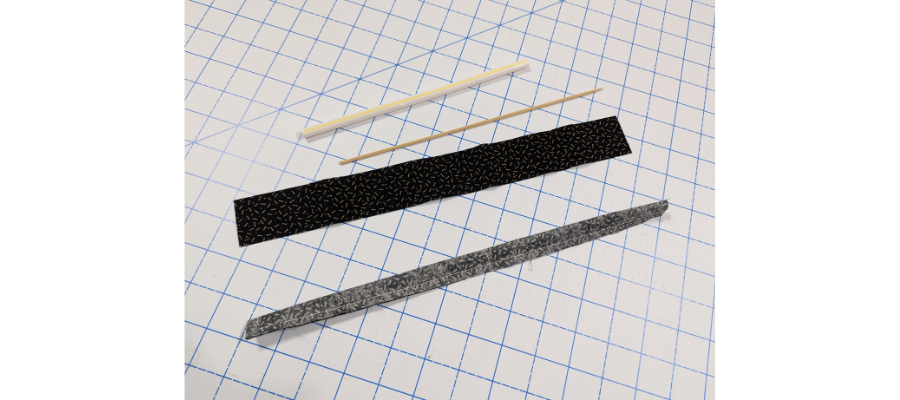
From the remaining fat eighth, cut two strips measuring at least 13″ long by 1 ½” wide. Fold one, with right sides together, and sew along the long side, pivoting and sewing across the shorter edge, and backstitching at the start and end. Snip off the corner close to the thread.
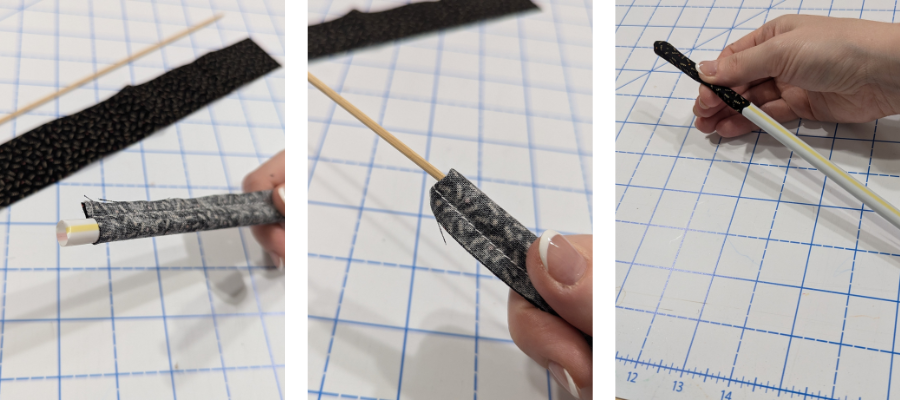
Insert the widest drinking straw that will fit into the open end and push it all the way to the stitched end.
Taking a blunt skewer or other thin implement, push against the end from the outside, pushing the fabric into the straw to turn it inside-out.
Once fabric starts to come out of the straw you can pull the straw towards the skewer and your tube will be quickly turned out.
Push out the corners with the skewer and press flat. Repeat for the second tie.
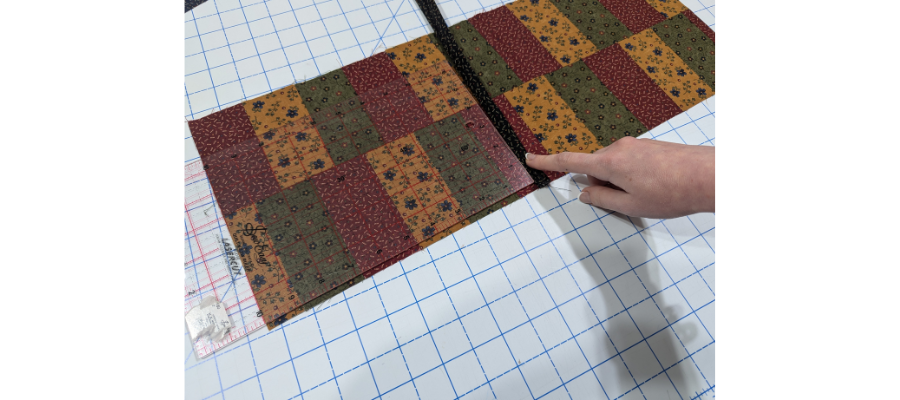
Measuring 10″ from one end of the exterior panel, position the raw edges of the two ties together, on one side, and baste in place at ⅛” to secure to the panel.
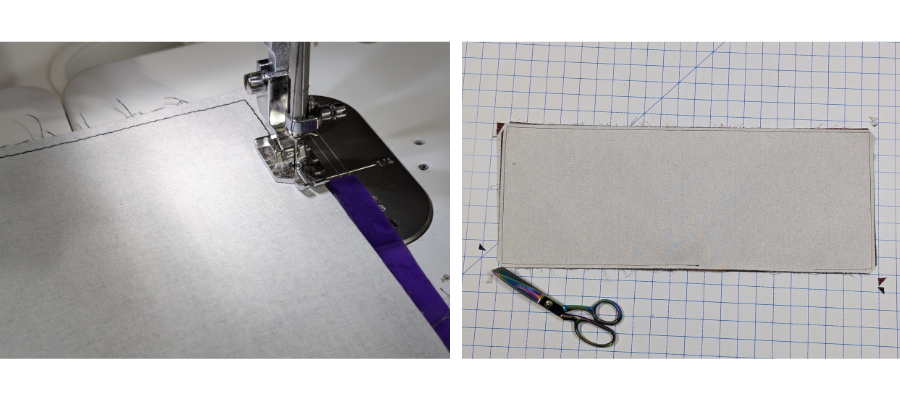
With ties tucked inside, put the two panels right sides together and sew all the way around, backstitching at the beginning and end, leaving 3–4″ along an edge for a turning gap.
Cut off the corners close to the stitch line to reduce bulk.
Turn right side out, paying close attention to the corners and making sure they are pushed out, and then press well, also pressing the raw edges of the turning gap to the inside.
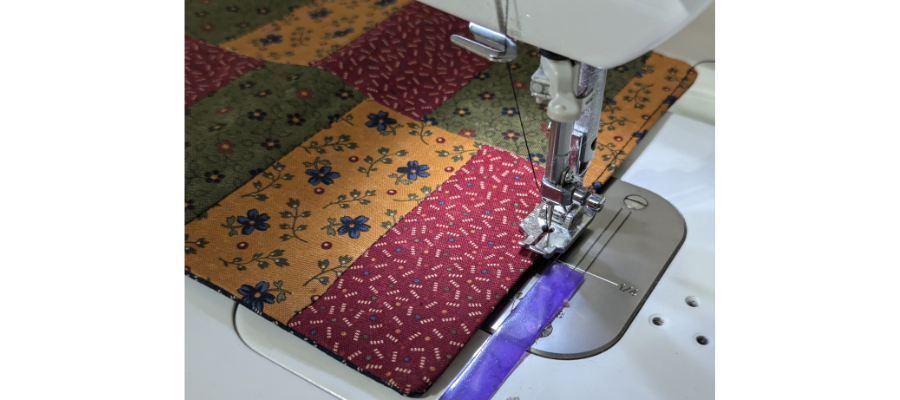
Top stitch at ⅛” along one of the shorter edges.
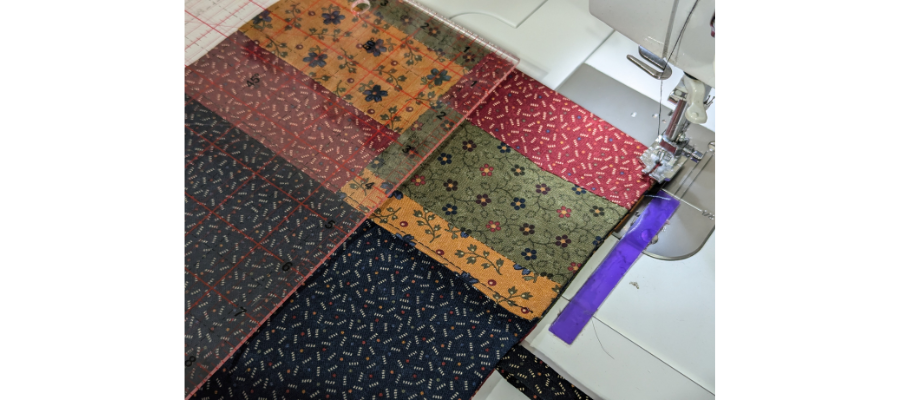
Fold the piece at 4 ½” with the lining side up. The top-stitched edge should be on top as shown. Top-stitch at ⅛” starting at the fold, all the way around, stopping at the fold on the opposite side, making sure not to sew through the ties.
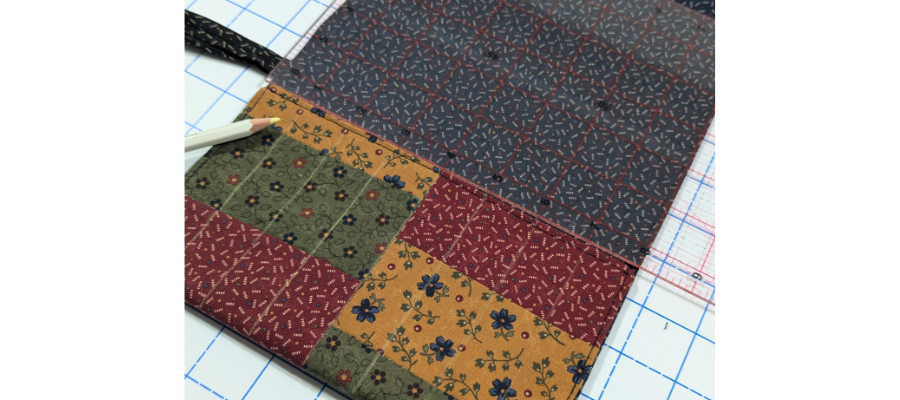
On the folded portion, measure 1″ from the edge and mark a line across the entire folded part with a chalk pencil or other erasable marker. Measure and mark 1″ from this line and continue until you have seven lines that are 1″ apart.
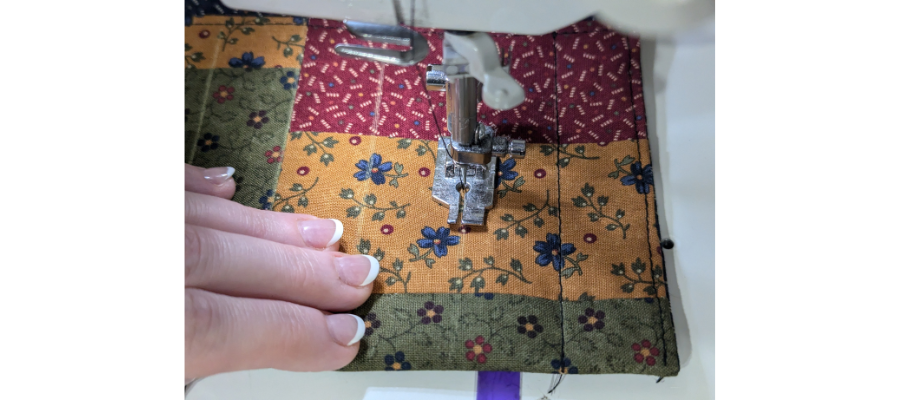
Stitch along the lines, back-stitching at the start and end to form your brush pockets.
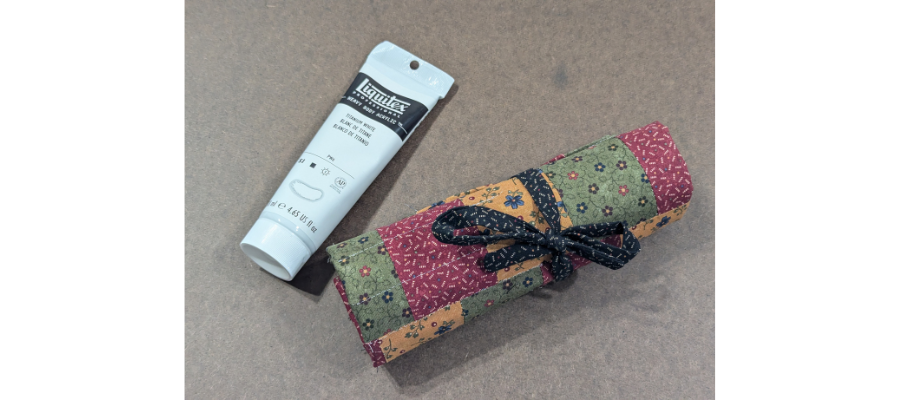
Now all you need to do is fill the pockets, fold over the brushes, roll up and tie to close!
What are you rolling up in your wrap? Don’t forget to tag us on Instagram or Facebook so we can see and celebrate your design! #TrendTexFabrics @trendtexfabrics
