Folding Reusable Shopping Bag Tutorial
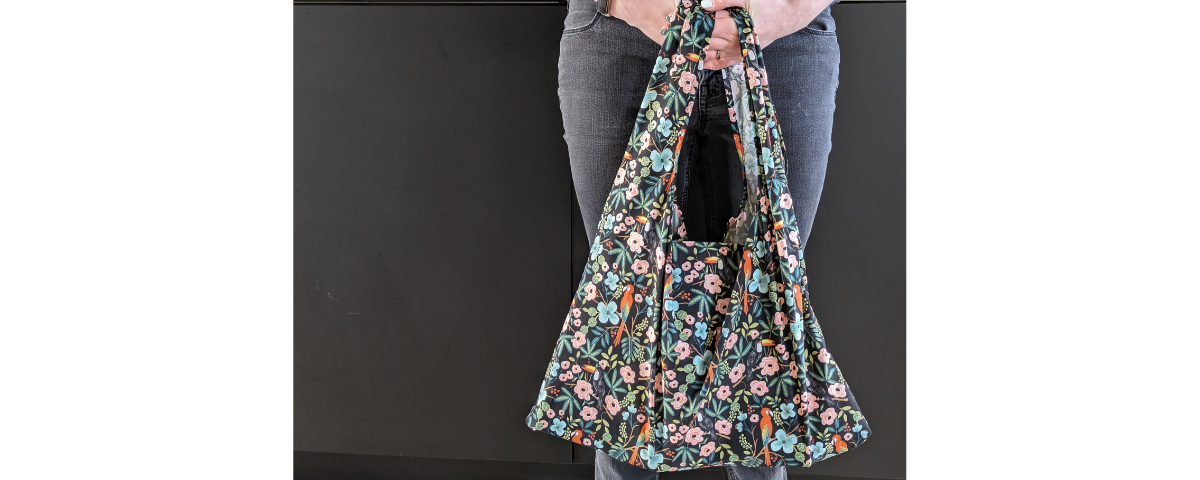
Plastic bags are out and reusable shopping bags are in, so it’s time to get crafting! This fun design will showcase your favourite prints in a cute shopping bag that’s compact enough to fold up into your pocket or purse.
This tutorial employs a couple of unusual construction techniques, so you can have fun and learn something new along the way!
Finished size: 18” x 23” (flat), 4 ½” x 4 ½” x 1 ¼” (folded)
Difficulty: Intermediate
Project time: 45 minutes
Here’s what you’ll need for your reusable shopping bag:
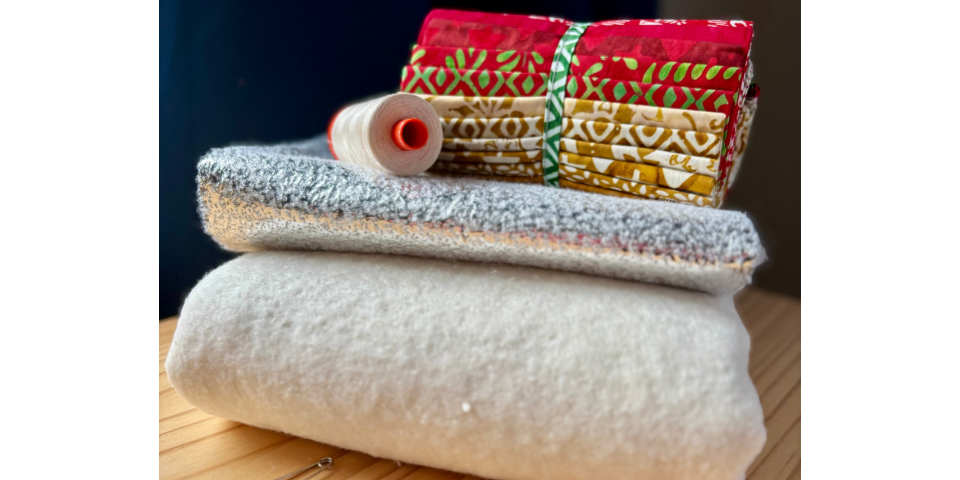
- 1m quilting cotton
- General sewing notions: sewing machine, thread, cutting tools, iron, Wonder Clips
- Pinking shears (optional)
- Fray Check liquid seam sealant
- Downloadable template, printed onto paper
Seams are ¼” unless otherwise stated.
Print the pattern onto paper at actual size. You can check your printer’s sizing by measuring the test square. Tape together, matching the blue lines.
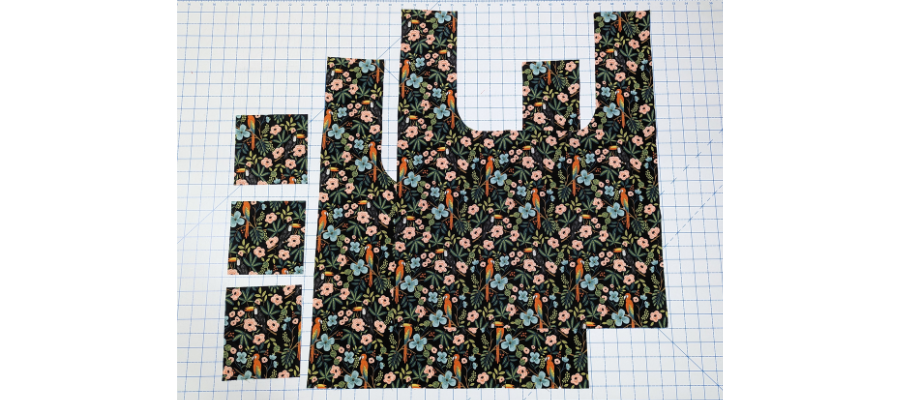
Cut out two bag outers using the pattern, notching the bottom on one piece, and the sides on both pieces.
You will also need to cut two 5 ½” squares and a 5 ½” x 6 ½” rectangle. These will be for the pouch that the bag folds into.
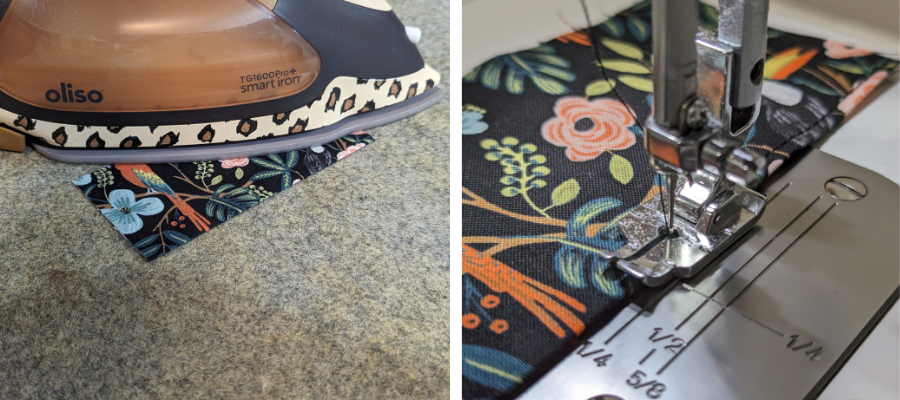
Fold and press one of the 5 ½” squares in half, wrong sides together. Topstitch along the fold.
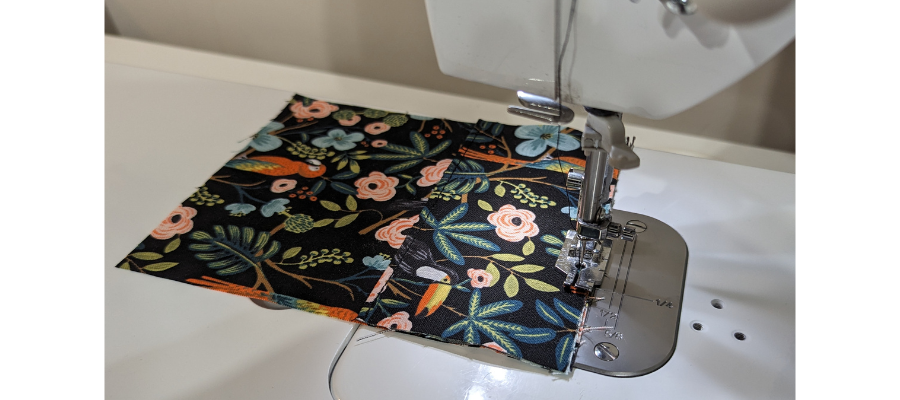
Aligning the top raw edges with right sides up, baste the folded piece on top of the rectangular piece at ⅛” seam allowance.
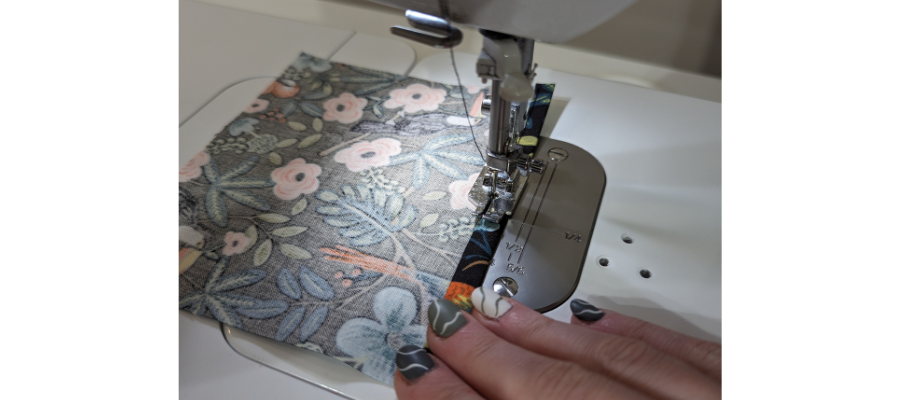
On the remaining square, fold the top edge over to the back by ¼”, and then again to hem. Press well and stitch.
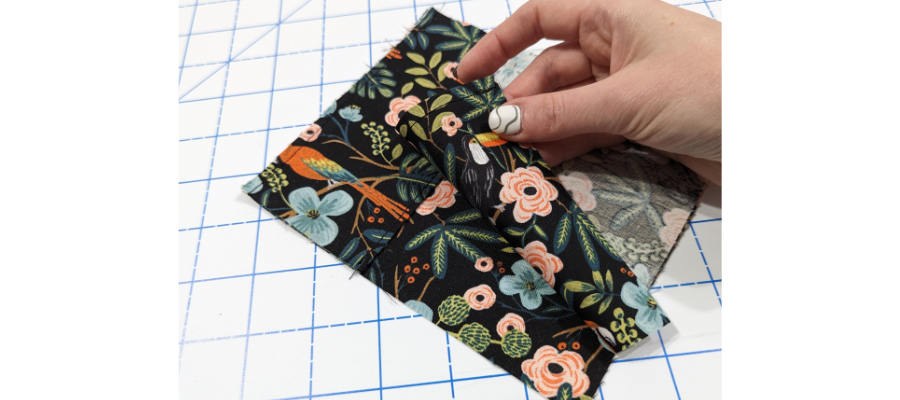
Aligning the sides and bottom raw edges with wrong sides together, position the hemmed piece on top of the piece with the flap.
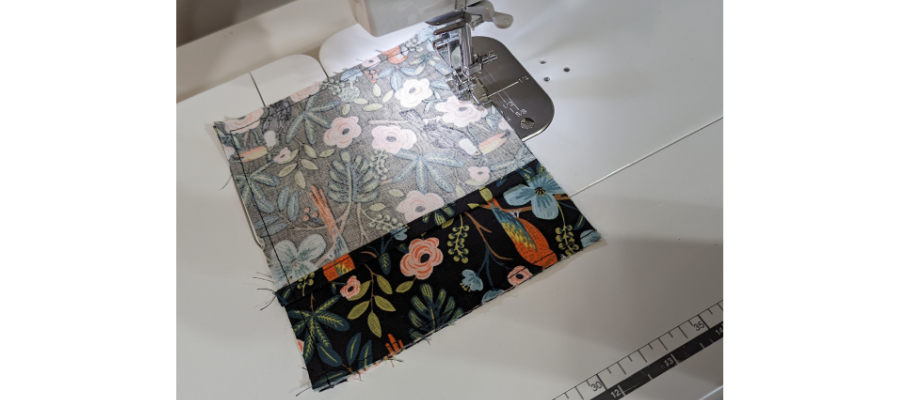
Sew along the sides and bottom, backstitching at the start and end.
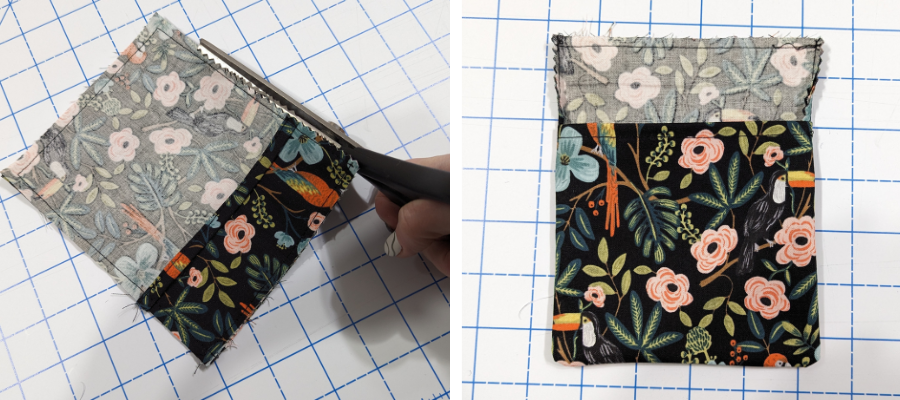
Finish the seams using pinking shears or another method of choice. Turn out so that the back of the fabric is still visible. You don’t want to turn it all the way out so that it looks like a completed pouch just yet. Press.
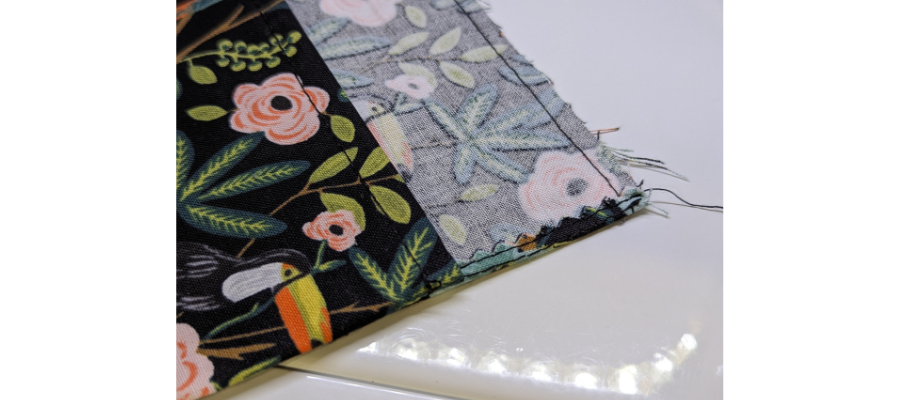
Topstitch the visible seams at ⅛”, backstitching at the start and end. Set aside for now.
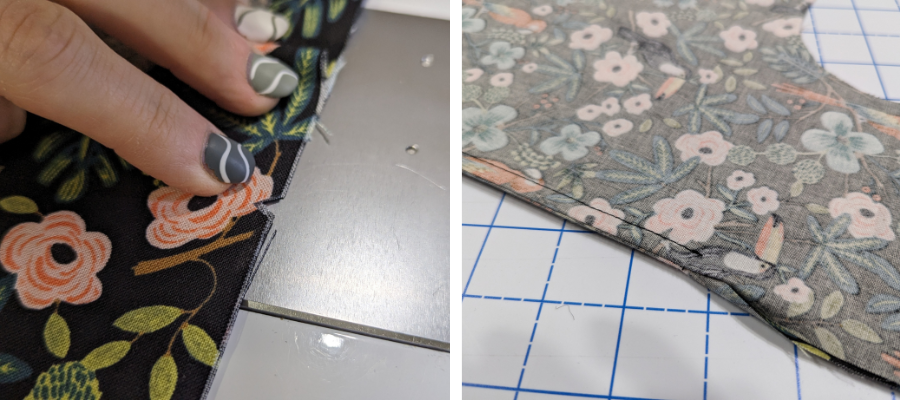
Take the bag pieces and align the wrong sides together, matching the side notches. We will be sewing a French seam to encase the raw edges. Starting at the side notches, sew the side seams and backstitch at the start and end.
Cut down the excess fabric in seam allowances to around ⅛”. Turn so that the right sides are together and press. Sew again from where the notches are to the bottom with a ⅜” seam allowance to complete the first two French seams.
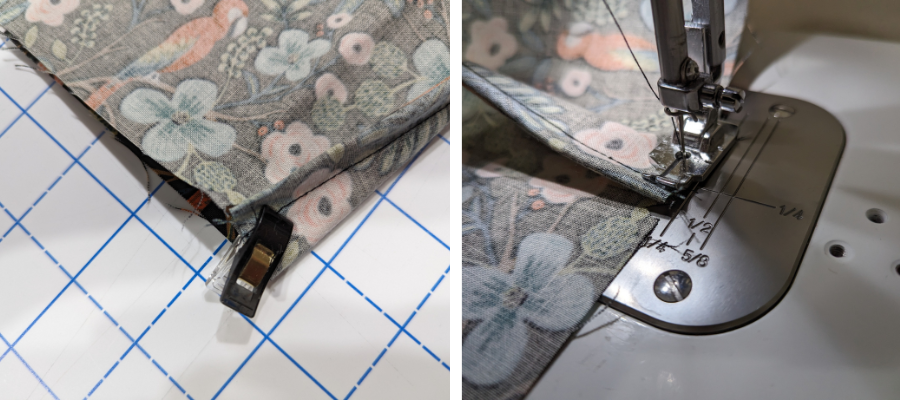
Now we are going to box the bottom corners. Bring the corners to the adjacent bottom notches and clip to the fabric layer with the notches only. At the machine, baste stitch at around ⅛” to keep the folds in place, making sure to attach to only the clipped fabric layer and not both sides of the bag. Repeat for the second corner.
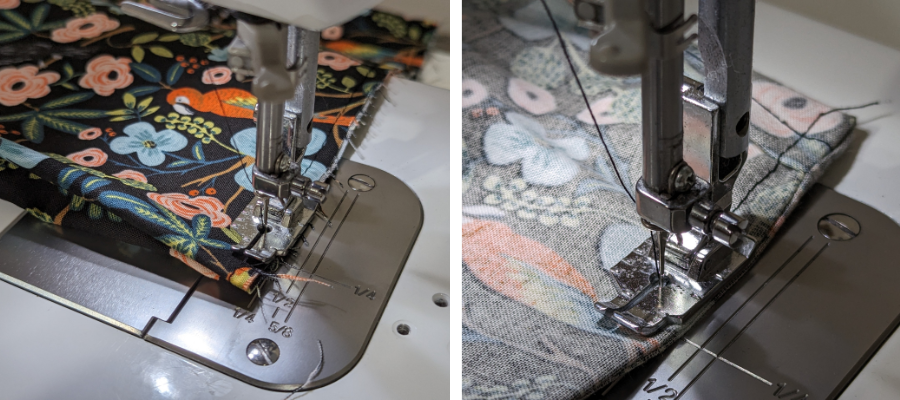
Sew up the bottom of the bag with a French seam as before, but instead sewing the full bottom edge. Don’t forget to trim before flipping and stitching again.
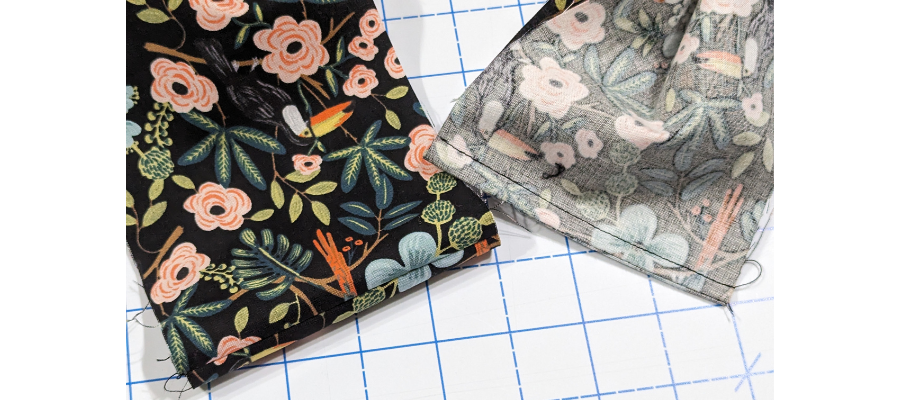
Repeat the French seam process to join the two small edges on the handles. Press both to one side and topstitch in place.
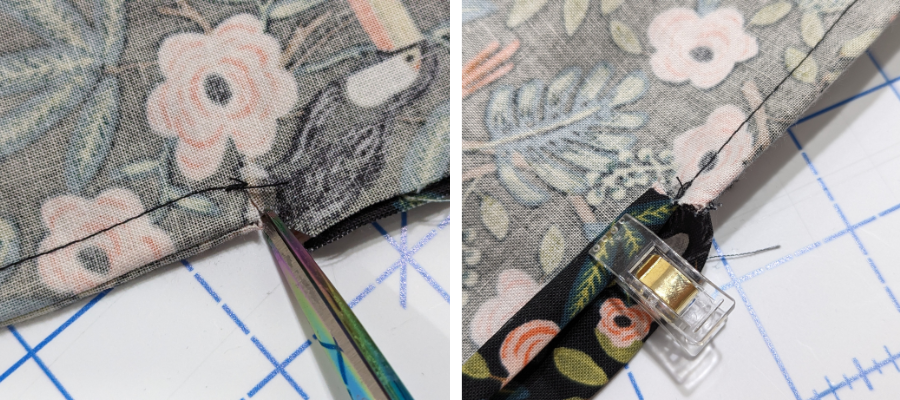
Now we will return to the side seams in order to finish the edges on the inside of the handles. Snip close to where the stitches start, being careful to get close to the thread but to not cut into it. Fold and press the raw edge to the inside by ¼” and then again and clip into place.
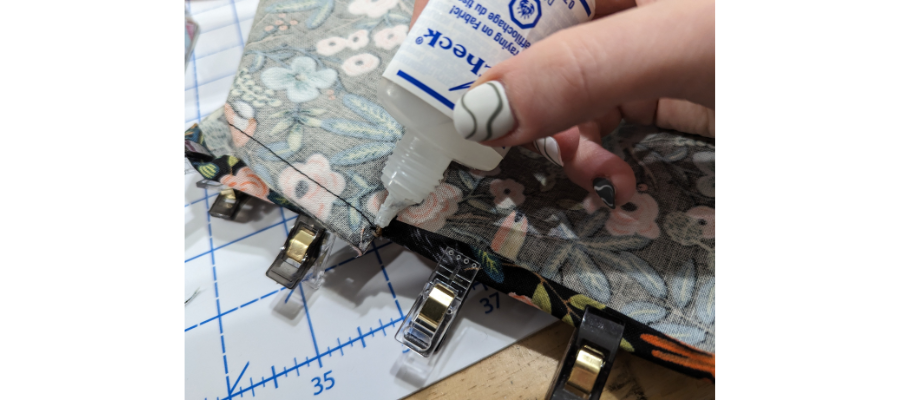
Treat the exposed raw edges around the snip area with Fray Check and allow them to dry. Repeat for both inside handles.
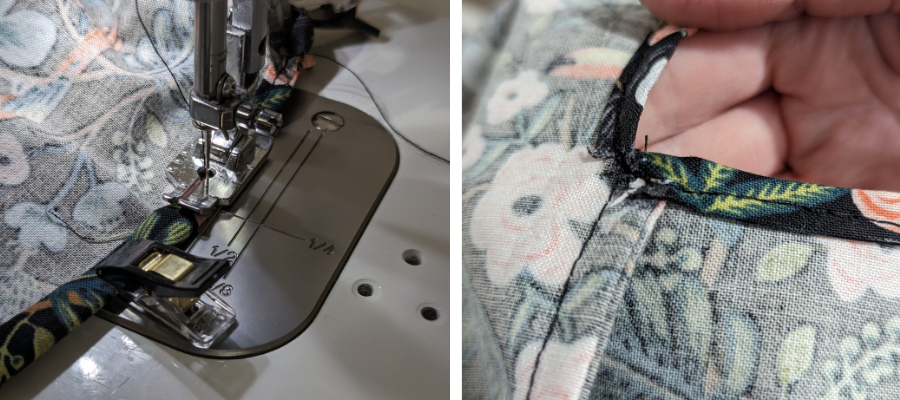
When dry, topstitch the hems, working your way around slowly. It is easier to work from the inside, so make sure your bobbin thread matches the fabric.
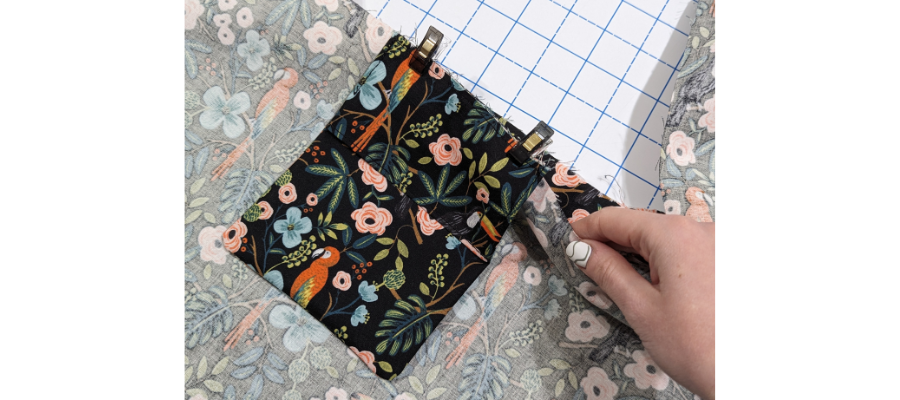
Take your pouch and centre it between the handles with the fold facing up, but the bag still wrong sides out. Baste in place with ⅛” seam allowance.
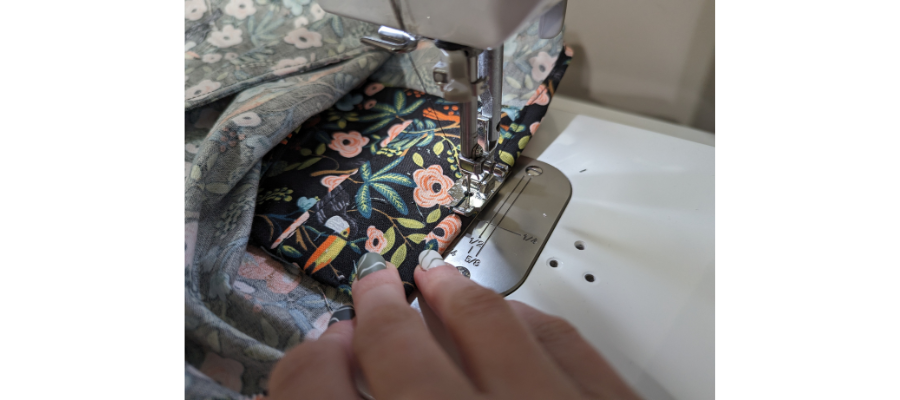
Finish the bag by hemming this final edge. You will press the raw edge twice to the inside as before and stitch down. The layers get thick around the pouch so go slowly (you may need a larger needle for this step). If you prefer, you can also use bias binding to finish the edge so it is less bulky to sew.
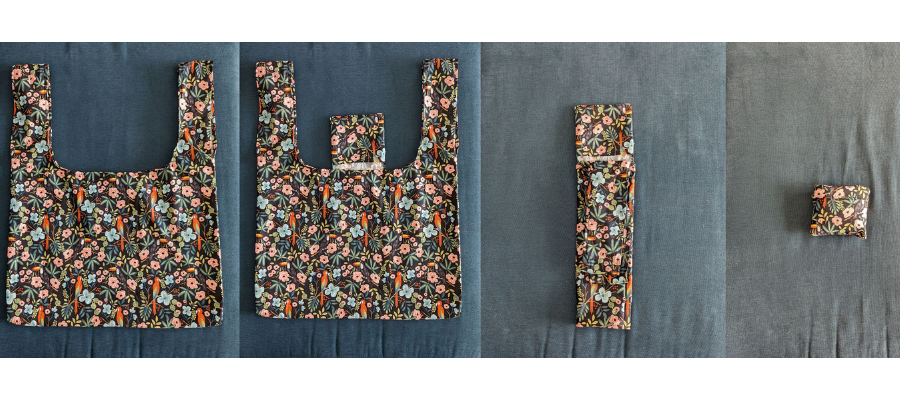
Give it a good press and it’s ready to be folded down and used!
Did you upgrade your shopping experience with your own handmade tote? Don’t forget to tag us on Instagram or Facebook so we can celebrate your design! #TrendTexFabrics @trendtexfabrics
Looking for more tutorial and project ideas? Check some other ideas out here.
