Introduction to Slow Stitching with Kantha, Sashiko and Boro – plus a coaster project
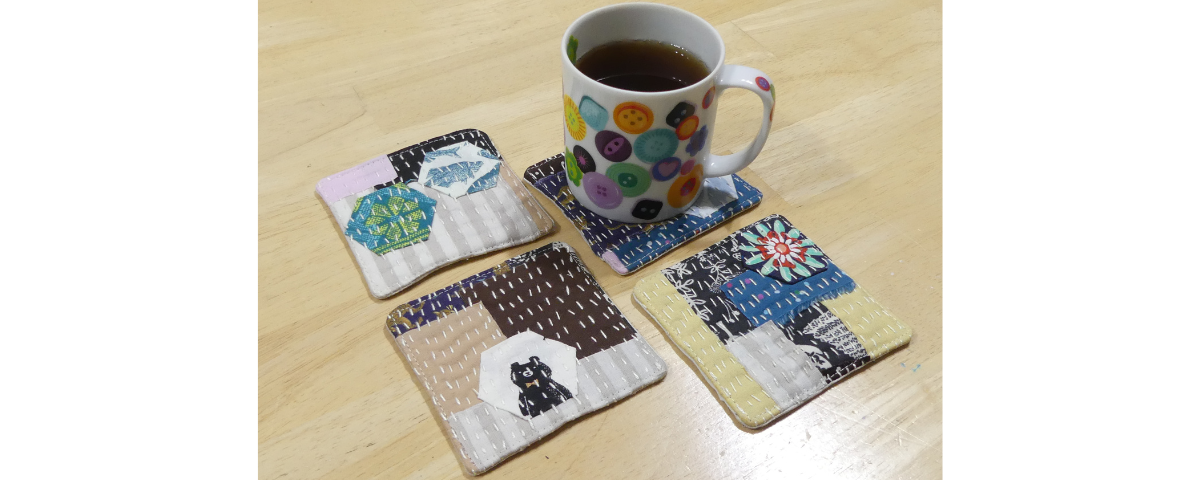
This coaster project is inspired by historical mending techniques from Asia, commonly referred to as Slow Stitching.
It’s time for some slower stitching by hand. Kantha, Sashiko, Boro . . . what’s the difference? Here are some handy definitions:
Kantha stitching is an old technique thought to originate in Bangladesh and Bengal, and was a method of upcycling worn and tattered saris into quilts and bed coverings. Kantha translates to “rags” and is the name given to this style of handwork. It was generally a community affair, with groups of women working together improvisationally to piece together fabric using a bold running stitch.
Sashiko refers to a form of hand embroidery stitching, and has been a Japanese tradition since the 1600s. Sashiko translates as “little stitches,” and there are actually five varieties classed as Sashiko. For the purpose of our project, we are using Moyozashi – a linear running stitch.
Boro, or Boroboro, is similar to Kantha in that it uses repurposed and ragged clothing scraps, but it originated in techniques for repairing garments among poorer demographics of Japan. Patches of usually indigo-dyed fabric would be layered on top of worn areas, and stitched with Moyozashi to add strength and make garments last longer. The result is a beautiful layered effect.
This coaster set is inspired by Boro patchwork, but uses new fabric scraps and is decorative, rather than a means to add structure to a worn garment.
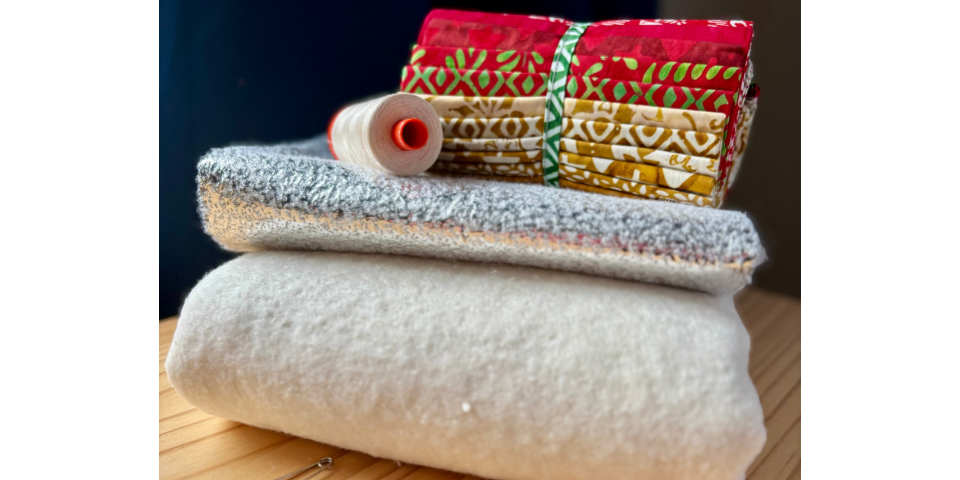
Here’s what you’ll need:
- Sewing machine (optional)
- Fabric scraps
- Hexagon papers (optional)
- Fat eighth of muslin or scrap fabric
- Fat eighth of backing fabric
- Scraps of batting
- 10″ square of lightweight fusible interfacing
- Glue stick
- Perle cotton or embroidery floss
- Milliner or straw needles
- General sewing notions: thimble, iron, safety pins, scissors, rotary cutter, ruler and cutting mat.
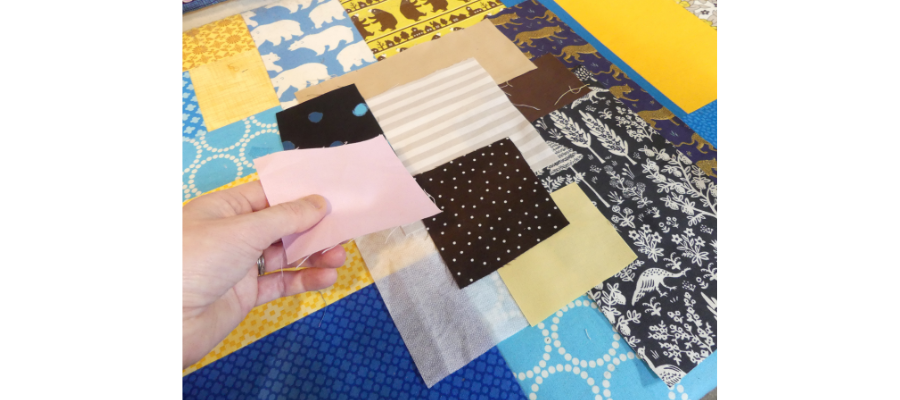
Cut small square and rectangular shapes from a set of fabrics. Stick to between two and four colours of varying shades. Solids are particularly useful for adding dimension and “pauses” between patterned fabrics. Arrange so that they overlap one another on top of the interfacing, rather than butting up to one another. They can extend beyond the interfacing.
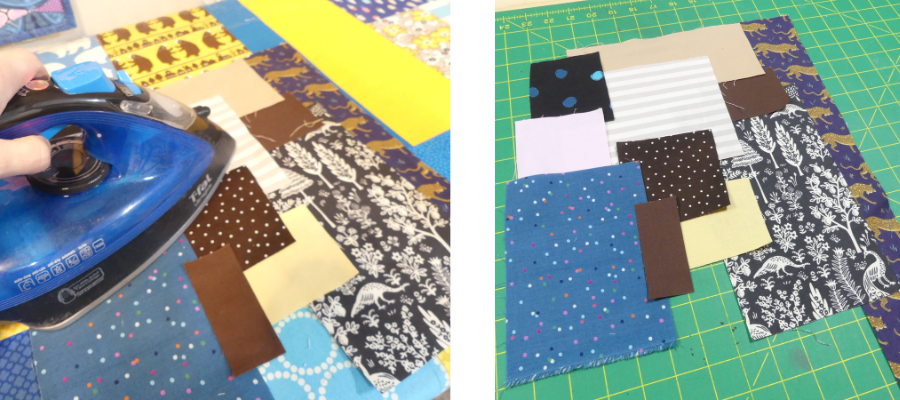
When you are happy with your layout, fuse in place.
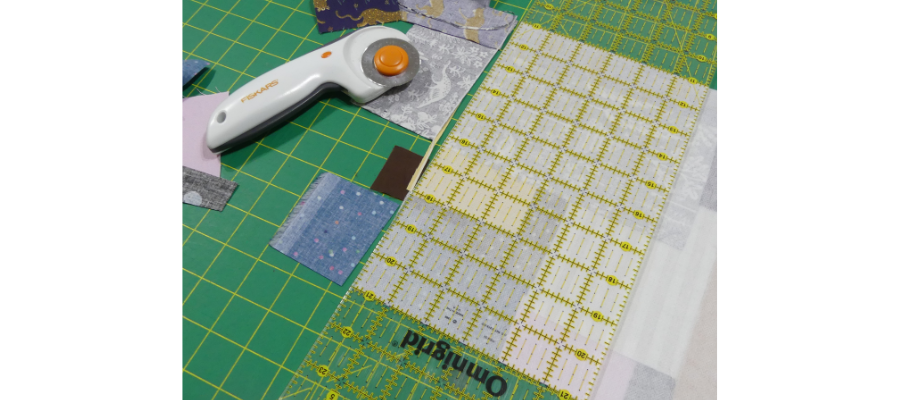
Flip over and trim the excess fabric flush with the interfacing square.
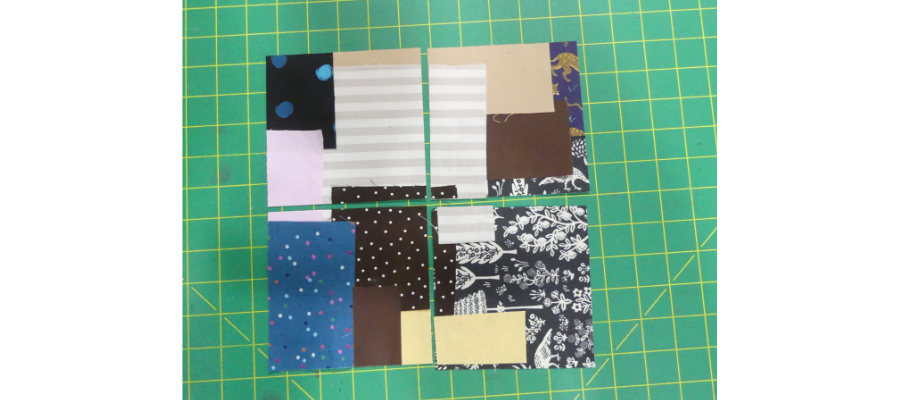
Cut in half, and half again – at the 5″ mark – with your ruler and rotary cutter. Flip over. Some pieces may be loose, but you can reattach with a dab of glue stick.
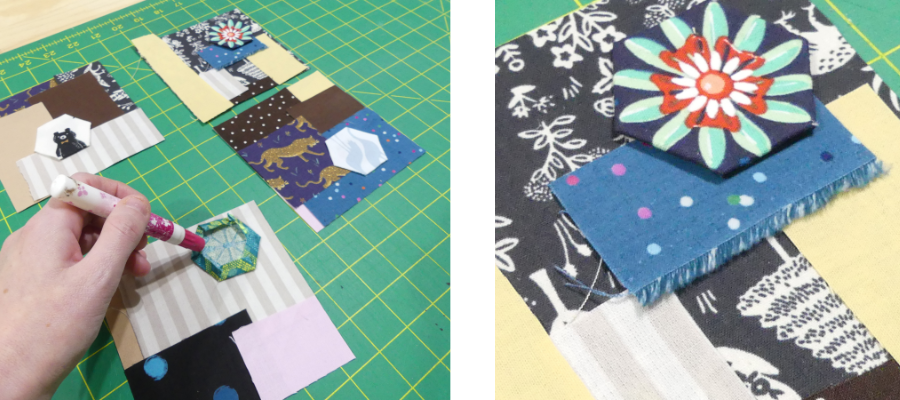
Assess the design of each square independently. Do you need to add more, for interest? For instance, you could add extra squares, selvedges or even left over English Paper piecing shapes from other projects. To add hexagons as shown, follow the directions for glue basting to paper shapes in this tutorial, then press, remove the paper and glue into position.
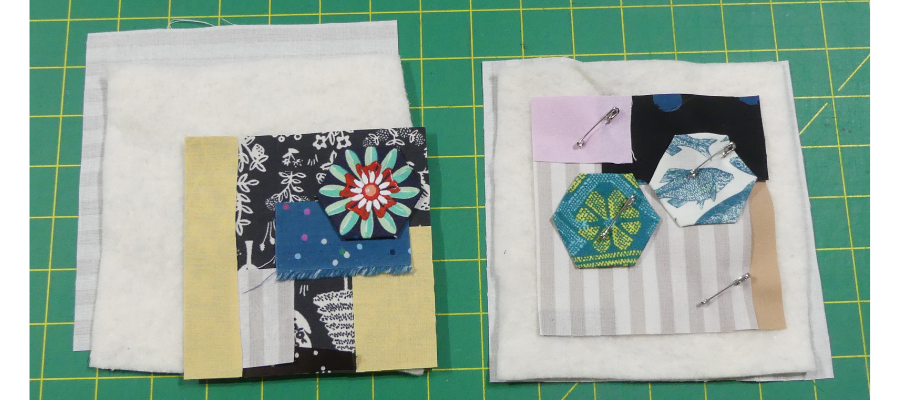
Cut four 6″ squares of batting and four 6 ½” squares of muslin or scrap fabric. This doesn’t have to be exact and you can cut larger. Once you’re happy with the layout, layer the scrap fabric, batting and then your coaster front together, and pin the layers, making sure to put a pin through each fabric on the top, to stop it from moving.
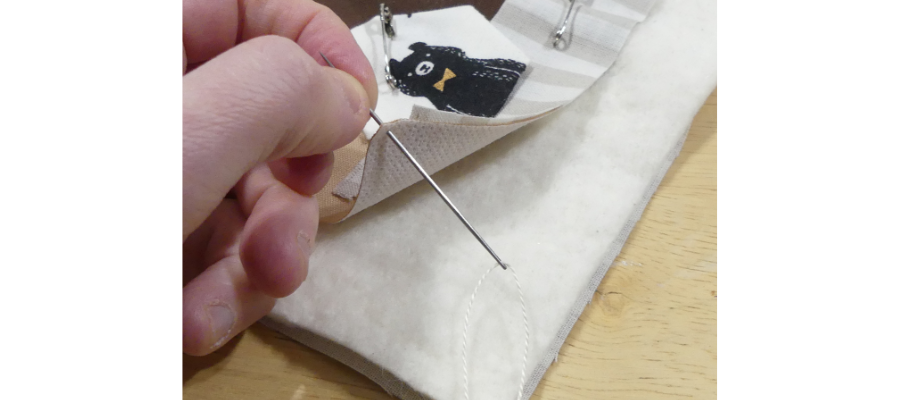
To begin stitching, thread a needle. Milliner or straw needles are nice because they’re long. Knot the tail of your thread (we have a video for that here) and push through just the top layer, close to the edge, to place the knot on the inside of your work.
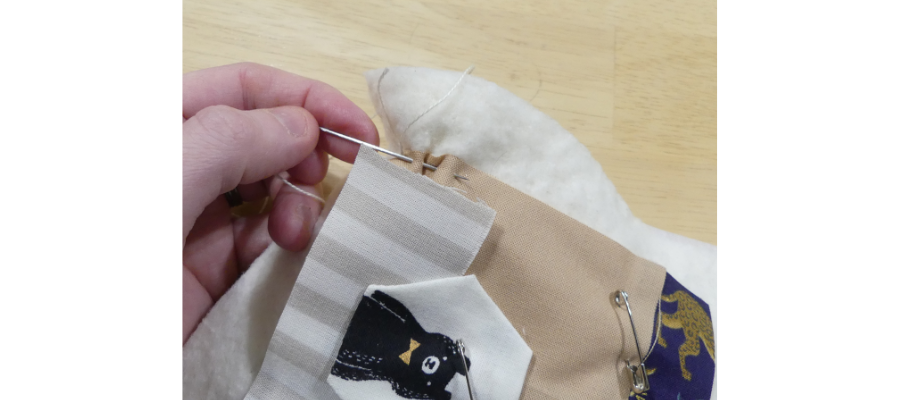
The traditional way to create a Boro piece is to work a running stitch by bringing the fabric to the needle and creating a concertina effect, and several stitches at once. It can be difficult to go through many layers, and it may require a bit of practice to make the stitches even on the front and back.
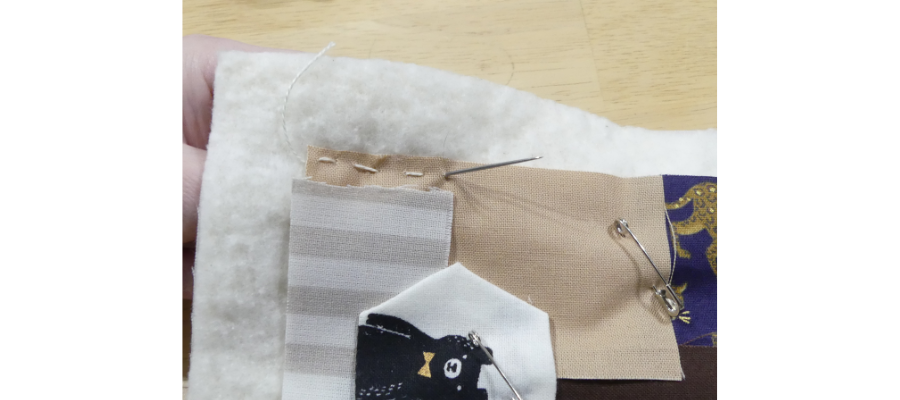
You can also create a running stitch the more “western” way, by bringing your needle through the layers one way, forming a stitch by bringing it back through from that side, and continuing to work one stitch at a time.
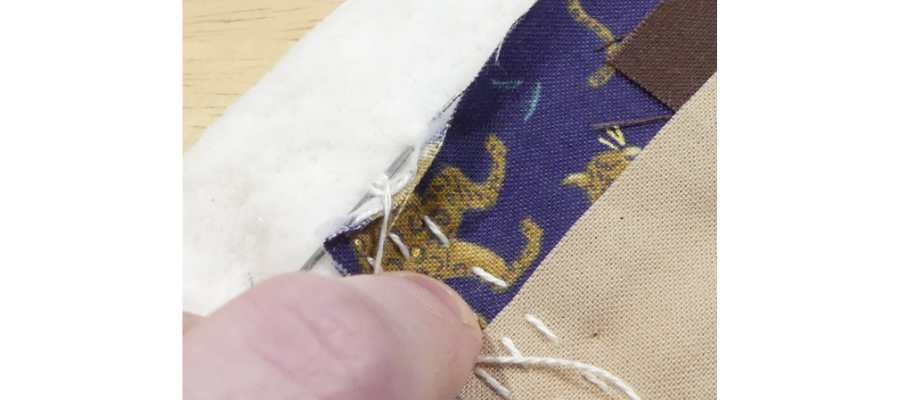
When you get to the end of a row and there’s not enough thread to work another, it’s time to knot the thread. To do this, wrap the thread three times around the needle close to the work, take a small stitch of just the batting and backing, then pull the needle through, guiding the wrapped loops down the needle and against the work. Snip close to the knot and re-thread to continue working.
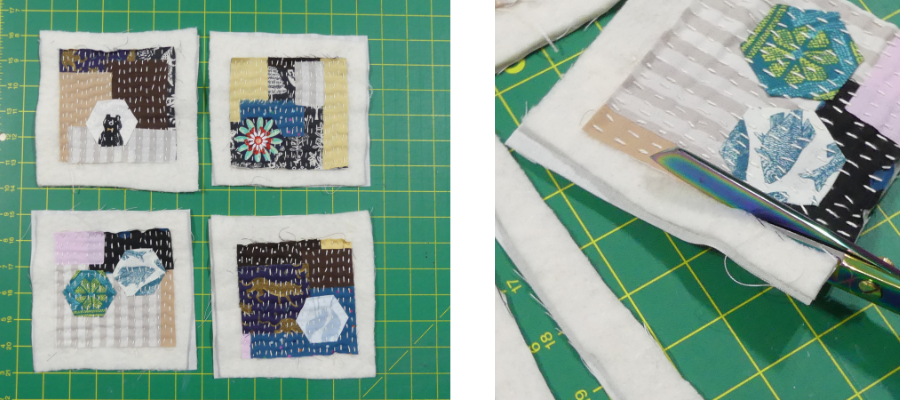
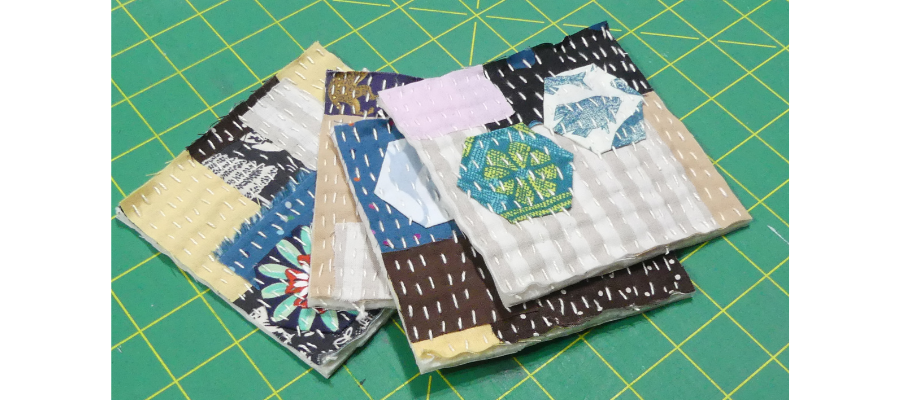
Once all the stitching is complete, trim back to 4 ½” square, making sure not to catch any threads. Working with scissors might be easier than a rotary cutter, as you can cut slower.
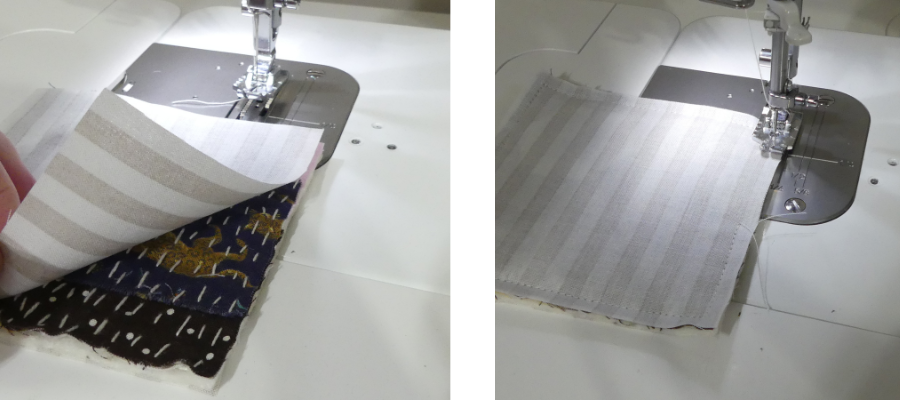
Cut your backing fabric into four 4 ½” squares. Place right sides together against one of your Boro style panels. Sew around the perimeter with a ¼” seam allowance, making sure to leave a gap of a couple of inches on one side for turning through later. Back-stitch when you start and stop. Repeat for all four coasters.
If you don’t want to use a sewing machine for this step, you can also stitch this part by hand using smaller stitches and a thinner thread.
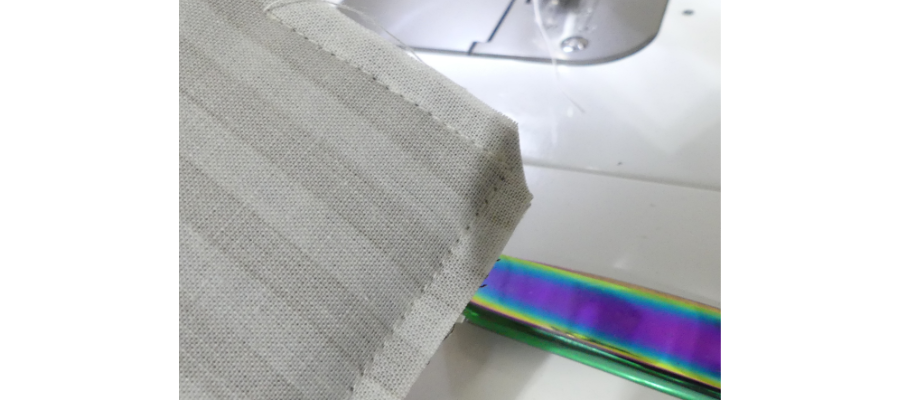
Trim the points off the corners close to the thread.
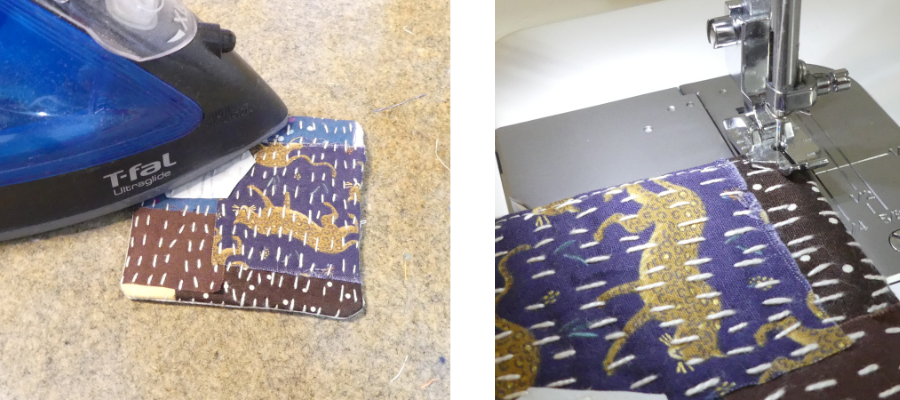
Turn right sides out through the turning gap and push out the corners. Press well. Top stitch at ⅛” all the way around the coaster to close the turning gap and help it lay flat. You can also hand-stitch if you wish, adding a Kantha-style stitch all the way around the outside.
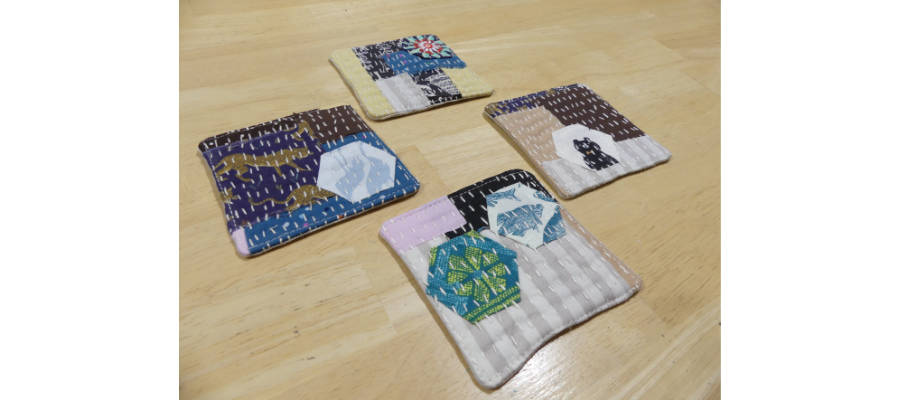
You’re done! How did it feel to slow down and stitch by hand? Let us know, and if you followed this tutorial, please post, and tag us on Instagram or Facebook so we can celebrate your design! #TrendTexFabrics @trendtexfabrics
Looking for more tutorial and project ideas? Check some other ideas out here.
